When you click on links to various merchants on this site and make a purchase, this can result in this site earning a commission. Affiliate programs and affiliations include, but are not limited to, the eBay Partner Network.
How does one go about removing the wood dash? The lacquer is wavy and cracking and I'd like to take it out and refinish it. I know it's been done before, I just don't know the process of getting the wood dash out. I don't want to bite off more than I can chew
Jose is right; the service manual is your best bet.
Typing out (or even remembering) *every* step is a bit much but, in a very abbreviated nutshell....
- remove plastic pieces at each end of dash
- remove padded top piece (screws under the edge...look from below). There's an air tube for the cabin temp sensor that you'll have to disconnect
- remove center air outlet (it simply pulls off)
- disconnect wiring ....there are mid-connectors in the harness. The instruments and a small amount of the wiring stays with the dash as you remove it.
Remove top dash pad.
removed block finisher panels from sides (a pillars) and bottoms (knee area)
Removed Gauges
Remove glove box door and insert
Remove HVAC control panel and gear selector panel
Remove information center, switch panel / pencil shelf
Remove HVAC center register
Unbolt defroster diverters from dash frame
Unbolt dash metal panel and frame from the HVAC box, top side struts (7/16 bolts) and A pillar side struts (1/2 nuts)
Disconnect map light and HVAC temp sensor.
After all that and a few things I probably forgot the whole metal frame with the wood attached can be removed. After it's out, place it wood side down and remove the many small Philips heads screws that holds the wood on to the metal frame. Upon reinstallation of the new wood test the location and alignment before you install all screws and make sure the HVAC register and gauges fit properly.
When you're done with this very labor intensive process you will wonder and be amazed how much went into assembling these vehicles.
I do not think the gauges need to be removed before the dash is removed.
Good tip... It would be best to remove the gauges to prevent damage during refinishing and/or removal. I suppose it doesn't matter if you remove the gauges after the metal panel is in place or while it's still in the car. My experience was the large gauges are easy to disconnect, remove first and set aside for safe keeping, the smaller gauges with their tiny hold down nuts would be far easier to document the wiring and then remove with the complete panel out.
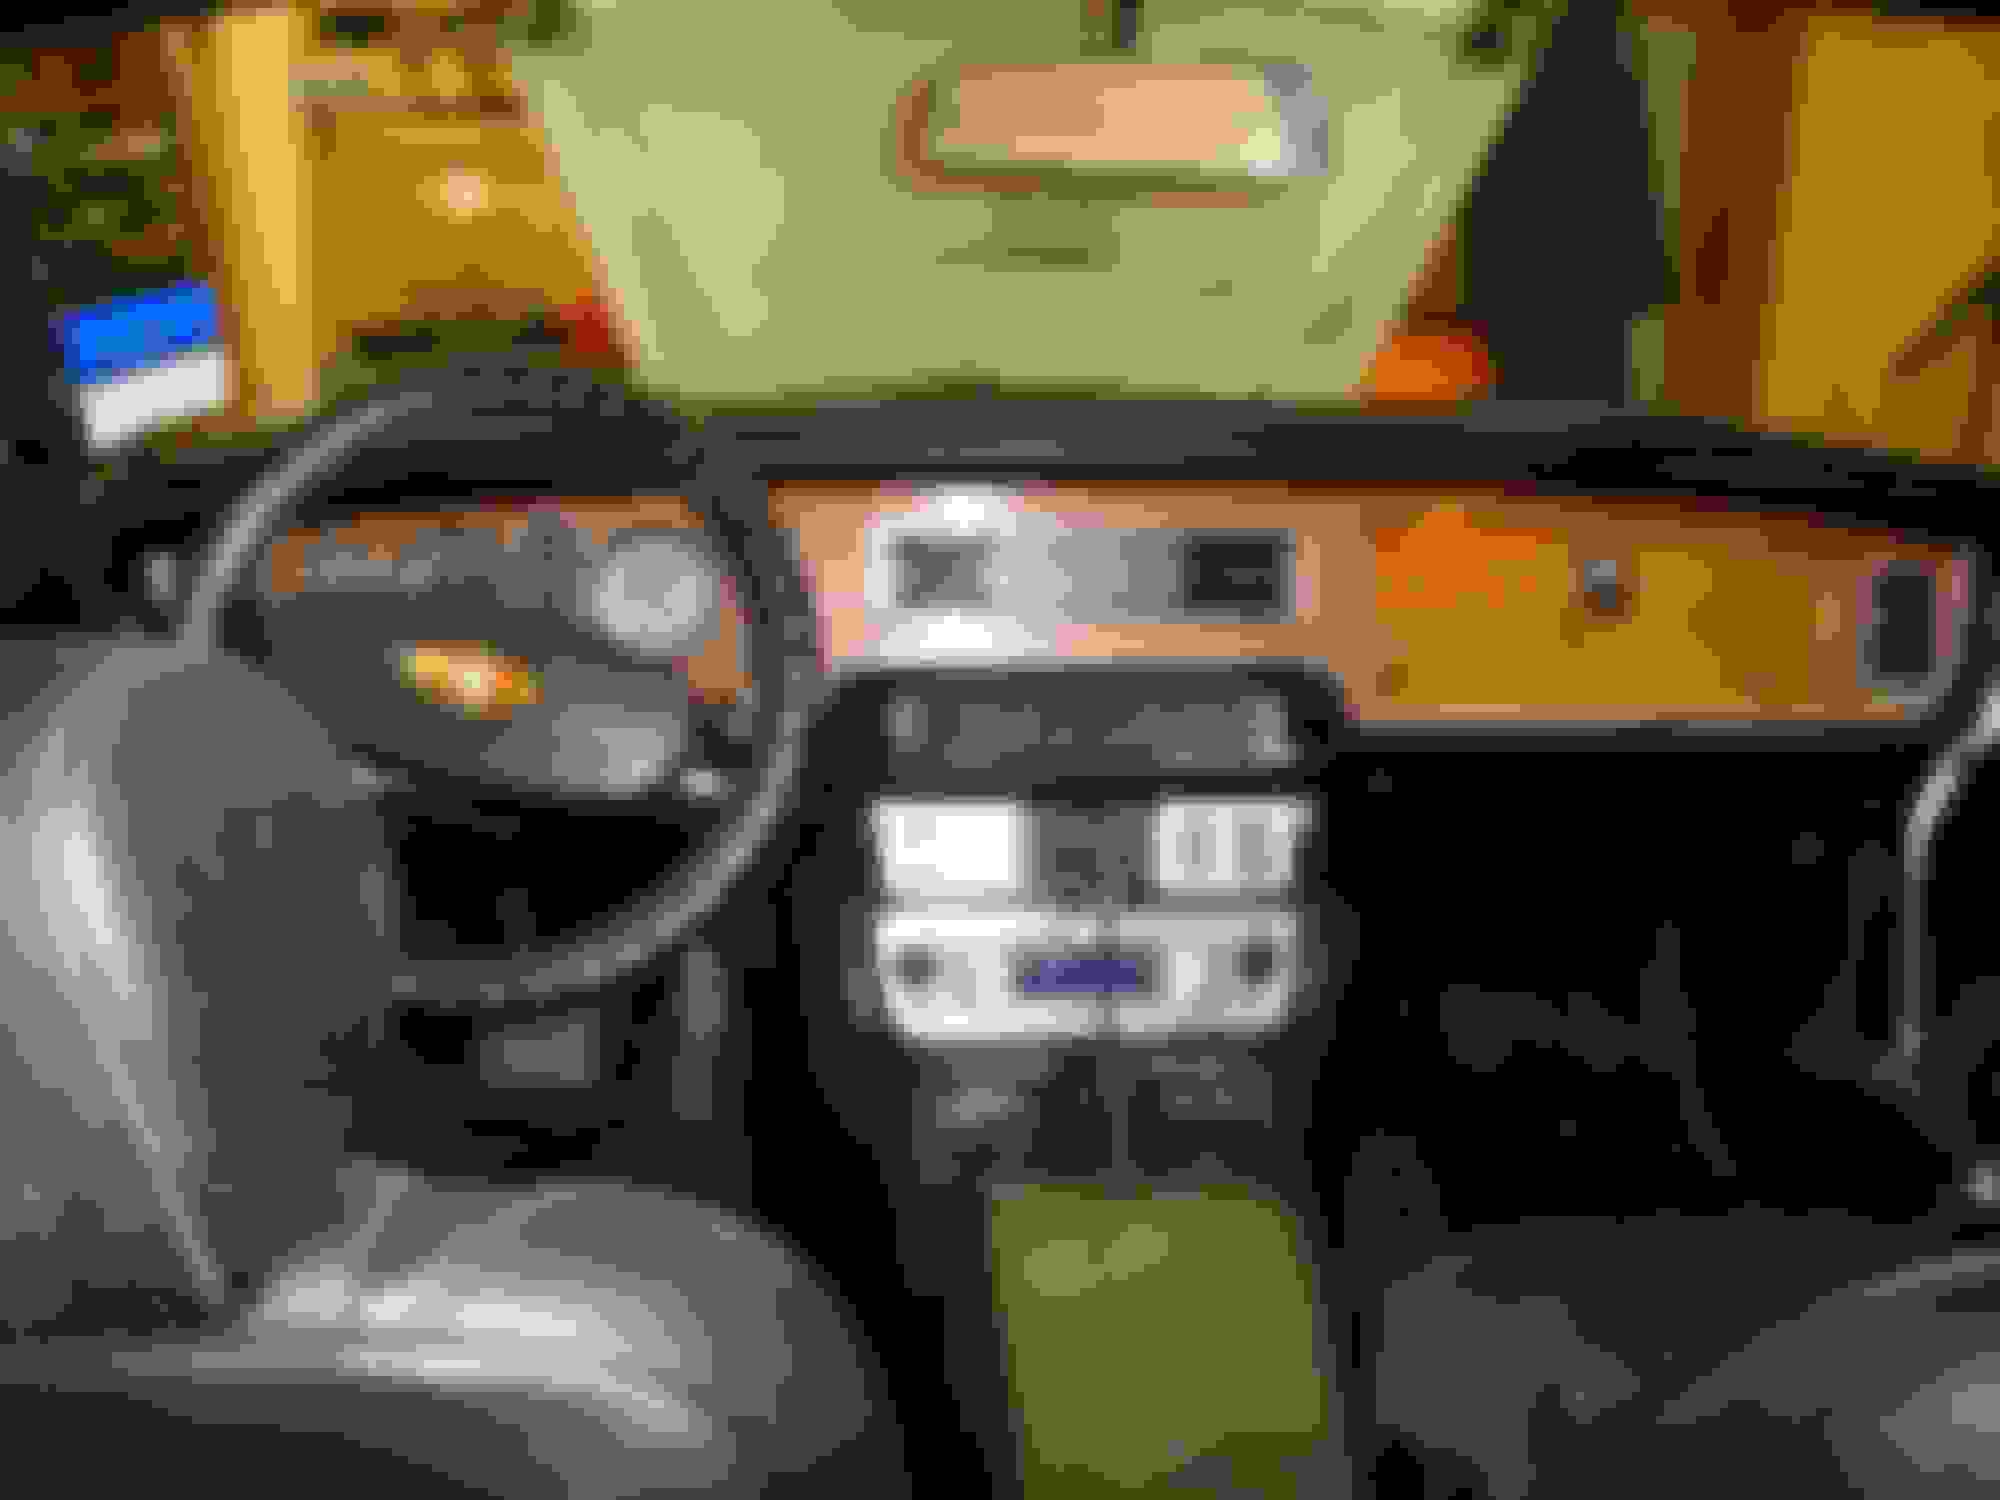
Got the dash out tonight and ready to be stripped, sanded and stained... I took out the dash with all the gauges and everything. Figured it would be easier than trying to take them out in the car. Cant wait to see it all put back together and pretty. I'll post some pics when finished