When you click on links to various merchants on this site and make a purchase, this can result in this site earning a commission. Affiliate programs and affiliations include, but are not limited to, the eBay Partner Network.
Thank you Dave.
I did it with the help of my girlfriend years ago.
The edging came covered in all XJ-6, well at least mine was covered with headliner fabric when I bought the car. Others can add their experience.
the fabric I got from BAS Ltd.,
I used the 3M Headliner spray adhesive, (the orange and blue can).
Tomorrow I'll take another picture to try to explain the edging.
Jose, I finally got around to installing the sunroof and realized what you had told me previously in this thread. I didn't have much to work with when I bought the car and the headliner was no exception. Before I started this thread, I had already glued the new fabric to the headliner board and the sunroof sliding panel. After you explained how the fabric should be attached to the sliding panel, I realized that I had screwed up. I had glued the fabric directly to the bottom of the panel instead of stretching it across the width and gluing the edges only. Well, today was spent removing the sunroof parts, "skinning" the fabric back off, and then cleaning up the glue and getting back to square one. Thanks to your brief outline, I can picture what I have to do, except I'm unsure of where to glue the actual edges of the fabric. The perimeter of the sliding panel is not straight or flat all the way around, but there needs to be a sufficiently large surface to hold the fabric in place with glue. I'm also assuming that the burlap/fabric needs to stretched and glued around all four sides of the sliding panel.
I also have a part B to this post. After I had the sunroof in place and looked in the cabin, I said to myself-WTF. The rear track bracket was fully visible in the sunroof aperture and I didn't recall seeing them before. After much thinking, measuring, second-guessing, and wondering what happened, I came to the conclusion that when the sliding panel is covered properly, that the track brackets will be under the fabric and not visible. Great.....except now how do I connect those brackets to the sliding panel when the fabric is covering the location they need to be??
One last question- In the second picture you can see a small silver screw about 4" to the left of the guide bracket. There is another one at the other side of the panel and I remember taking something off and then putting the screws back in so as not to lose them, but I don't remember what I took off and have not found anything in the shop that looks like it belongs. I'm thinking an air-dam or draft flap of some kind. Any ideas?
Any help would be greatly appreciated.
Dave The yellow lines represent the sunroof aperture and the aluminum strip represents the guides in the sunroof carrier. How much of the sliding panel do I cover with fabric? Same question, different view.
I did not know you took the sliding panel off the car. That was not neccesary.
for the time being, forget about the fabric or burlap.
Clean the glue from the panel real good, then reinstall the sliding panel and make sure it works forward and backwards. Again, forget the fabrics.
you will cover the interior side of the sunroof with the sliding panel in place, not before. So it's back to Square One. No big deal. You'll only do it once.
Once the sliding panel is in place and working, THEN you cover the interior side.
There is a spring-operated air spoiler at the very front of the sunroof opening, it is somewhat adjustable but stationary. It rises when the sunroof is opened and the sliding panel lowers it flat when it closes. Its purpose is to eliminate wind noise at speed. it is mounted with hex bolts, 2 bolts per side.
Let me know when you get the sliding panel refitted and working.
Boy, I really had a misconception of how to go about it. Thanks for the offer and I will let you know when I've put the sliding panel back in place. Do you want to continue on this thread or through PM?
I did mine following instructions from a member of the Music City Jag Club who had done a few.
Note that the last thing to go into the car is the finished headliner pad. So the sliding sunroof panel must be done first.
I assume you took off the steel body panel before the sliding panel was removed from the car?
No? remove it now. Remove 4 screws in the front under-lip of the sunroof. The body panel comes off complete with Seal. There should be a "J" shaped vinyl plastic edge finisher held by the same 4 screws along the width of the front of the sunroof.
the body panel is held in place by those 4 screws and two spring brackets at the rear.
The two spring brackets are bolted to the sliding panel. The body panel is fitted from outside the car, first the two rear tabs are slid under the spring brackets, then the body panel front lip is lowered onto the inner front of the sliding panel. Use a thin tool to align the screw holes. But again, this is the last thing you do, since you need to cover the underside of the sliding panel first.
Hi Dave,
Here are some pictures of my parts cars I just removed the outer panels from. Hope this helps to show the fabric attachment to the inner panel. I'm fairly sure the blue one has been recovered but not sure about the "tan" one, it might be factory.
that is exactly how mine was done at the factory and how it is done.
the plastic vinyl edging at the front edge was factory sewn to the headlining fabric at the front lip, so that the fabric was stretched over the front lip when the "J" edging is engaged over the front lip.
Since I did not have a way to sew the edging to the new fabric, I just glued the fabric over the lip and used the J edging as a clamp so the fabric will not back up.
then I used a thin screwdriver to punch through the fabric at the 4 screw holes.
I can see now that I have to bring more fabric around the edges and onto the back side. Unfortunately, I can't see the rear guide bracket in Brian's pictures to see what was done with the irregular shape there. I can see that having the sliding panel in place before attaching the fabric solves the exposed rear bracket. I can't see how I could get the fabric tucked around the edges and around the brackets and then glue/stretch the fabric(s) with the sliding panel in place.
Jose, you have mentioned before about "J edging" at the front of the panel. There wasn't much left of my fabric and I didn't see anything that might called that. Enlighten me please.
Hi everybody,
Just thought I would mention for anyone who needs to replace the four screws holding the outer panel to the inner one that they are #8-36 machine screws not standard #8-32 ( Amazon to the rescue ! ).
Sometimes I really think that either a engineer's relative owned a hardware supplier business or Jaguar got a pile of odds and ends on clearance sale / dirt cheap ! How many different types / sizes of hardware can you put onto one automobile ? Yet another "interesting design feature" !
Love the cars and working on them. Jaguar sometimes used 20 parts where 2 would do but they are designed to be maintained / repaired forever, can't say that about many things today !
Cheers,
Brian
PS Dave I might end up pulling the headliner and inner sunroof from one of my parts cars, if I do I'll make sure to get pictures for you.
the J edging was sewn to the fabric by machine at the factory trim shop. The purpose was to stretch the fabric tight at the front edge. Obviously they had a pattern to know what length the piece of fabric needed to be front to back.
since hardly anyone is going to sew this edging, you can use glue to fold the fabric over the front where the 4 screws go.
you can use Door edging to "clamp" the fabric once it folds over the top and achieve the same. When to outer body panel is screwed to the inner sliding panel, the headlining fabric is clamped good and tight.
Well folks, the fabric work is done. I will tell you what I did and hope it helps someone down the road, however, your mileage may differ.
To start with, I owe a big "thanks" to Jose and kudzu for their pictures and information. I was well down the wrong road when I got their advice.
The first thing I needed to do for anything to make sense, was to understand how I was going to mount and adjust the rear guide brackets (GB) once the fabric was in place. Now that it's done, it seems pretty simple, but four days ago I was struggling. On my S3, the outside of the left/right guide rails are 1/16" narrower than the extreme width of the rear GB themselves, meaning they can be attached to the sliding panel at their widest limit and still allow installation of the sliding panel.
Jose's advice of using burlap under the headliner fabric is "right on" in my opinion. The headliner fabric alone could have been stretched and glued in place, but the burlap adds some strength around the edges. To attach the burlap, I used Weldwood contact cement around the edges and stretched and glued it to the sliding panel in three steps. I was leery of trying to glue and stretch all four sides at once because I could see the process easily getting away from me. I glued the burlap to the rear edge of the sliding panel first because it is straight. Next I glued the front edge while stretching back to front. Lastly, I glued and stretched both sides at once. I was paranoid about getting a proper stretch, I just wanted to keep from touching the panel in the center, but also keep the burlap smooth. As you can see in the pictures, I tried to cut and glue the edges around the various lumps, bumps, and bolts, while keeping as much burlap and fabric glued to the sliding panel. When the burlap was in place, I did a test fit into the sunroof opening and everything fit and adjusted like I thought it would.
The headliner fabric went on in the same fashion, except I did not glue it in the middle, only around the edges. For attaching this fabric, I used series 90 3M spray adhesive. I have had very good luck with it in the past and it will hold-to-destruction if it applied per instructions. Again I trimmed as best I could and did this glue-up in one step as there really isn't any "drying" time once you have made contact. As you can see, I only cut a small hole to expose the rear GB, just enough to allow them to be adjusted inward around the guide rails once the panel is in place. Again, a test fit and all seems as it should.
I have the sliding panel installed and the "cables" disconnected at the drive motor behind the rear seat, it slides like silk. I have yet to set the outer panel in place and make the wedge adjustments in the rear of the panel. There are two issues that are sticking in my head. With the added fabric/burlap, will the outer panel sit correctly in the sliding panel or will there be adjustment problems because of the added material folded over at the front and underneath. I guess I will find out.
The trim around passenger compartment side of the opening has not been put in place and I plan to again follow the advice from Jose and wrap my old trim with a piece of the new headliner fabric, should turn out OK.
Jose was right when he said that I would only do this project once (or want to do it just once). If something happens to this headlining while I am still able to drive the car, the inside of the roof will be painted.
Hope this helps someone.
Dave Being a furniture maker, I have a few clamps laying around. The main headliner may not be correctly applied, but it's staying!
the outer body panel will go in and on fine, you do have to push it down then align it with the screw holes using an awl or similar.
that step will test your patience, but if you can get just one screw in place, the other 3 will be easier.
In spite of the good suggestions and great pictures, I have finished my headliner with disappointing results. I am reluctant to make this post, but I think our members, especially the new ones, should know that not all projects turn out the way we like.
I have included a picture of my final result and think I might know the reason for the poor fit of the interior trim piece. It seems to me that I may have had the new fabric covering too wide and gotten double or even triple layers inside the bottom of the channel. This would hold the trim farther away from the main headliner and make it lay in a lumpy line. It still looks like there is an unexplained gap in two of the corners, almost like the headliner backing is cut too large, but I know that is almost certainly not the case. Not having an intact headliner to start with, I just didn't make all the connections of the process. Anyway, if at some point I can't stand the interior trim piece, I will pull it back out and cut the new fabric a little narrower.
In addition to my truth in posting policy, I have another question. I am ready to complete the dash and console installation and am in the process of filing the cracks in the dash pad and recovering it. I attached it for a test fit today,
complete with a chunk of the rubber pinch-weld gasket (you'll recognize it in the picture). There is a rubber filler (3/8" x 3/16") running the width of the pad, except about a foot of it is missing on each end. The missing pieces cover the same area on both sides, but don't look like the ends have been cut clean, as in, on purpose. Without these end pieces, there is a gap between the pad and the windscreen opening. The only reason I'm asking if the filler should run the full width is because the missing pieces are in exactly in the same place on each side. Does anyone have any experience with this?
Just a tip related to the sunroof stuff. I found that when I was trying to set the wedges at the rear of the sliding panel, it was very tedious to keep dismantling the drive gear cover behind the rear seat so that I could move the panel quickly. I had already attached a 7/16" fitting to the end of the motor shaft (car didn't come with emergency crank) and could use a drill/socket to open/close in 30 seconds or so. But again, PITA to be crawling in and out of the trunk. So I disconnected the drive gear cover and used one of my glass handling suction cup on the outer panel to slide it back and forth. With that, I could close it with "conviction" and then open easily if adjustment was necessary. When everything looked good, I hooked the drive back up and gave it a test at the motor, work great.
my '84 dash pad has the same black foam strip at the front edge where it meets with the windshield rubber. It is only at the front center area between the two vents. Yes it is "torn" at the ends, not cut. Kind of sloppy.
I think this was a quickie factory remedy for some problem that revealed itself after the car rolled off the assembly line. Maybe the dash pad was squeaking against the rubber?
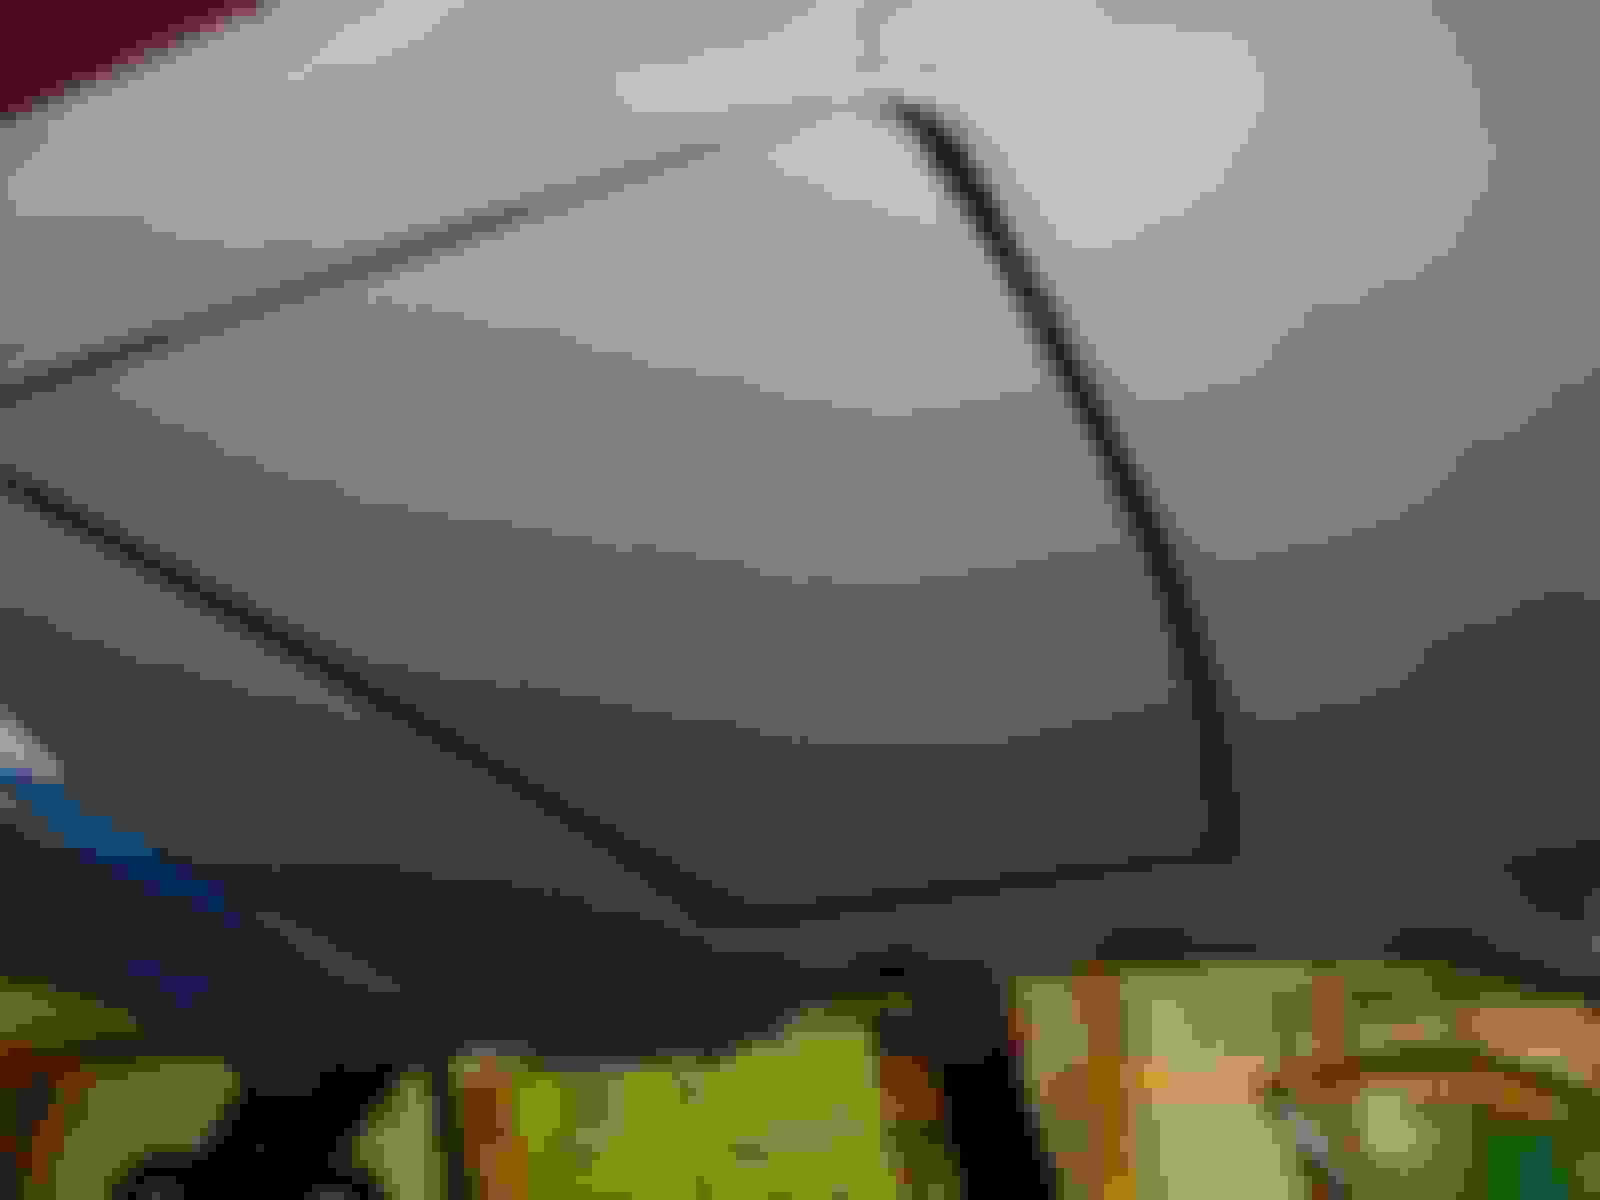
Did you use your hands to press the headlining fabric onto the roof pad?
you needed to use a paint roller and not press it down but let the weight of the roller do the job. The sunroof looks perfect.

 05-23-2020, 09:52 PM