When you click on links to various merchants on this site and make a purchase, this can result in this site earning a commission. Affiliate programs and affiliations include, but are not limited to, the eBay Partner Network.
Apple Car Play / Android Auto using stock display and controls!
Hey All,
Haven't been on in a while which means so far so good with my XKR. Hope the same is true for you other old timers on here.
Anyway, I thought I'd share something that got me pretty excited when I saw it on one of the Facebook XK pages this morning. I've been wanting to add Apple Car Play for a while now but didn't like the thought of altering the original display or functionality of the steering wheel controls. So I was instantly intrigued when I saw the following intro and installation videos from an outfit called Mr. 12Volt:
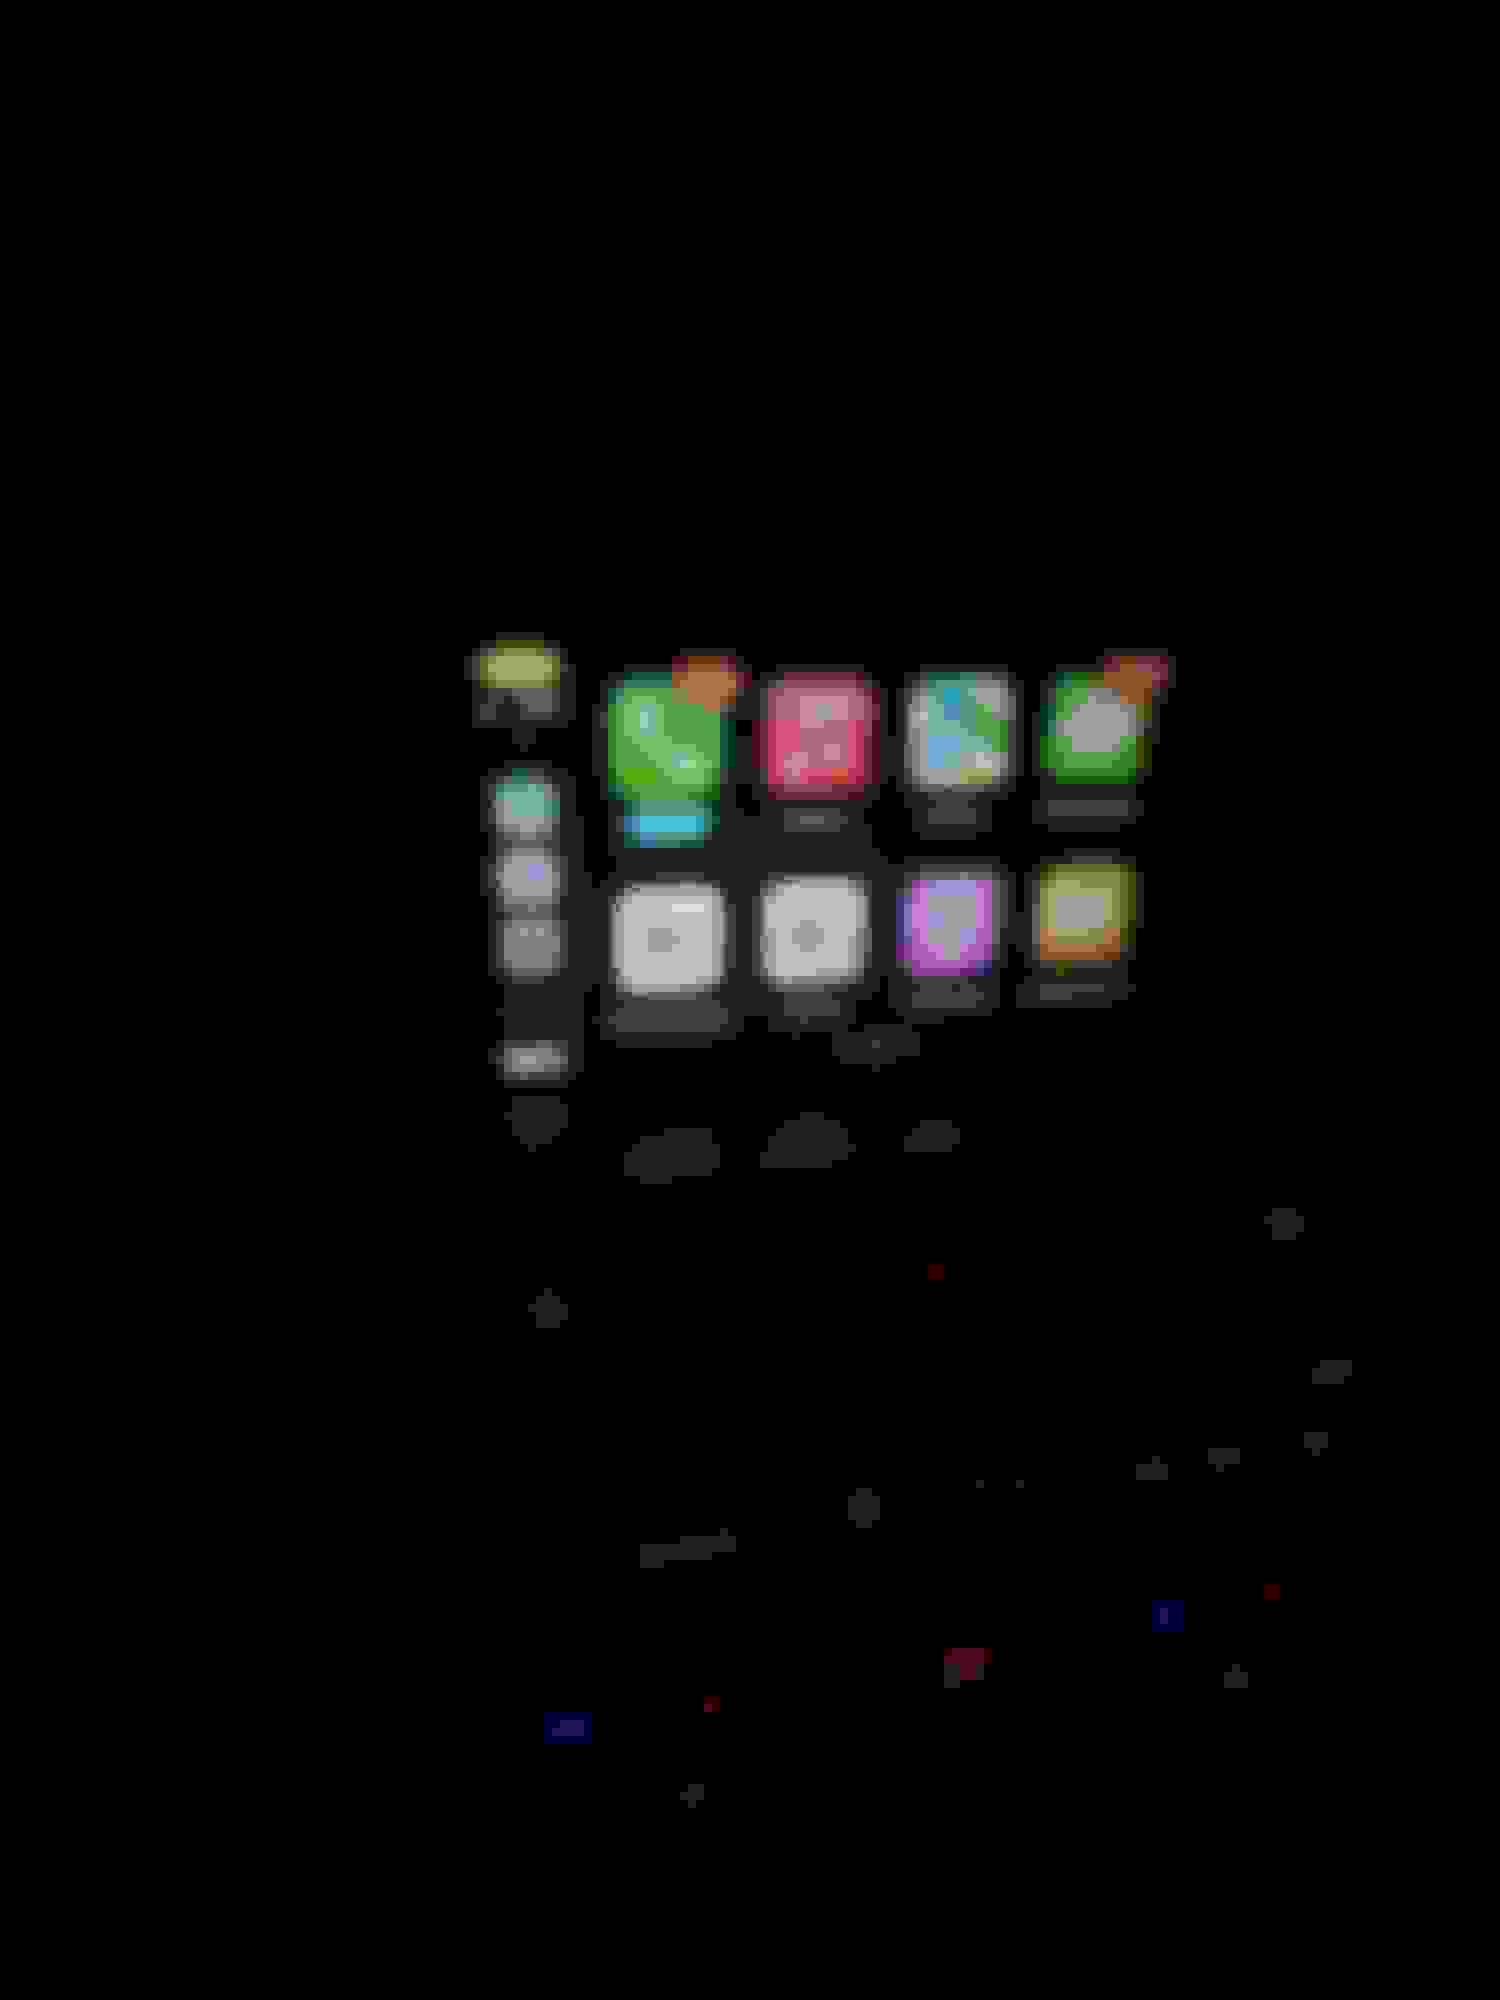
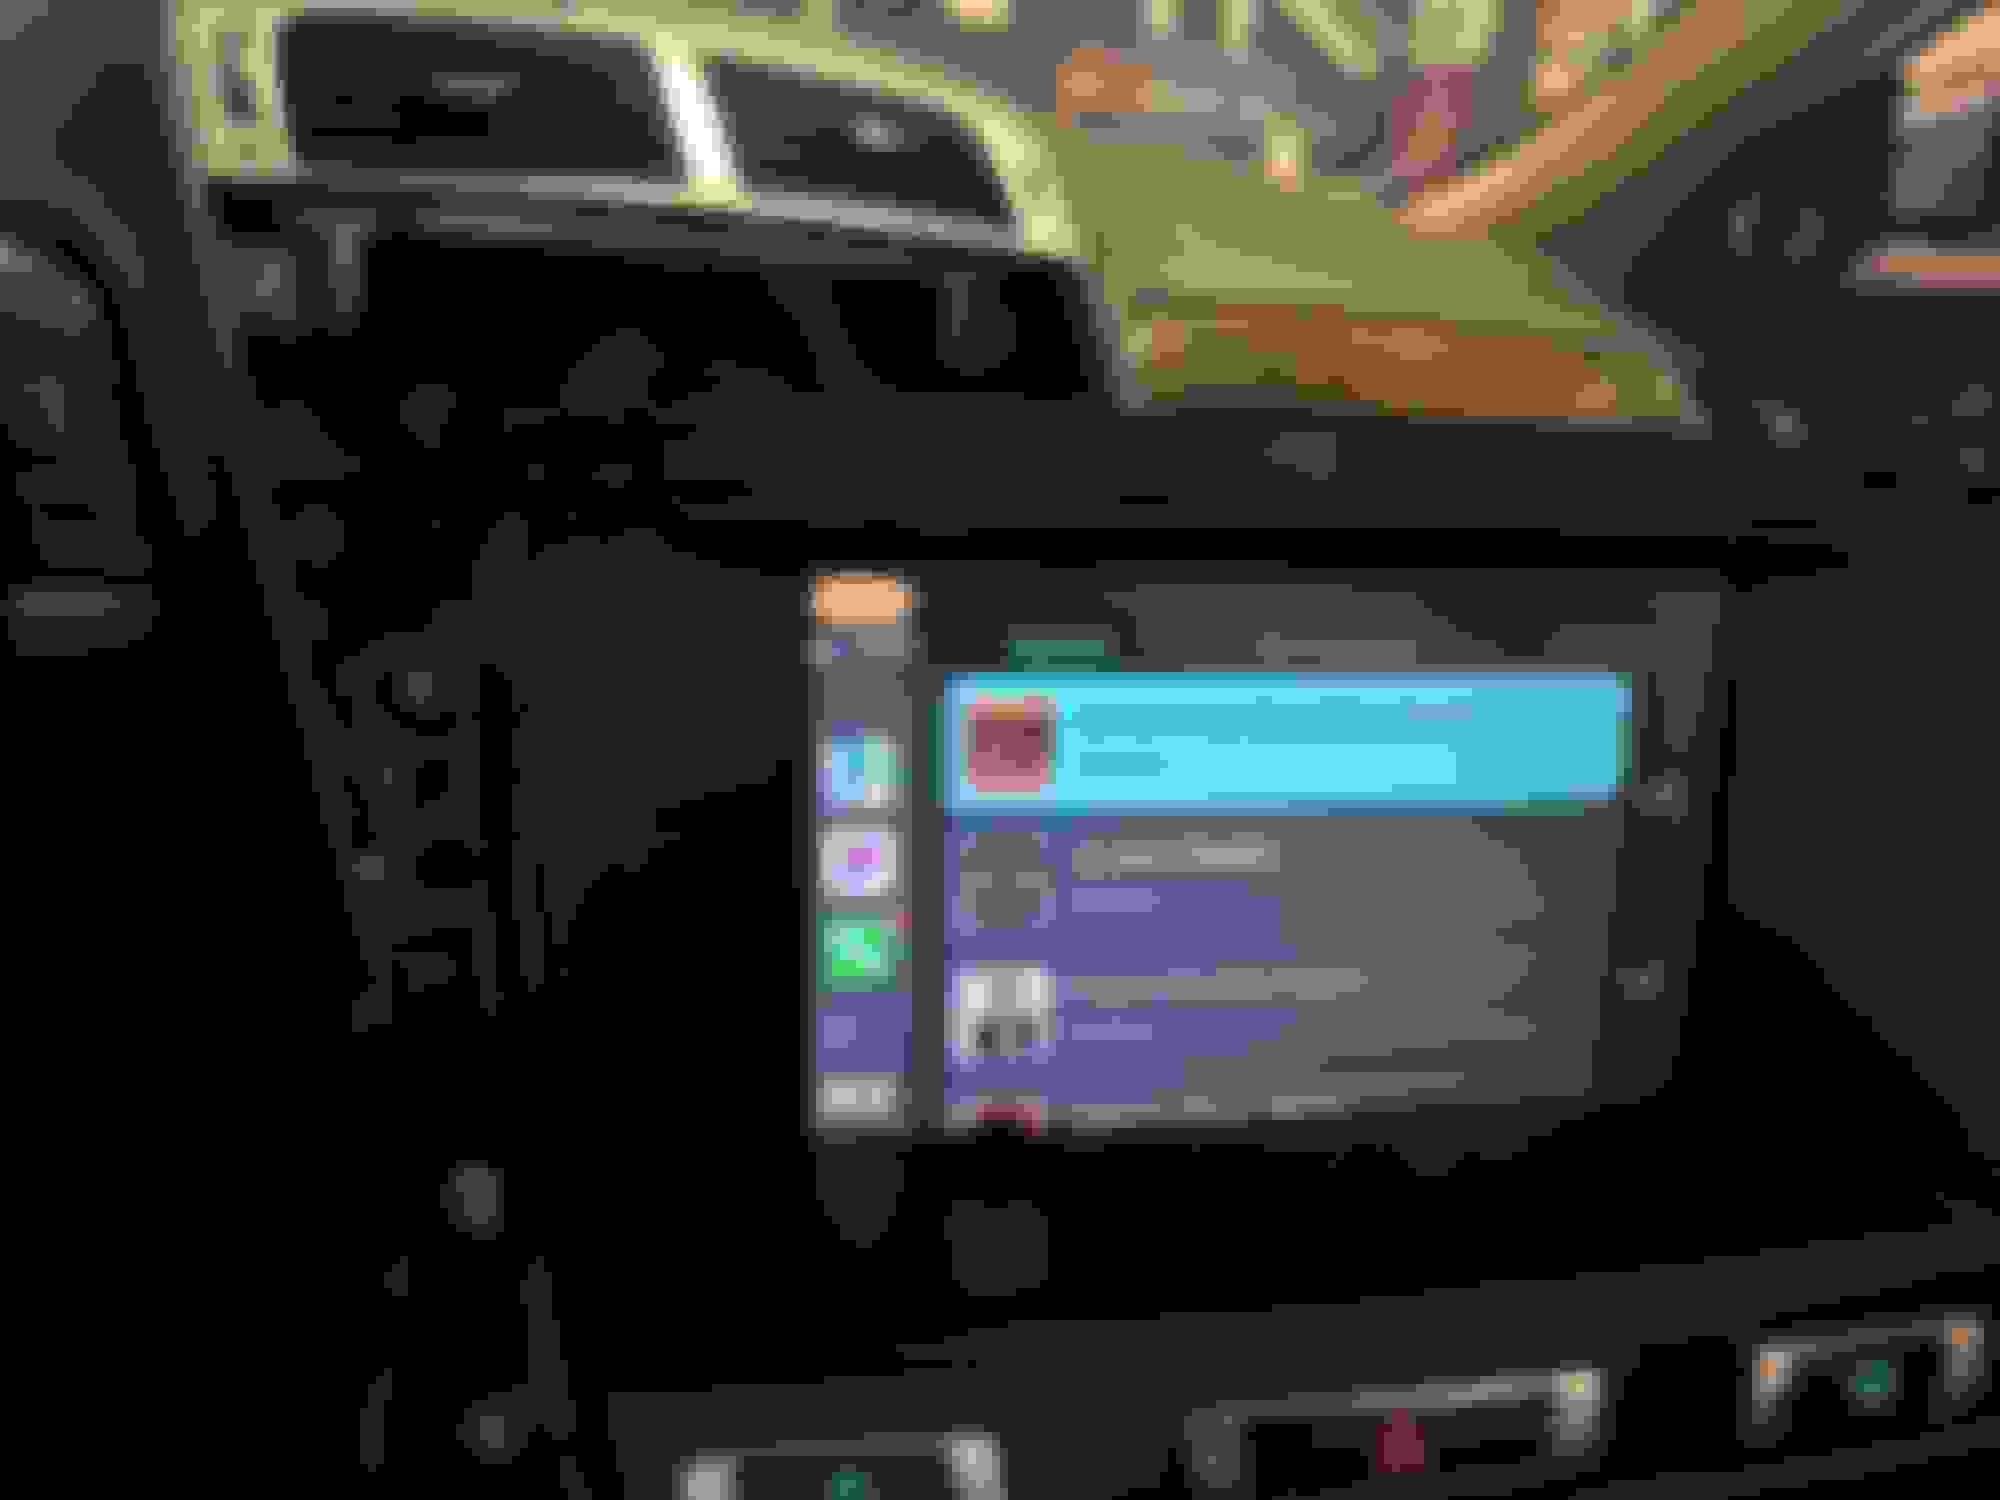
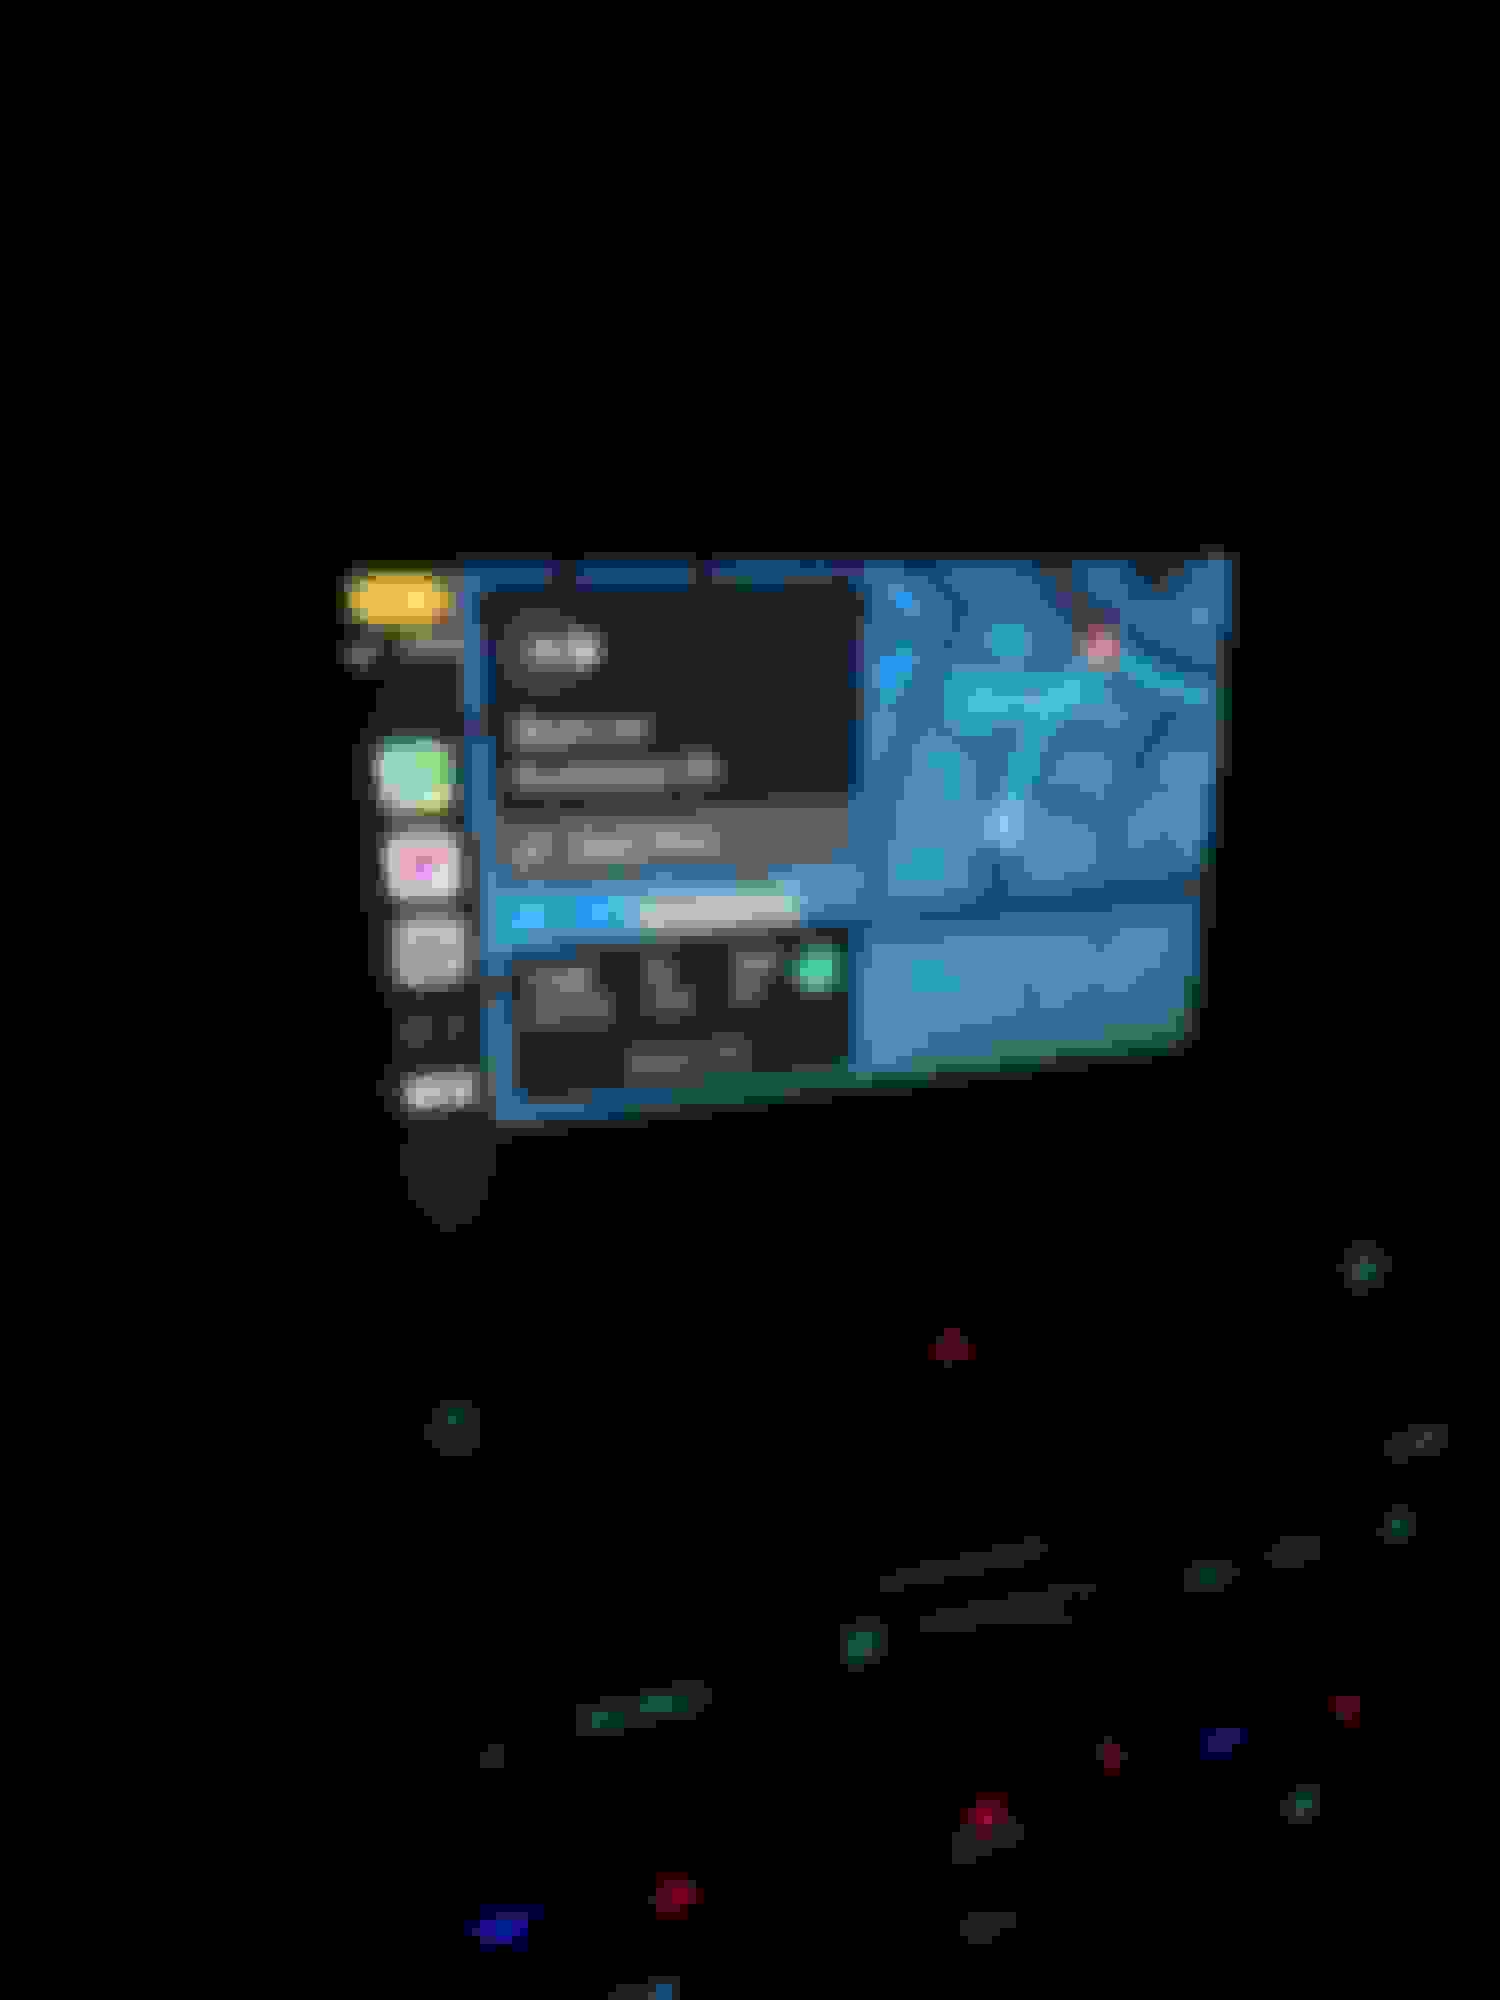
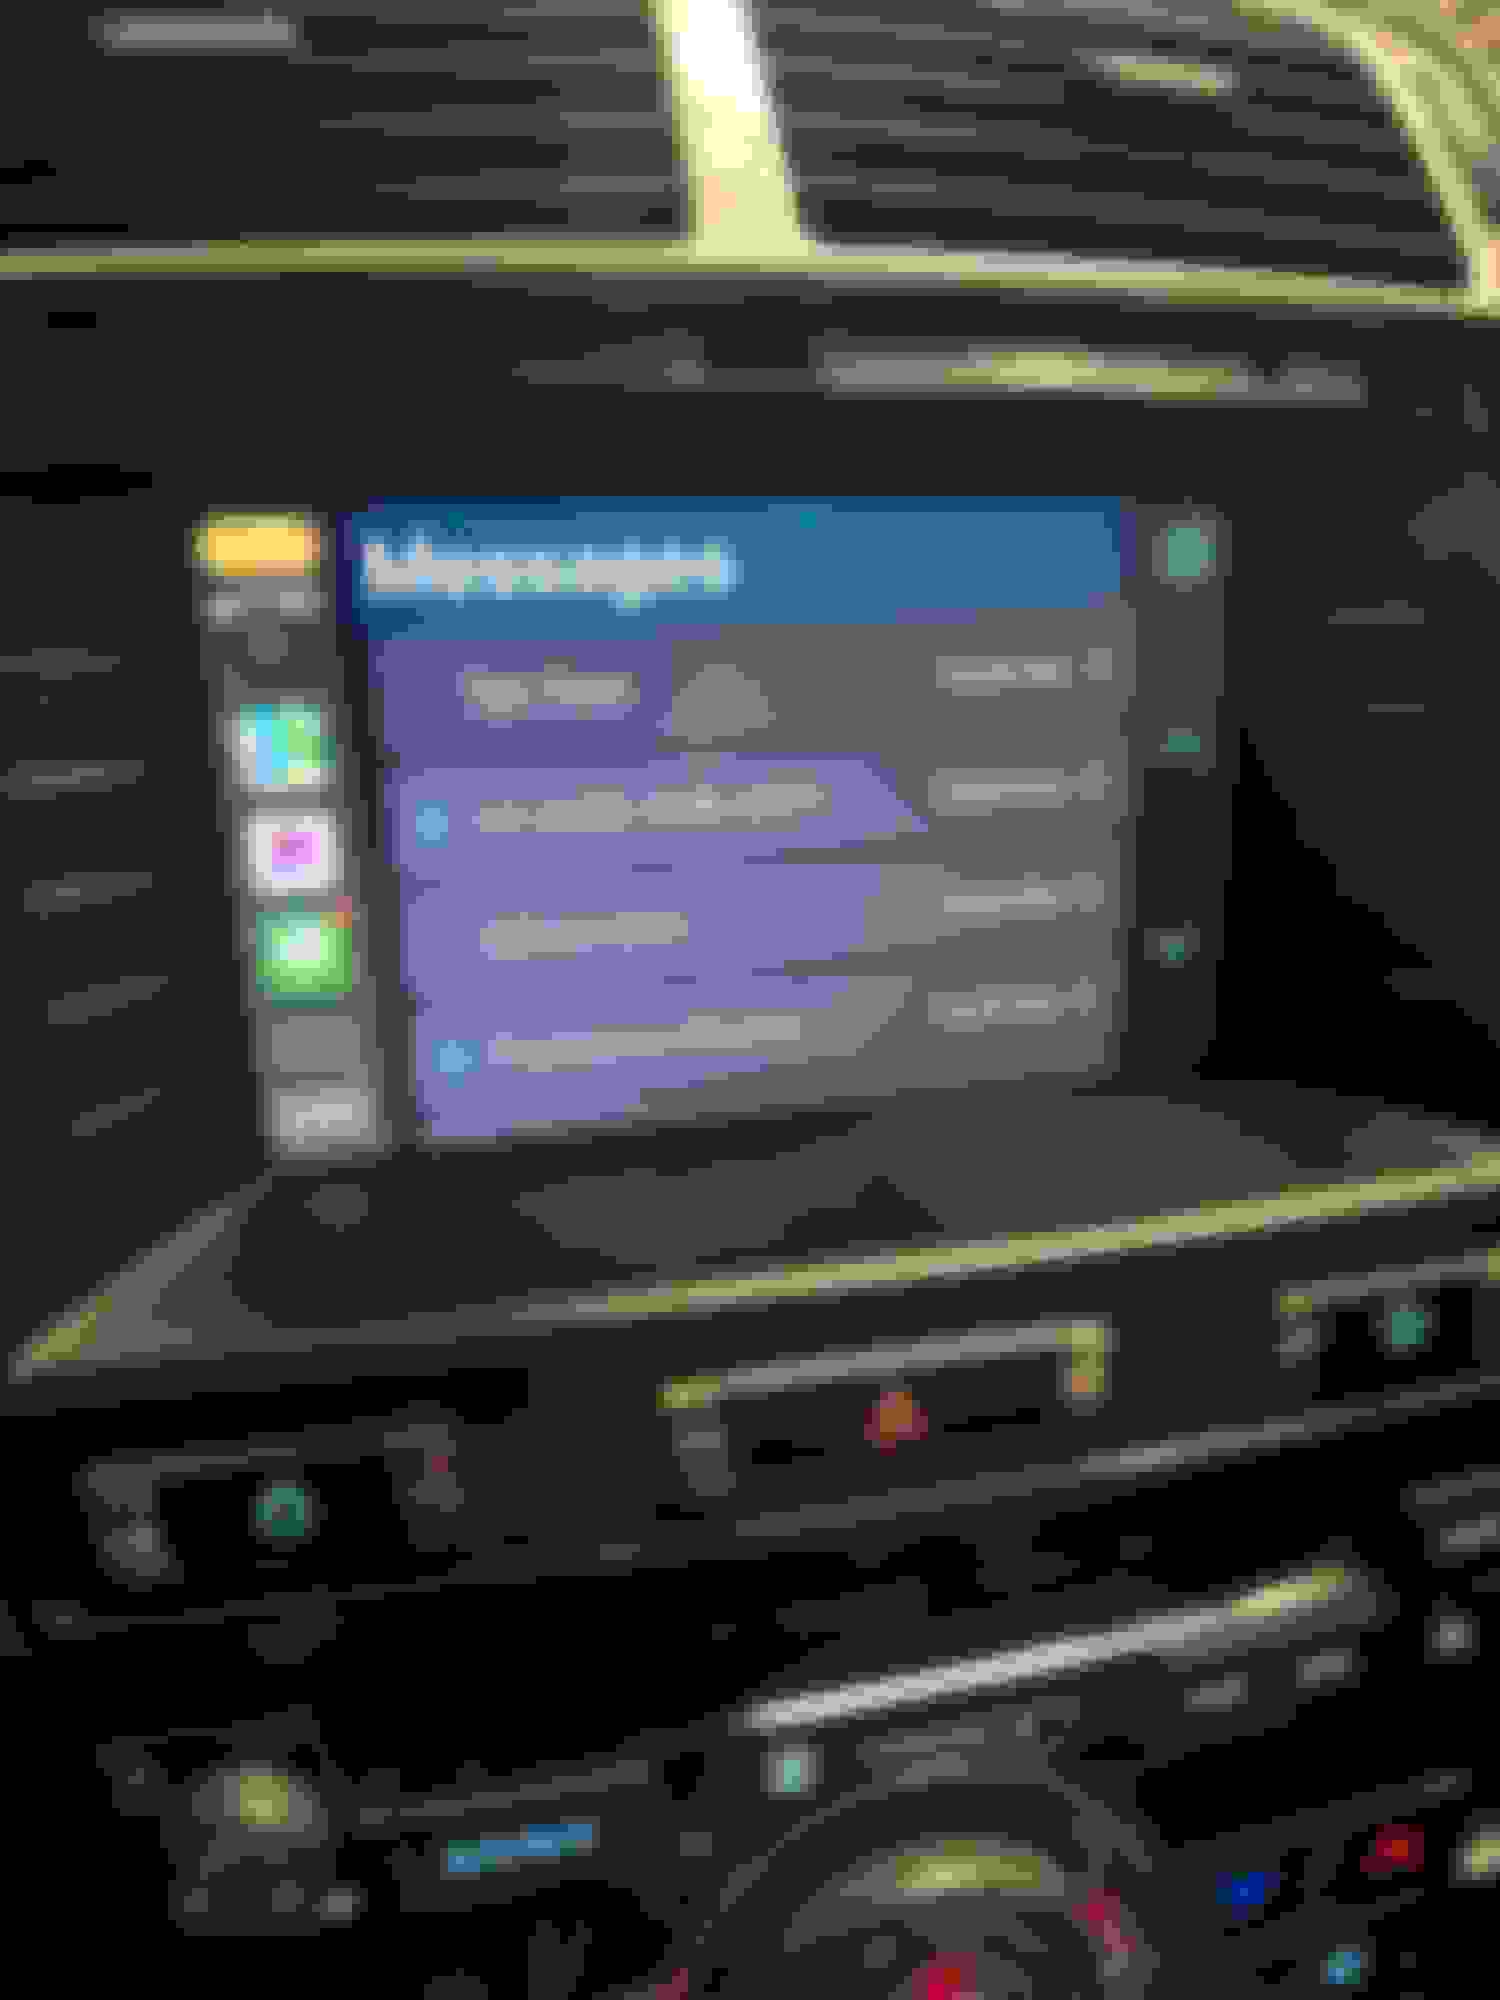
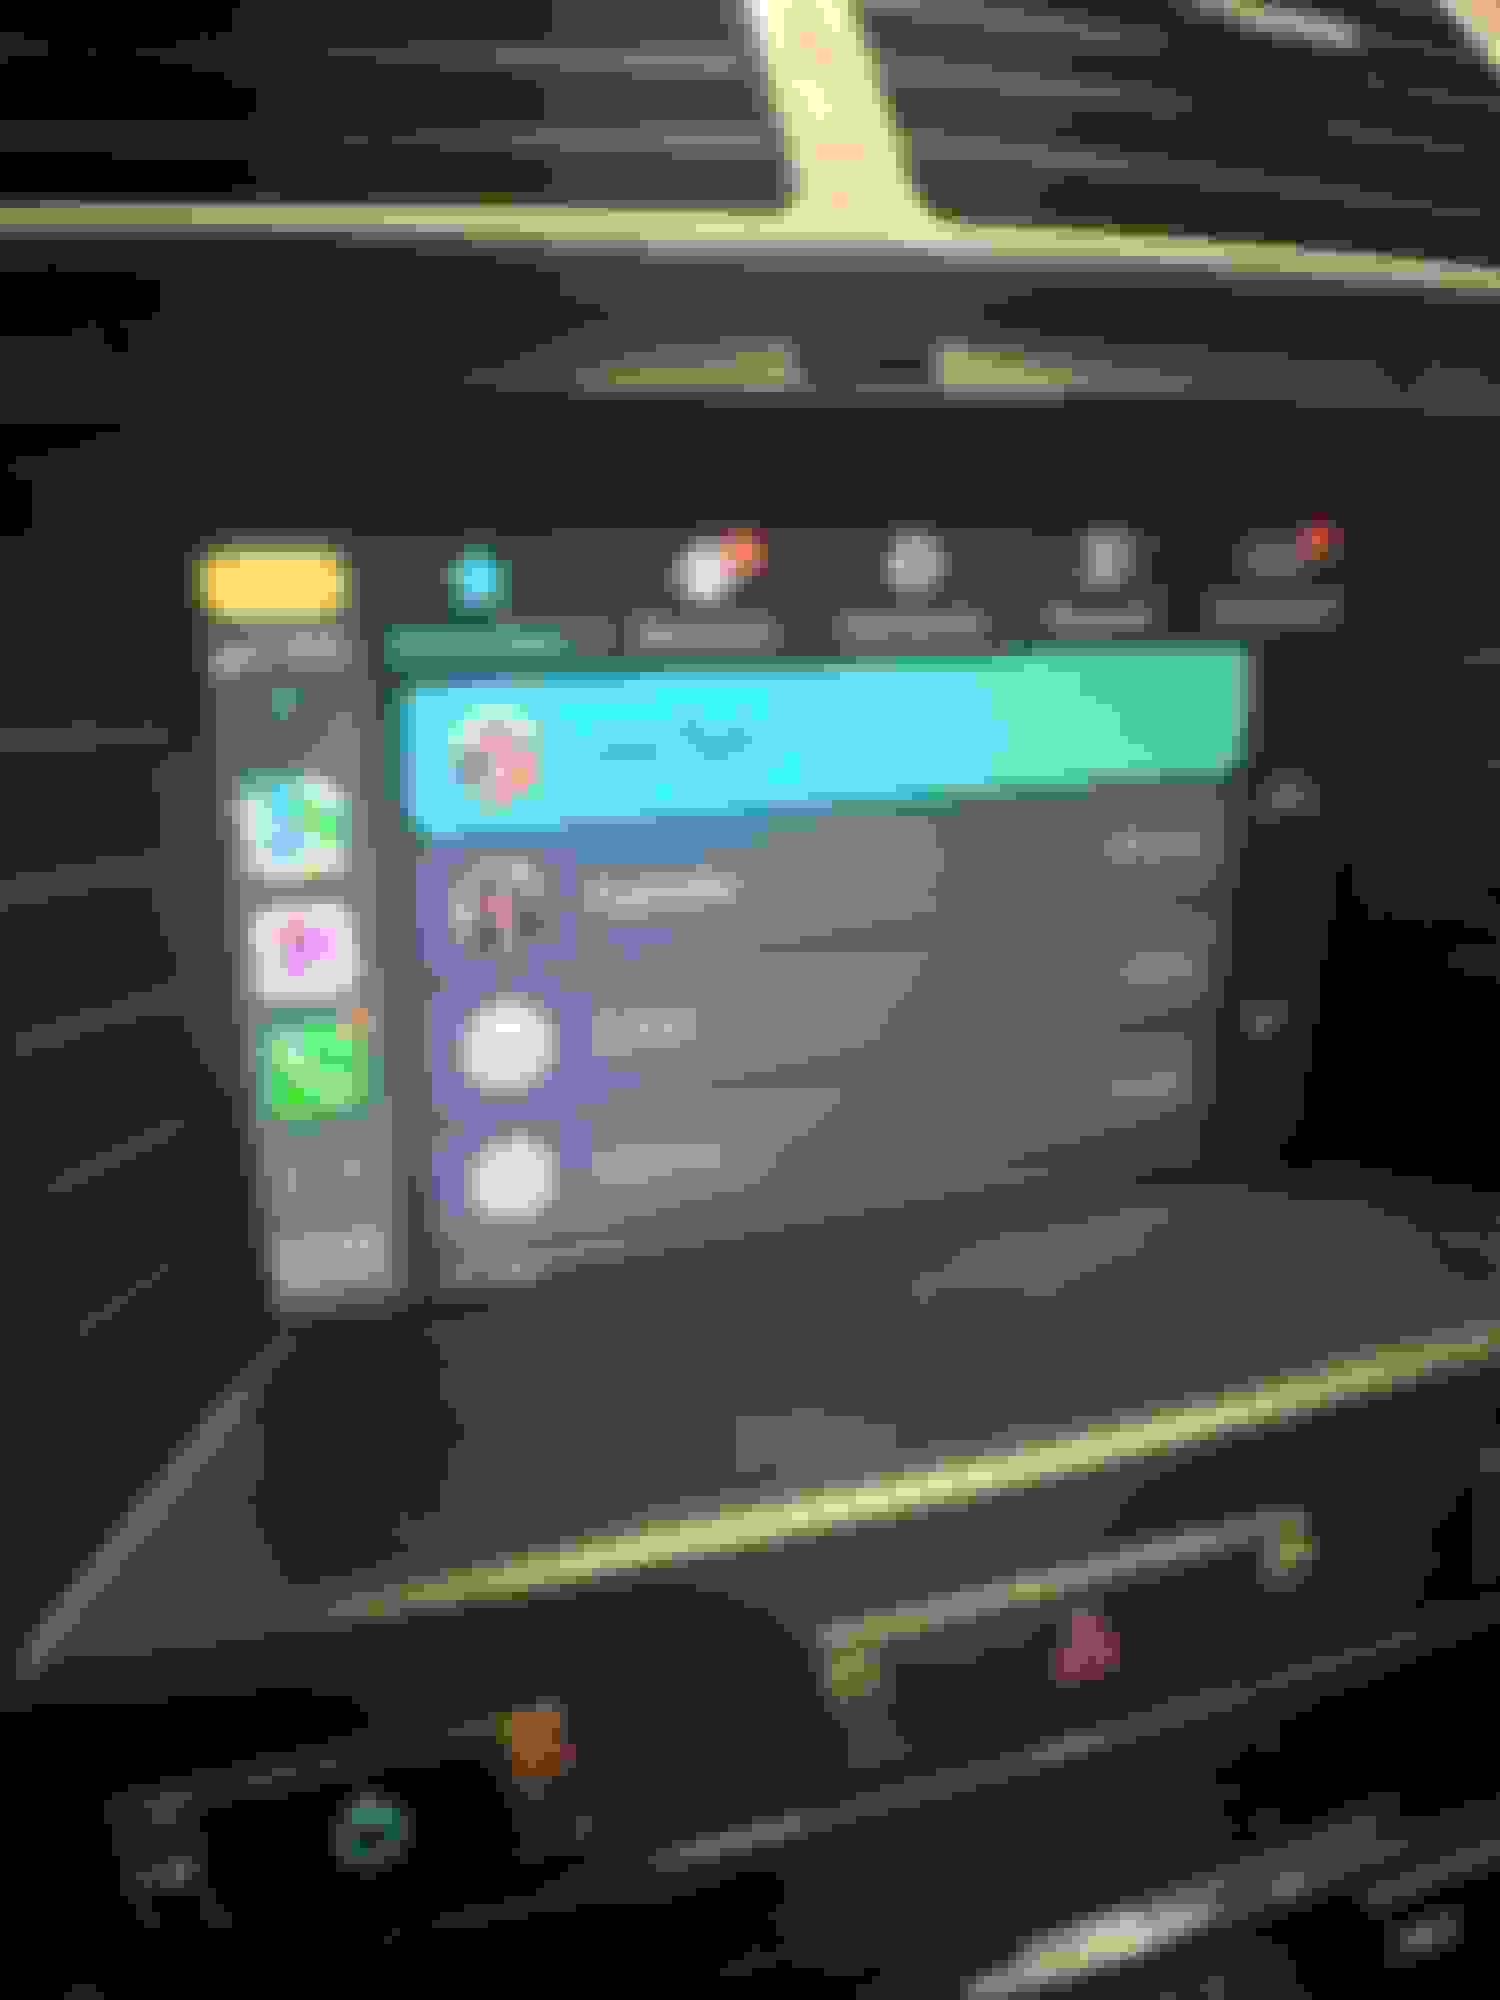
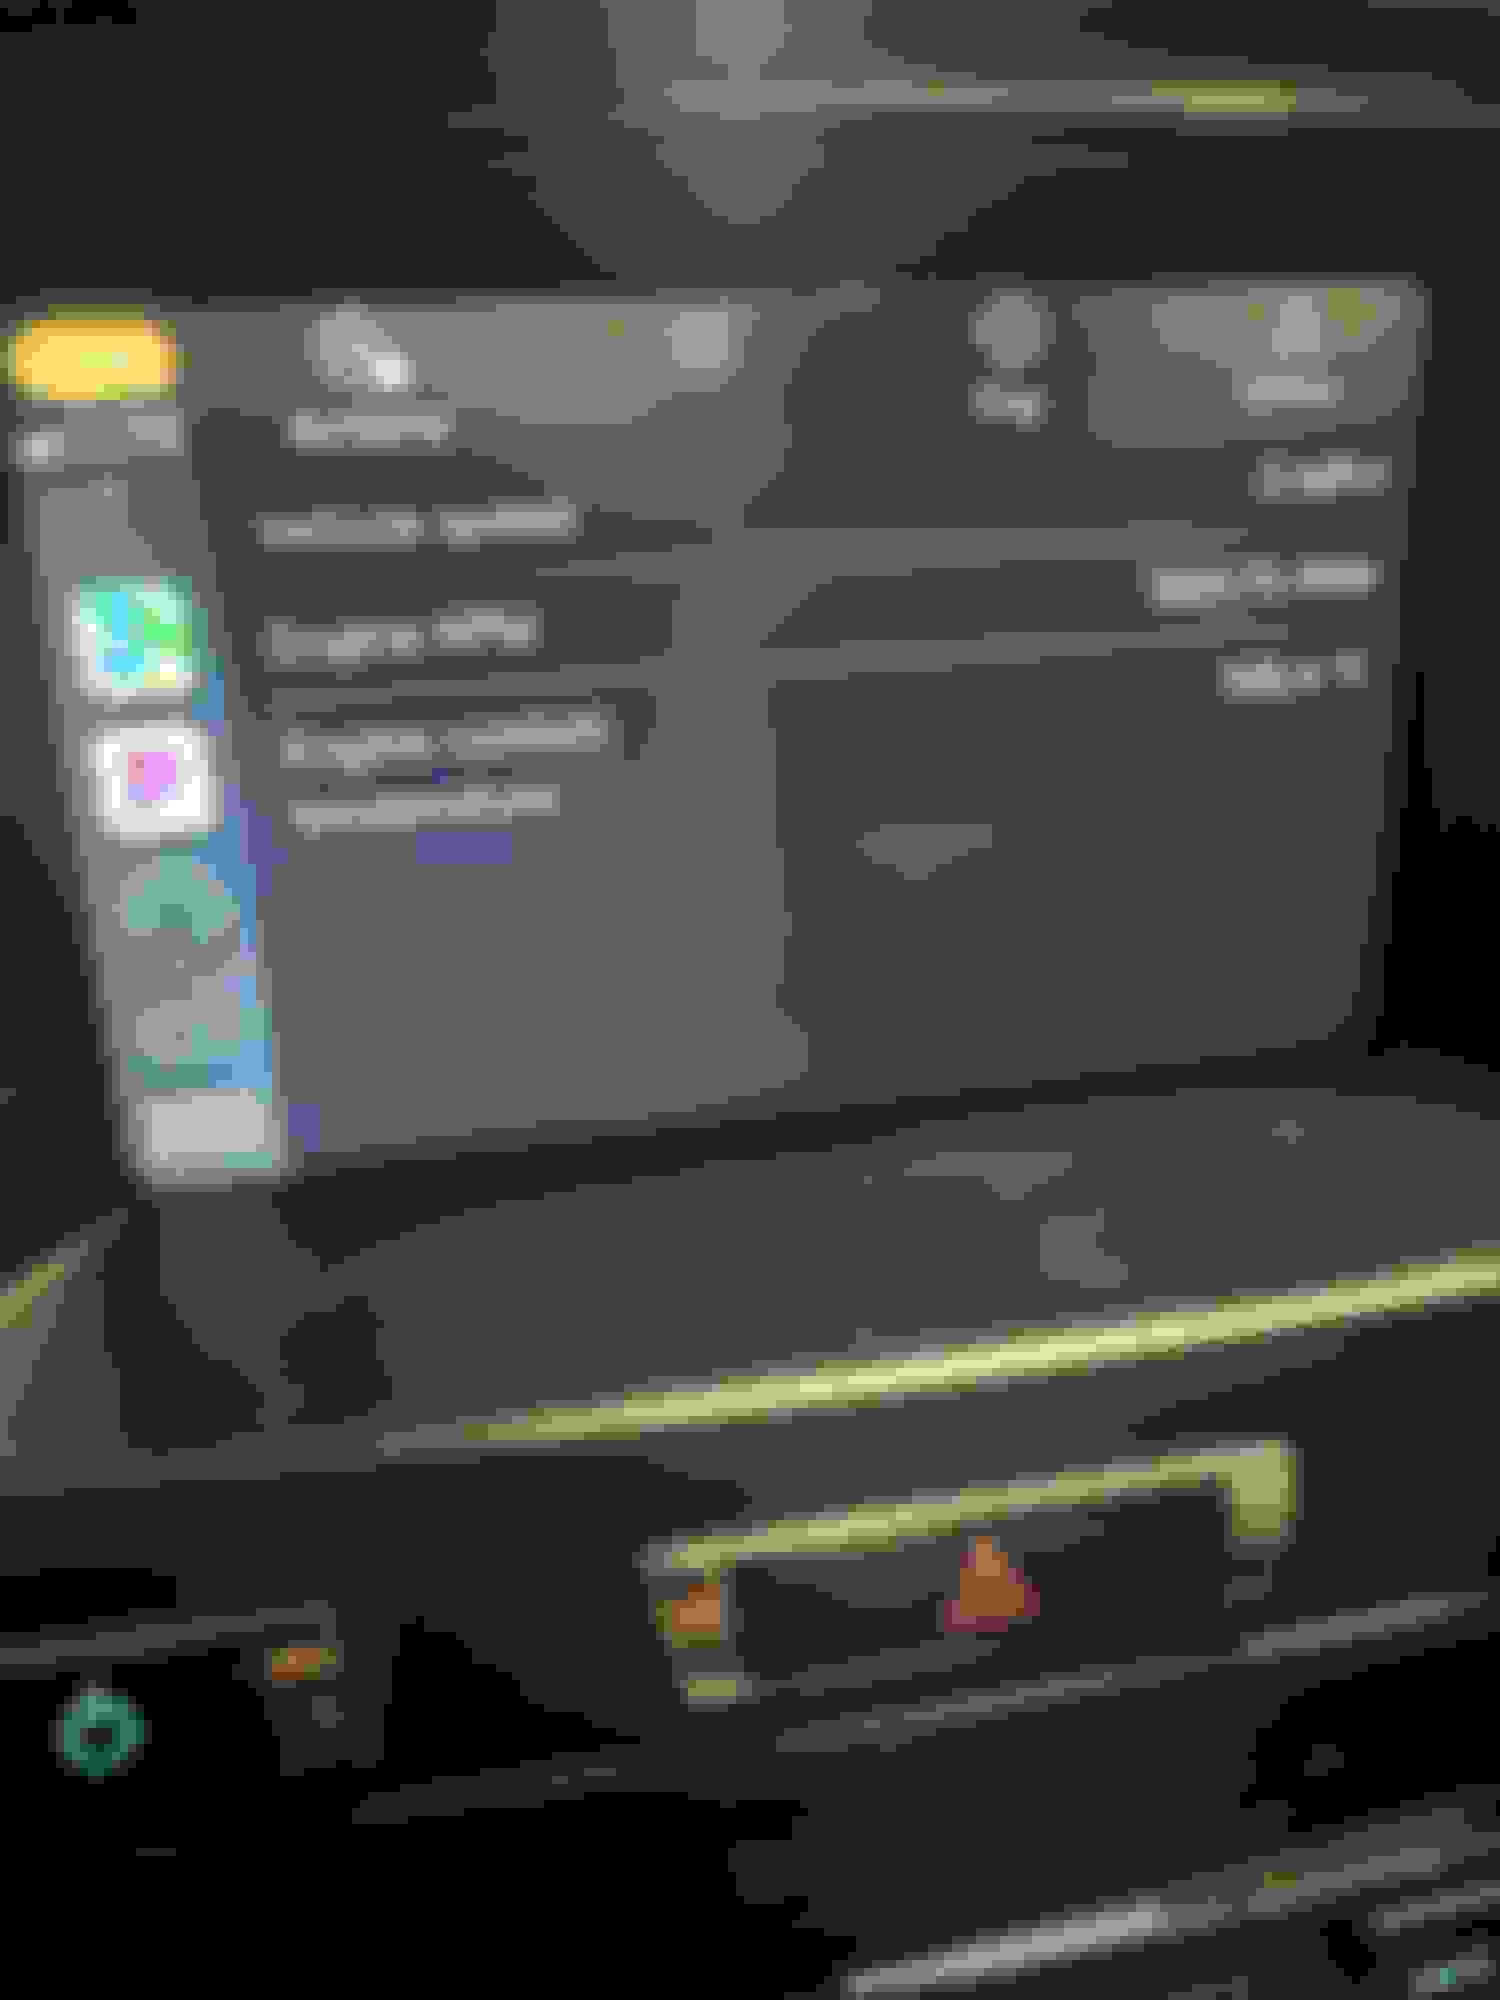
I'd hoped to post this update a lot sooner, but due primarily to my own ineptitude, I spent the last few days installing, uninstalling, then reinstalling the Mr12Volt unit I received over the weekend. Just before my first attempt, I saw a post by someone on the Facebook XK group saying they may have irreparably destroyed their display. This naturally added a bit of anxiety, but I figured I'd just be extra careful not to damage some of the connectors on the circuit boards as the poster had done. Of course, I immediately ran into one of the problems he described which was an internal power connector that crumbled in the course of being unplugged. But this turned out to be a non-issue since the broken cable and connector are replaced by a new one anyway. I take my time, and two or three hours later, I fire the car up only to find a blank white screen. I double check my connections against the install video and everything seems to be right until I notice there's a cable in the video that I don't seem to have. I rewatch the video over and over and wonder if perhaps Mr12Volt didn't account for different generations of head units. I message another user on the Facebook group who successfully installed his unit, and he confirms his OEM head unit and harness have the connector I don't. I uninstall everything and am relieved to see my original head unit at least works again. The other user from the Facebook group mentions to me that he also ran into a white screen initially but found that he had improperly connected one of the ribbon connectors. I decide to take out my head unit again and reinstall the Mr12Volt unit taking extra care this time on the ribbon connectors. Sure enough, I must have done something wrong the first time around, as I'm happy to report I now have Carplay, etc. on my 11-year old car. I'm still figuring out how it all works, but I will say the sound quality is great, and there's the added bonus of having a temperature gauge if you have an OBD app installed on your phone. The OEM screen's resolution is better than expected, but touch/swipe functions are a little slow compared to modern devices. Overall though, I'm pretty pleased to see the unit working as described after some self-induced panic. Below are a couple of screen shots of the unit in action
A couple nuggets of wisdom from my installation ordeal:
- Empty the CD changer before uninstalling the head unit, as you may end up with some stuck CDs in the course of removing and moving the head unit around
- Be aware that some of the 10+ year-old plastic connectors in the head unit's circuit board can get brittle, so be extra careful disconnecting them (for me, this only applied to the tiny two-pin connector between the two boards)
- The ribbon cable connectors on the OEM boards and on the piggyback board that come with the Mr12Volt unit all have different locking/unlocking mechanisms, so familiarize yourself with how they all lock/unlock first. I suspect my mistake my first time around was not realizing I hadn't fully locked one of the connectors on the piggyback board, and one the ribbon cables wasn't squarely in place
The OBD app I have shows gauges on my phone but on Carplay only a couple of PIDs get displayed. But hey, it's better than nothing!
Last edited by Simon Tan; Jul 16, 2024 at 03:16 AM.
I will be installing this as well. I believe I still have an extra display module, so I can do the rebuild of the video controller without messing with what is now working in the car.
Does it require the software modifications as inducted in the one video?
No, it uses the USB port not the auxiliary port. There are 2 different systems being discussed above adding confusion.
The system using the auxiliary port requires a software update to expose/activate the port; this is a system designed years ago. The new system introduced in this thread uses the ub port.
Oops, yeah my mistake. The install video is correct, but not the walk through.
This thread is so timely as I stumbled across Mr12volt just yesterday. Not sure I quite understand the USB connection as I don�t have the Ipod interface in my base system although I do have the bluetooth connection through the Aux input.
Appreciate the initiative and feedback from the early adopters.
I'd hoped to post this update a lot sooner, but due primarily to my own ineptitude, I spent the last few days installing, uninstalling, then reinstalling the Mr12Volt unit I received over the weekend. Just before my first attempt, I saw a post by someone on the Facebook XK group saying they may have irreparably destroyed their display. This naturally added a bit of anxiety, but I figured I'd just be extra careful not to damage some of the connectors on the circuit boards as the poster had done. Of course, I immediately ran into one of the problems he described which was an internal power connector that crumbled in the course of being unplugged. But this turned out to be a non-issue since the broken cable and connector are replaced by a new one anyway. I take my time, and two or three hours later, I fire the car up only to find a blank white screen. I double check my connections against the install video and everything seems to be right until I notice there's a cable in the video that I don't seem to have. I rewatch the video over and over and wonder if perhaps Mr12Volt didn't account for different generations of head units. I message another user on the Facebook group who successfully installed his unit, and he confirms his OEM head unit and harness have the connector I don't. I uninstall everything and am relieved to see my original head unit at least works again. The other user from the Facebook group mentions to me that he also ran into a white screen initially but found that he had improperly connected one of the ribbon connectors. I decide to take out my head unit again and reinstall the Mr12Volt unit taking extra care this time on the ribbon connectors. Sure enough, I must have done something wrong the first time around, as I'm happy to report I now have Carplay, etc. on my 11-year old car. I'm still figuring out how it all works, but I will say the sound quality is great, and there's the added bonus of having a temperature gauge if you have an OBD app installed on your phone. The OEM screen's resolution is better than expected, but touch/swipe functions are a little slow compared to modern devices. Overall though, I'm pretty pleased to see the unit working as described after some self-induced panic. Below are a couple of screen shots of the unit in action
A couple nuggets of wisdom from my installation ordeal:
- Empty the CD changer before uninstalling the head unit, as you may end up with some stuck CDs in the course of removing and moving the head unit around
- Be aware that some of the 10+ year-old plastic connectors in the head unit's circuit board can get brittle, so be extra careful disconnecting them (for me, this only applied to the tiny two-pin connector between the two boards)
- The ribbon cable connectors on the OEM boards and on the piggyback board that come with the Mr12Volt unit all have different locking/unlocking mechanisms, so familiarize yourself with how they all lock/unlock first. I suspect my mistake my first time around was not realizing I hadn't fully locked one of the connectors on the piggyback board, and one the ribbon cables wasn't squarely in place
The OBD app I have shows gauges on my phone but on Carplay only a couple of PIDs get displayed. But hey, it's better than nothing!
Last edited by Simon Tan; Jul 16, 2024 at 03:16 AM.