When you click on links to various merchants on this site and make a purchase, this can result in this site earning a commission. Affiliate programs and affiliations include, but are not limited to, the eBay Partner Network.
Headlamp Wiring Harness - Insulation Brittle and Failing
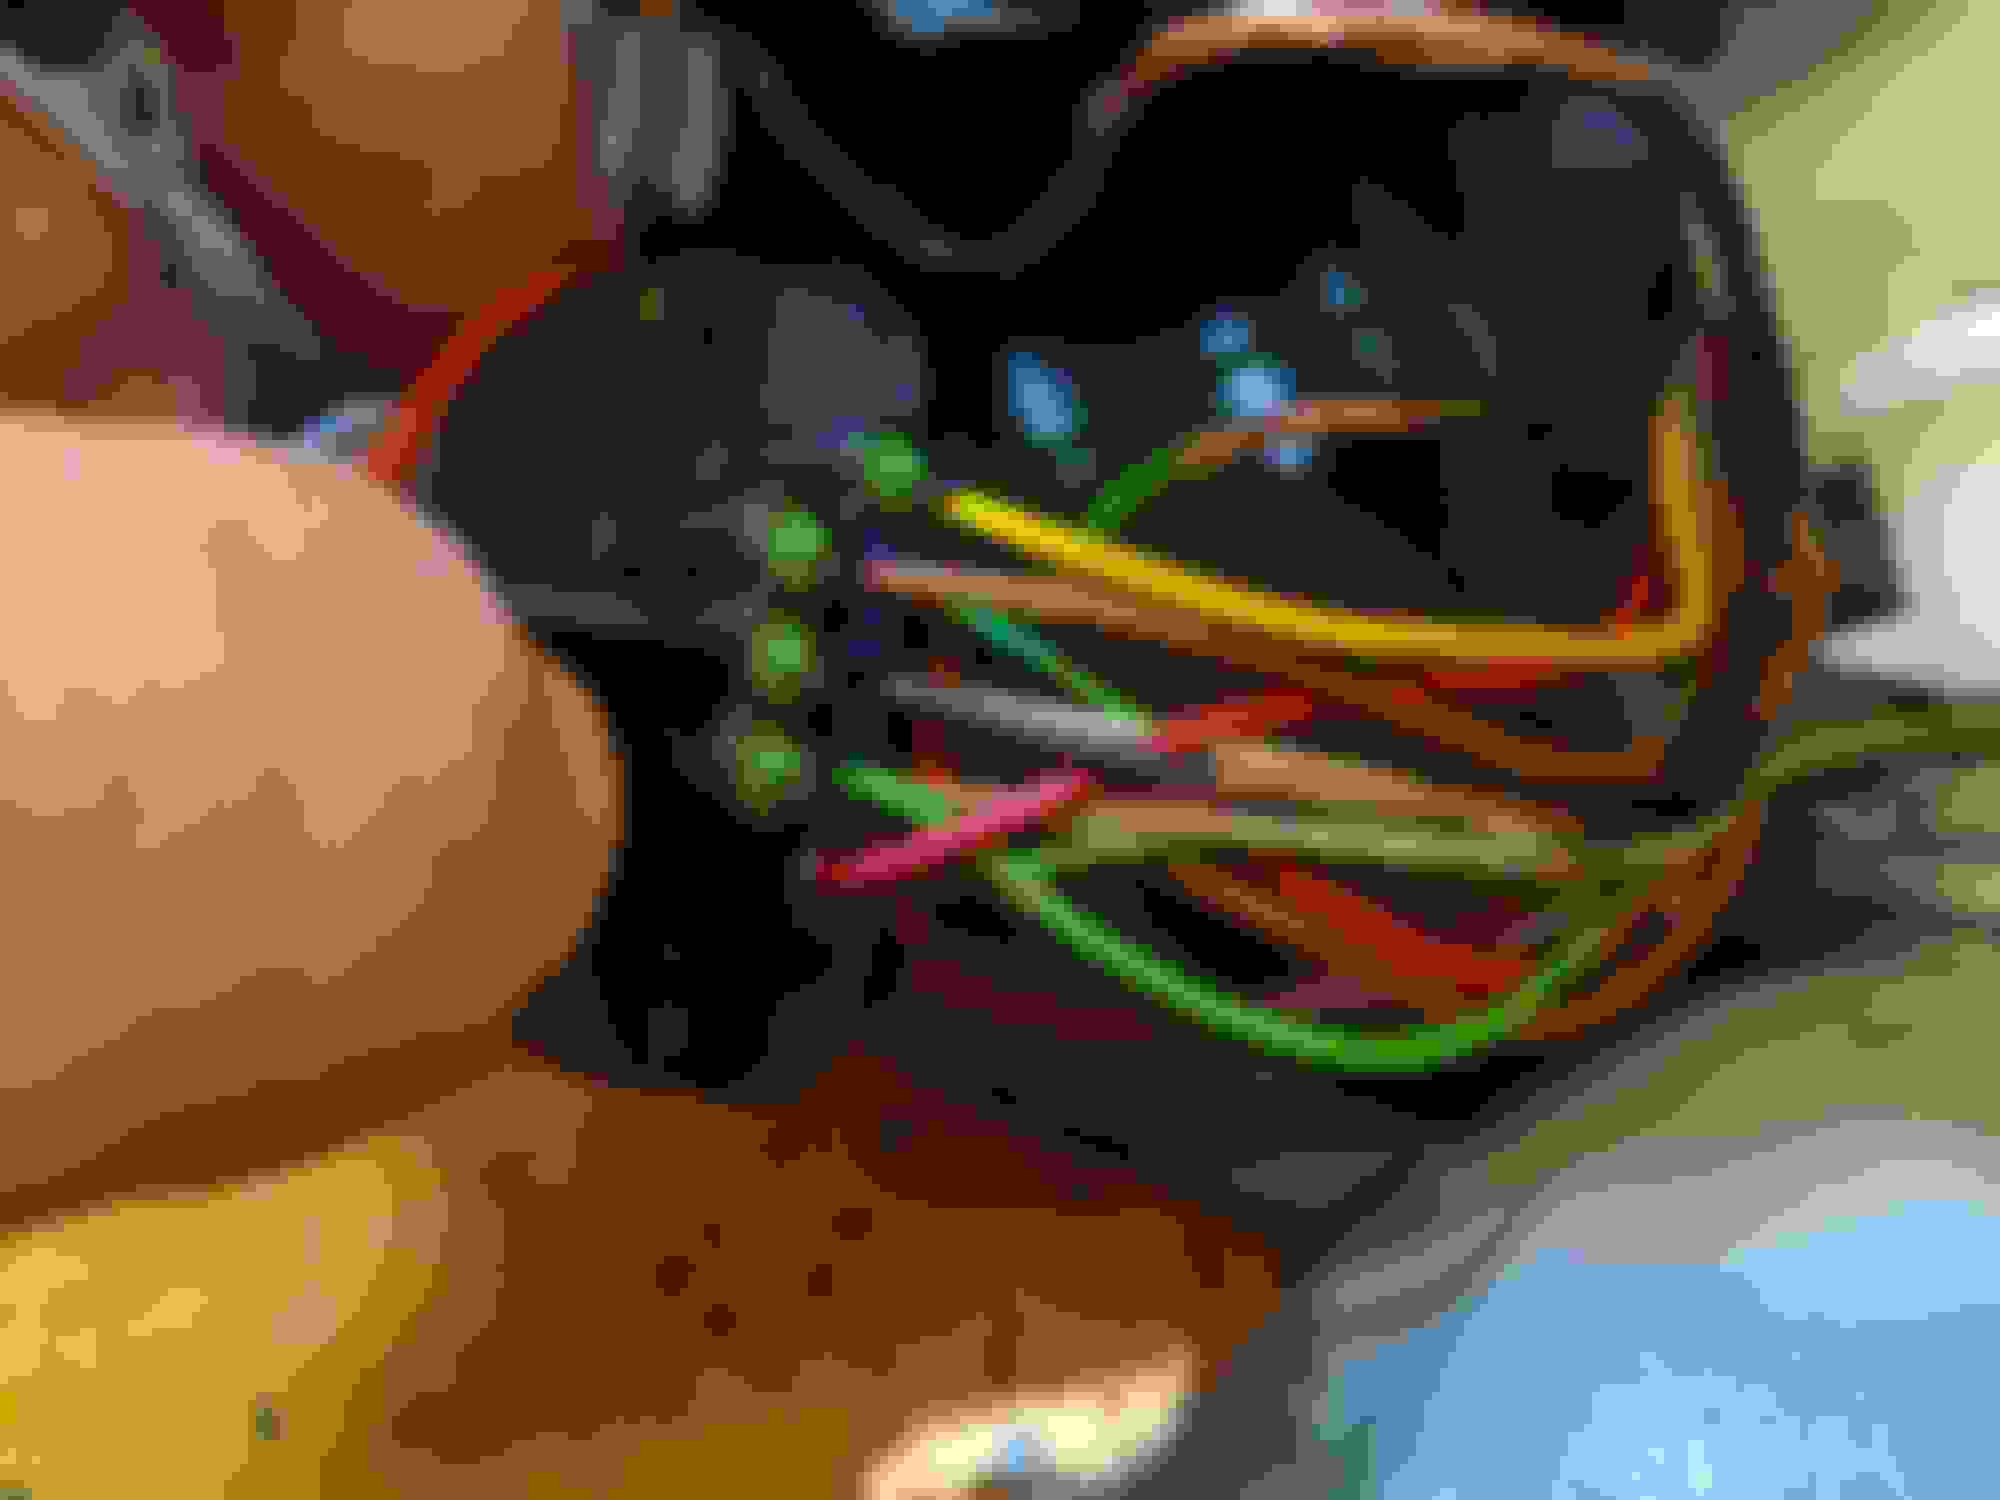
So - today I took apart the headlamp units to clean the projector lenses. I noticed (before putting them in the oven) that on the RHS unit, the wiring inside the headlamp was failing. Some of the insulation had turned brittle and was flaking off. No shorts yet, but it would not be long. The LHS unit seems fine - except maybe for one small spot. The conductors are all in great shape - it is just the insulation that failed.
I had also noticed that in the same RHS unit, a bit of the internal plastic reflector above the H8 cornering lamp had melted. Again - only on the one side (right headlamp).
So - it seems there was likely an overheat situation on that side. The wiring is mostly affected near the cornering lamp - which produces a lot of heat. The lamps that are in there now are 35W - so appear correct. I am replacing them with LEDs which will be cooler.
Anyway - tomorrow will be a day of soldering and heat-shrinking. I'll post the finished product. But I though people might be interested in checking the condition of their wiring next time they poke their noses into their headlamps. All the best.
See below:
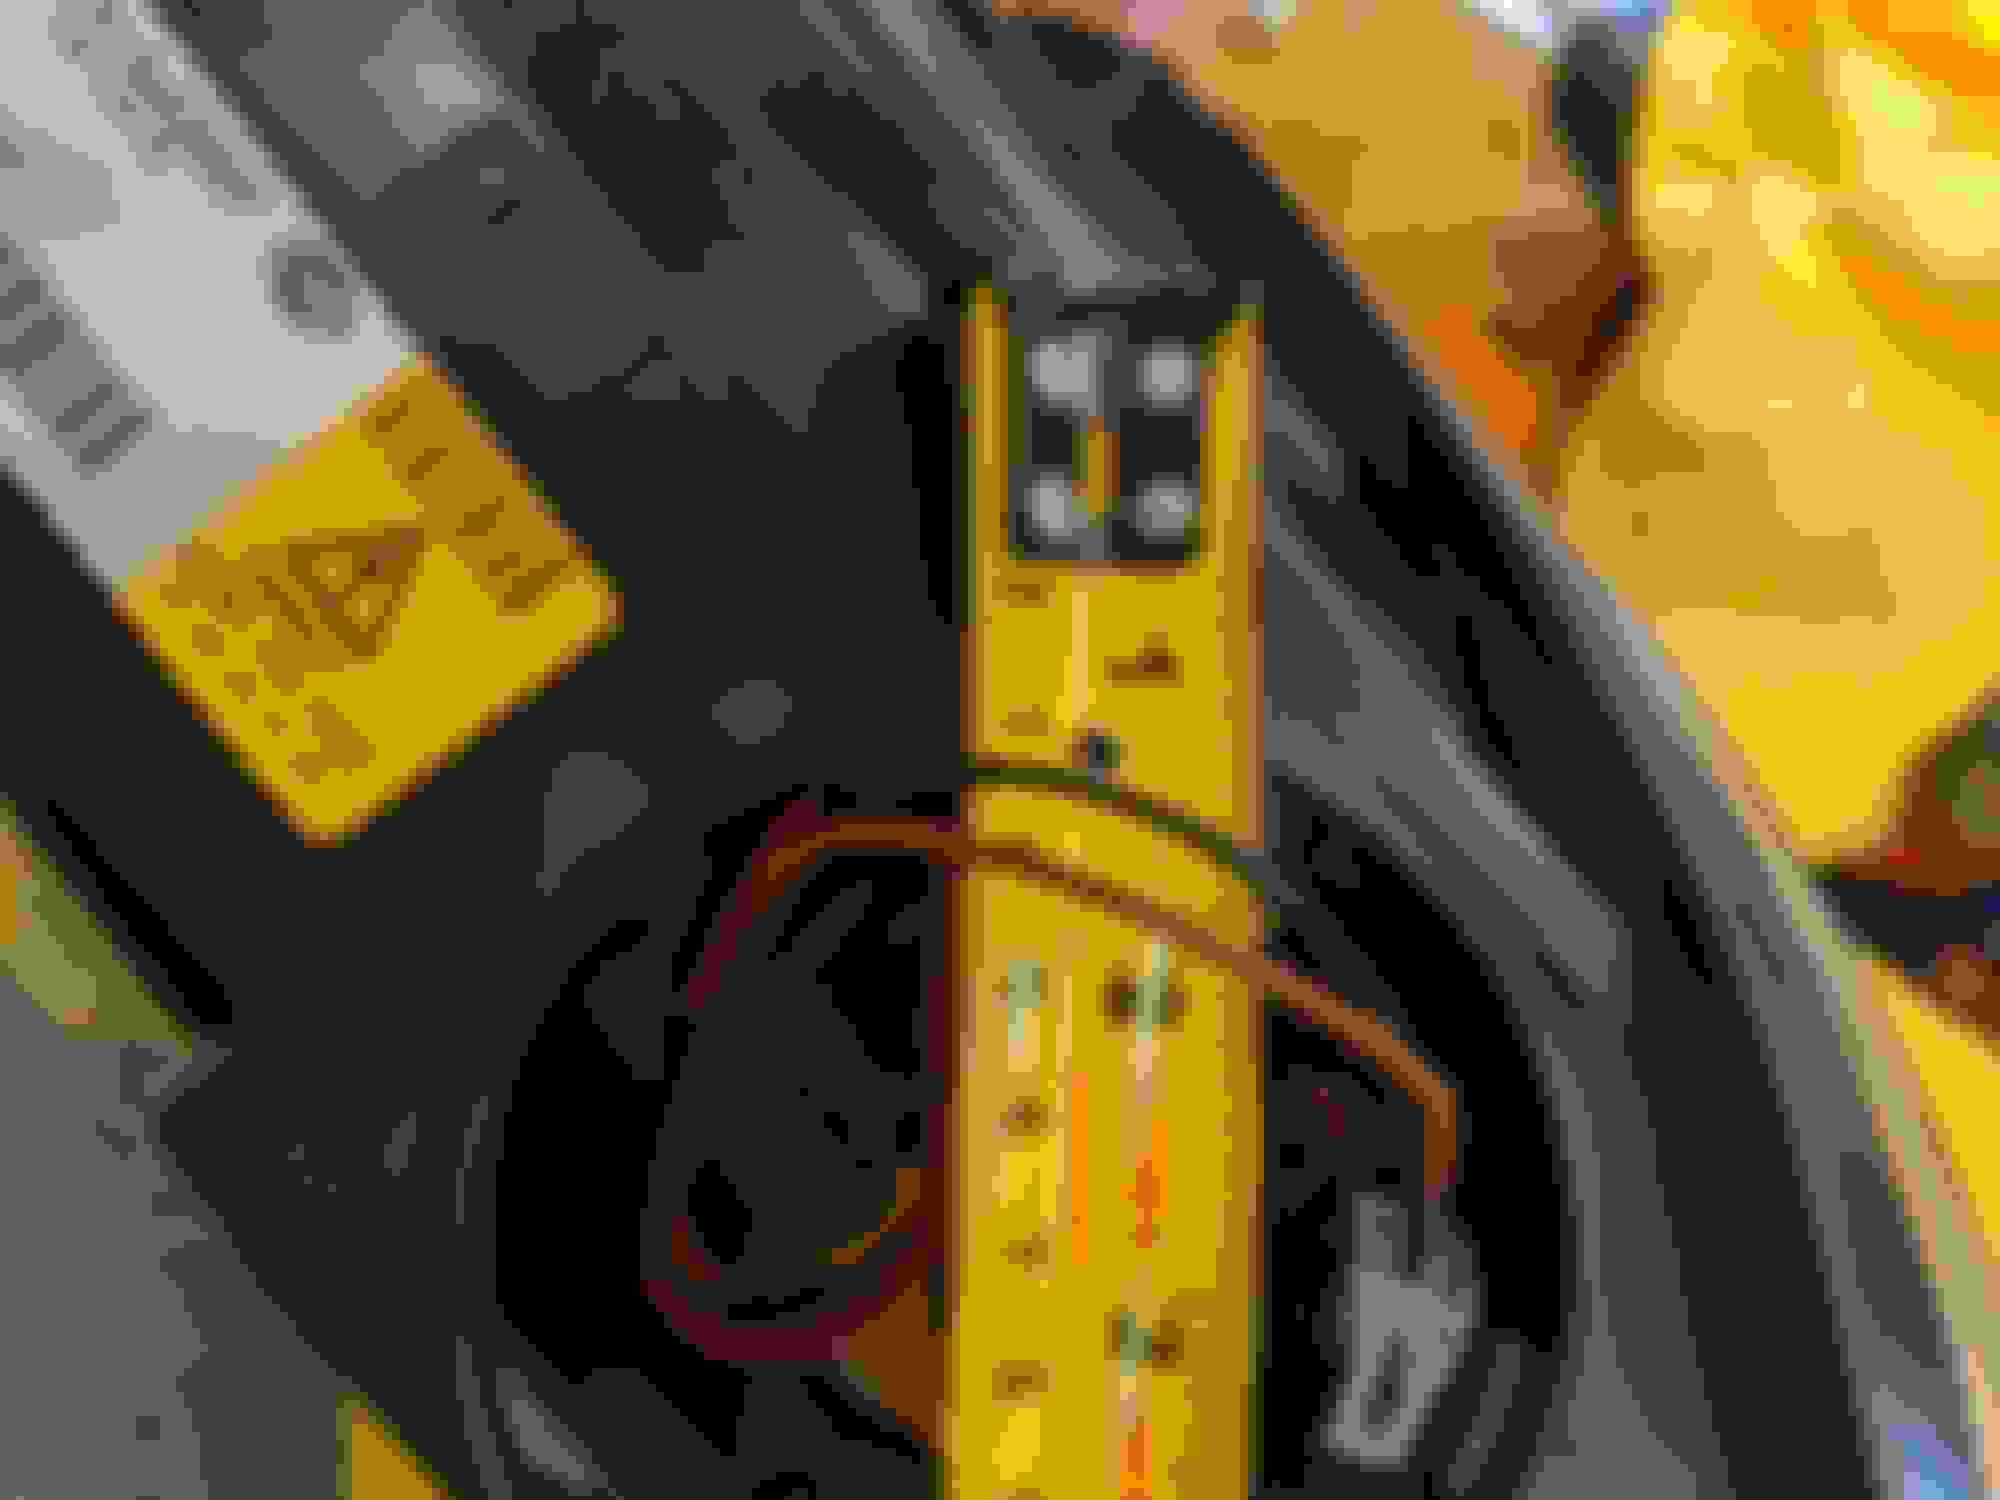
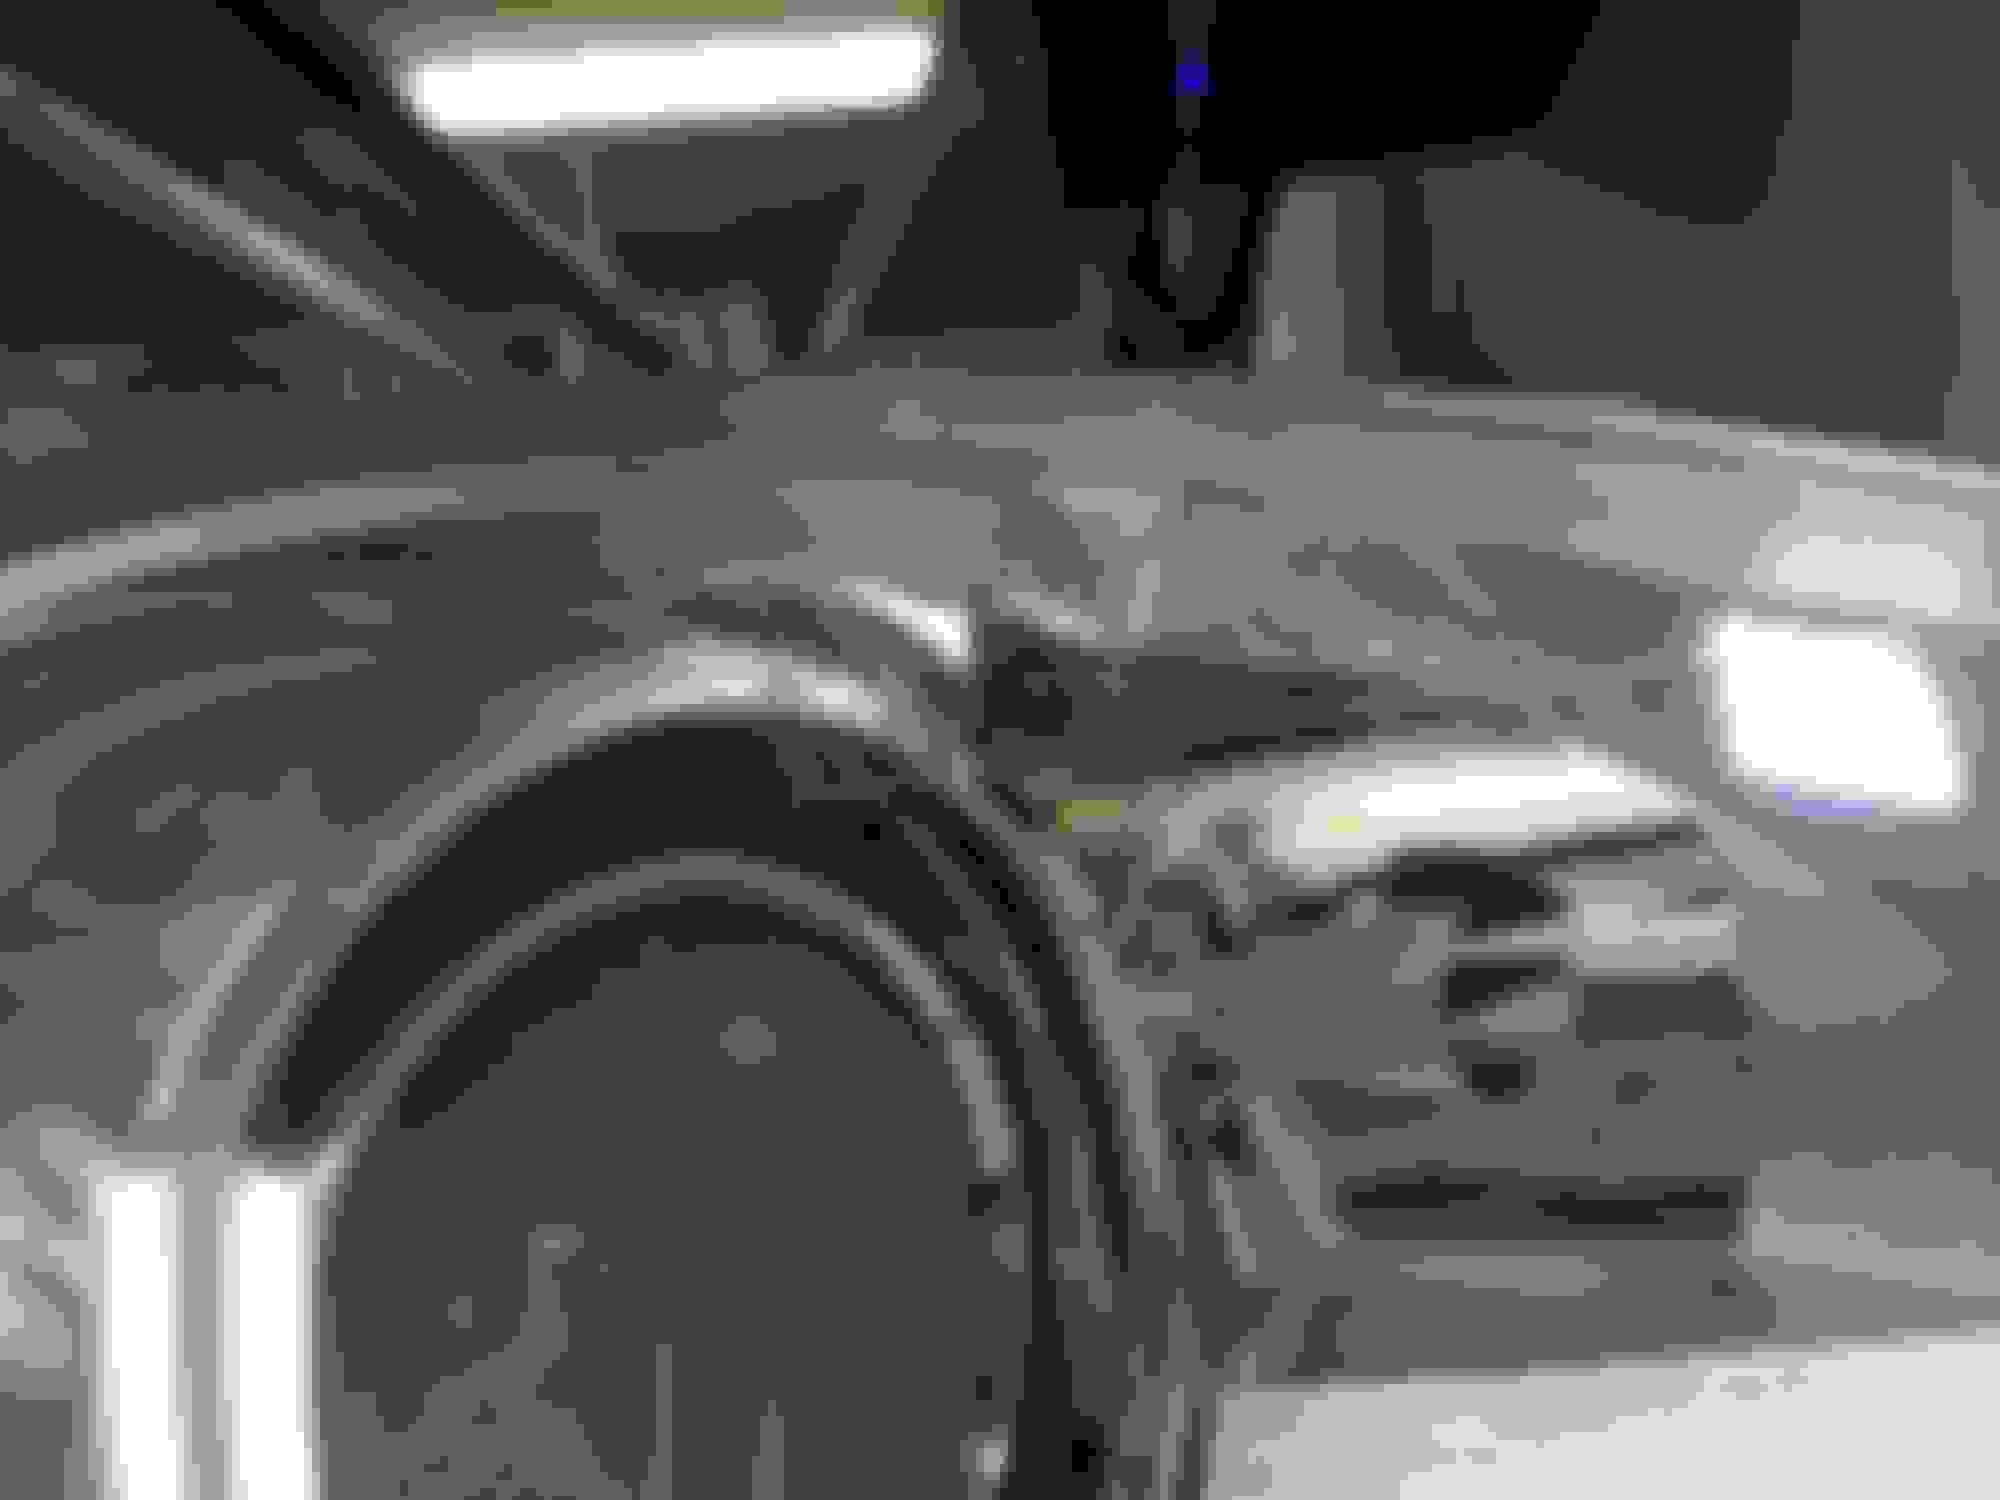
Note the melted section above the cornering lamp Failing insulation More failing insulation And still more.
So - today I took apart the headlamp units to clean the projector lenses. I noticed (before putting them in the oven) that on the RHS unit, the wiring inside the headlamp was failing. Some of the insulation had turned brittle and was flaking off. No shorts yet, but it would not be long. The LHS unit seems fine - except maybe for one small spot. The conductors are all in great shape - it is just the insulation that failed.
I had also noticed that in the same RHS unit, a bit of the internal plastic reflector above the H8 cornering lamp had melted. Again - only on the one side (right headlamp).
So - it seems there was likely an overheat situation on that side. The wiring is mostly affected near the cornering lamp - which produces a lot of heat. The lamps that are in there now are 35W - so appear correct. I am replacing them with LEDs which will be cooler.
Anyway - tomorrow will be a day of soldering and heat-shrinking. I'll post the finished product. But I though people might be interested in checking the condition of their wiring next time they poke their noses into their headlamps. All the best.
And still more.
Can you please measure the wiring conductors width while you're in there? I would like to buy some wires for that. I believe silicon insulation should work
Can you please measure the wiring conductors width while you're in there? I would like to buy some wires for that. I believe silicon insulation should work
Thanks
I don't have my calipers at the house, but I should be able to give you an approximate when I get home tonight. I have the units reassembled, but if I recall, I can still measure the wires through the access plates. FYI, there are two gauges of wire in the harness.
So - almost everything is back together. The headlamp disassembly process (using the oven) worked like a charm, as did reassembly. I will watch for fogging, as it is hard to know whether the sealant will re-form a perfect seal. But if not, I can always disassemble and reassemble again with new sealant.
Taking them apart was hugely beneficial in my case. It allowed me to discover the "ticking time bomb" wiring issue with the headlight harness. This would not likely have been noticed had I not disassembled - and it most certainly would have failed on me at some point. I got the wires into a state where they should last a good while now using a combination of cutting / soldering, heat-shrink tubing and a little liquid electrical tape in a few areas that were otherwise inaccessible. Almost every wire was affected to some degree, so it was a good 4 hours of work. I will keep my eyes open for a replacement wiring harness as that is the best fix.
Secondly, disassembly allowed me to clean the projector lenses, the reflective surfaces, and the inside of the clear plastic assembly. It was not obvious that the assembly and reflectors had a coating on them until I wiped them off. I replaced the D1S Xenon lamps, the side lights (with LEDs), and the cornering lamps (also with LEDs). I have yet to use it at night for a true test, but once I do I will update the "LED changeover" thread on the results. But suffice it to say the whole car looks massively improved in my eyes with LEDs (almost) everywhere - inside and out, and the headlights are greatly improved with the projector lens cleaning and new bulbs.
And @gkubrak - thanks for the caution on the reflectors. I was extra cautious thanks to your comment and I managed to get through the process with no damage.
Can you please measure the wiring conductors width while you're in there? I would like to buy some wires for that. I believe silicon insulation should work
Thanks
Hey Danny.
OK - as I say, my calipers are with my other set of tools, but I have an approximate measurement for you. I also already reassembled the headlamp units, so could only measure from the access holes.
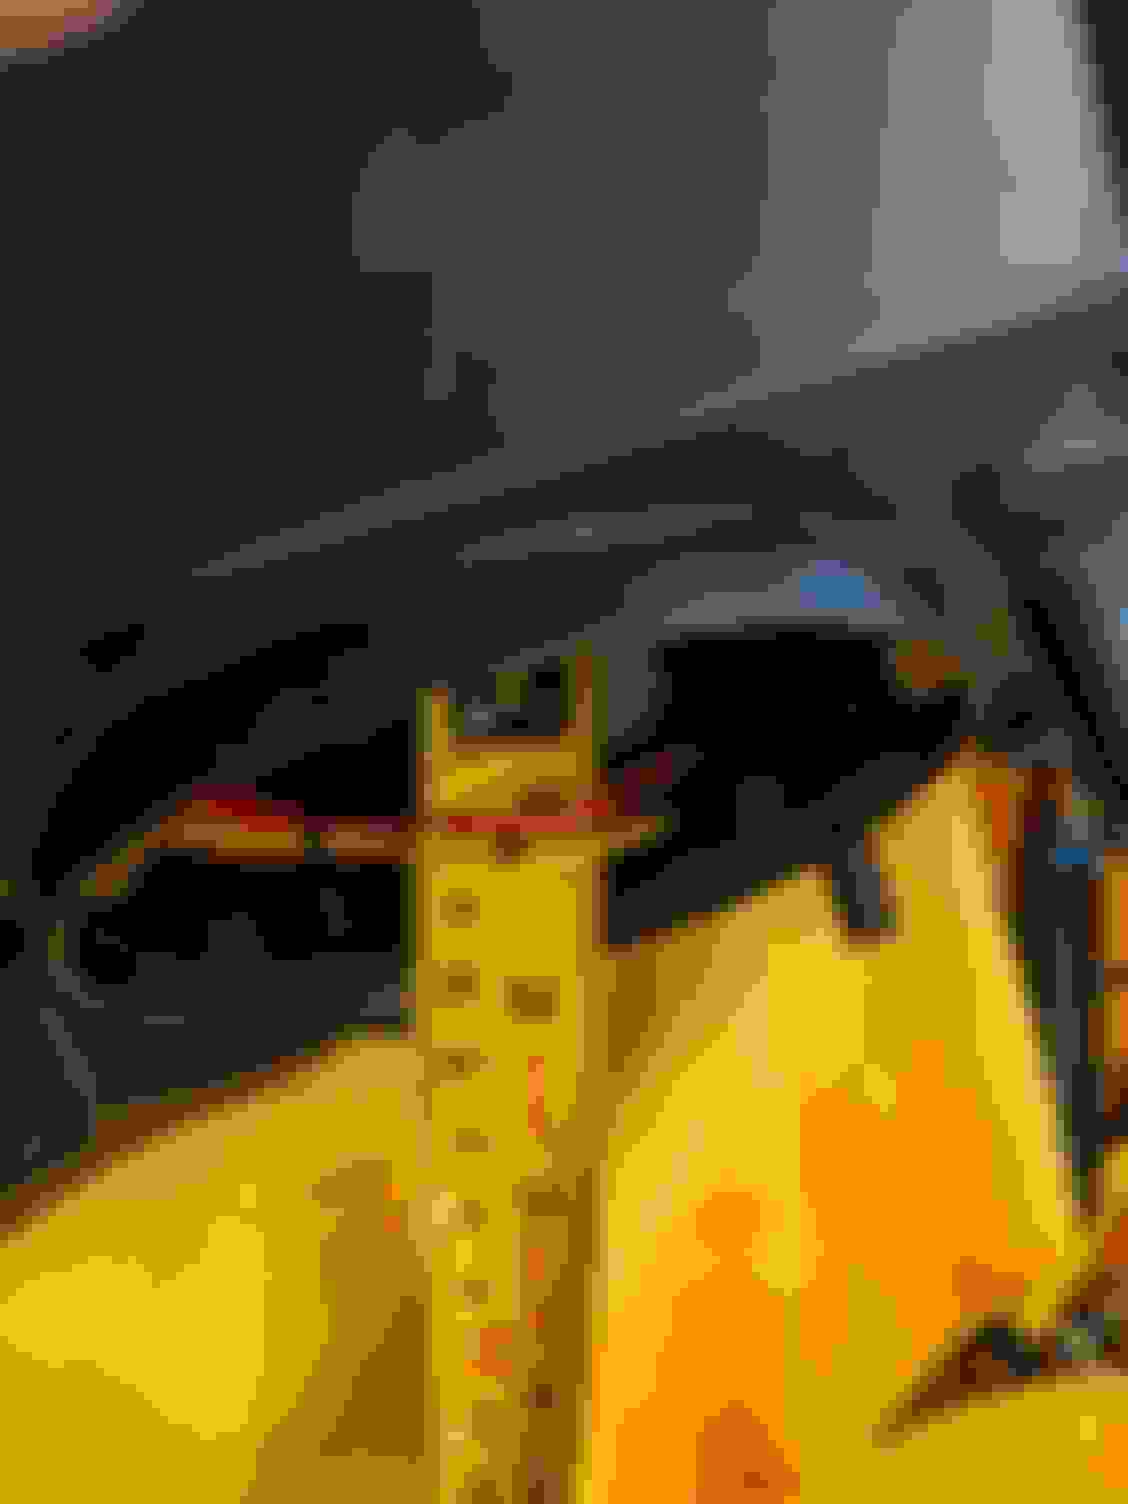
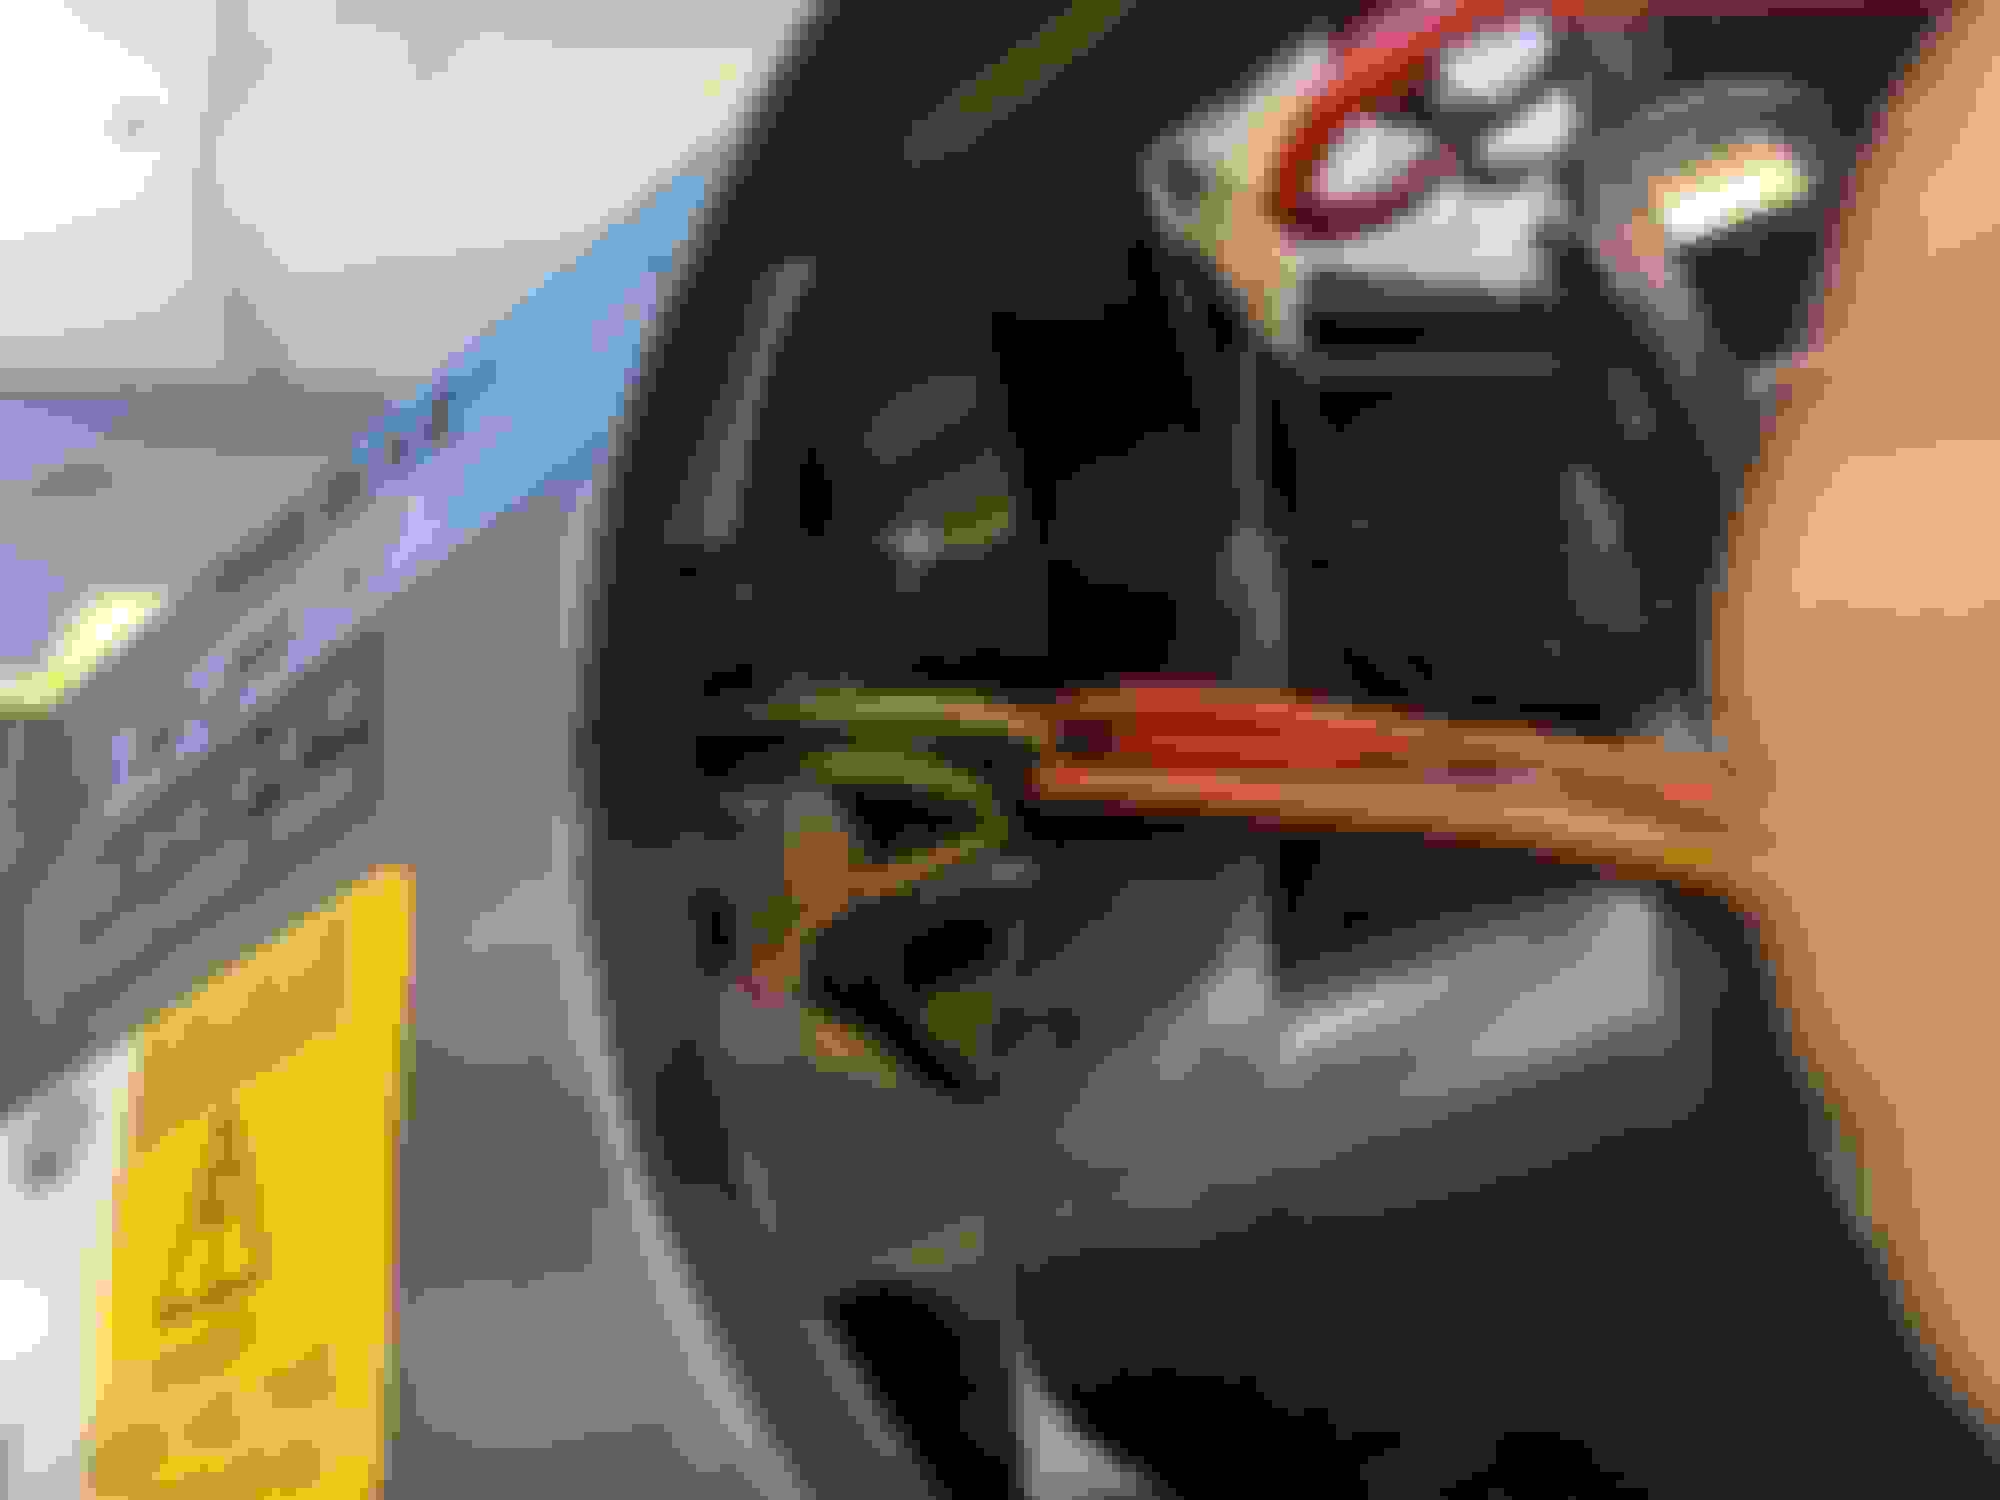
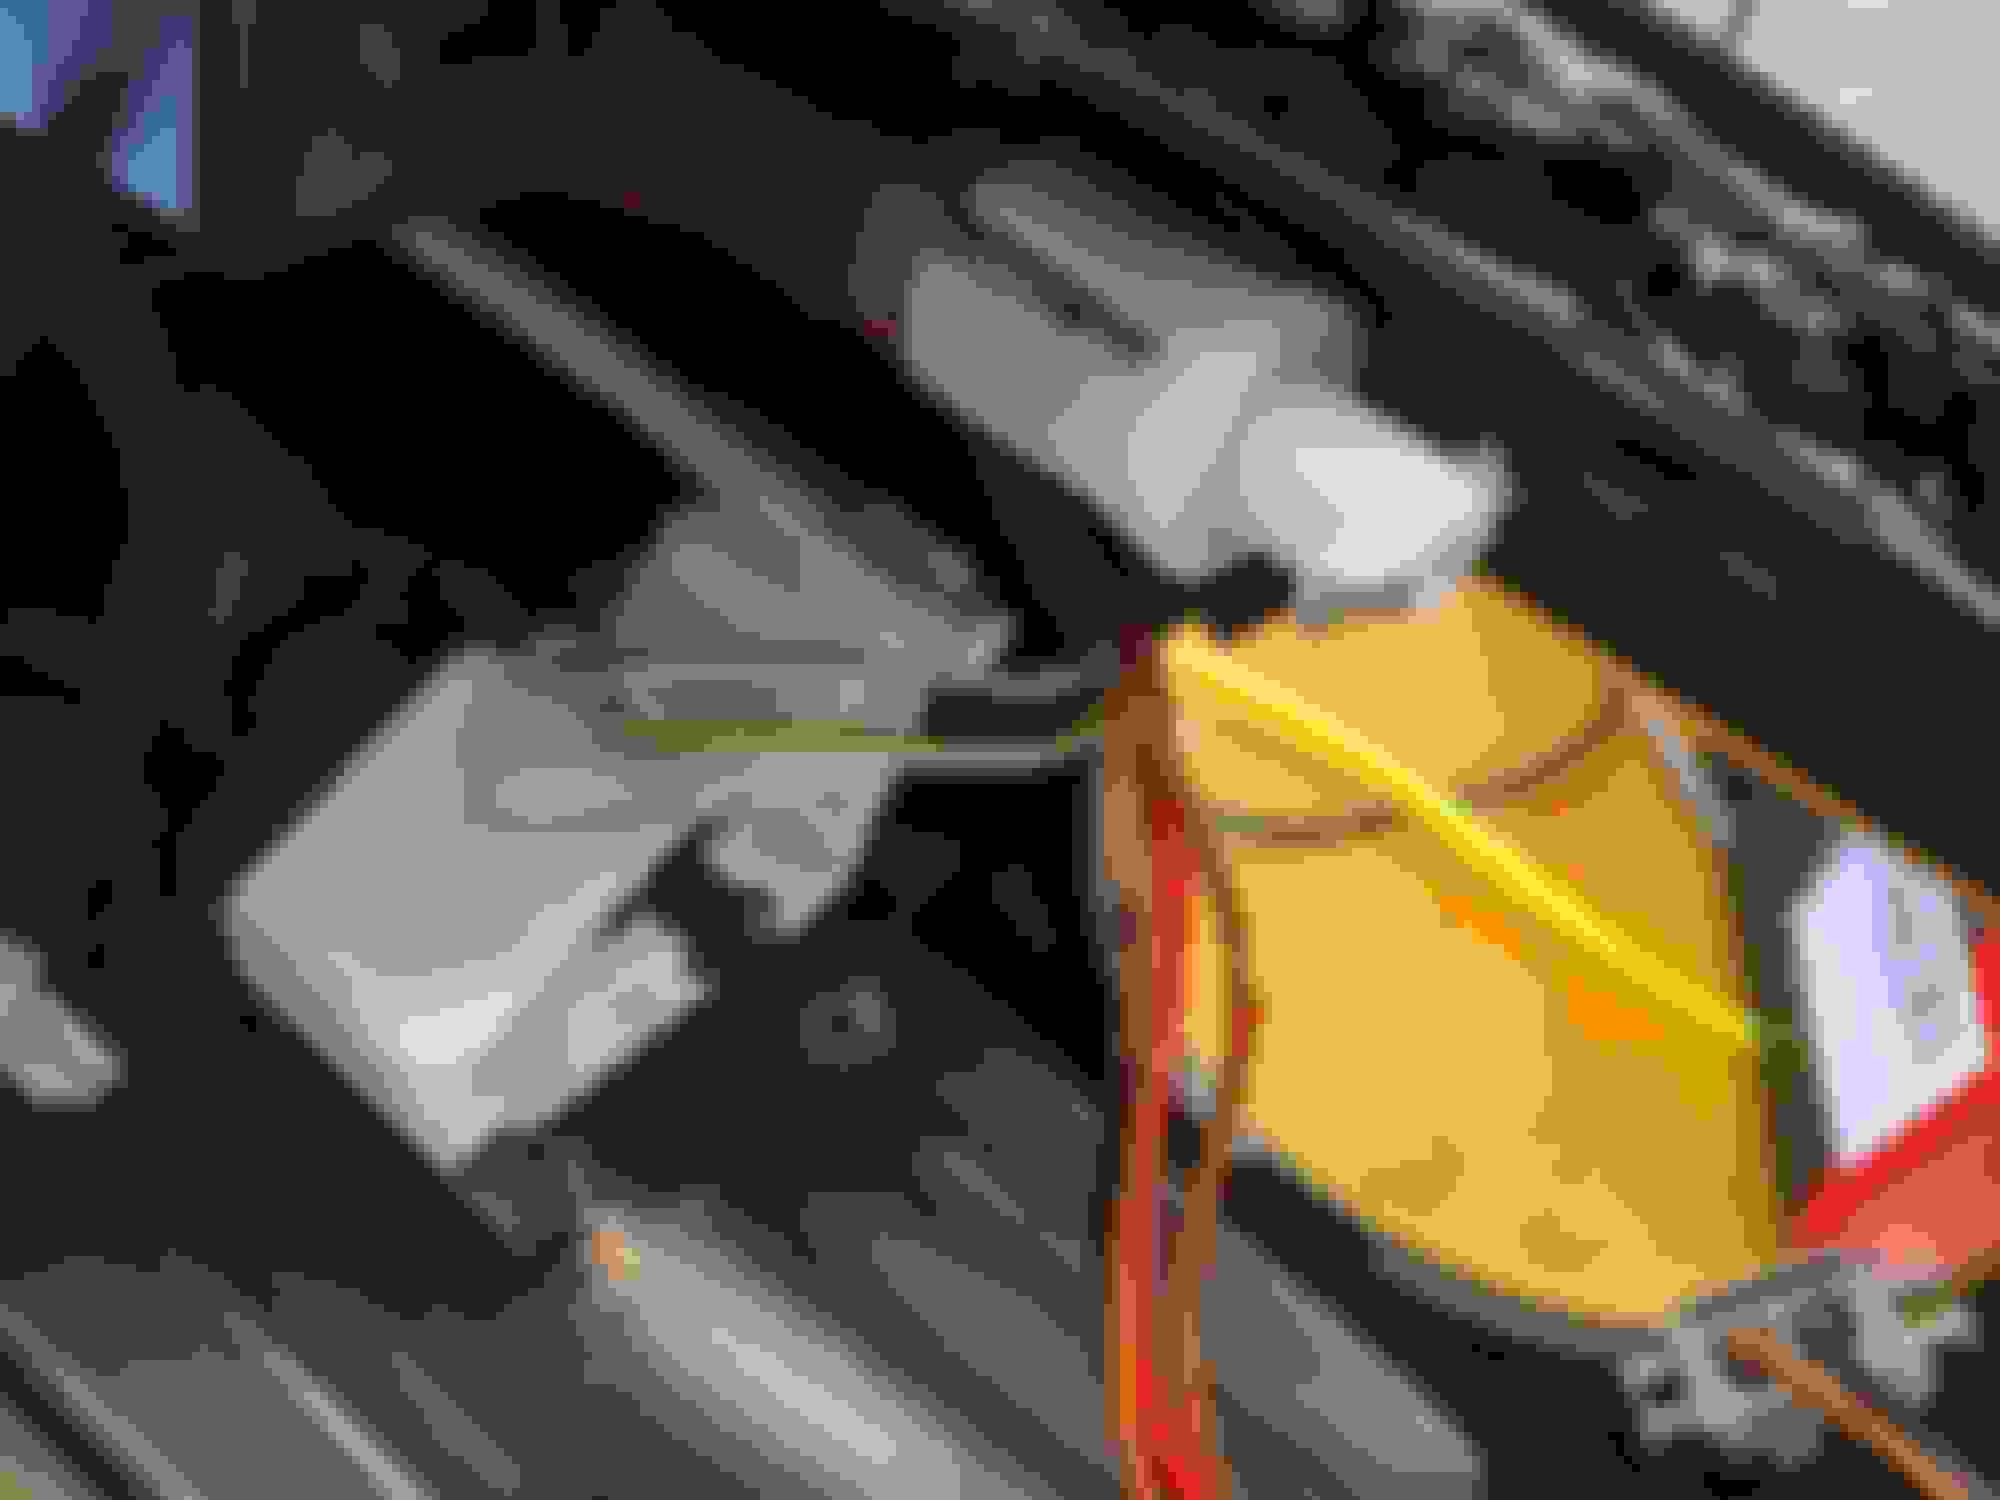
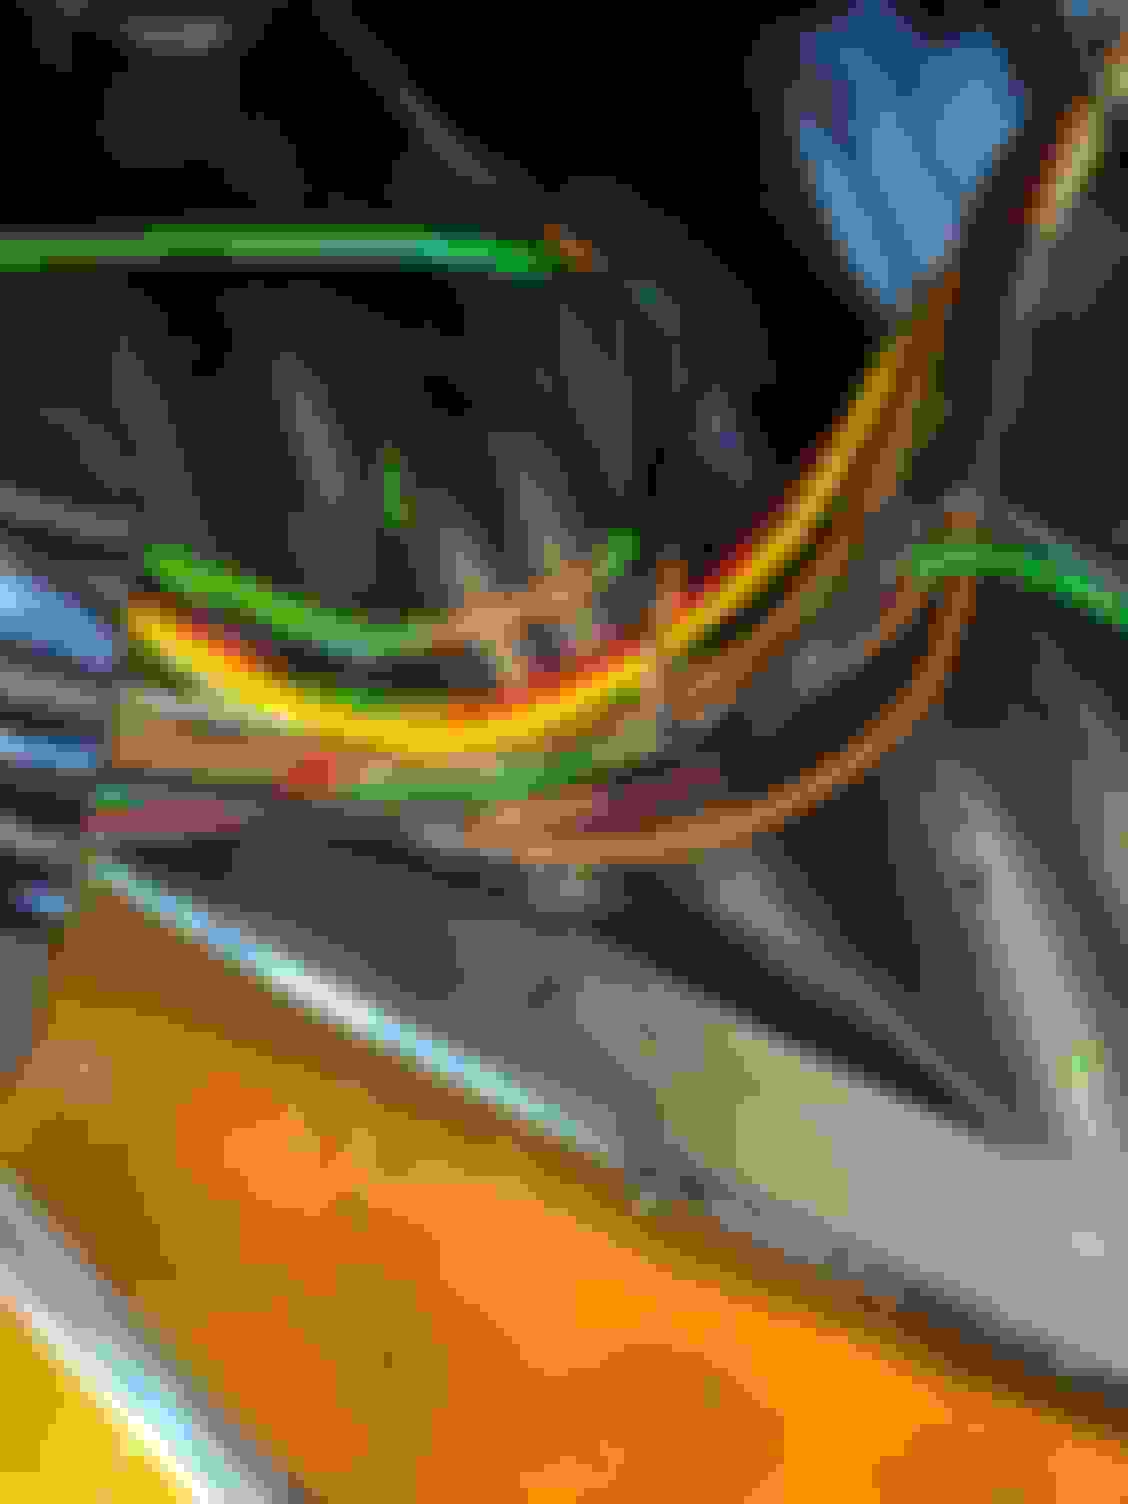
There are two gauges of primary wire in the headlamp unit. You will see from the images below that the thicker gauge wire is approximately 2mm wide (including insulation, of course). The thinner gauge is approximately 75% of that width, or 1.5mm.
See the images below. I hope this helps.
^^^ Approx 2mm for the bigger gauge wire
^^^ Approx 2mm for the bigger gauge wire
^^^ The smaller gauge wire (green/yellow) is about 75% of the thickness of the larger wire (brown / red). I could not get a tape measure under it, but the photo allows me to see the ratio in sizes. Approx 75% of approx 2mm is (very approximately) 1.5mm.
If you have a pair of wire strippers that look like this. You can read the gauge of the wire.
Yes indeed - very good point in general. I would bet some money that these wires were 16 and 18 gauge.
Having said that, in this case I believe the question was about the width including the insulation so that silicon insulation can be fit over it - though I may have misinterpreted.
Even if I am wrong about the question, using the stripper would require me stripping or cutting a wire (unless there is already some exposed), and now that I have done a lot of surgery on the harness, I am done cutting headlight harness wires for a while. :-)
So - today I took apart the headlamp units to clean the projector lenses. I noticed (before putting them in the oven) that on the RHS unit, the wiring inside the headlamp was failing. Some of the insulation had turned brittle and was flaking off. No shorts yet, but it would not be long. The LHS unit seems fine - except maybe for one small spot. The conductors are all in great shape - it is just the insulation that failed.
Not good! However, I suspect that there is the distinct possibility that someone has previously used those press/cut cable connectors to run another set of lights or something else off these cables. Some of the cuts look sharp That might be the root cause of the insulation having gone prematurely brittle.
Not good! However, I suspect that there is the distinct possibility that someone has previously used those press/cut cable connectors to run another set of lights or something else off these cables. Some of the cuts look sharp That might be the root cause of the insulation having gone prematurely brittle.
I don't support that theory - there are too many examples of other forum members having this issue, me included. I've seen no evidence of press/cut cable connectors but like Ranchero surmised the is UV radiation, heat and another member suggested soy based insulation. I don't know for sure but the affected insulation has lost its plasticizer and becomes extremely brittle.
Not good! However, I suspect that there is the distinct possibility that someone has previously used those press/cut cable connectors to run another set of lights or something else off these cables. Some of the cuts look sharp That might be the root cause of the insulation having gone prematurely brittle.
You are correct that the "cuts" look very sharp - and therefore it would be reasonable to initially be suspicious. However, after handling the brittle wire and breaking off new, large sections of insulation, I can tell you that the new breaks appear the same way. It is brittle, so the "breaks" are sharp.
In my case, I think the degradation on one side may have been accelerated in some way by the cornering bulb (maybe either there was a bulb in there with more wattage/heat at some time, or the bulb was turned on for a long time - possibly even due to a short as a result of failed insulation). I say this because the reflector plastic above that bulb is somewhat melted. This leads me to believe that for some period that housing experienced excessive heat from that bulb - which likely in turn accelerated the failure of the insulation. And the worst of the failed insulation was closer to the cornering bulb.
The insulation in the other headlamp's housing was also showing some signs of starting to fail, but only about 2% as much as the problem side.
OK - as I say, my calipers are with my other set of tools, but I have an approximate measurement for you. I also already reassembled the headlamp units, so could only measure from the access holes.
There are two gauges of primary wire in the headlamp unit. You will see from the images below that the thicker gauge wire is approximately 2mm wide (including insulation, of course). The thinner gauge is approximately 75% of that width, or 1.5mm.
See the images below. I hope this helps.
^^^ Approx 2mm for the bigger gauge wire
^^^ Approx 2mm for the bigger gauge wire
^^^ The smaller gauge wire (green/yellow) is about 75% of the thickness of the larger wire (brown / red). I could not get a tape measure under it, but the photo allows me to see the ratio in sizes. Approx 75% of approx 2mm is (very approximately) 1.5mm.
Thank you for that Murray
So I guess these are 16 and 18 gauge wires
I don't support that theory - there are too many examples of other forum members having this issue, me included. I've seen no evidence of press/cut cable connectors but like Ranchero surmised the is UV radiation, heat and another member suggested soy based insulation. I don't know for sure but the affected insulation has lost its plasticizer and becomes extremely brittle.
hello I am new to forum I own 6 jags just never posted anything my. 2007 xk has almost all the insulation gone off the wires internally . Is it wiser to replace it or try and shrink all the wires.thanks for your suggestions. Roger.
hello I am new to forum I own 6 jags just never posted anything my. 2007 xk has almost all the insulation gone off the wires internally . Is it wiser to replace it or try and shrink all the wires.thanks for your suggestions. Roger.
Sorry for sticking my nose in here, but the only thing to replace WITH are also used. So, do you replace old, used and brittle with old, used and brittle while spending multiple thousands of monies, or do you spend WAY less, work for awhile, and have refurbished and safe units?
Sorry for sticking my nose in here, but the only thing to replace WITH are also used. So, do you replace old, used and brittle with old, used and brittle while spending multiple thousands of monies, or do you spend WAY less, work for awhile, and have refurbished and safe units?
Hello, I saw on the forum about people cutting the wire and using shrink and saw others replacing wires. I am a electrical engineer and repair high end audio gear and since most of the wiring on newer cars is machine soldered i was asking about cutting and shrinking to avoid solder on plastic plugs and having to heat relief all the joints the wire did not fail just the shrink is going. I was wondering if people separated the lens using a oven or heat gun? I have had the light out of the car for 6 months contemplating disassembly. . I have been trying to find a salvage yard part but i am about to give that idea up.
My car came from FLA. and i wonder if the heat there contributed to the wire insulation peeling. . Anyone have thoughts on that? Thanks Roger
Heat gun, hair dryer, oven all work, just be careful too much heat will damage the plastic. Best do some research on google for headlight disassembly. As for the wires, if this's what you do for a living, I reckon you know best. Others have done it all, liquid tape, new wires and heatshrink. Do what you think is right for you. As CeeJay said, most old headlights will have the same problem, so no sense in going that way.
Can you please tell me what you did with the oven to disassemble the headlight?
Originally Posted by MurrayG
So - today I took apart the headlamp units to clean the projector lenses. I noticed (before putting them in the oven) that on the RHS unit, the wiring inside the headlamp was failing. Some of the insulation had turned brittle and was flaking off. No shorts yet, but it would not be long. The LHS unit seems fine - except maybe for one small spot. The conductors are all in great shape - it is just the insulation that failed.
I had also noticed that in the same RHS unit, a bit of the internal plastic reflector above the H8 cornering lamp had melted. Again - only on the one side (right headlamp).
So - it seems there was likely an overheat situation on that side. The wiring is mostly affected near the cornering lamp - which produces a lot of heat. The lamps that are in there now are 35W - so appear correct. I am replacing them with LEDs which will be cooler.
Anyway - tomorrow will be a day of soldering and heat-shrinking. I'll post the finished product. But I though people might be interested in checking the condition of their wiring next time they poke their noses into their headlamps. All the best.
See below:
Note the melted section above the cornering lamp Failing insulation More failing insulation And still more.



 Headlamp Wiring Harness - Insulation Brittle and Failing










 That might be the root cause of the insulation having gone prematurely brittle.