When you click on links to various merchants on this site and make a purchase, this can result in this site earning a commission. Affiliate programs and affiliations include, but are not limited to, the eBay Partner Network.
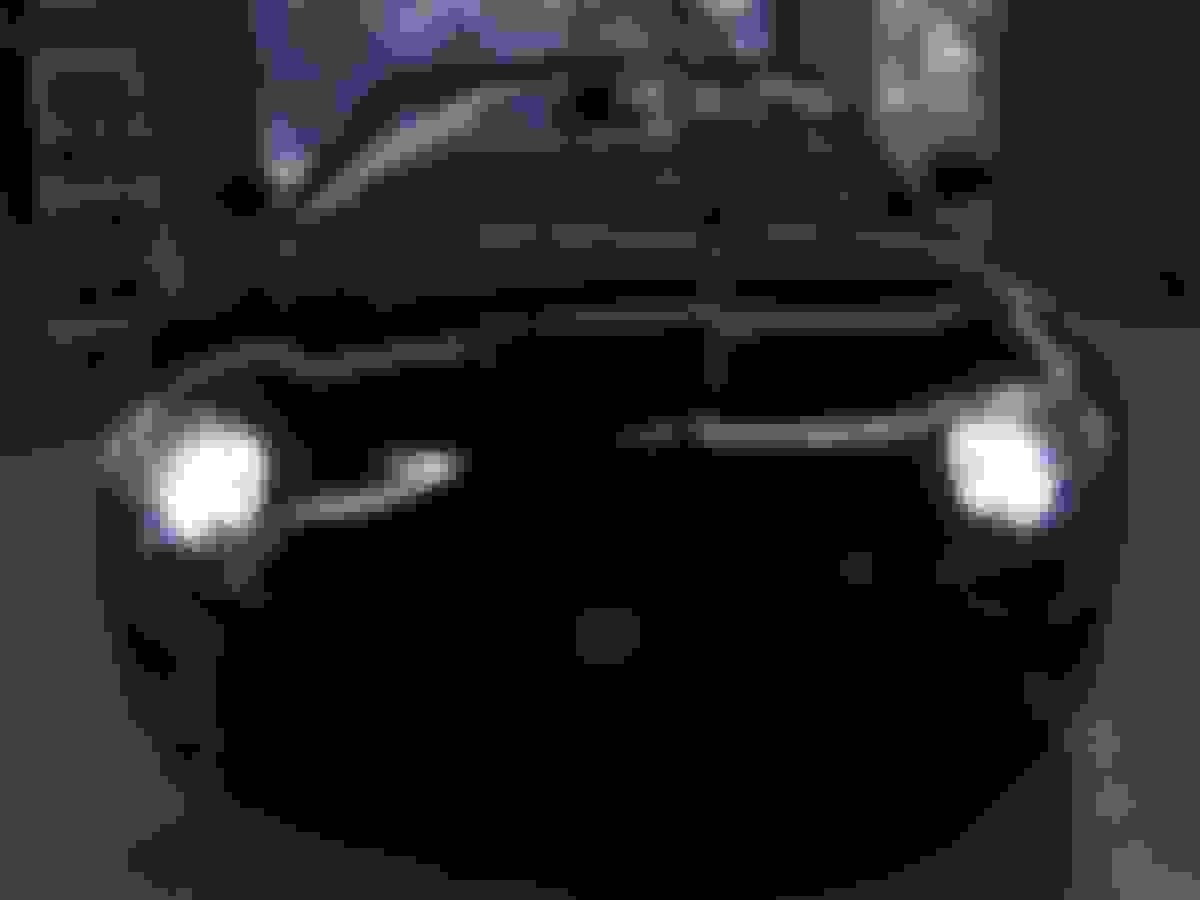
Decided to replace the D1S bulbs in hopes of better lighting...well, not for a while.
I pulled one assembly, polished the outer surface and was quite happy with the result. Installed a new bulb and while reattaching I noticed a bit of wiring insulation.
I then pulled the assembly and looked at the inner floor of the assembly...many, many small pieces of insulation. A rainbow's worth!
Pulled out the super bright flashlight and found the source.
I guess I'll be busy this weekend, cutting, heatshinking, soldering, heatshrinking and being thankful I didn't turn on the headlights only to see smoke.
wj
I had a Mercedes that the insulation was biodegradable, and it was the same think. I got a whole new wiring harness and re-wired the whole thing. What a mess.
I've never seen overheated wiring that looked like that before. The copper strands look perfect to me. The closest I've seen to that is rodent damage but it depends how accessible that part of the loom happens to be. There would also usually be other signs of rodents!
No rodents, heat and age. Since I've owned the car it doesn't see much night driving so this was due to earlier usage. My driving is out in the country and LED bulbs haven't ever given me the distance clarity of a good Xenon...if this was a city car it would have LEDs.
wj
yeah� a few members have mentioned this. Perhaps that�s the reason I haven�t looked in there.
Thanks (I think) for sharing @wymjym . I�ve been delaying this inevitable situation.
I hope I can find the heatshrink in the right colors�
What the heck, I'll ask knowing it'll be a PIA for you but you took great pics. Will you consider a step by step pics of your process? Pulling the pinouts would be of particular interest.
What the heck, I'll ask knowing it'll be a PIA for you but you took great pics. Will you consider a step by step pics of your process? Pulling the pinouts would be of particular interest.
Hi Sean,
Sorry to say that I have too many other things to handle at present, I need to do this quickly and in a hack manner. I'm planning on 'simply' cutting a wire, slide some heat shrink over the length, solder back together, slide hs back and shrink. Since this is a forever fix and not going to be moved about after the initial repair I'm not even going wait for new colored hs...going with white and will touch each one with a dab of the corresponding color paint.
If I had time to do it 'right' I would need to move the wiring so much that all of the remaining insulation will break off and necessitate pulling the hl assembly apart. The wiring has cracks going the entire length of each ...I'll touch those cracks with some liquid insulation.
I suffered an ice storm several weeks back, some tree tops are still falling as we had some good winds this week. Here is a taste of what I am dealing with:
An alternative suggestion to liquid insulation, which leaves a godawful mess.. Get heat shrink tubing, slightly larger than the wire gauge. Get a soldering iron.
One by one, snip a wire about 1/2 inch from the connector. Push the heatshrink as far down the damaged wire as possible covering it as far as it will go. You should be able to cover a lot of each wire length. Use multiple lengths if you can get deeper into the pod.
Leave the cracked insulation in place unless you need to remove it. Leave at least an inch or more visible on the covered wire, solder it back to the 1/2" in the connector. Make a nice thin splice -- not a blob. Let it cool. Slide the heatshrink back up the wire until it butts to the connector over the solder point. You should now have a very neat covering for one wire, and a very professional job.
Do this the rest of the wires wherever you can, as deep as possible WITHOUT disturbing any wires that don't absolutely have to be moved.
By the way, air is a fine insulator. If they're damaged but fixed in place so they don't touch, be happy with it. Your goal is to fix as much of the wiring as possible, but leave it undisturbed if possible so further wires don't crack.
Had great success with this in my BMW's, which are also Hella pods of the same era and suffer from the same problem.
Last edited by panthera999; Feb 24, 2023 at 06:28 PM.
An alternative suggestion to liquid insulation, which leaves a godawful mess.. Get heat shrink tubing, slightly larger than the wire gauge. Get a soldering iron.
One by one, snip a wire about 1/2 inch from the connector. Push the heatshrink as far down the damaged wire as possible covering it as far as it will go. You should be able to cover a lot of each wire length. Use multiple lengths if you can get deeper into the pod.
Leave the cracked insulation in place unless you need to remove it. Leave at least an inch or more visible on the covered wire, solder it back to the 1/2" in the connector. Make a nice thin splice -- not a blob. Let it cool. Slide the heatshrink back up the wire until it butts to the connector over the solder point. You should now have a very neat covering for one wire, and a very professional job.
Do this the rest of the wires wherever you can, as deep as possible WITHOUT disturbing any wires that don't absolutely have to be moved.
By the way, air is a fine insulator. If they're damaged but fixed in place so they don't touch, be happy with it. Your goal is to fix as much of the wiring as possible, but leave it undisturbed if possible so further wires don't crack.
Had great success with this in my BMW's, which are also Hella pods of the same era and suffer from the same problem.
Hey Panthera999,
Thanks for expanding on my shorthand,
�I guess I'll be busy this weekend, cutting, heatshinking, soldering, heatshrinking and being thankful I didn't turn on the headlights only to see smoke.�
The only thing I would add is that I chose to solder a �� area on the wire and would snip it in the middle of that area. This kept the strands from unraveling and a little more manageable.
I worked without any issues and it took me almost 4 hours to do all 12 wires. Five of the wires� insulation literally fell off as I gently moved them around. I used several different heat shrink diameters and did heat shrink (with heat gun) all coverings into place. The base of the plug had several with wiring exposed and I chose to encase the entire bottom in hot melt glue. This does protect against shorting out and it pretty much prevents the pins from ever being pushed out�it is also a forever fix and if anything goes wrong it will be New Headlight Time!
I haven�t driven at night to determine if the replacement bulbs have enhanced the experience of not, but will later on this week and report back.
If anyone else experiences this mess�I wish you well.
�I guess I'll be busy this weekend, cutting, heatshinking, soldering, heatshrinking and being thankful I didn't turn on the headlights only to see smoke.�
The only thing I would add is that I chose to solder a �� area on the wire and would snip it in the middle of that area. This kept the strands from unraveling and a little more manageable.
/QUOTE
Cutting through the solder point is a nice idea.
The long explanation is to help those who come after both of us, who do a search because of a similar problem. I saw a guy fix a BMW Hella headlight pod with paint on insulation, the result was unbelievable.
Were you able to get full coverage on the damaged wires?
Last edited by panthera999; Feb 25, 2023 at 07:09 PM.
I understand your long, detailed post!
All were totally covered but for one and the base of the pin out (which the hot melt solved).
I'm not concerned going into the future with this unit
and can sleep at night.
WJ
GGG, this might be good for a sticky, since more people are finding damaged wiring in the Hella light pods. Fixing them isn't hard, as noted above by me and wymjym, but some make a real mess of it with paint on insulation. Your call.
Interestingly, my passenger side light assembly showed the cracks in insulation but was still totally insulated. I can only surmise that someone had their fingers in the one assembly and moved the wires about without much concern. They both had Philip's bulbs, will adjust the beams tonight and report back as to whether or not it was worth the turmoil.
wj