When you click on links to various merchants on this site and make a purchase, this can result in this site earning a commission. Affiliate programs and affiliations include, but are not limited to, the eBay Partner Network.
Have you pulled the inner fenders out to see what kind of geometry issues you may end up with that huge of a wheel swing at steering lock? I'd think you'll be close to the air boxes up front and not sure about the foot well areas behind. Not trying to be negative, just aware of any pitfalls before they happen.
My other concern is how you integrate the angularity of the bolt on fenders with the smooth compound curves of the body. I think you'll end up doing some other bolt on bits (like a diffuser and front lip) to balance the fenders. Just some design conundrums to think about.
I am actually doing diffusers/splitters, sides and front. Im not sure where to start on the fender flare situation as there are so many angles to take here. I can buy a universal fender flare set and make them fit. I can buy a kit for a similar shaped car and make them fit. I can even 3D print a set.. sounds crazy but thats what I have been working on. I work for a large casino gaming company that has engineers (Im one myself), 3d artist and many other created guys and we think we can pull it off. Printing the fenders in sections, piecing them together and doing the body work on the fenders to make them stronger and look legit. So I downloaded my actual scale model of my car, then in BLENDER and Maya been designing the fender kit. Now in this video this was the first few hours of design, finished product will look nothing like this Im sure.
Then this may seem funny but the design is scaled down 1/24th to fit my model just to see how it looks, test fitting it. I also printed new wheels that will have the similar stance to make sure it works.
As far as clearing everything inside I am 99.9% sure I am fine from all the measurements ive done. I am however sure that my wheels turned as far as they can go "might" touch the inner fenders.
Thanks for the input, it definitely helps me look at it all again just to make sure.
Originally Posted by Ranchero50
Have you pulled the inner fenders out to see what kind of geometry issues you may end up with that huge of a wheel swing at steering lock? I'd think you'll be close to the air boxes up front and not sure about the foot well areas behind. Not trying to be negative, just aware of any pitfalls before they happen.
My other concern is how you integrate the angularity of the bolt on fenders with the smooth compound curves of the body. I think you'll end up doing some other bolt on bits (like a diffuser and front lip) to balance the fenders. Just some design conundrums to think about.
The 1/24th model. Using this as the prototype template of what the car will look like. I havent gotten far yet, just got the model in and starting with the 3d printing/modeling.
Here is the concave look of the -44 offset 20x12 rim.
The 1/24th model. Using this as the prototype template of what the car will look like. I havent gotten far yet, just got the model in and starting with the 3d printing/modeling.
I'm thinking sanding foam blocks to define the wide body form on the model would give more pleasing results. PITA to design electronically something that's pleasing to the eye vs. doing it by hand a dozen times an hour until you bang out something the fits / flows. I think that a simple cup like you current rendition isn't going to be very appealing. It looks tacked on vs. designed into the body shape. I also think some old school aluminum flares would look 'factory' versus the newer Japanese themed bits. I think it's difficult to keep the British flavor of 'factory prepped' which would look cool. Panel beating sucks but is amazing when it works.
C/D did an article a couple months ago about the different levels of Japanese car culture, from cars that look good but don't work to cars that look race ready and work. I think you'd be better off aiming for the latter versus prior.
Clinched is actually the ONLY flare company that has agreed to sponsor me and give me a nice discount so going with them is a huge possibility. I have to wait until my wheels are on first to know exactly what size fenders to get. JDM and two other companies dont have much to offer that will look decent as far as flares go. The guys from Clinched are really cool and respond quick.
I was doing some mental gymnastics looking at mine and with a 4" wider wheel lip I think the flare will need to have at least 9-12" humped sides. That's going to put you up in the fuel door and conflict with it's opening (hinge on front).
Since you are a digital guy and mentioned 3d printing, how are you going to model the full size cars fenders? I've done similar work with a pair of graduated levels but it is a PITA and takes a long time for very basic data when I made an aluminum fairing for my bike. A panto graph type probe would be neat but overly expensive for a one off. Lasers would be far more precise and quick but again, the cost for the data... Just thinking that once it's all said and done 3d printed parts may be the best fitting solution.
My Jaguar XK model I purchased (which cost about $90 from HUM3D) is scaled to actual size in my software. The very first thing I did was print a cover for my fuel door to try to test the accuracy of the size and contours of the 3d file. It was spot on. All the models that I have purchased in the past have also been spot on so I am pretty confident when it comes time to print the fenders. I take the design and have it extend into the car body and when its time to actually save the the fender sepearatly for printing I have the body of the car cut out whats coming through it and that makes the perfect shape with all the curves.
If the design ends up being over the fuel door then its simply cut out of the fender and the fuel door will have that section installed on it as well. Then since it will probably be raised a little the backside of both the fender flare and fuel door flare piece will have to be filled in (3d printed as well). Its hard to explain.
Now I own a couple 3d printers, one of them a larger scale one and I can do a decent fender in about 5 pieces. The way the design works is its pieced together with special snap in joints, then you have multiple options from there to either bond them together, sand them down smooth and paint or you can use the 3d printed fender flare as the template to fiberglass over which is also a ton of work.
But contacting clinched again yesterday they have a new fender they just released, technically not even for sale yet I guess. Its called MUSCLE, they also have a new one called EuroLook to but im no impressed with that one. But the MUSCLE flare actually might work with the look of our Jags as its made to fit the bubbly fenders like we have. I will be talking to them more today about it to see if I can get one sent to me for fitting purposes.
Originally Posted by Ranchero50
I was doing some mental gymnastics looking at mine and with a 4" wider wheel lip I think the flare will need to have at least 9-12" humped sides. That's going to put you up in the fuel door and conflict with it's opening (hinge on front).
Since you are a digital guy and mentioned 3d printing, how are you going to model the full size cars fenders? I've done similar work with a pair of graduated levels but it is a PITA and takes a long time for very basic data when I made an aluminum fairing for my bike. A panto graph type probe would be neat but overly expensive for a one off. Lasers would be far more precise and quick but again, the cost for the data... Just thinking that once it's all said and done 3d printed parts may be the best fitting solution.
My Jaguar XK model I purchased (which cost about $90 from HUM3D) is scaled to actual size in my software. The very first thing I did was print a cover for my fuel door to try to test the accuracy of the size and contours of the 3d file. It was spot on. All the models that I have purchased in the past have also been spot on so I am pretty confident when it comes time to print the fenders. I take the design and have it extend into the car body and when its time to actually save the the fender sepearatly for printing I have the body of the car cut out whats coming through it and that makes the perfect shape with all the curves.
If the design ends up being over the fuel door then its simply cut out of the fender and the fuel door will have that section installed on it as well. Then since it will probably be raised a little the backside of both the fender flare and fuel door flare piece will have to be filled in (3d printed as well). Its hard to explain.
Now I own a couple 3d printers, one of them a larger scale one and I can do a decent fender in about 5 pieces. The way the design works is its pieced together with special snap in joints, then you have multiple options from there to either bond them together, sand them down smooth and paint or you can use the 3d printed fender flare as the template to fiberglass over which is also a ton of work.
But contacting clinched again yesterday they have a new fender they just released, technically not even for sale yet I guess. Its called MUSCLE, they also have a new one called EuroLook to but im no impressed with that one. But the MUSCLE flare actually might work with the look of our Jags as its made to fit the bubbly fenders like we have. I will be talking to them more today about it to see if I can get one sent to me for fitting purposes.
I am following this and impressed with the amount of tech toys too especially the vinyl / print setup and the 3d parts printer.
Wondering if you would toy with the idea of making
1 ) Gear shifter surround for the 07+ models that typically starts to flake ( maybe in black ?? )
2) Black vinyl replacement to the gear shifter lettering area that tends to also peel through.
I would for sure consider helping out with that, but first want to get some of these current projects done. There is actually another 3d file from hum3d that gives an accurate detailed 3d model of all the interior and pieces, probably doesnt cost as much as the 3d car file itself did but it would be something to look into to use for reprinting any interior pieces.
Originally Posted by myexcursion
I am following this and impressed with the amount of tech toys too especially the vinyl / print setup and the 3d parts printer.
Wondering if you would toy with the idea of making
1 ) Gear shifter surround for the 07+ models that typically starts to flake ( maybe in black ?? )
2) Black vinyl replacement to the gear shifter lettering area that tends to also peel through.
I would for sure consider helping out with that, but first want to get some of these current projects done. There is actually another 3d file from hum3d that gives an accurate detailed 3d model of all the interior and pieces, probably doesnt cost as much as the 3d car file itself did but it would be something to look into to use for reprinting any interior pieces.
I know that there are many members that would love someone to come up with a solution for parts that can't be ordered separately. One example is the defrost vents that are not sold separate from the entire dash...
I know that there are many members that would love someone to come up with a solution for parts that can't be ordered separately. One example is the defrost vents that are not sold separate from the entire dash...
We had a guy over in my old Ferrari group who started a side business. He called it Unobtainum Supply. He would specialize in making molds and fabricating parts for old Ferrari's. He would also have some metal parts fab'ed. I bet he or now people with 3D printers could do a side line business for Jag unobtainum stuff.
Made some side splitters today to see if I like the look.. holy crap I love it! I willhave it match the width of the wheels. I got a place that will make me some really nice carbon fiber ones for $350 with the winglets on the end like in my print. The fender flares on this model are just standard JDM flares printed, not the ones I would be using but still it gets you the idea. The front splitter I still have to design and get correctly shaped to have made as well. Then Ill work on the custom rear diffuser.
If nothing else I can at least make custom parts for model cars...hahaha
We had a guy over in my old Ferrari group who started a side business. He called it Unobtainum Supply. He would specialize in making molds and fabricating parts for old Ferrari's. He would also have some metal parts fab'ed. I bet he or now people with 3D printers could do a side line business for Jag unobtainum stuff.
I believe when we addressed this before, Dave indicated that the material used in 3D printing isn't comparable or compatible with the plastic used on the vents. I'm a neophyte on the subject:
Depending on the quality of the 3d model, size nozzle, and layer height I can print a part and really make something smooth and dam near stock quality, but it would be a really long print. I suppose using ABS plastic would be best to sort of match it up with stock, the PLA like I am using is really strong too but not as good as ABS. The new flex filament is really impressive, I will be printing a set of tires for my model with that soon. With my model I have just been printing at the lowest quality with the largest nozzle to get the prints done quick. My 3d printers are here at work and many people want to use them for projects so I dont want to be a print hog. lol
Originally Posted by Sean W
I believe when we addressed this before, Dave indicated that the material used in 3D printing isn't comparable or compatible with the plastic used on the vents. I'm a neophyte on the subject:
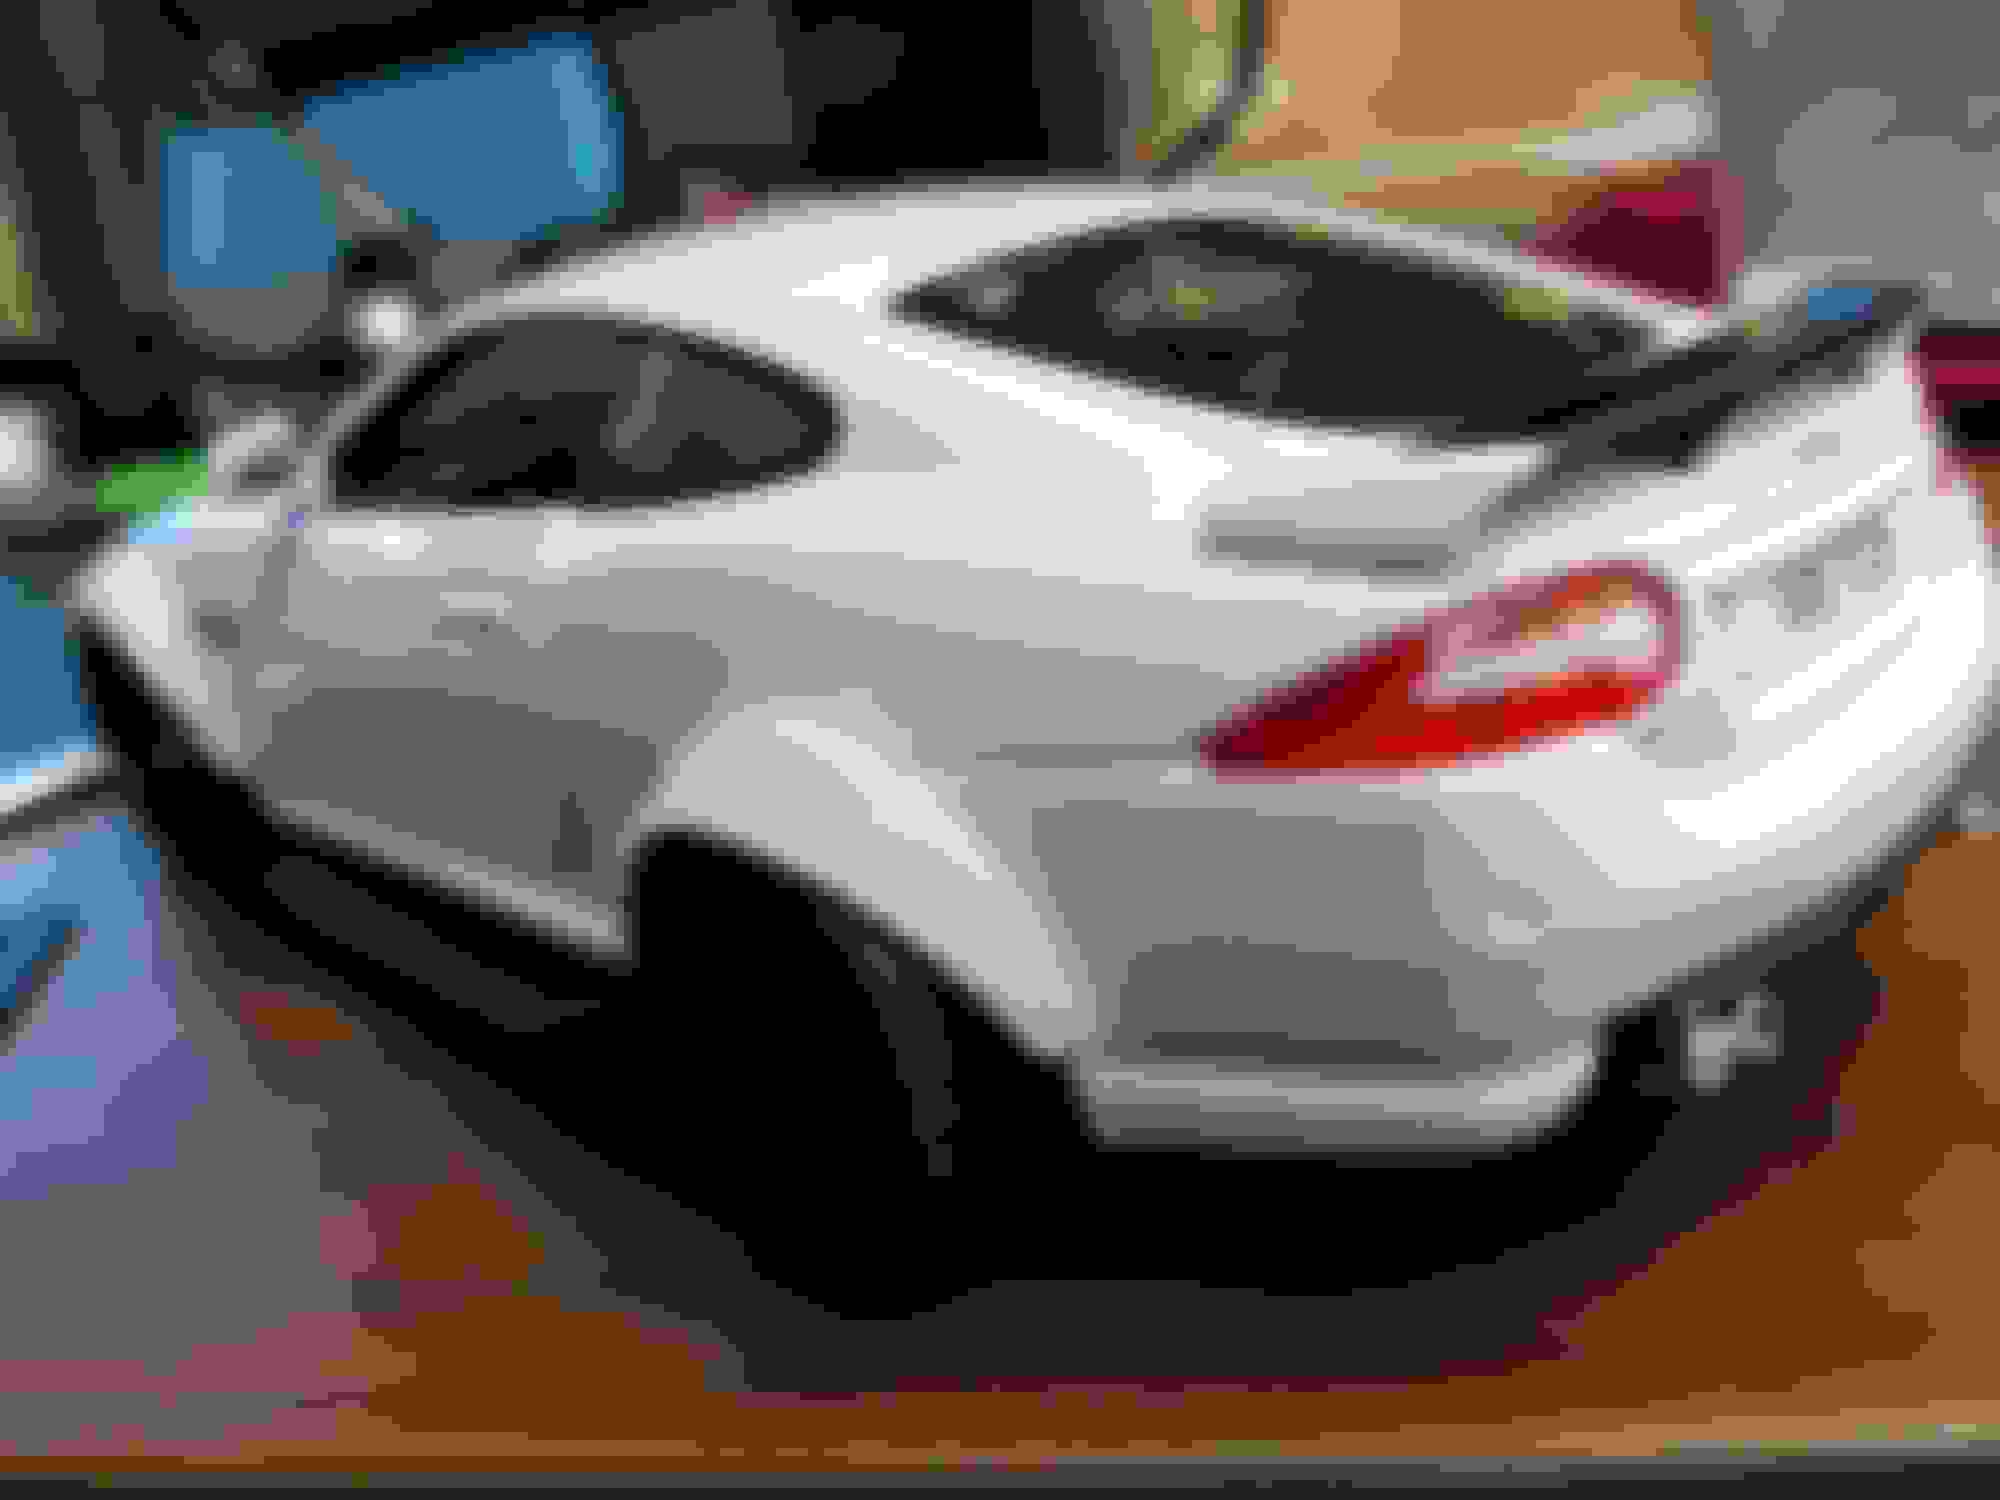
I ordered my new bumper a few days ago and it arrives tomorrow! woot! Ok not necessarily new, actually instead its used and abused but I will be much happier with it for now than my 07 bumper. I might be able to adapt the xk60 front bumper lip to it, maybe.... All I have to do is fix the little defects, sand it down and then wrap it with the car. I have custom grill inserts ordered and some trim pieces for it as well.


 especially the vinyl / print setup and the 3d parts printer.