What did you do to your X150 today?
#621

When the boots go on the otherside I'll just order new boots and swap them over.
#623
LOL - I bought the new rod thinking is would be simple. How difficult could two bolts be to swap over the rod? I undid the hub end then went looking for the other end. Oh dear.  Looked at it for about 5 minutes and then thought I would just swap over the outer end of the rod only to find the new rod was thinner than the original. A bit of head scratching and decided to try just swapping the new boots onto the original rod. Thankfully worked a treat!
 Looked at it for about 5 minutes and then thought I would just swap over the outer end of the rod only to find the new rod was thinner than the original. A bit of head scratching and decided to try just swapping the new boots onto the original rod. Thankfully worked a treat!
#625
Join Date: Jan 2015
Location: Naperville, Illinois USA
Posts: 4,566
Received 1,887 Likes
on
1,281 Posts
ebay link : https://rover.ebay.com/rover/0/0/0?m...2F132290538466
I offered $20.00 with free shipping which the seller agreed. Arrived in three days!
Also, mine had a clear body, so you could see the wiring inside, making them look cheap (as they were). Needless to say, they didnít stay installed long.
#626
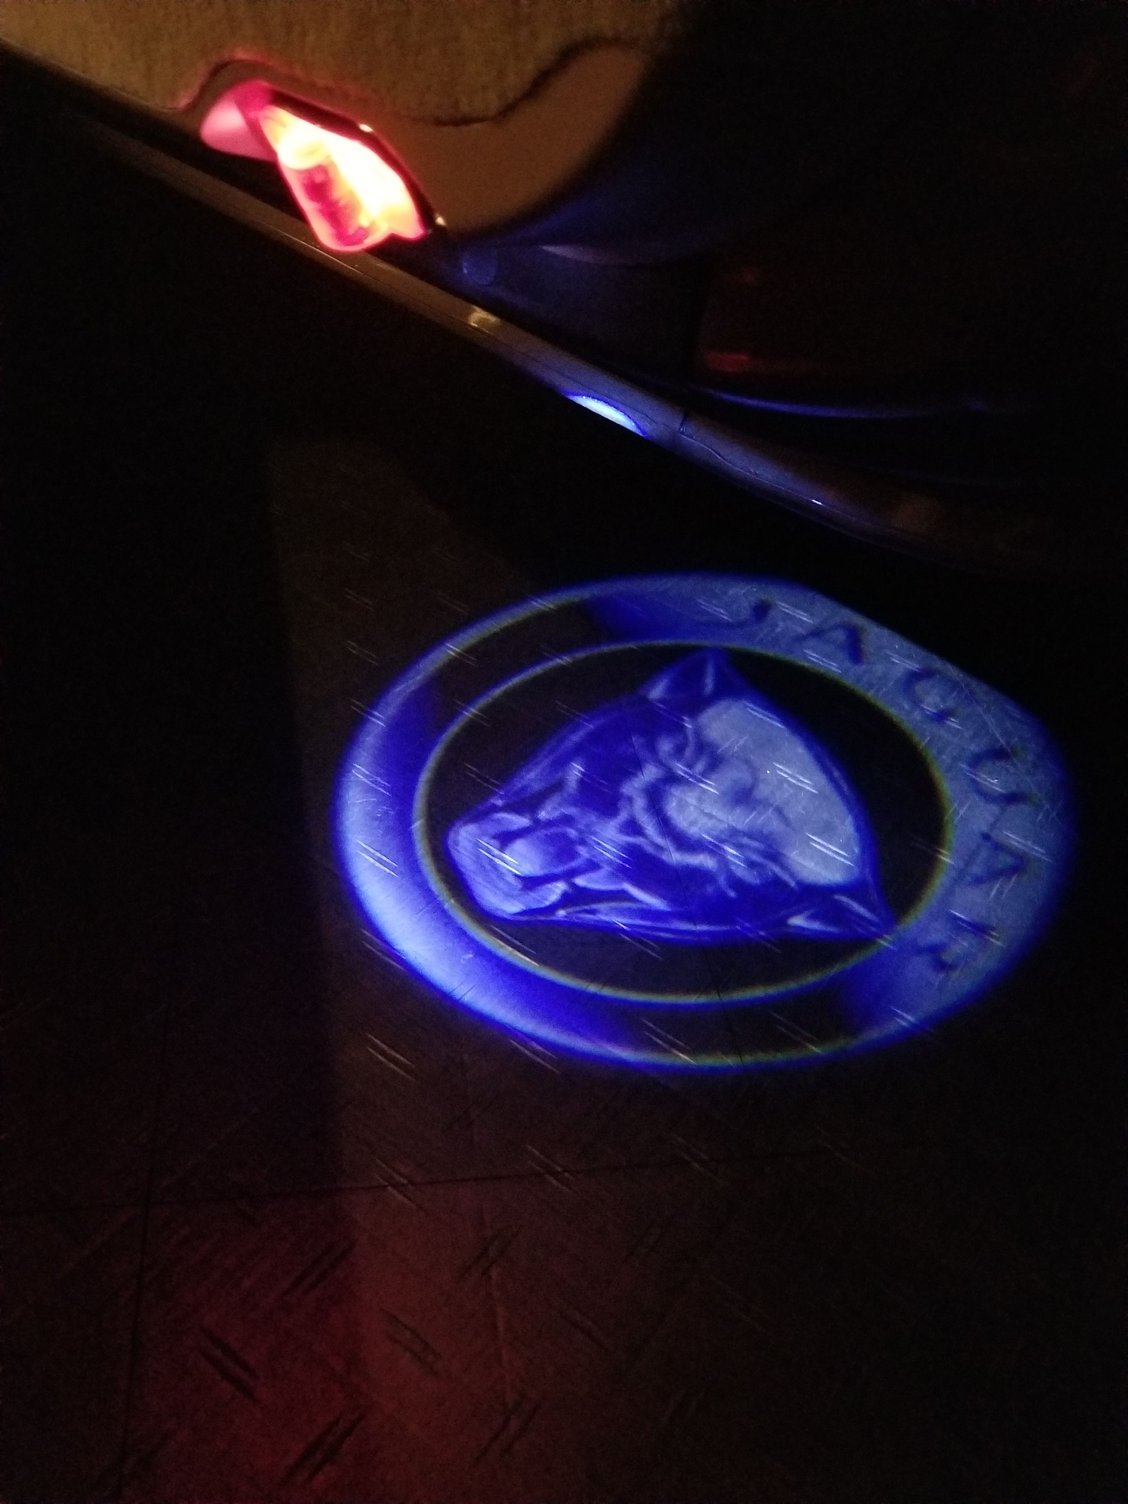
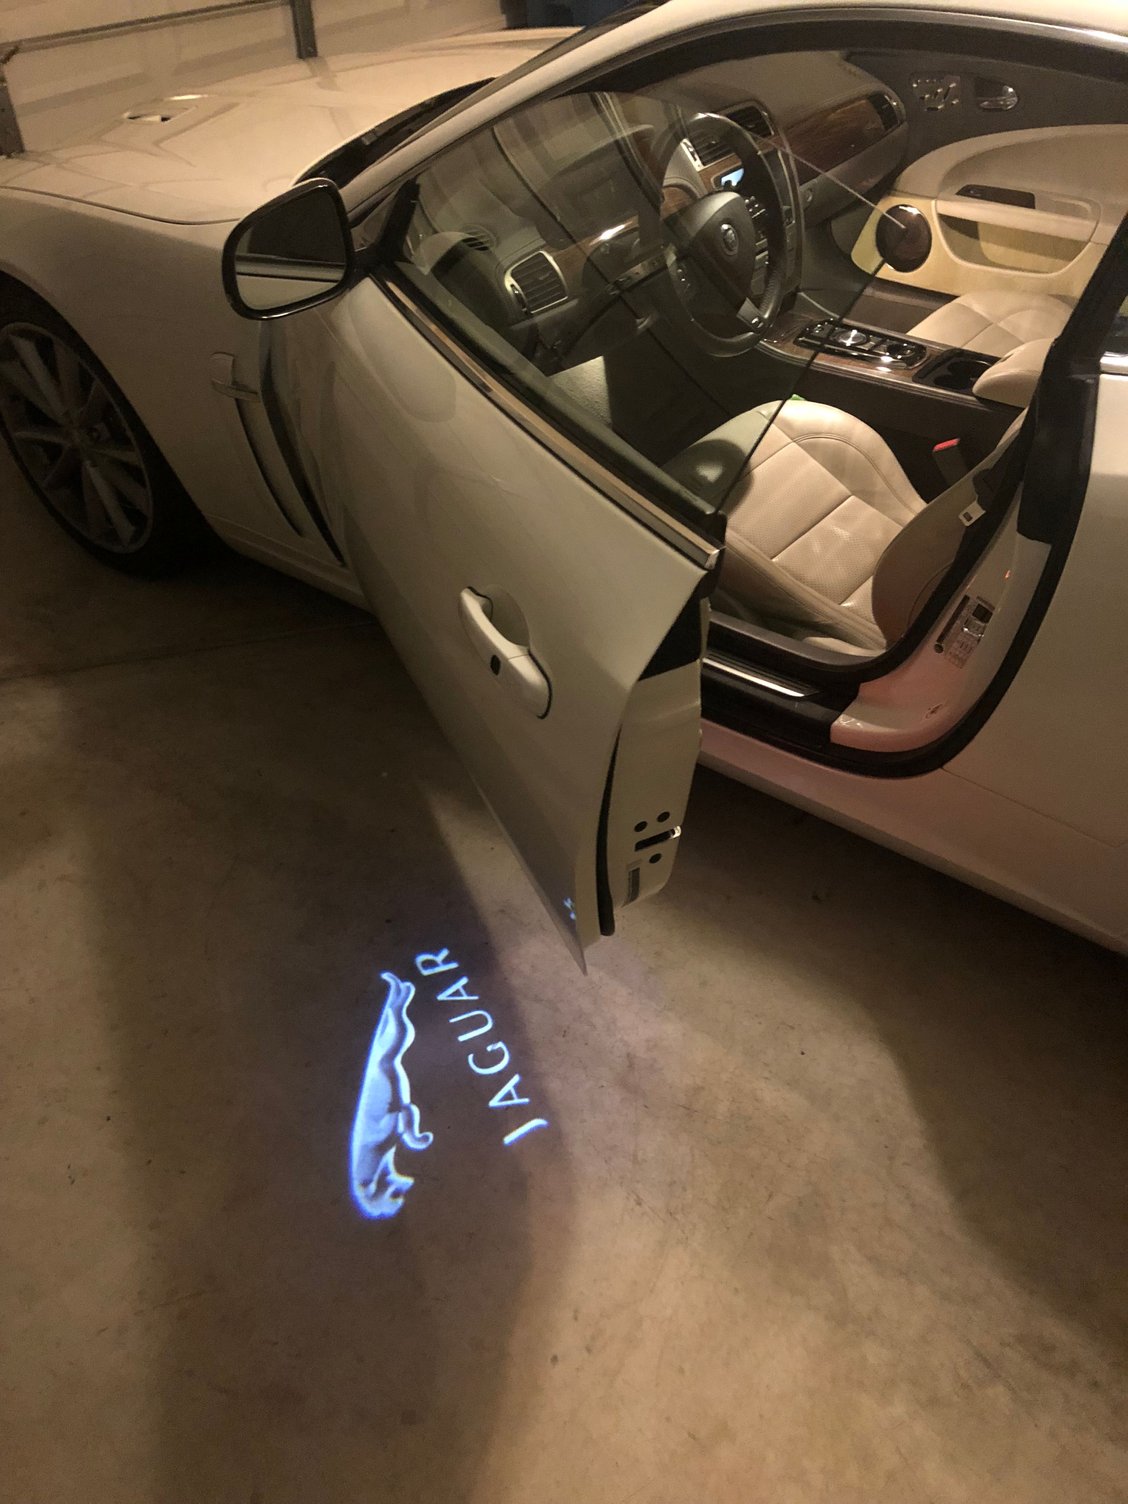
I order a set from Alibaba yesterday, and I'll let you know how they fit and work when I receive them.
Like kj07xk explained above, I currently have the earlier design puddle lamps with the round Growler logo installed in my XJ and my XKR. I had to modify them to get them to fit, as detailed in my thread on the XJ Forum. They work fine on the XJ, but the top of the image is obstructed by the XKR 's door so the top of the Growler is cut off from the projection on the floor. Nevertheless, for what they cost, I was satisfied ... until I saw these new Leaper logo puddle lamps.

I'm hoping that these new Leaper logo puddle lamps will fit better in my XKR and project a brighter, complete image.
See: https://www.jaguarforums.com/forum/x...-lamps-166622/
Stuart
Last edited by Stuart S; 01-12-2019 at 07:29 PM. Reason: Added photo
#627
Would like it too but my lights in the door don't work on either side, haven't bothered to look deep into it but now I do!:-)
Last summer when I had my Icarsoft connected and went thru the modules it said there was something wrong with the door module if I remember correctly.
Has anybody else had this problem? Is there a separate fuse?
I have checked the bulb and checked with a voltmeter and had no power at the bulb!?
Last summer when I had my Icarsoft connected and went thru the modules it said there was something wrong with the door module if I remember correctly.
Has anybody else had this problem? Is there a separate fuse?
I have checked the bulb and checked with a voltmeter and had no power at the bulb!?
#630
Patrick the rear end felt completely unstable and very twichty at high speeds initially I thought it was the left hand axle
Unsure exactly what caused it to snap just very very lucky it didn't happen whilst driving on the freeway and it failed close to the house more importantly I can't believe the old one hadn't being thrown away ! good luck all around !!
Unsure exactly what caused it to snap just very very lucky it didn't happen whilst driving on the freeway and it failed close to the house more importantly I can't believe the old one hadn't being thrown away ! good luck all around !!
The following users liked this post:
Patrick Wong (01-13-2019)
#632
#633
#634
Over the last couple of months, the alcantara headliner over my head in the driver's seat has steadily been drooping rubbing against what little hair I have left and annoying me to no end. I really didn't want to tear the whole liner down so I figured I could inject some adhesive into a few spots with a syringe, hold the fabric up to the roof for a minute or two and be done. I asked my best friend who's a dentist, to bring me a medical syringe but the adhesive glue was just too thick to be sucked into the syringe or pushed out of it. This morning, I went into a small hardware store in my area and they had plastic curved ended syringes. The tips were pretty broad and I knew it would not puncture the fabric but I bought one anyway to try. When I got to my car, I took a small finish nail to poke the hole, inserted the curved plastic needle end of the syringe with glue and did a 360* area around the hole. I pressed the suede liner to the roof for about a minute and voila, it worked. It left a little white residue which with a black Sharpie felt pen I touched up and then rubbed it in with my fingers, and it's barely noticeable, probably to no one else but myself. I repeated this process about 5 times in different areas, and now, no annoying rubbing any longer. The whole process took about 10 minutes. I wasn't smart enough to think about using a toothpick to make the hole, which I think would have penetrated more easily with its rounded point than a finish nail which has a chiseled, squared off point. But no matter, it's off the to do list.
Last edited by tberg; 01-16-2019 at 09:23 PM.
#636
#637
My headliner finally let go. I guess after 8 years its to be expected of a small company that experiments with more environmentally friendly solutions as opposed to tried and tested.
Short on time, especially with the holidays, I took thin strips of aluminum the width of the headliner and wedged them in a way that creates a tidy looking rib cage that pushes the headliner into place.
Short on time, especially with the holidays, I took thin strips of aluminum the width of the headliner and wedged them in a way that creates a tidy looking rib cage that pushes the headliner into place.
#638
Join Date: Jan 2015
Location: Naperville, Illinois USA
Posts: 4,566
Received 1,887 Likes
on
1,281 Posts
My headliner finally let go. I guess after 8 years its to be expected of a small company that experiments with more environmentally friendly solutions as opposed to tried and tested.
Short on time, especially with the holidays, I took thin strips of aluminum the width of the headliner and wedged them in a way that creates a tidy looking rib cage that pushes the headliner into place.
Short on time, especially with the holidays, I took thin strips of aluminum the width of the headliner and wedged them in a way that creates a tidy looking rib cage that pushes the headliner into place.
#639
Will take some pics. Here are little better instruction meanwhile.
(Note mine is a coupe, I dont think it will work on convertible. But the principal may. )
It will work with wood.
Take a thin rod and cut it as wide as one window to the other.
You are try to make a bow that pushes the headliner up. Same principle as a frame on an umbrella or tent.
You may have to cut it several times to find the perfect length.
Now make couple more pieces using the first one.
#640
Join Date: Jan 2015
Location: Naperville, Illinois USA
Posts: 4,566
Received 1,887 Likes
on
1,281 Posts
Will take some pics. Here are little better instruction meanwhile.
(Note mine is a coupe, I dont think it will work on convertible. But the principal may. )
It will work with wood.
Take a thin rod and cut it as wide as one window to the other.
You are try to make a bow that pushes the headliner up. Same principle as a frame on an umbrella or tent.
You may have to cut it several times to find the perfect length.
Now make couple more pieces using the first one.
(Note mine is a coupe, I dont think it will work on convertible. But the principal may. )
It will work with wood.
Take a thin rod and cut it as wide as one window to the other.
You are try to make a bow that pushes the headliner up. Same principle as a frame on an umbrella or tent.
You may have to cut it several times to find the perfect length.
Now make couple more pieces using the first one.
And yes, it wouldn't be needed in a convertible, as the headliner is fastened (stitched) to the cross-members, not glued to a hard-top.


