When you click on links to various merchants on this site and make a purchase, this can result in this site earning a commission. Affiliate programs and affiliations include, but are not limited to, the eBay Partner Network.
I'm wondering if the simplest and best repair for this might be a piece of metal tube with an internal thread. Simply cut out the 12-14mm of old plastic tube, screw the brass tube on to the plastic then screw the remaining plastic into the brass tube until snug. There should be no rotational force so this should hold pretty well with no worries about the potential of failing adhesive. Potentially cheaper than the brass fittings too though as this would probably have to be custom made, probably no real savings.
I performed this mod last week on both seats. The she straps appear to be a 'low cost' strain relief for the seats being folded forward. I used the following over the slice to provide support then shrinkwrapped tthem The part I used was from a plumbers flux brush the fit was perfect, Icut them about 4" llong, these worked very well and the shrink wrap holds them in place I then tie wrapped them to the seat frame. The brushes I hhad laying around they are2$ or so for a pack of 4...Iwas just looking thru stuff to find ssomethingg for tthis and well it worked
THANK YOU, THANK YOU, THANK YOU Reverend Sam for this extremely useful post!!
I've had my 2003 XK8 4.2 coup� since March and the head restraints have been driving me mad!
I've done the repair on both seats this morning and all works perfectly at last. I've used the method with compression fittings - in this case a further 5mm needs to be cut from the sheathing to accomodate the internal ridge in the fitting.
The first seat took me over an hour as I accidentally unscrewed the second torx screw too far, releasing the motor, it was very fiddly to line it all up and put back together.
Experience with the first seat meant that the second seat took me only 25 minutes, one minute longer than the TSB says
Thanks again.
Last edited by nicktee55; Jun 18, 2016 at 10:05 AM.
Used your new method - cut 14mm off one end of cable
Reverend Sam,
Your videos were priceless. Thank you! Neither of my headrests worked, and now both do. Thanks again for your services to the board!
I used your revised suggestion to cut the cable at the end cap instead of splicing and using heatshrink. It worked great. I just dug the jacket out of the metal end cap -- then slid that cap back onto the end of the now shortened cable. I also removed 14mm rather than the OEM's 12mm, as you suggested.
I did both of my seats in one afternoon. The passenger seat took me a few hours because I was extremely cautious and still figuring things out. The driver side only took about 45 minutes, without even rushing.
TO REMOVE OR NOT TO REMOVE THE SEATS
I did not remove my seats, but in hindsight it probably is the smarter way. I am a bit over 6' tall, and I admit, it got a little tight in there at times. However, I pulled the headrests out of the seats, and that made it quite doable (the headrests may feel like they don't want to come out when you pull on them at first, but they actually pop right out with no tools). Working inside the car means I left the door open, which kept my dome light on, and ran down my battery. DOH!
In any case, Reverend Sam's cable jacket shortening video was invaluable. I used the non-splice method and it worked great, so I've enclosed some pictures of the process and a few tools I used. My process starts at the point in Reverend Sam's video where the cable has been pulled out of the motor and the drive cable has been removed from the cable jacket.
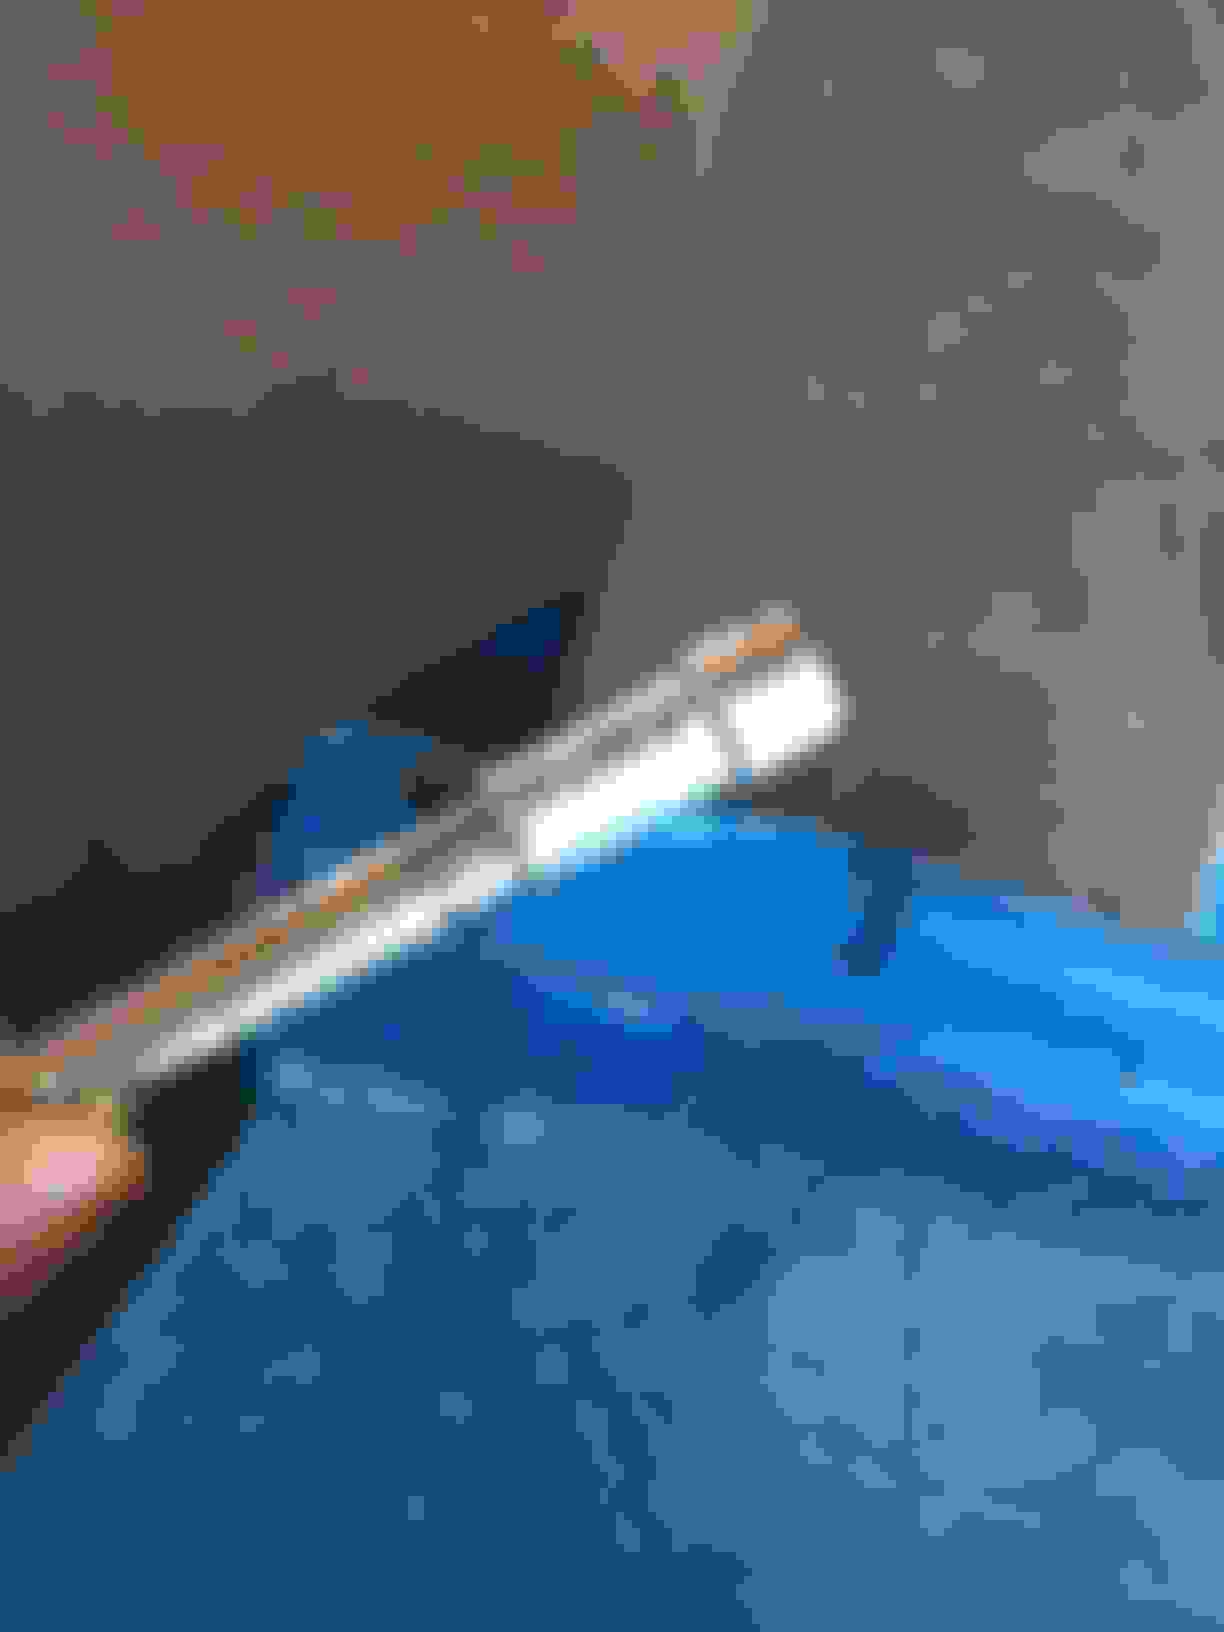
1. Stick about a 1/4" long piece of blue painter's tape on the black cable jacket near the metal end cap, and make a mark 14mm from the metal cap. This is how deep the cable will be inserted into the end cap once the cable is shortened.
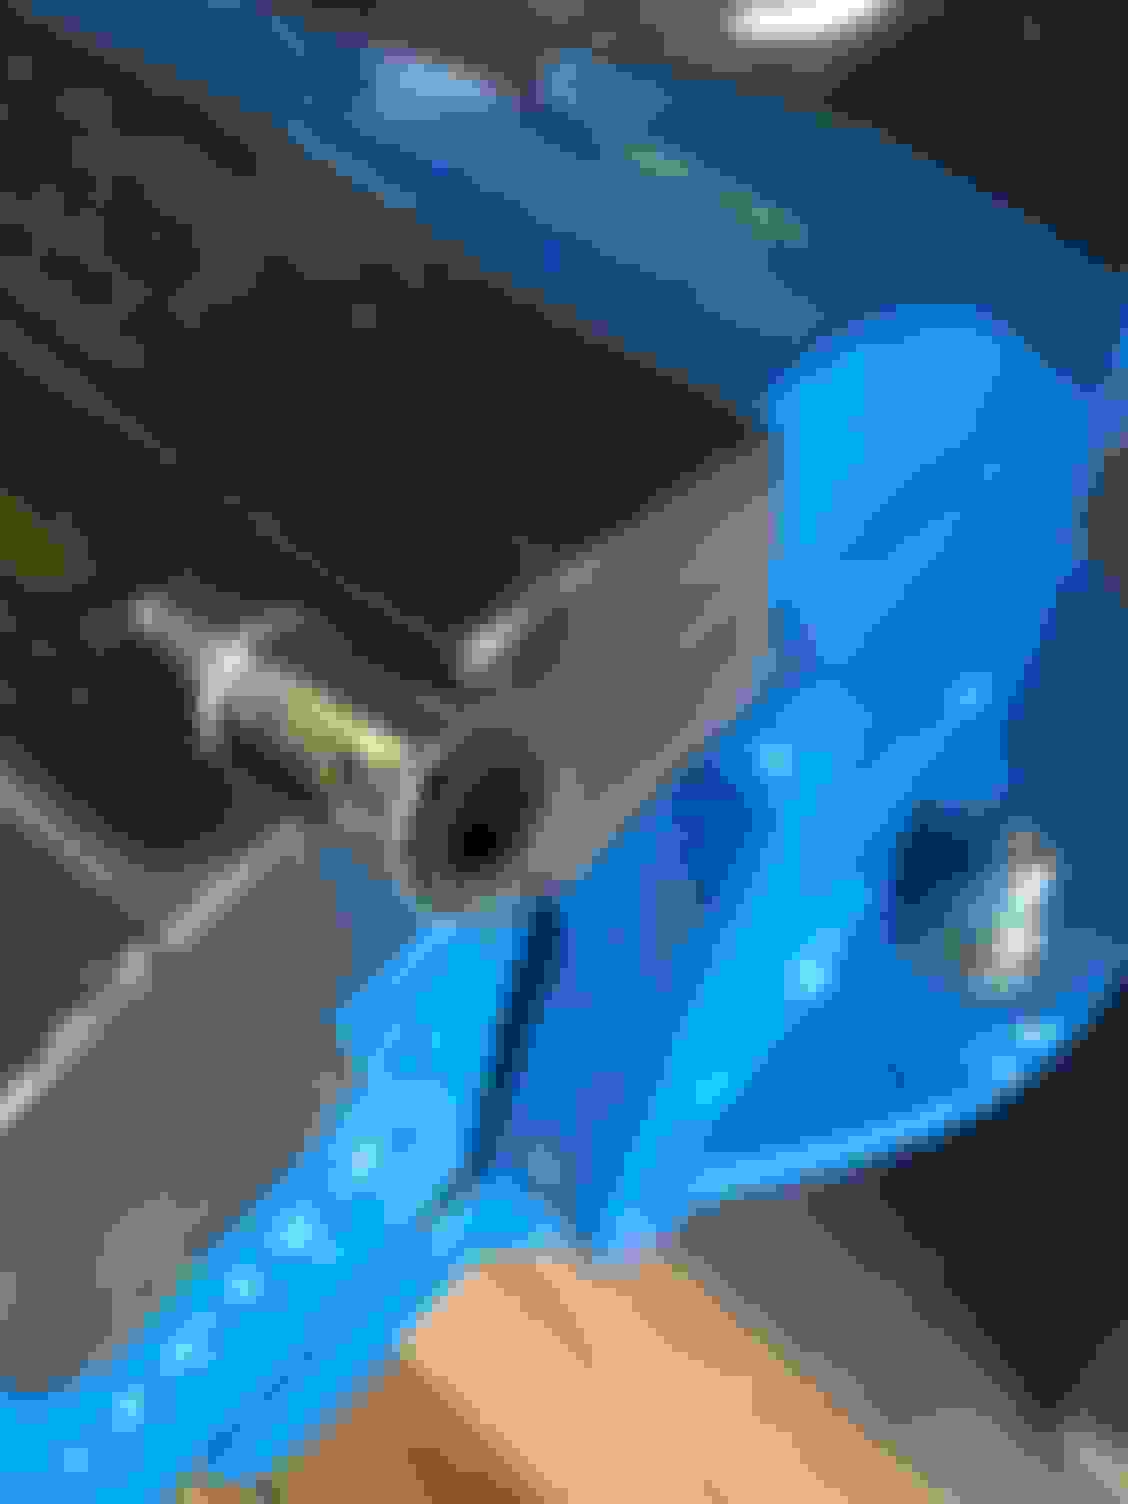
2. Cut the cable jacket flush against the metal end cap. There is probably not going to be any spare cable jacket, so don't waste any. After making your mark 14mm from the metal end cap, cut the cable jacket as close as possible to the metal end cap as possible. Use a box cutter or other sharp blade. It should look about like this
3. Dig the cable out of the metal cap. I used a vice, drill, hammer and awl, and needlenose pliers to get the chunks out. The jacket is pretty tough material
Be sure not to crush the end cap when digging the jacket debris out of the end cap. If you distort it, it should be tapped until it is round again or the cable won't fit back inside.
4. Chances are the cap will no longer slide back onto the now shortened cable jacket due to the 8 pierced retention tabs. You'll need to gently flatten the metal retention tabs so the cable can be inserted. I inserted some round steel (the back of a drill bit) into the end cap and tapped on the aluminum. Tabs don't need to be completely flush; it's actually better if they are still slightly indented. It's easy to tap the cable retention tabs in. I inserted the back end of a drill bit and tapped gently on each one to flatten them. It became very easy to slide the end cap onto the now shortened cable jacket.
5. Cut the cable jacket more only if needed (NOTE: You probably WON'T need to cut any more off; I didn't)
6. Reinsert the now shortened cable jacket back into the metal cap and TAP IT IN EXACTLY UP TO THE 14MM MARK. You can peel back the tape as needed but leave the mark in place.
7. Tap the retention tabs in to hold the metal cap onto the cable jacket This step is done inside the car. A block of wood can be placed under the end cap to provide support. I held the cap against the wood and gently tapped the old piercings with an awl. This secures the end cap back onto the cable. NOTE: This step does NOT require much force. If you go overboard and distort the tubing, you may need to ream it gently with a drill to ensure a round smooth opening for the drive cable
8 Reassemble using same steps as in Reverend Sam's video.
NOTE ON REINSERTING THE DRIVE CABLE
When reinserting the drive cable, note that the squished square ends are not the same length. One end is shorter. This shorter crimped end goes into the headrest, so that the longer crimped end is at the motor end. If you reverse this cable, you can fiddle with this thing for hours but it simply won't go back together.
SECURING THE WHITE FIBROUS STRAPS
These are the straps that pull the lower portion of the leather seat tight. When reinstalling the white fibrous straps, I did not bother with the old metal clips. It was easier to use a few tie-wraps as Reverand Sam suggests. Just route the strap over the copper framing and encircle it with a loose cable tie. Gently snug up the strap with one hand as you snug up the cable tie; then just snip off the excess tie. It's quite easy and IMO a more elegant solution than the OEM method. I threw away the OEM metal clips and used cable ties. Snip off the excess cable tie and tuck the excess strapping inside the seat for a nice neat solution
FINAL NOTES:
There will be a little foam dust and mess that you will need to vacuum up when you are finished. There was gooey film and dust on my wood grain dash on the passenger side from the inside of the seat leather. However, my power headrests now work for the first time since I have owned this car. They actually power down automatically when the seat is flipped forward, so as not to hit the visors.
Last edited by LABronzeJames; Nov 7, 2016 at 08:45 AM.
Reason: Add more detail
Thanks. I'm about to do this. Can you please clarify step one from above. Basically we mark the cable 14mm from end and that's what goes back into the cap? Net result is a 14mm shorter cable even though we haven't cut a length?
(((Thanks. I'm about to do this. Can you please clarify step one from above. Basically we mark the cable 14mm from end and that's what goes back into the cap? Net result is a 14mm shorter cable even though we haven't cut a length?)))
You definitely ARE shortening the cable jacket, but you taking material off one end, rather than out of the middle. Here's the process:
There are probably about 12-14mm of jacket material crimped inside the cap.
Instead of doing a splice, you are cutting the end cap off the cable jacket, digging the old cable jacket material out of the cap, and then stuffing the cable jacket back into the now empty cap. There are some very clever splice methods on the forum, and each poster seems to be pleased with the results, so it's your call, but this method worked and took no trips to the store.
I used 14mm because someone said that worked better than the 12mm stated in the factory TSB.
Most of my pictures are here (I have a 2001 convertible).
Does anyone know about getting the sheathing out of the headrest side?
Looks to be held in place using the white plastic casing but I messed with it for a while and it wouldn't come out. Am I to assume that plastic assembly needs to be removed before the sheath will release from that side?
It's a PITA to try and hold the thick foam up there while trying to see how it comes out. Getting a screwdriver up there would prove to be difficult as well.
I'm curious why the cable sheath is the right length early on and then gets too long? Is it biological? When I bought the car, the headrests worked fine, now neither does. The problem seems sort of illogical.
I too would like to know why it worked for years and all of a sudden it is too short.
Did the motor move or something shift or what?
Inquiring minds would like to know.
P.S. Does anyone know or ever try to buy a longer inner cable and just cut it a little longer?
I too would like to know why it worked for years and all of a sudden it is too short.
Did the motor move or something shift or what?
Inquiring minds would like to know.
P.S. Does anyone know or ever try to buy a longer inner cable and just cut it a little longer?
I posted a procedure and length to replace only the inner cable. It works great, and you don't have to fool around with all of this splicing, and resplicing nonsense. Local speedo shop can make you a cable. Add about 3/4 length as compared to the original. Ser more tbreads on tbis subject. Chopr
Great video but I don't understand how removing a small piece of the sheathing makes the cable shorter or am I totally misunderstanding what you are doing? I have this problem on my 03 XKR, both seats. Thanks.
Great video but I don't understand how removing a small piece of the sheathing makes the cable shorter or am I totally misunderstanding what you are doing? I have this problem on my 03 XKR, both seats. Thanks.
Great video but I don't understand how removing a small piece of the sheathing makes the cable shorter or am I totally misunderstanding what you are doing? I have this problem on my 03 XKR, both seats. Thanks.
The original problem is that the mechanical coupling very often becomes disconnected with use. The remedy is to increase the "effective" length of the cable 12 ~ 14 mm, whether by reducing the length of the housing, or by increasing the length of the cable in order to recreate a dependable coupling connection.
There are many ways posted to skin this cat. FWIW, my cheap and dirty, split Tygon tubing / hose clamp method is still working fine after several years of use.
I performed the typical 12mm cable sheath-shortening procedure and subsequent heat-shrink tubing application to the passenger seat headrest cable on my wife's 2006 XK8 way back in February 2012. It solved the problem and continues to function perfectly today (although both headrests are kept in the fully-down position and are rarely moved which is likely to preserve this fix for a much longer period of time)....