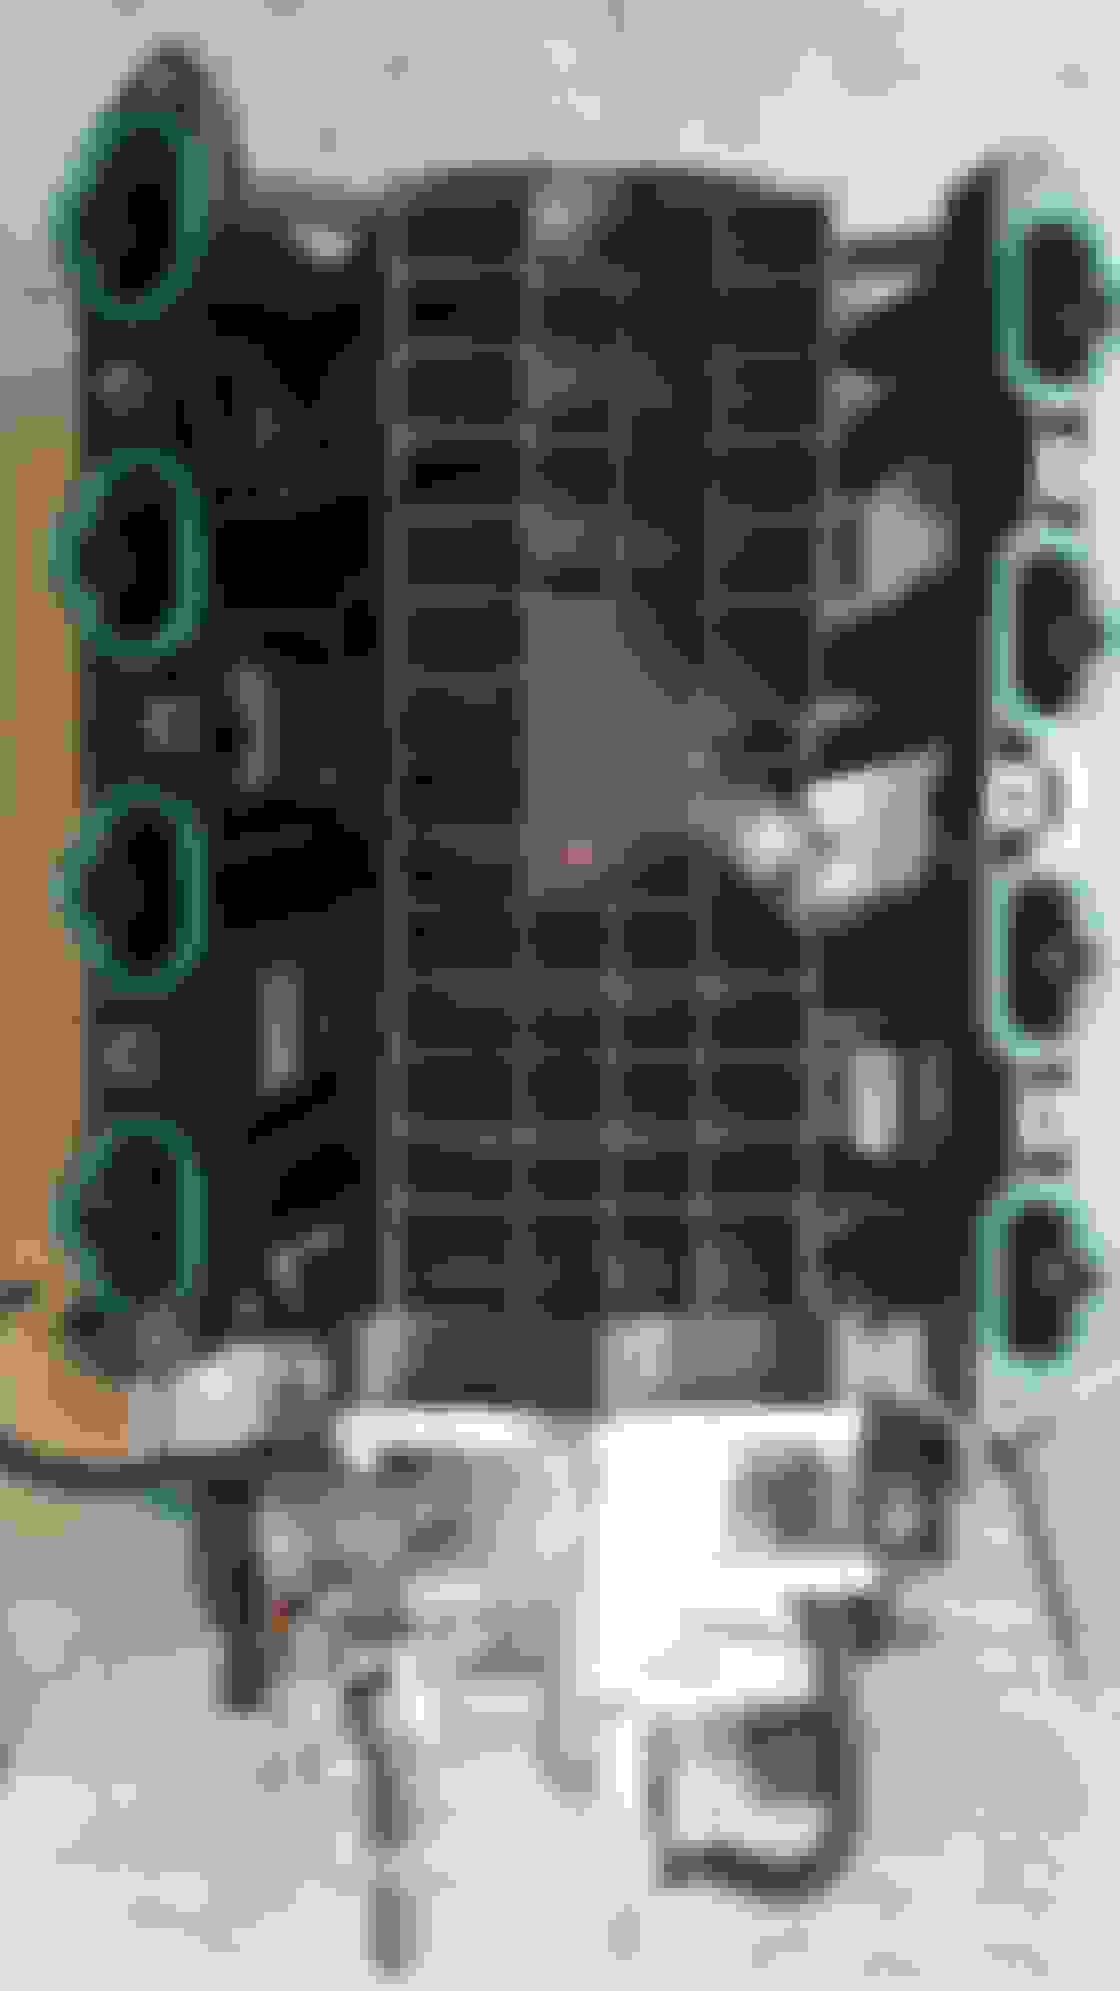
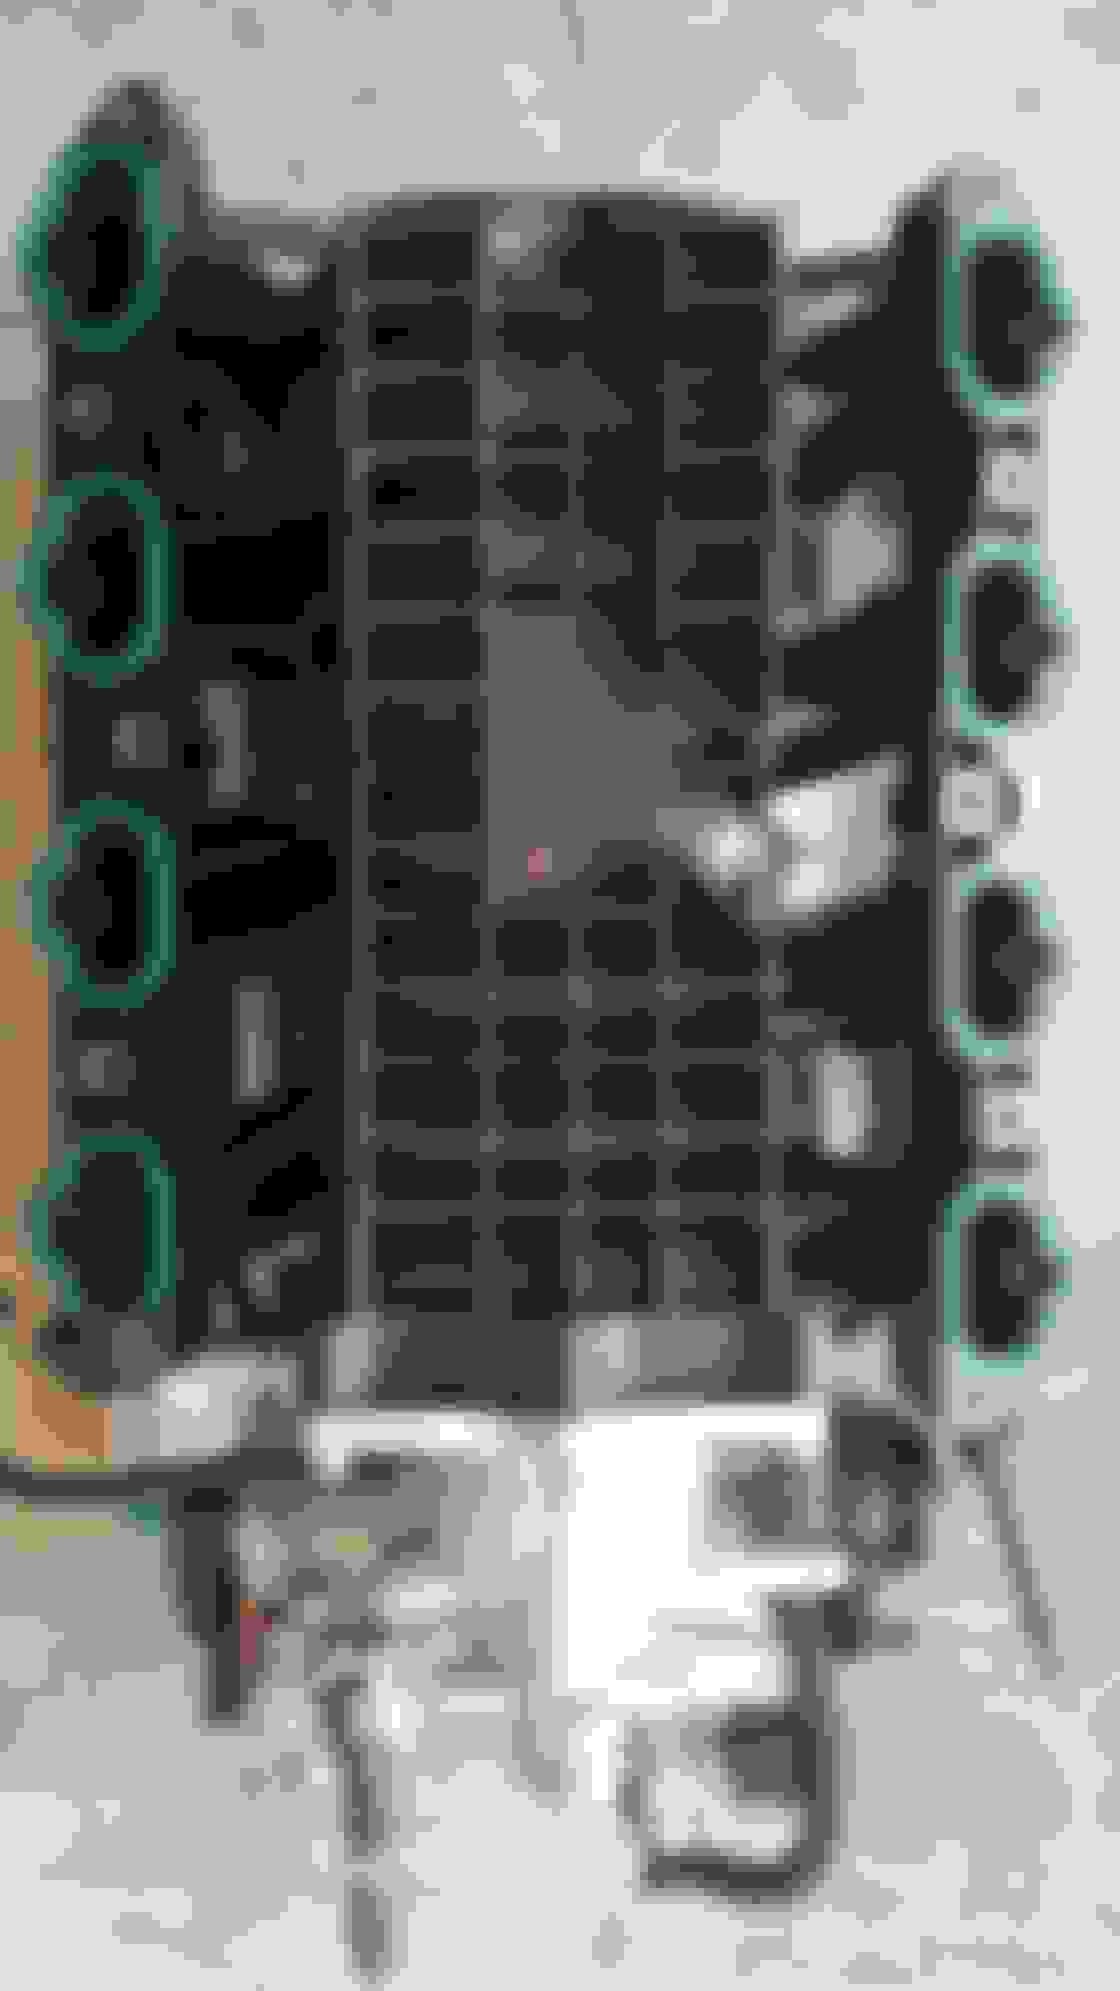
I did the octopus and Valley hoses on my uncles XK8 today, and everything went very smoothly but I�m very glad that I decided to do it all at once and remove the intake manifold.
One thing I definitely appreciated was a hose clamp pliers set I bought off of Amazon with the remote clamp as well as different sizes while doing this job. I�ve never invested in one until I knew I was going to have to do this and quite frankly I would�ve given up halfway had I�ve been trying to use a pair of pliers. I really took my time making sure all the connectors came apart OK and I didn�t damage any of them.
This was on a 2000 XK8 convertible and the octopus hose already had signs of leaking from the passenger side norma connector.
After new intake manifold gaskets everything went together pretty smoothly and I use the correct 21 N meters to torque the intake manifold down.
The only issue I ran into was I am receiving a low coolant light after filling the coolant system and purging as instructed with the high temp setting and 2000 RPM. I�ve read on the forums that some people have had to cycle the heater core several times for it to burp correctly, but after it cooled the system was full.
Thanks Graham, I like to take it a bit slower but document as I go and take video where I can. I also like to spread the word of tools that helped make everything useful, and add anything additional I learned as well along the way. I appreciate all the help this forum has given me.
For reference, these were the parts I used for the job along with the mentioned hose clamp plier set as well as METAL fuel line disconnects:MJA6728ACHose-Heater
I'm also curious about the differences (if any) with the 4.2. I sprung a leak somewhere on my 2003's octopus hose and my mechanic has agreed to change it and the valley hoses at the same time. He and I would like to have all possible parts on hand so it doesn't tie up his bay waiting for unexpected replacement parts. Is there anything else that should be replaced at the same time of this repair?
I didn't bother with the small heater hoses because they appeared to be in good condition. There have been very few members commenting on problems with them over the years.
Steve-in-CT the cooling systems are not the same. Follow the link below and you can download the electronic parts catalog and it will have all of the part numbers for you to decide what you need.
Honestly, this is a bit of a frustrating job. Lots to remove, and it makes you realize the extent of the aging process on an older car. Look at the pictures above. Anything not metal or hard plastic can be be found to be aged and in need of replacement. The intake and elbow alone has sandwiched gaskets of various types in many places. Then you have the small (4) cooling lines. Then the EGR gaskets, etc. Injectors will be right there, too, so push the job and change the seals? You can easily turn this from a just-get-the-hoses-done job all the way to the biggest while-you-are-there job to include refurbishing the heater pump, etc.
I guess I should have worded it, "must change if you're there". This year I just dropped +$3000 in a transmission rebuild and and another $3500 in bodywork and paint. Don't need to spend more than I have to. Thanks for the responses and link to the part #'s. Feel free to add on to the thread if you have any other suggestions or opinions.
I did the octopus and Valley hoses on my uncles XK8 today, and everything went very smoothly but I�m very glad that I decided to do it all at once and remove the intake manifold.
One thing I definitely appreciated was a hose clamp pliers set I bought off of Amazon with the remote clamp as well as different sizes while doing this job. I�ve never invested in one until I knew I was going to have to do this and quite frankly I would�ve given up halfway had I�ve been trying to use a pair of pliers. I really took my time making sure all the connectors came apart OK and I didn�t damage any of them.
This was on a 2000 XK8 convertible and the octopus hose already had signs of leaking from the passenger side norma connector.
After new intake manifold gaskets everything went together pretty smoothly and I use the correct 21 N meters to torque the intake manifold down.
The only issue I ran into was I am receiving a low coolant light after filling the coolant system and purging as instructed with the high temp setting and 2000 RPM. I�ve read on the forums that some people have had to cycle the heater core several times for it to burp correctly, but after it cooled the system was full.
I am also leaking under the intake on my 2000 convertible. I plan to replace the valley and spider hoses plus the thermostate housing. I have your parts list and my question is that the manual referes to a special tool to disconnect the fuel line, how did you do it? Also any other tips would be apprecialted.
I am also leaking under the intake on my 2000 convertible. I plan to replace the valley and spider hoses plus the thermostate housing. I have your parts list and my question is that the manual referes to a special tool to disconnect the fuel line, how did you do it? Also any other tips would be apprecialted.
Yes, you will need a fuel line disconnect tool to get the fuel line disconnected near the manifold. If you're going to buy one of the tools, go with one of the metal sets. I tried a cheap plastic set I had purchased at Harbor Freight and it would not disconnect the fuel lines for the life of me.
The metal ones took 2 seconds and it was disconnected.
-Scott
I'd like to echo this, I just did the valley hoses/thermostat stack. Had a plastic disconnect set, but no amount of manipulation released the main fuel line. There was a 30 minute interlude while I sent a child to get the metal ones, had a similar 2 second time off. Suspect it had never been off.
My fuel lines are held in place with bolts and sealed with o-rings.
I removed them by unbolting them and then they were relatively free. I believe one of them just came right out, the other one felt like it was held in place by the friction of the o-ring, i gently pulled on it and it slowly slid out of the intake and came free.
Different design? Something new every day. If this happens on an 01 or 02, something is dreadfully wrong.
No, I think I just noticed what is happening here.
You guys didn't disconnect the fuel lines from the intake. Looks like you found some kind of a quick disconnect a half foot away from the intake?
I am talking about unbolting the fuel lines from the intake.
I haven't ever had a fuel injected car before, i am not used to non AN fuel lines and didn't recognize that these fuel lines had quick disconnects in the middle of them. I just removed them from the intake where they are bolted to. lol