XK8 / XKR ( X100 ) 1996 - 2006
Sponsored by:
Sponsored by:

Time for coolant hose replacement

Thread Tools
 
Search this Thread
 
  #21  
Old 10-19-2017, 09:16 AM
Bones28's Avatar
Senior Member
Thread Starter
Join Date: Aug 2012
Location: Essex. UK
Posts: 106
Received 30 Likes on 17 Posts
Default

I purchased it from amazon


Jago SLKZ01 Hose Clamp Tools Pliers Set
 
The following users liked this post:
jimborino (10-19-2017)
  #22  
Old 10-21-2017, 02:21 PM
Bones28's Avatar
Senior Member
Thread Starter
Join Date: Aug 2012
Location: Essex. UK
Posts: 106
Received 30 Likes on 17 Posts
Default

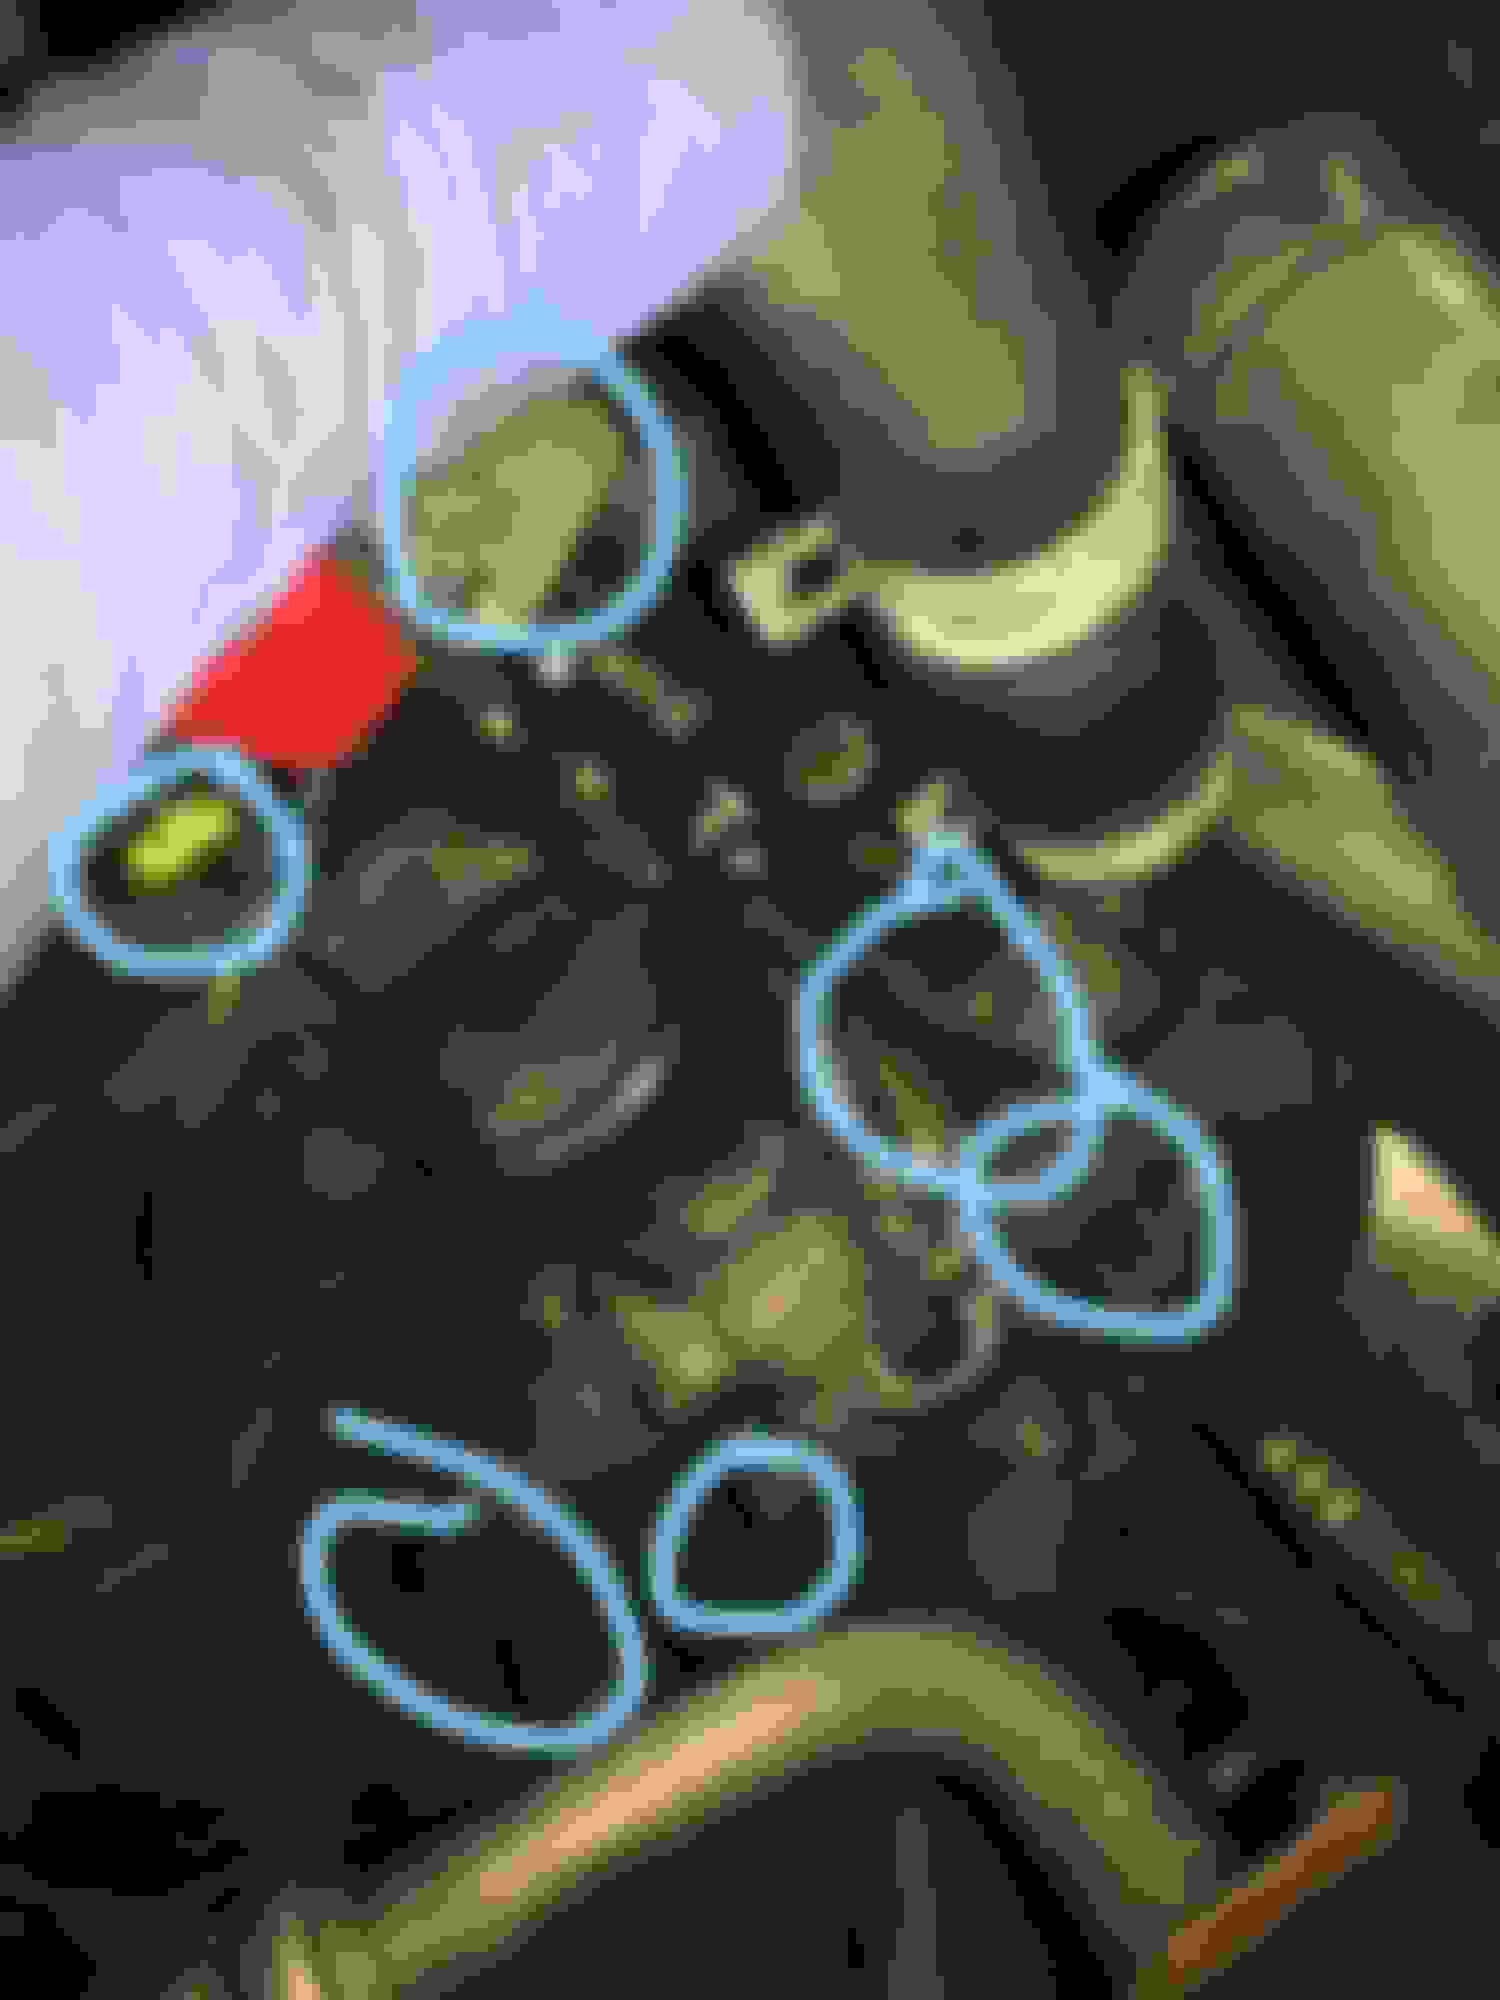
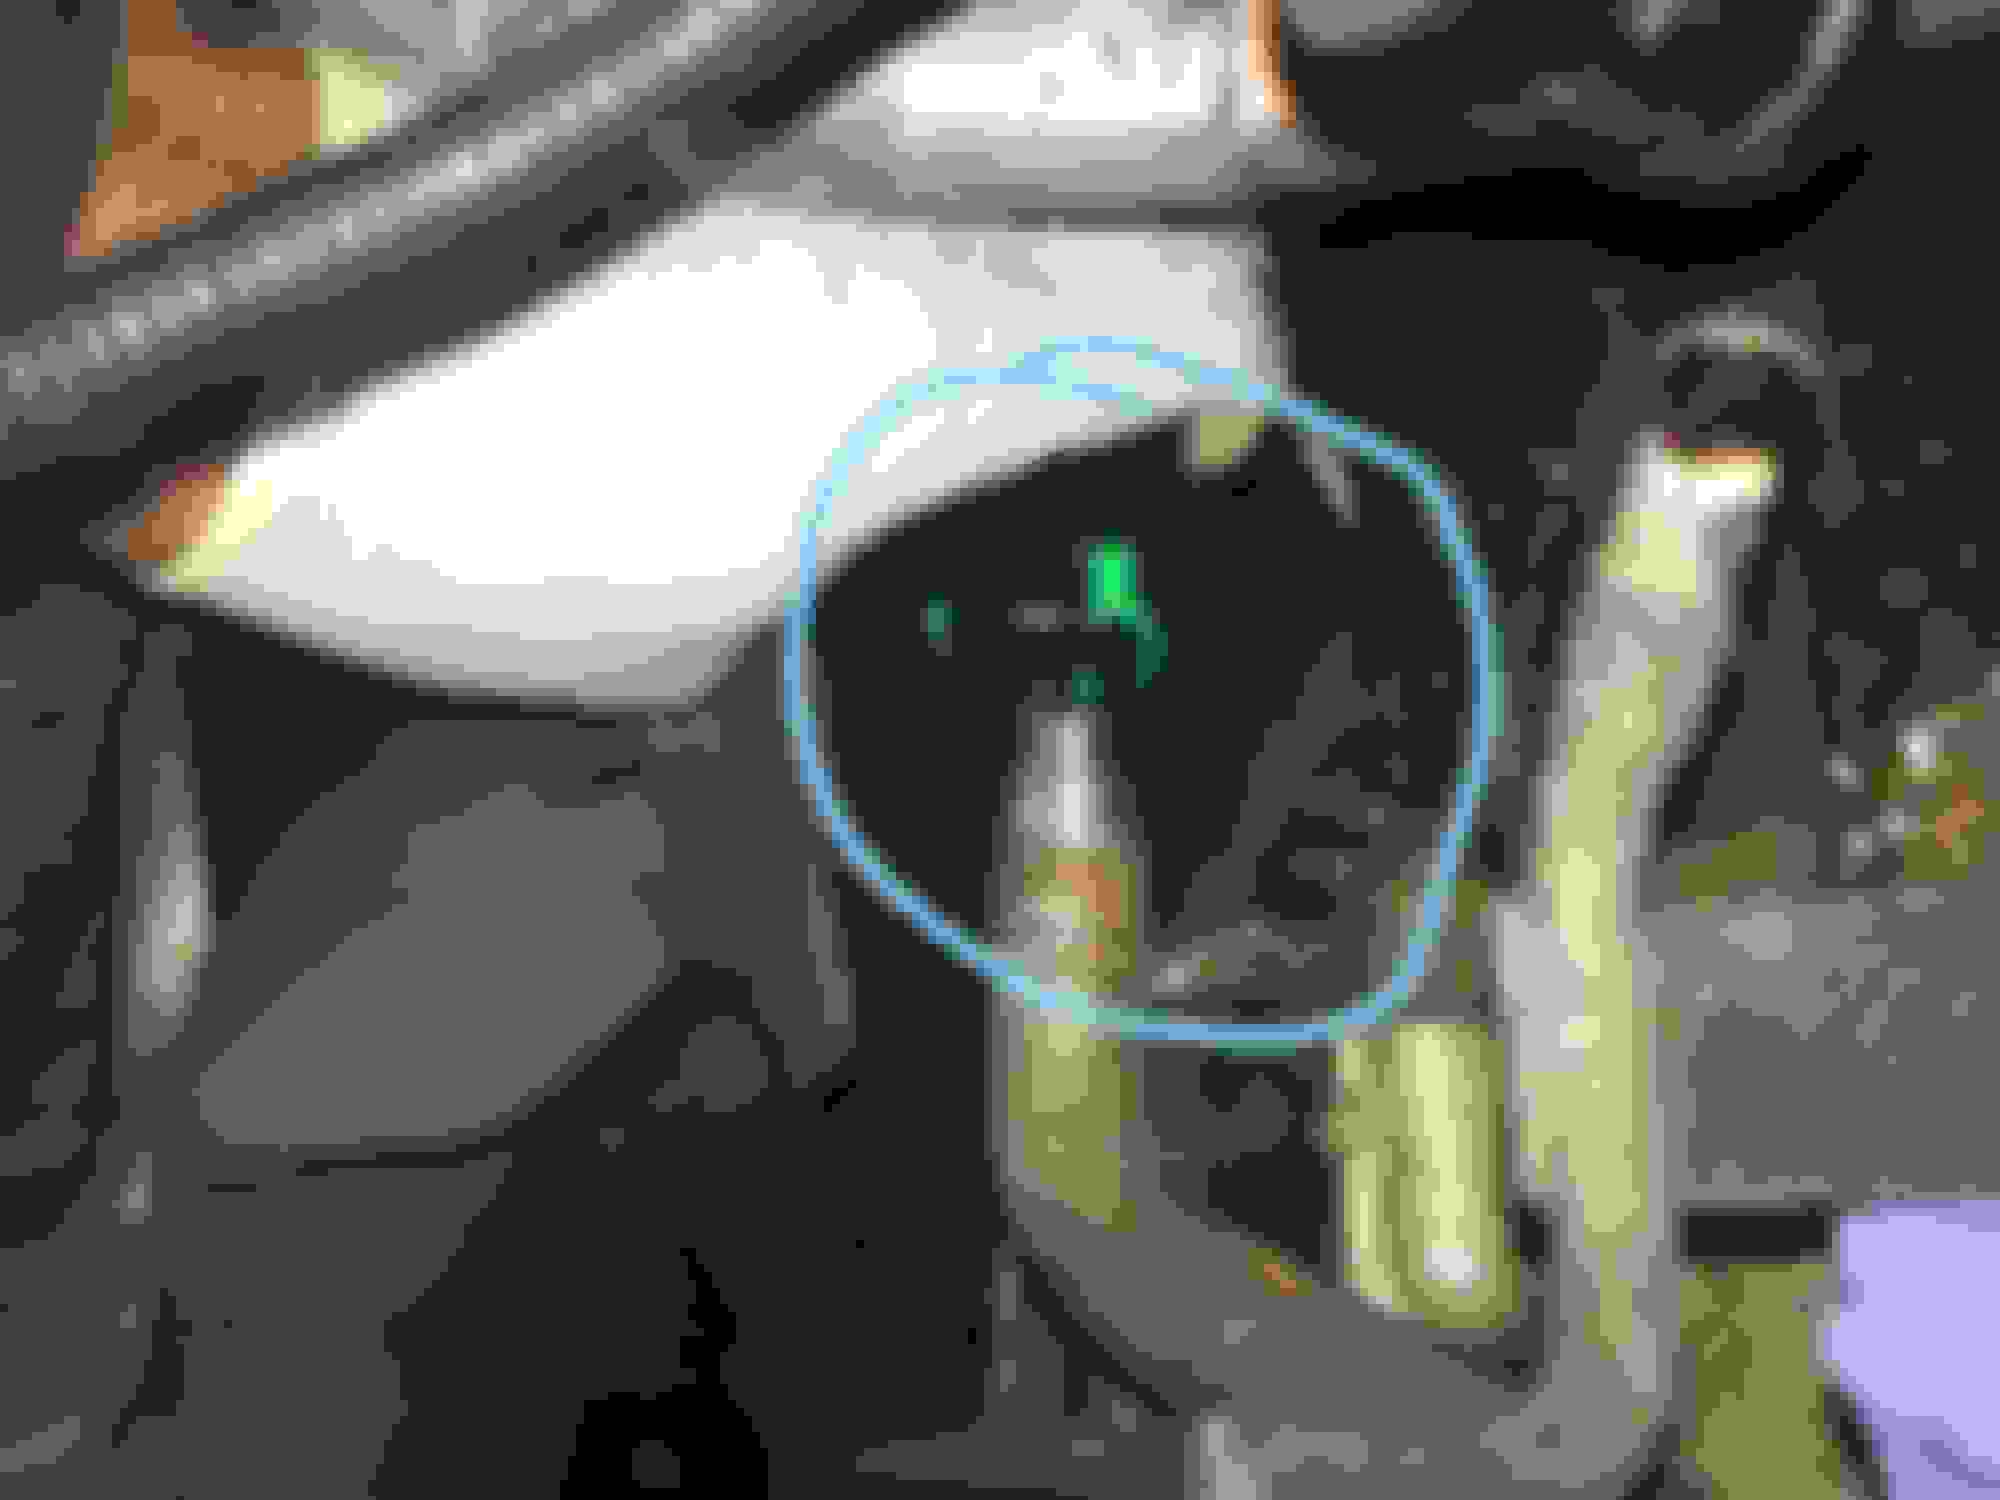
The heater valve cover has 2 8mm bolts lower 2 circled. Once undone it was hard to remove but I got it out eventually just slowly wiggling it about.


Next I disconnected the 2 electrical connectors for the valve and pump, remove the heater valve pipes, not too hard with the pliers. The octopus hose connection to the valve I cut, it did not want to come off then I sliced it with a knife to remove piece left.


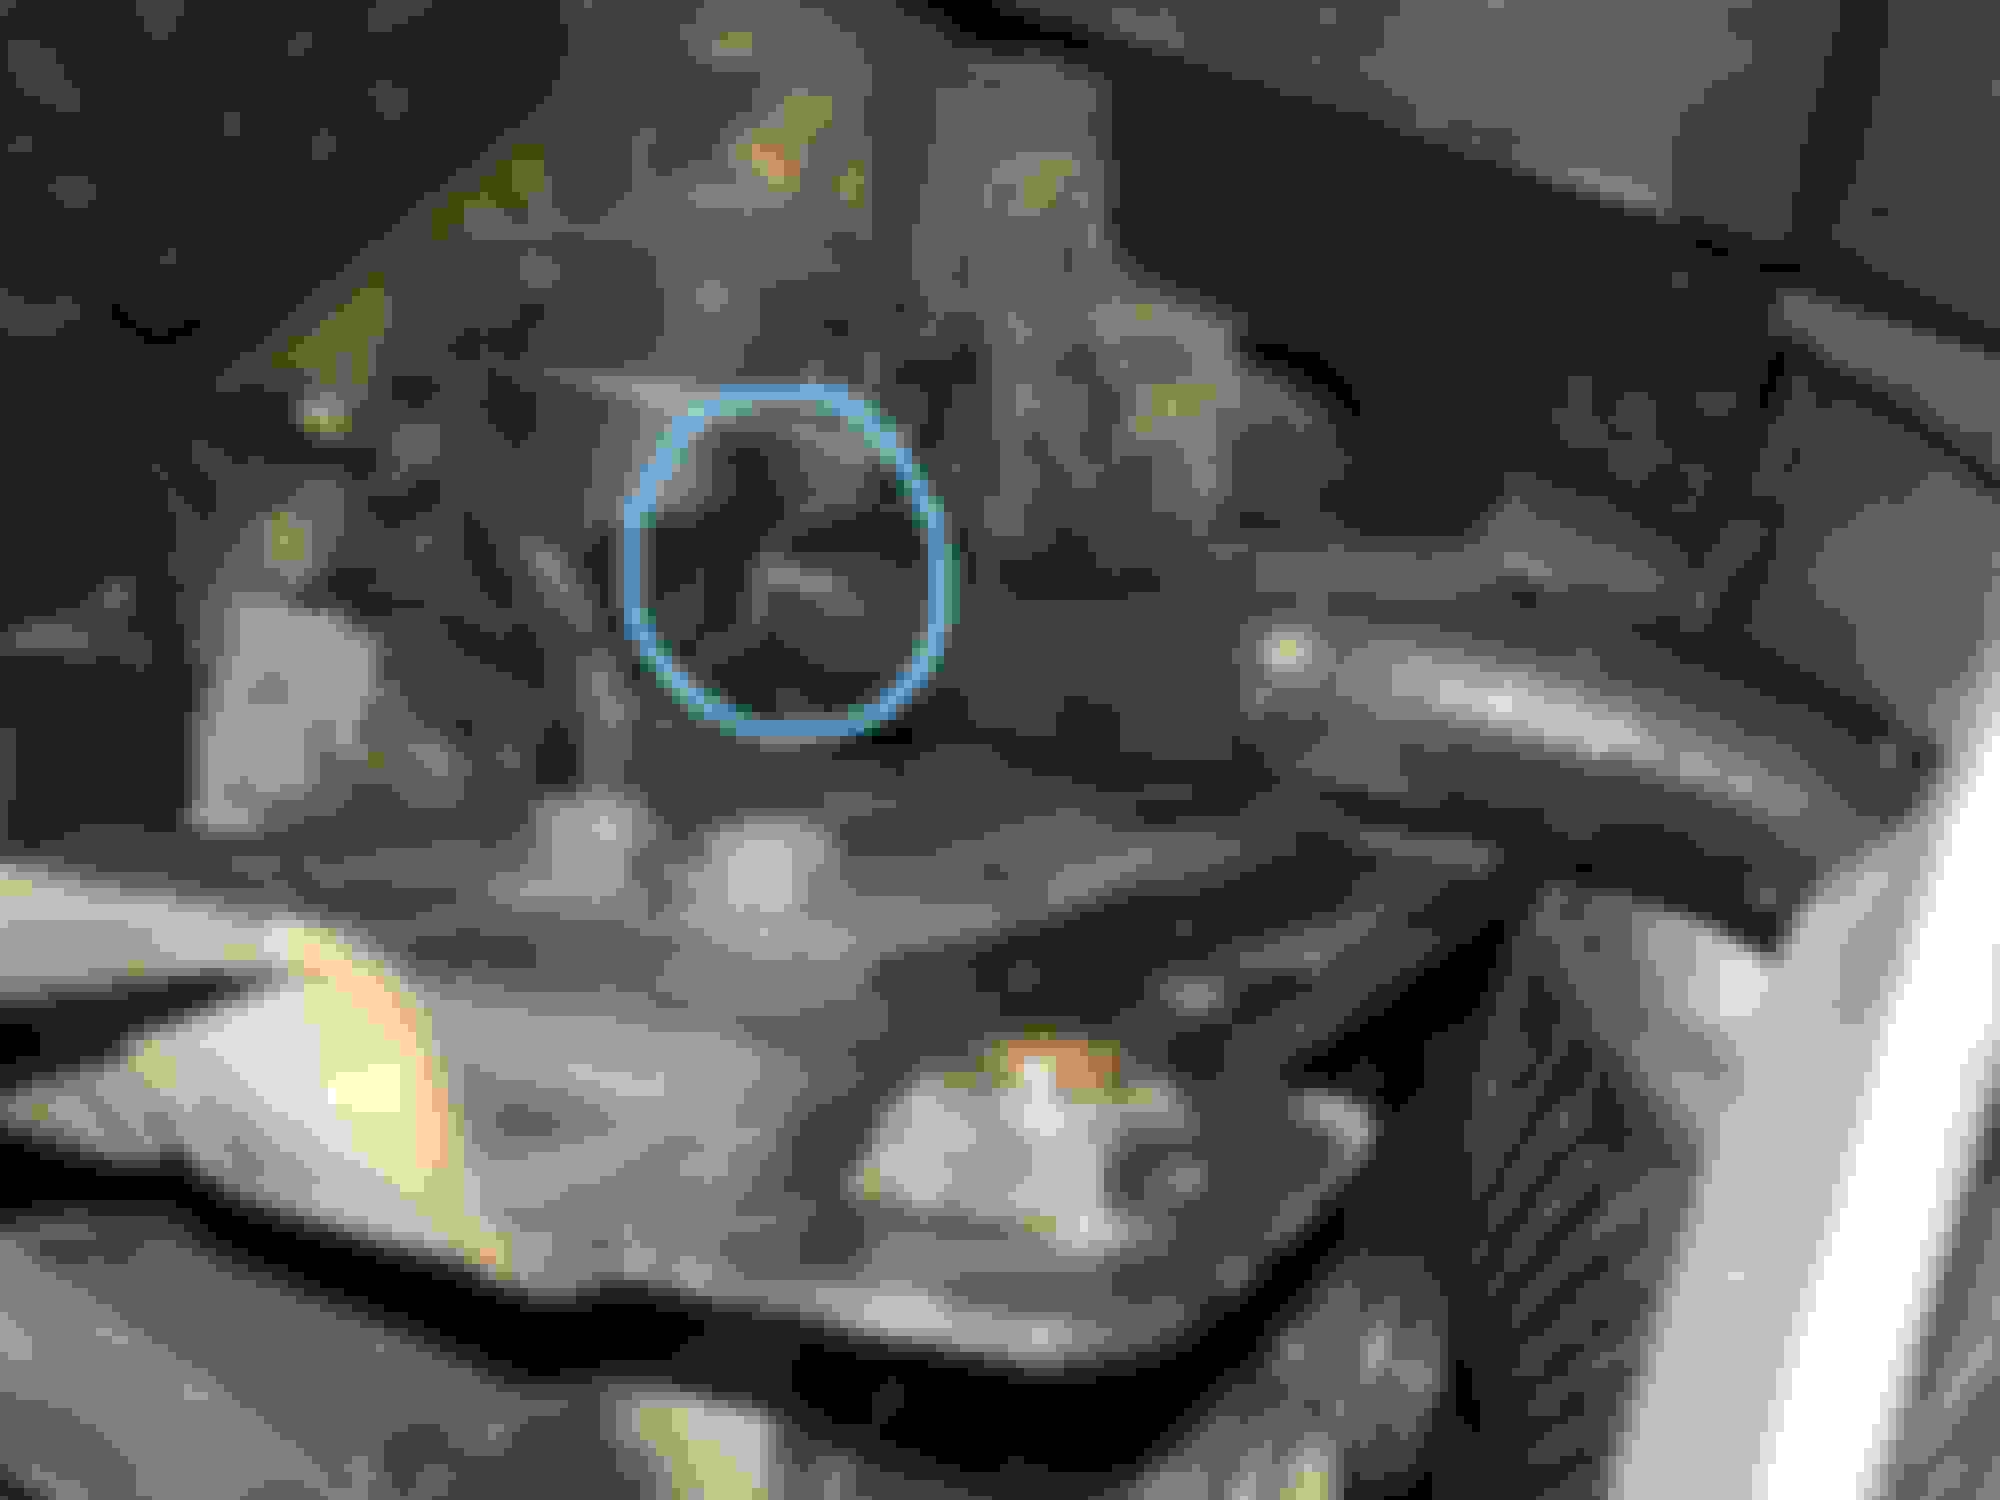
Once that is done you can remove the 2 10mm nuts holding the valve to the bulk head. Pull the valve forward to reveal the pipe at the back running from the side of the water pump to the right hand side of the heater matrix feed.


  #23  
Old 10-21-2017, 04:18 PM
Bones28's Avatar
Senior Member
Thread Starter
Join Date: Aug 2012
Location: Essex. UK
Posts: 106
Received 30 Likes on 17 Posts
Default

To get to the octopus hose it is easier to move this black box (X) forward, there is a nut holding it on the bracket circled


I cut the octopus hose from the black push fit connector. Then pulled it out from the passenger side.


Undo these 8mm bolts


Then this metal piece of pipe can be taken out, the connector broke when i tried to remove it.


the other end looks like this.
 

Last edited by Bones28; 10-21-2017 at 04:57 PM.
  #24  
Old 10-21-2017, 04:56 PM
Bones28's Avatar
Senior Member
Thread Starter
Join Date: Aug 2012
Location: Essex. UK
Posts: 106
Received 30 Likes on 17 Posts
Default

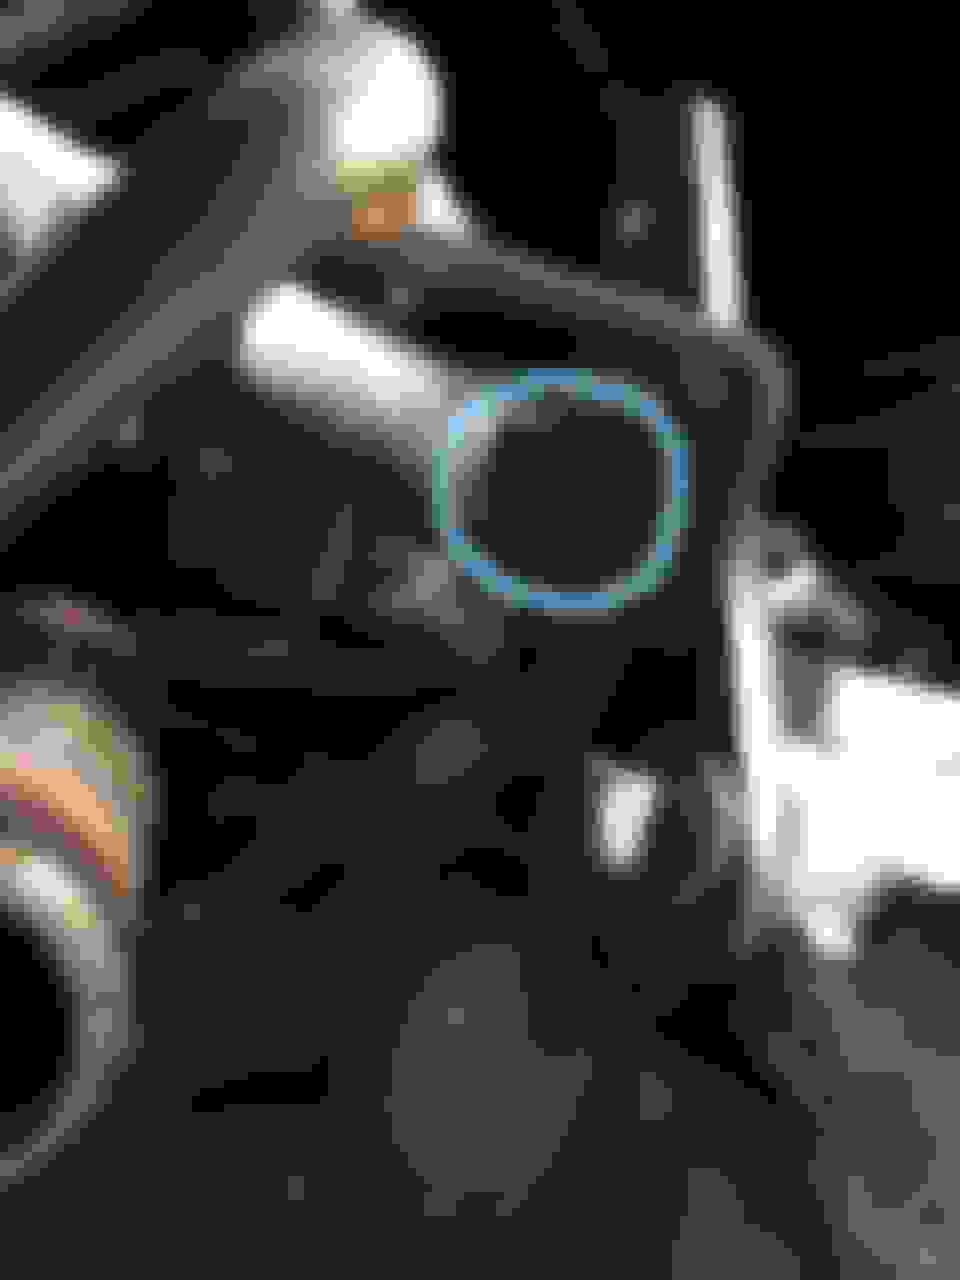
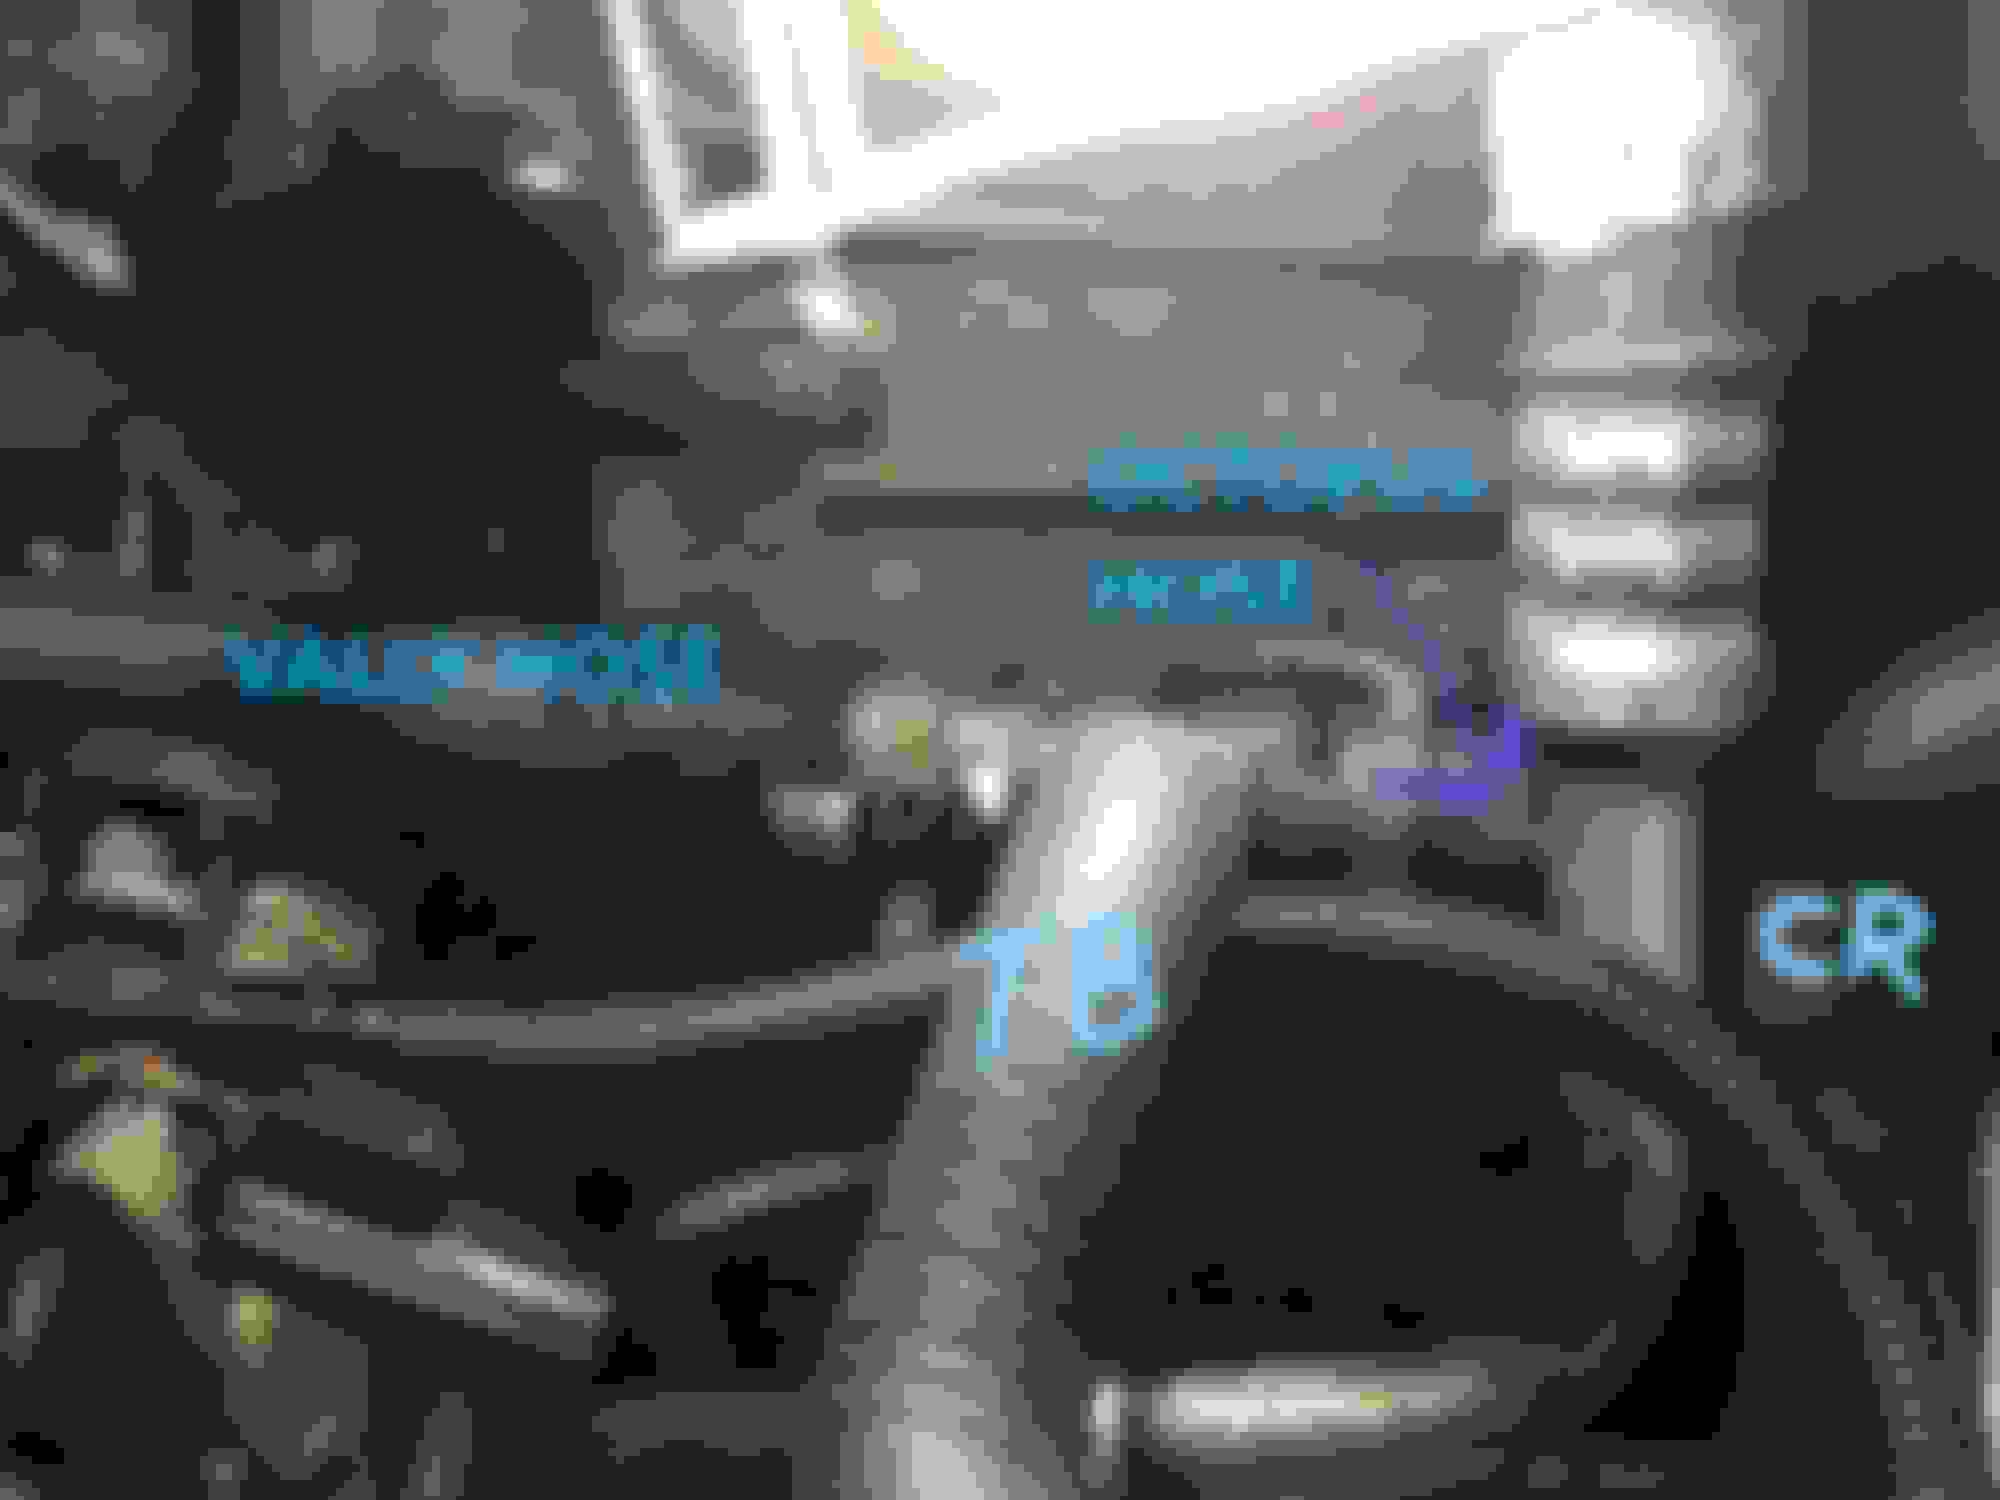
From the passenger side I pushed the octopus hose through behind the metal bracket (X) went in very easily.


Next, I put the new plastic connector for the valley hose to throttle body to octopus hose together.


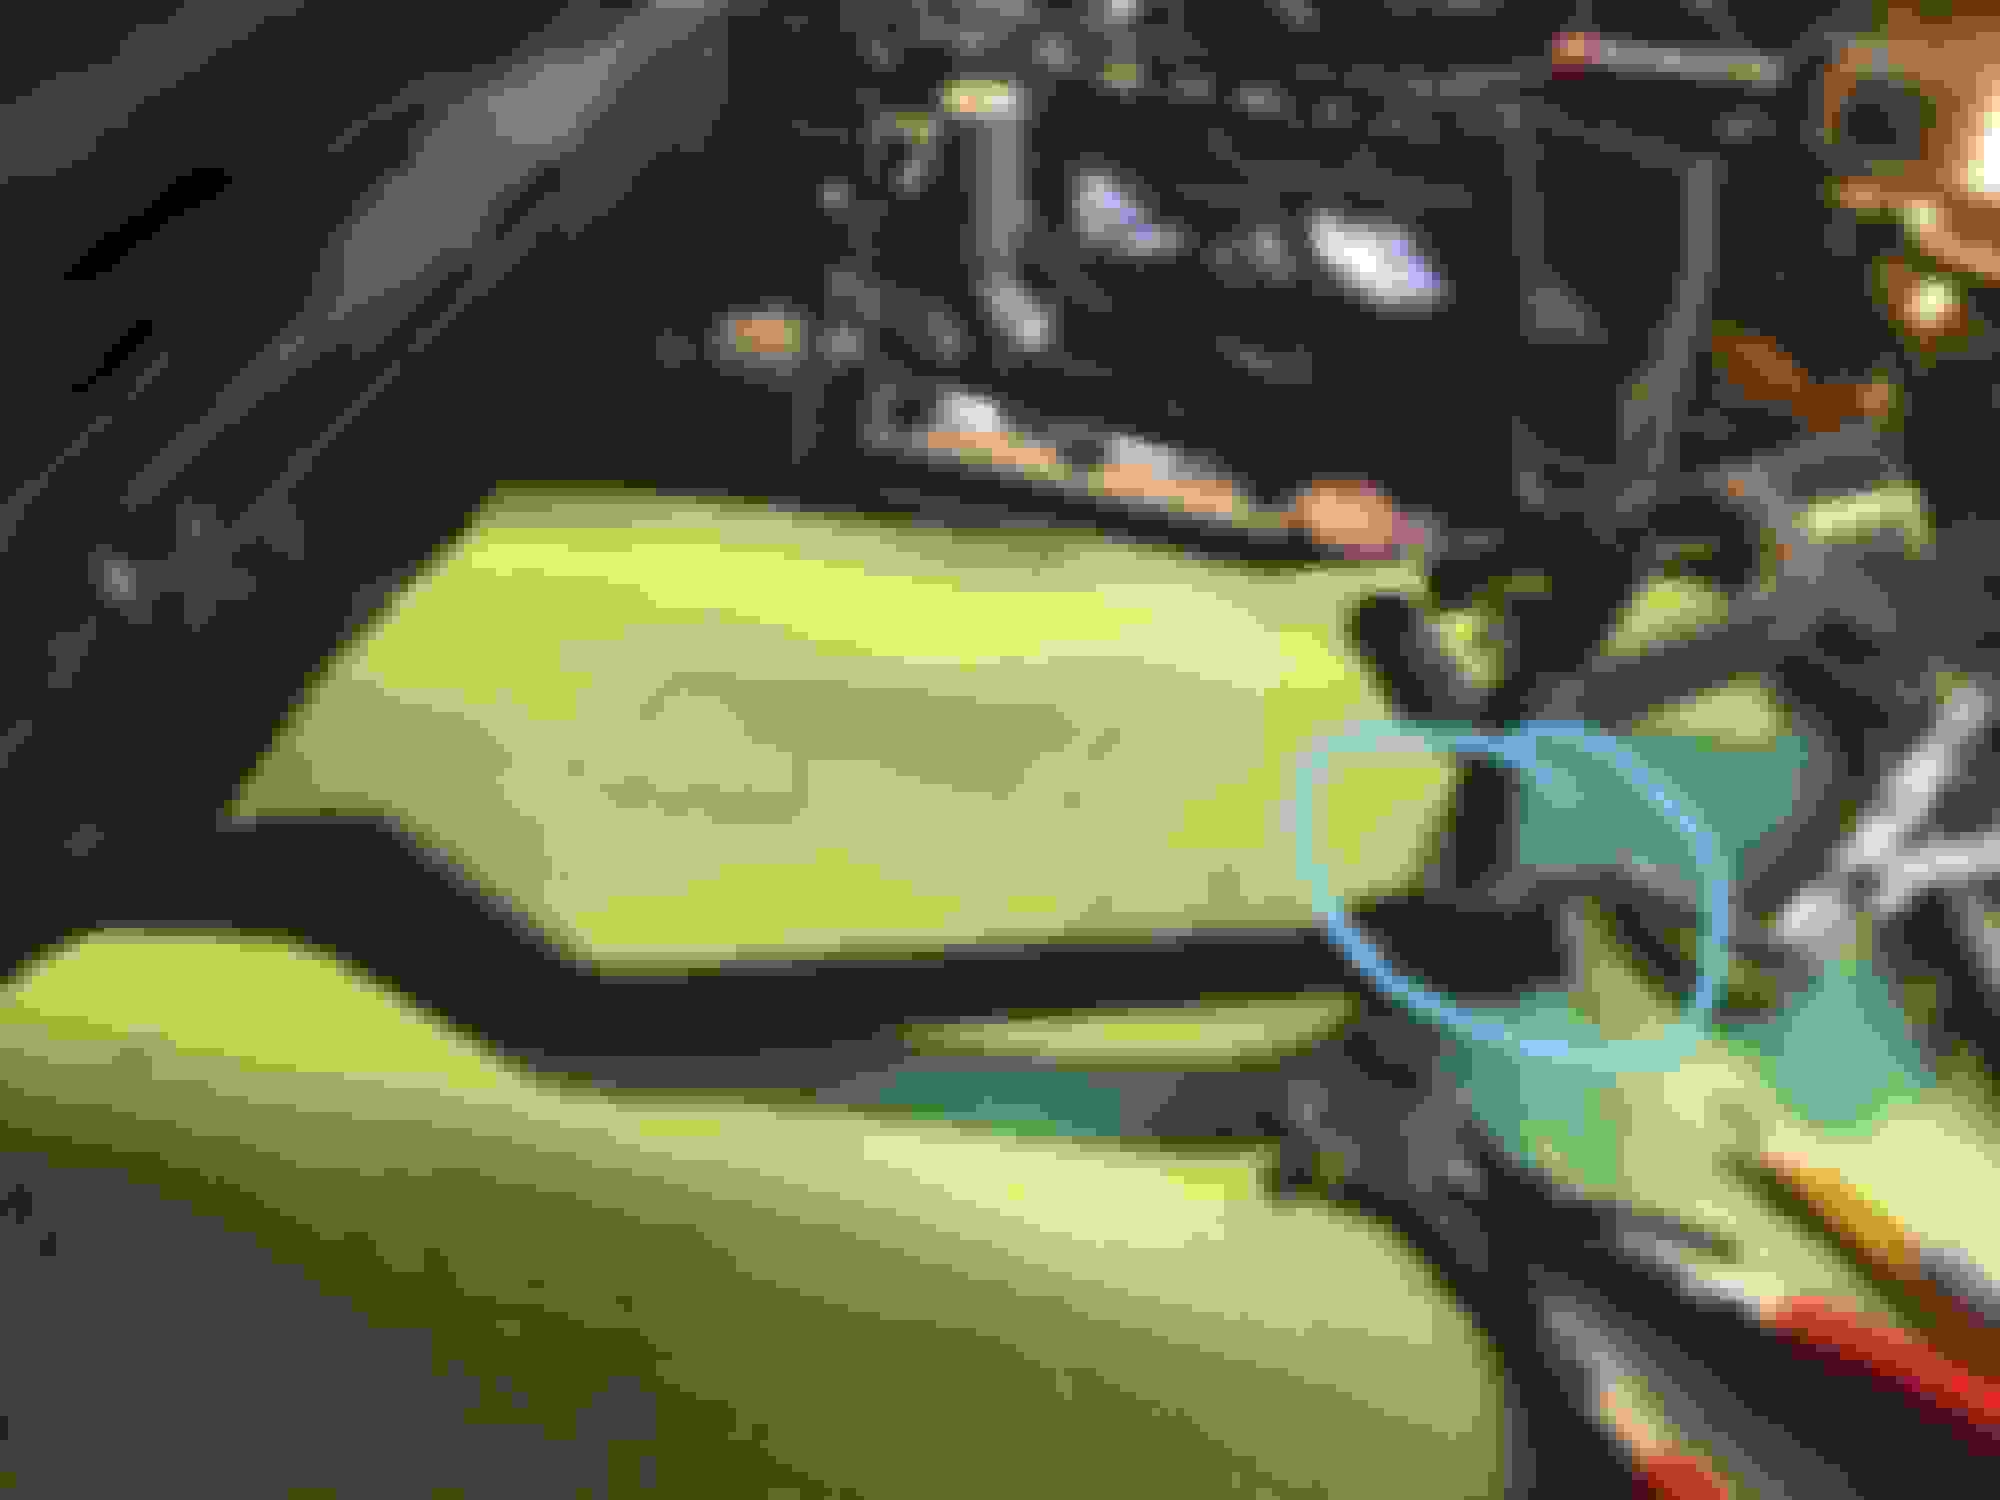
Connected the valley hose and laid the return hose in place, I have not connected it to the metal pipe, it is much easier to connect the metal pipe to the octopus hose first then bolt it back down and you have a solid non-moving pipe to connect the return hose to.


removed green locking clip and pushed it home.


Now I went back to the passenger side and before bolting the heater valve back, I installed the hose behind it from the water pump side feed to the heater matrix.


Next, I installed the heater valve hoses.
No 1 valve to front of water pump.
No 2 valve to LH side heater matrix on bulk head.
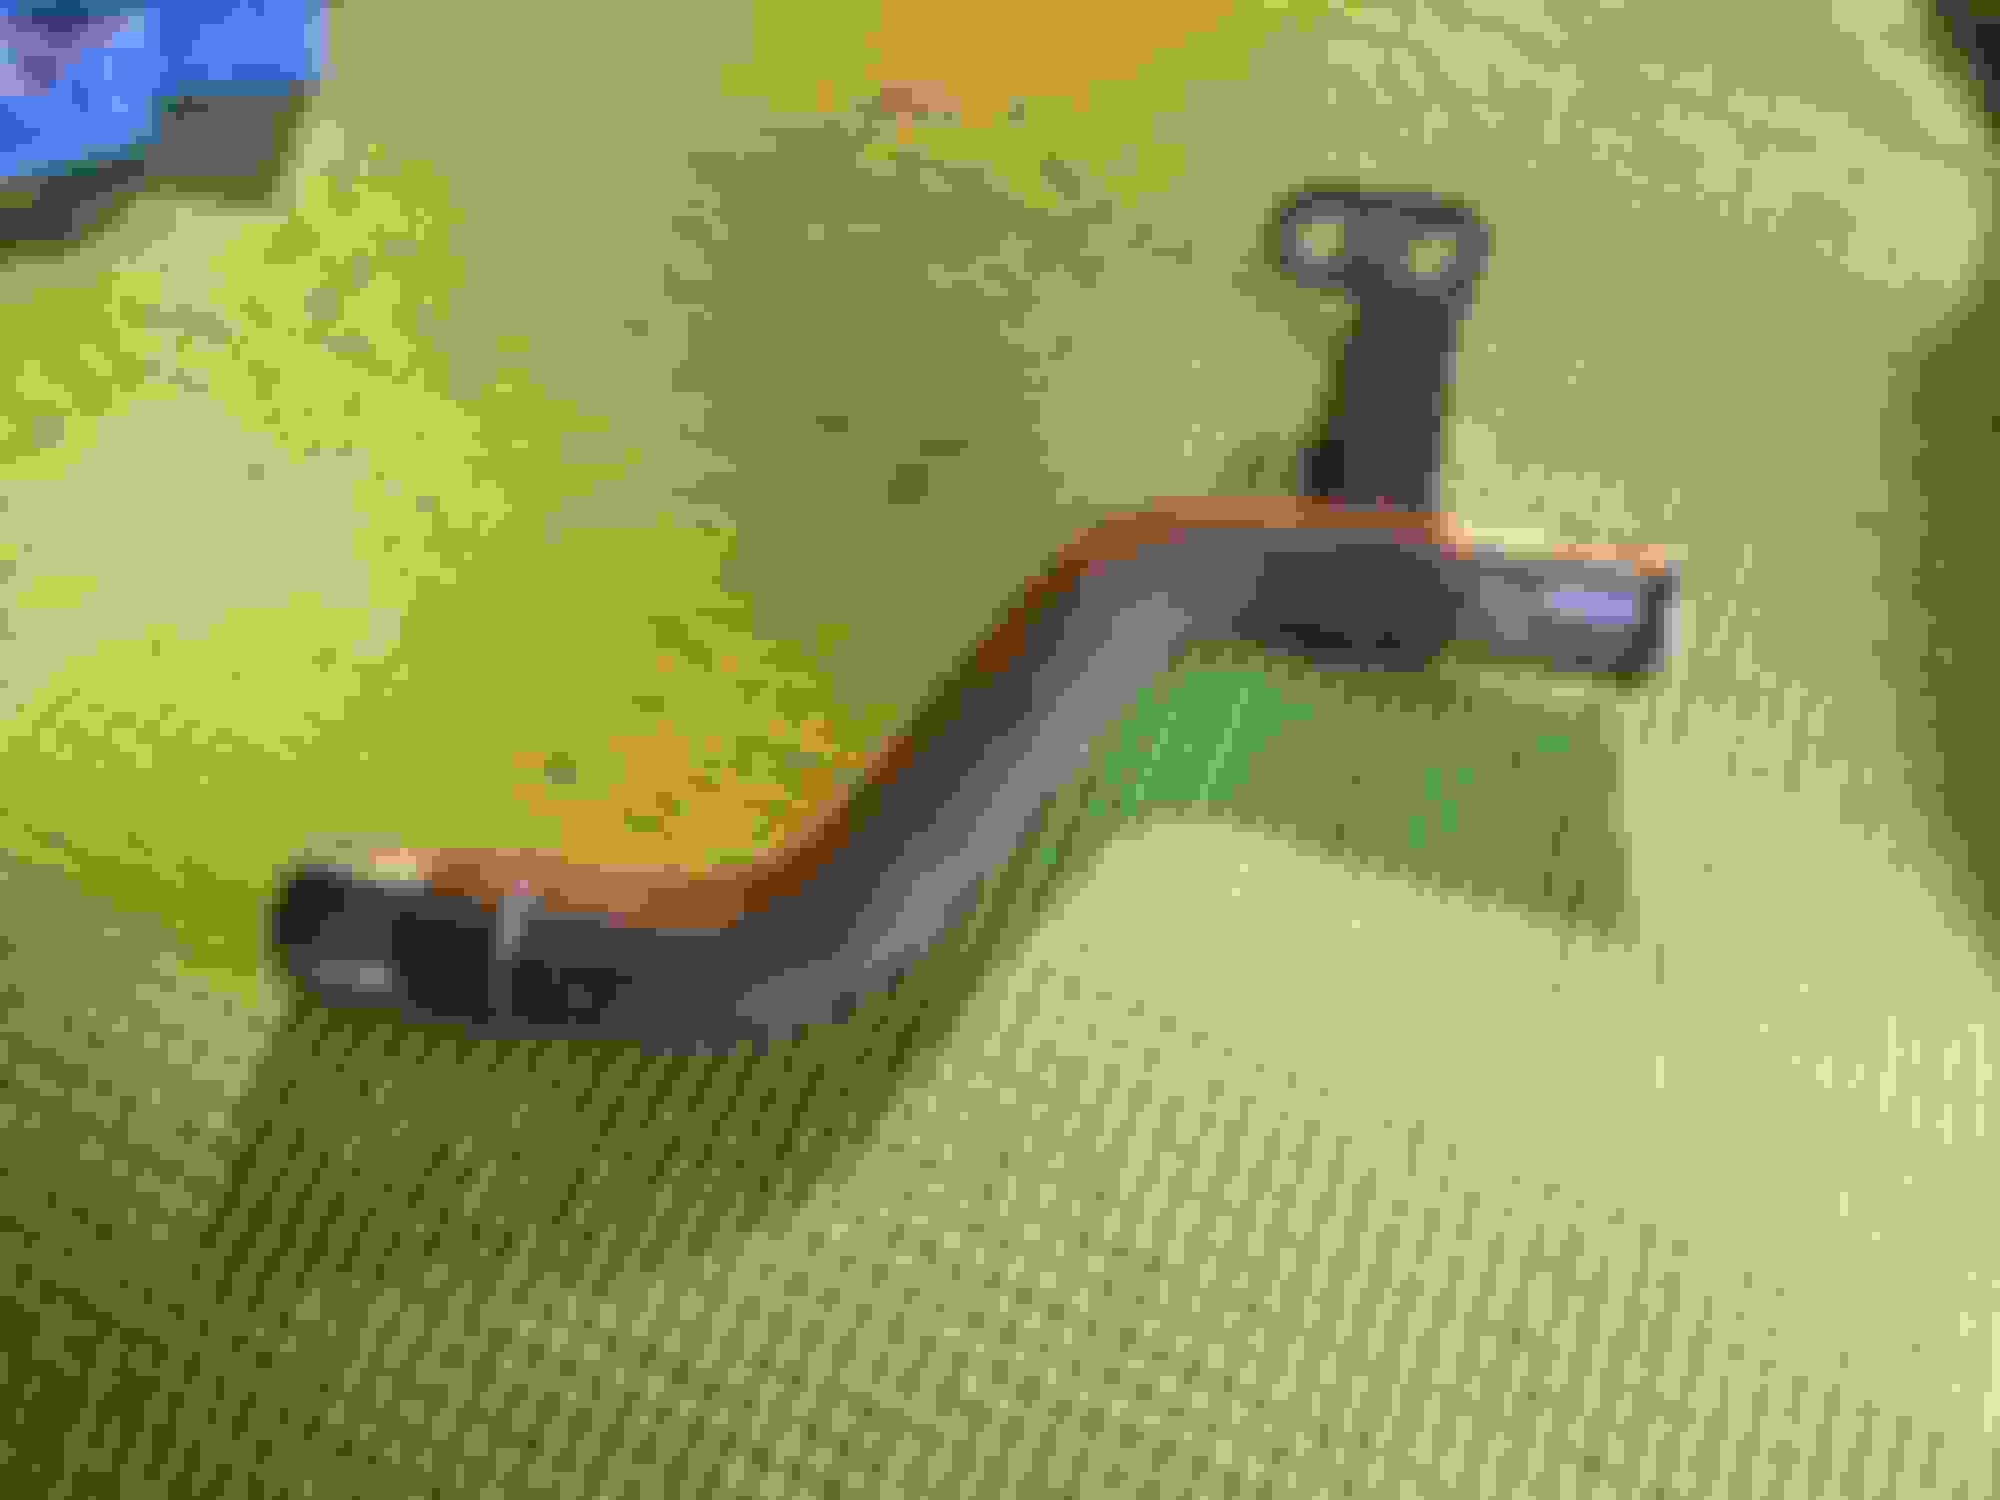
No 3 rear octopus hose.
No 4 octopus hose T section.


Last edited by Bones28; 10-21-2017 at 06:05 PM.
  #25  
Old 10-21-2017, 06:36 PM
Bones28's Avatar
Senior Member
Thread Starter
Join Date: Aug 2012
Location: Essex. UK
Posts: 106
Received 30 Likes on 17 Posts
Default

Next is to connect the new Valley Hose to the octopus hose, take protective white cap and clip it in. CR=Coolant reservoir, and TH=Throttle body


I moved the octopus hose above the high pressure hose, but did not take a picture.

The heater valve cover plate can be re-installed and both bolted on.


Make sure all electrical connectors you have unplugged are reconnected.

The black electrical box can be bolted back in place and reconnected.

 
The following 4 users liked this post by Bones28:
flylear45 (10-25-2017), jimborino (10-22-2017), jimmiejag (10-22-2017), Stamford (08-29-2020)

Currently Active Users Viewing This Thread: 1 (0 members and 1 guests)


All times are GMT -5. The time now is 08:40 PM.