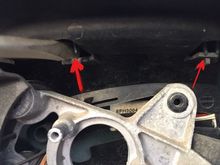
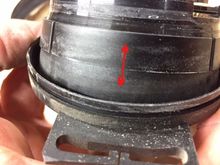
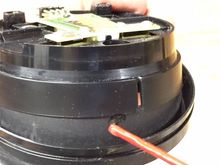
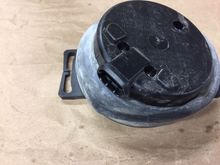
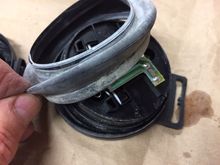
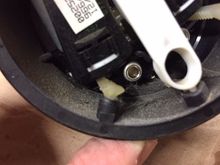
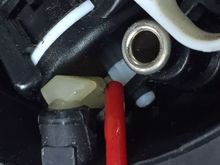
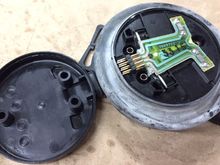
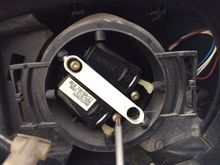
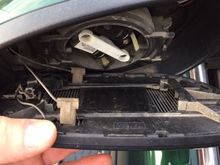
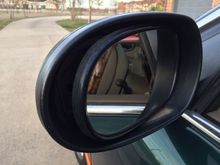
The decorative back cover of the mirror assembly is secured by three clips at the top and three or four tabs at the bottom. Pry the two exposed clips (illustrated here) releasing the top of the cover. Gently pull the TOP of the cover back continuing to rotate it back pivoting on the bottom tabs to release the back cover.