Step 9
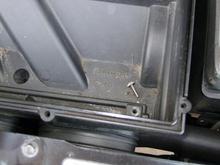
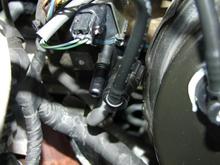
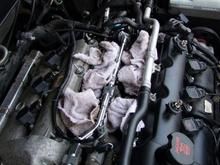
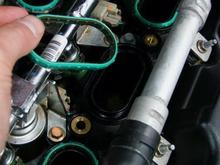
no pic, but remove all the upper (top) mounting bolts of the intake, make note of where they came from because they are different lengths. MOST IMPORTANT!!! BEFORE YOU REMOVE THE INTAKE REMOVE THE PLASTIC BUSHINGS, AND CLEAR YOUR WORK AREA OF ANY TOOLS AND HARDWARE. As you remove it there is a vacuum line still connected in the valve cover in the back, you can pry it off with a flat head. once this is off IMMEDIATELY STUFF RAGS IN THE CHAMBERS!!!