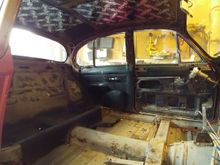
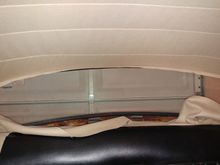
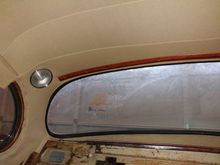
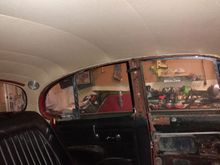
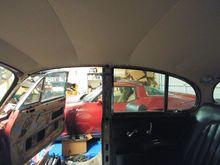
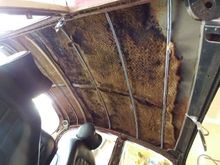
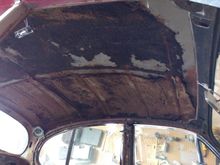
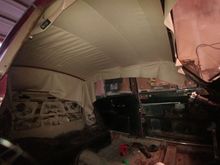
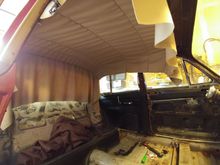
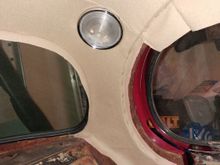
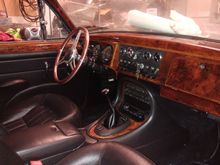
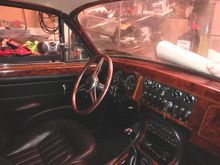
There is some debate on where to start, but I always start in the middle, stretch and adjust each side equally, and work my way forward. Then I work my way from the middle back. I probably removed most of the staples you see in place here, expect to repeat the "Staple, adjust, stretch remove staple, re-staple" cycle a few times.