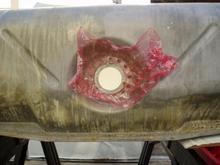
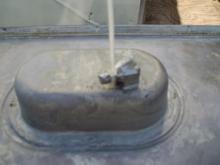
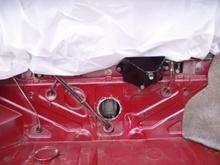
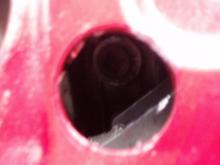
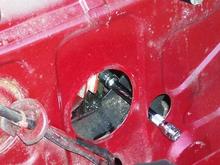
The interior of the tank needs to cleaned as well. This pic and the following few demonstrate how to seal the various openings on the tank in order to use the rust removal solution on the interior of the tank. In this pic, for the sending unit opening, cut a piece of cardboard that has the same thickness of the sending unit, I had to use two or three pieces to get the desired thickness. Place a piece of plastic wrap first to protect the cardboard, then insert the cardboard, followed by the retaining ring used for the sending unit. This opening is the one used for adding the solution and rinsing the interior of the tank.