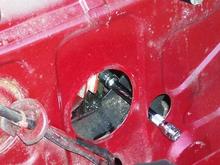
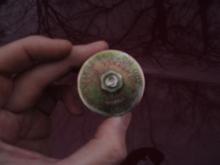
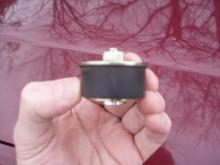
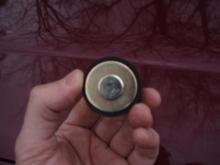
I used a 6". 1/2 extension to remove the plug. You can see I was right up against the left side of the hole. You don't need any socket on the end, just the extension. The extension end fits into the differential filler plug socket. Use a 3' extension to remove the differential drain plug, except reverse the extension and use either a 1/2' open end wrench or a vice grip placed at the socket end of the extension. The Haynes manual makes reference to needing a "special pipe plug socket", this isn't necessary when utilizing the 1/2' extensions.