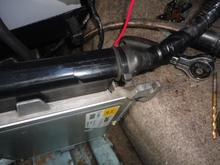
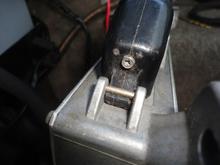
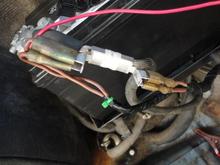
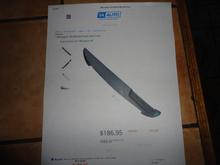
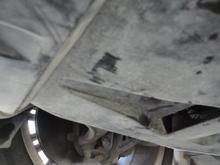
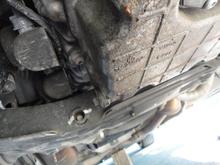
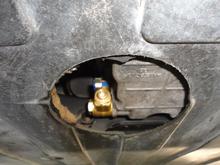
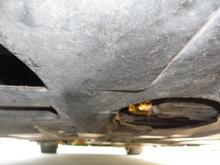
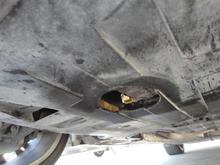
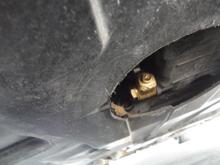
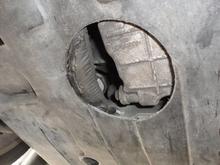
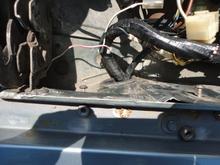
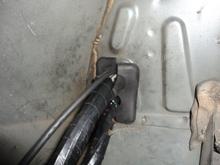
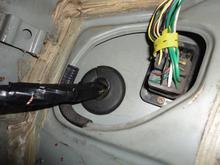
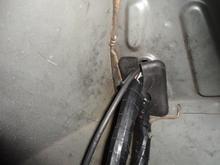
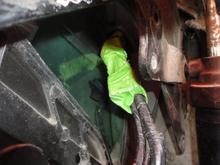
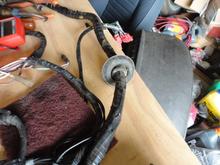
The used harness purchased had this grommet that was missing on the original. The grommet fits where the harness passes from the foot well into the space between the inner fender well. I believe that the wiring harness chaffed through from rubbing against the hole in the inner fender well because the grommet was missing. At some point in the car's history, the right front fender was replaced. Not sure why the grommet was missing.