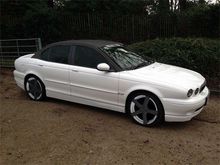
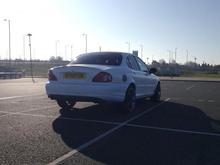
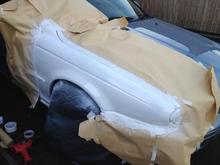
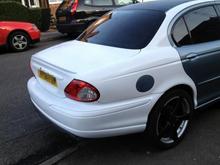
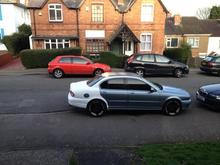
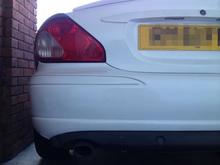
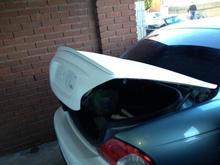
Latest pic taken today now all paint is on.
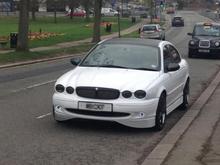
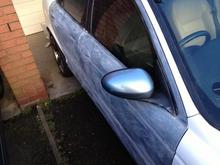
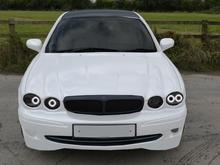
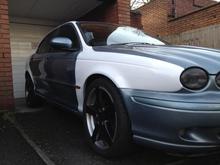
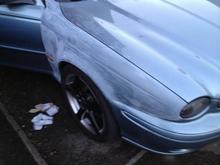
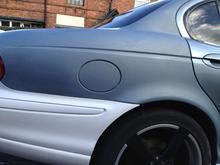
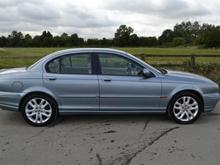
I only things I have photoshopped here are the lower front bumper extensions and side skirts, so I can see how the next stage will look, Plus the wing mirrors since these are still blue :)
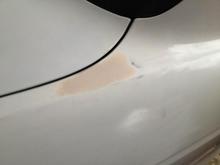
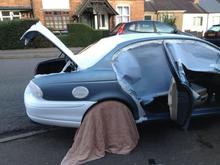
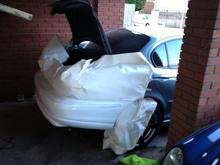
I will be using acrylic for the body kit, and epoxy & filler to attach smoothly, but I will need to construct some bracket-like supports to keep these little additions in place.