When you click on links to various merchants on this site and make a purchase, this can result in this site earning a commission. Affiliate programs and affiliations include, but are not limited to, the eBay Partner Network.
Confession - I screwed up when installing rear shocks
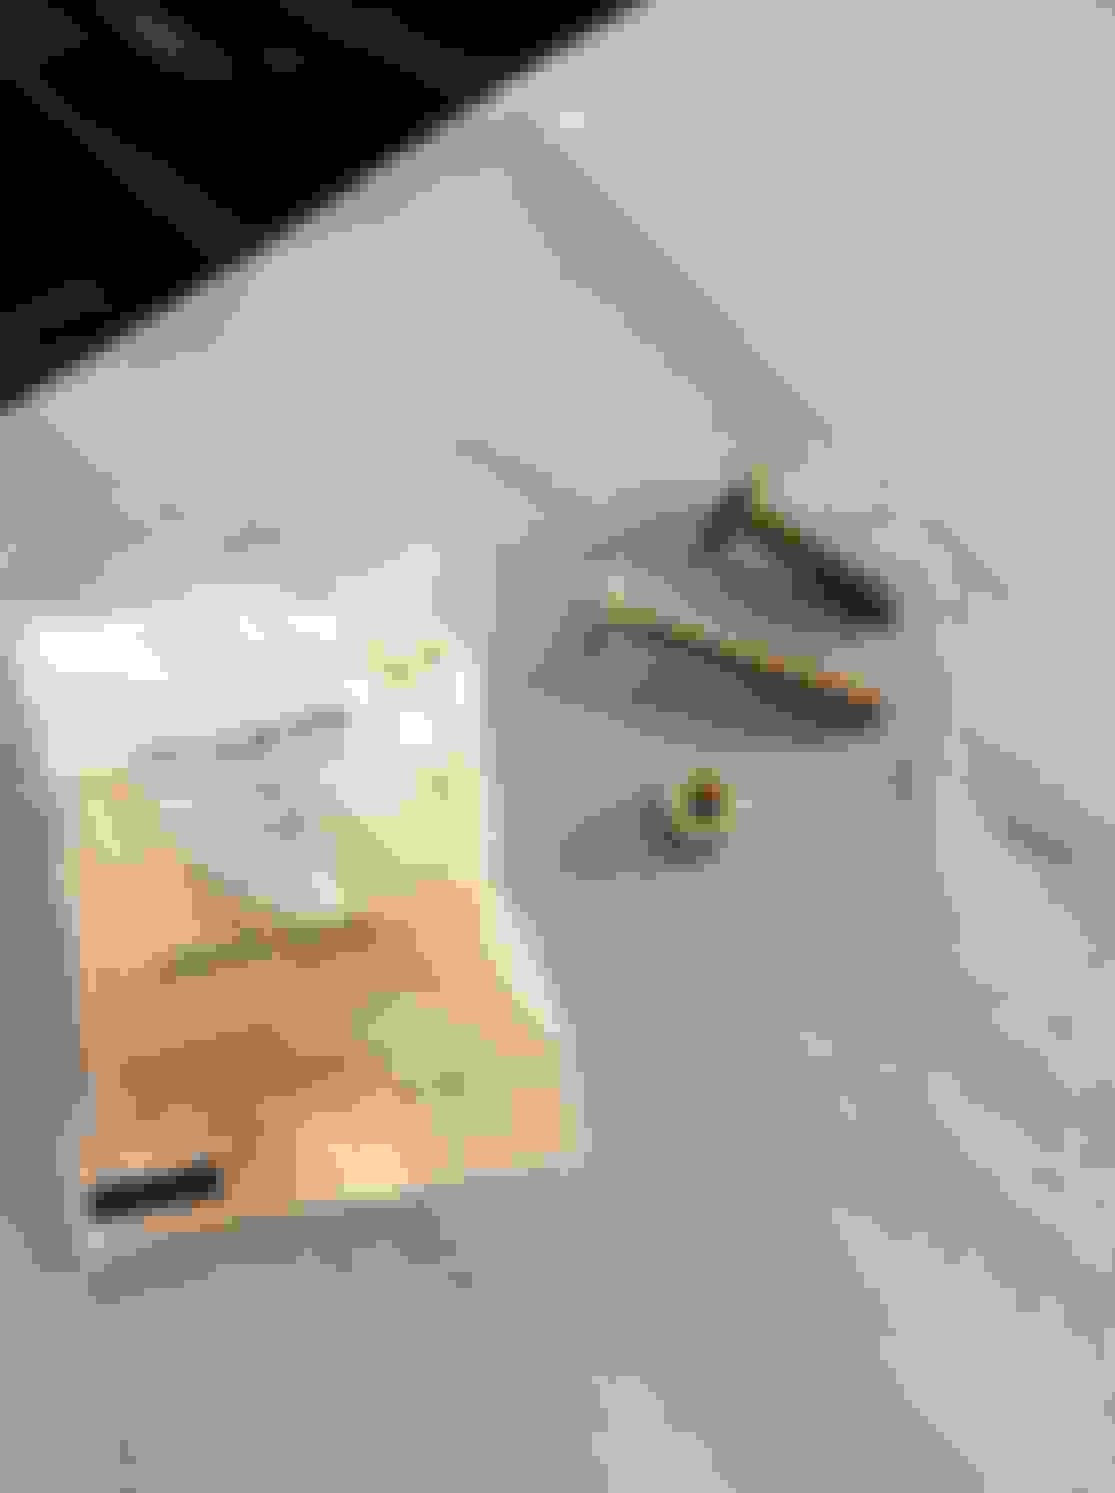
Recently our 2004 XType 3.0 started rattling from left rear when going over bumps. I looked under and expected to see bad sway end link. But what I saw was the Bilstein that I recently installed flopping around loose. It was not connected at top at all. So I jacked it up and took off the wheel. What I found is that one of the studs was attached by the nut to the upper shock eyelet but it tore cleanly around the head of the stud where it mounted to underside. The other stud mounted to underside of car had a nut on it tightened up on it as pretty as you please. I had failed to put the other upper shock eyelet over that stud when installing and then tightened the nut on an empty stud - doh!!!
So for the time being I went ahead and mounted the upper shock eyelet to the stud that is still there and secured the lower shock bolt and it is back in place, just not proper since it has only one eyelet connected up top. I am guessing we drove 1,000 miles on it before that single stud that was connected tore through. I know this isn't fixed and did this just to either get it to a repair shop or move it out of my way until I can fix it towards end of week when I get back from business trip.
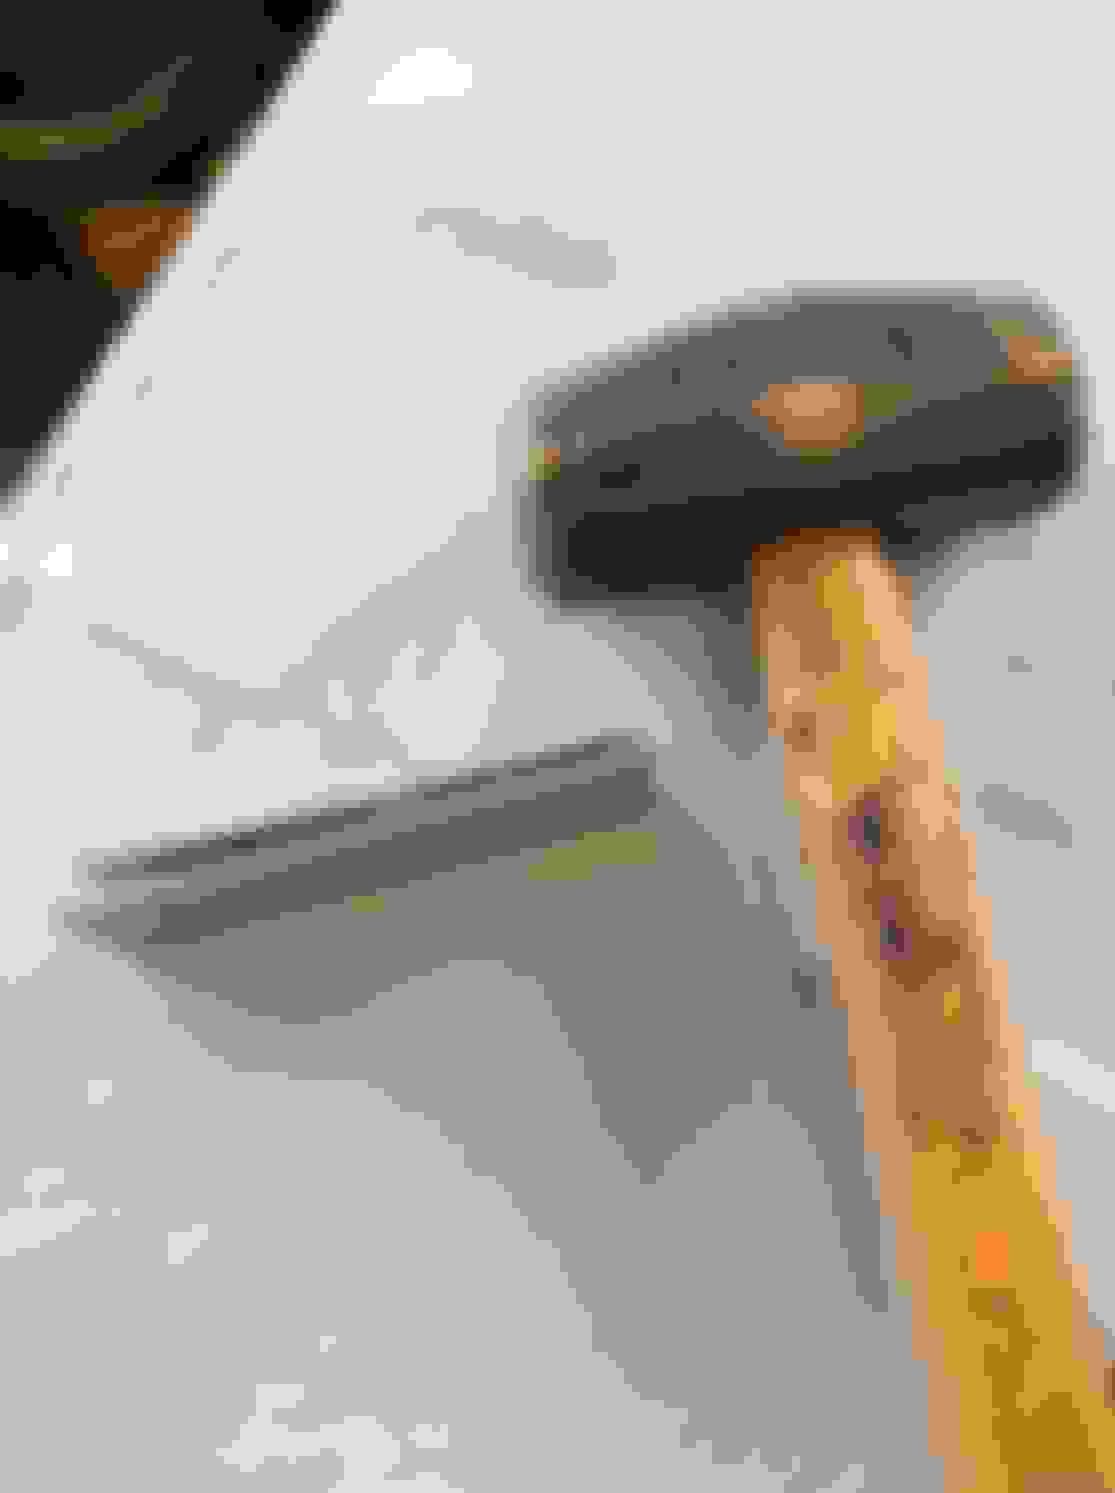
I could see up in the opening where it mounts that the stud was welded and it tore cleanly away. It looks to me that I could fashion a plate or maybe even heavy washer and put another bolt through from the upper side of where it mounts. This backing plate could serve as support for the head of a new stud as long as the threaded part will fit the eyelet of the shock. Then I could tighten the nut and sandwich the torn mounting point with the reinforced plate behind it. Otherwise I think someone will need to weld in a patch and a new stud there.
I think you could get by with a small plate. The plate can not be to far into the hole that the top of the shock needs to go into. I would use a Carriage bolt that way you can file the hole square in the plate so that the bolt does not spin when tightening.
OR just drive to Cleveland, where we did not get any snow, for me to weld it for you.
Look like you can cut two plates, drill the holes and sandwich them over the tore hole then tighten them up until you can get to the welding shop, remember to put heavy washers over the studs.
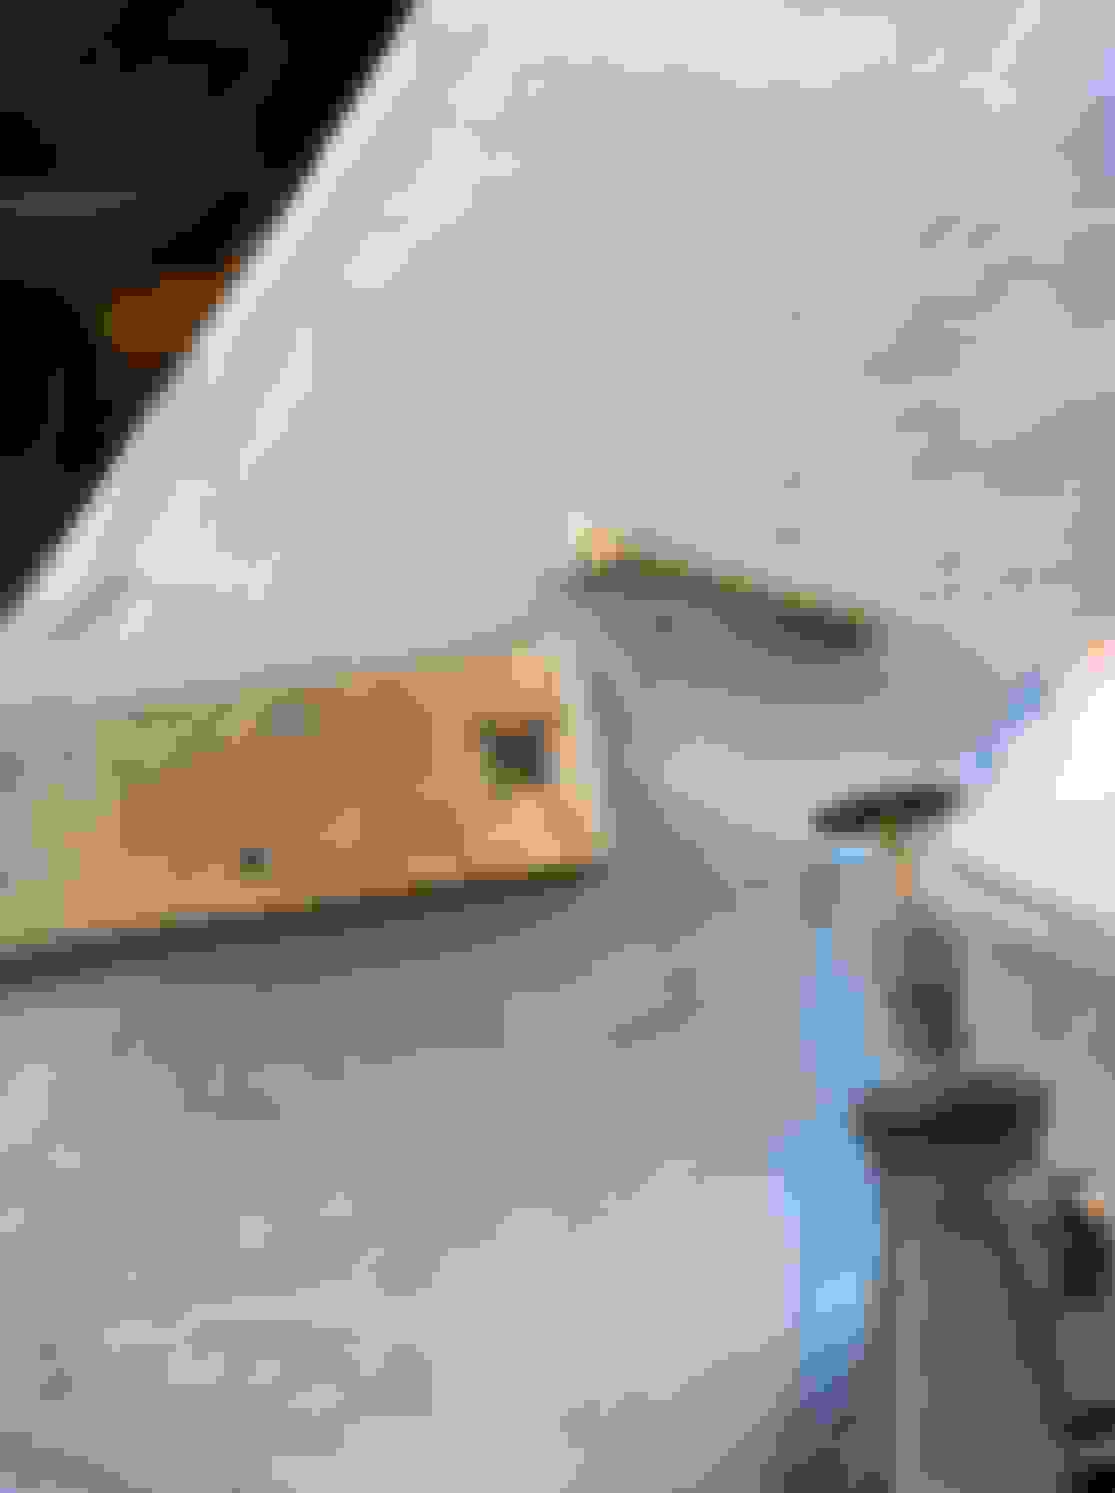
Update - I fixed the shock mount today. The concept I first had was to use metal above and below to span the tear in the sheet metal where the stud tore loose. At first I though two pieces to sandwich it but then visualized those "spinning" on each other. So what I did was to buy a 1 1/2" x 4 " corner angle in the decking area of my Lowes. The thickness of that galvanized metal is almost extactly same as the underbody of the car where it tore. My idea was to fold that metal over on itself so that it had an outside edge allowing the two sides to slide over the tear. I bent the very rigid thick metal over with my mini sledge. Then I made a template based on the span of the mounting holes on top of shock. I test fit my template and then marked where the hole for the mounting bolt needed to be.
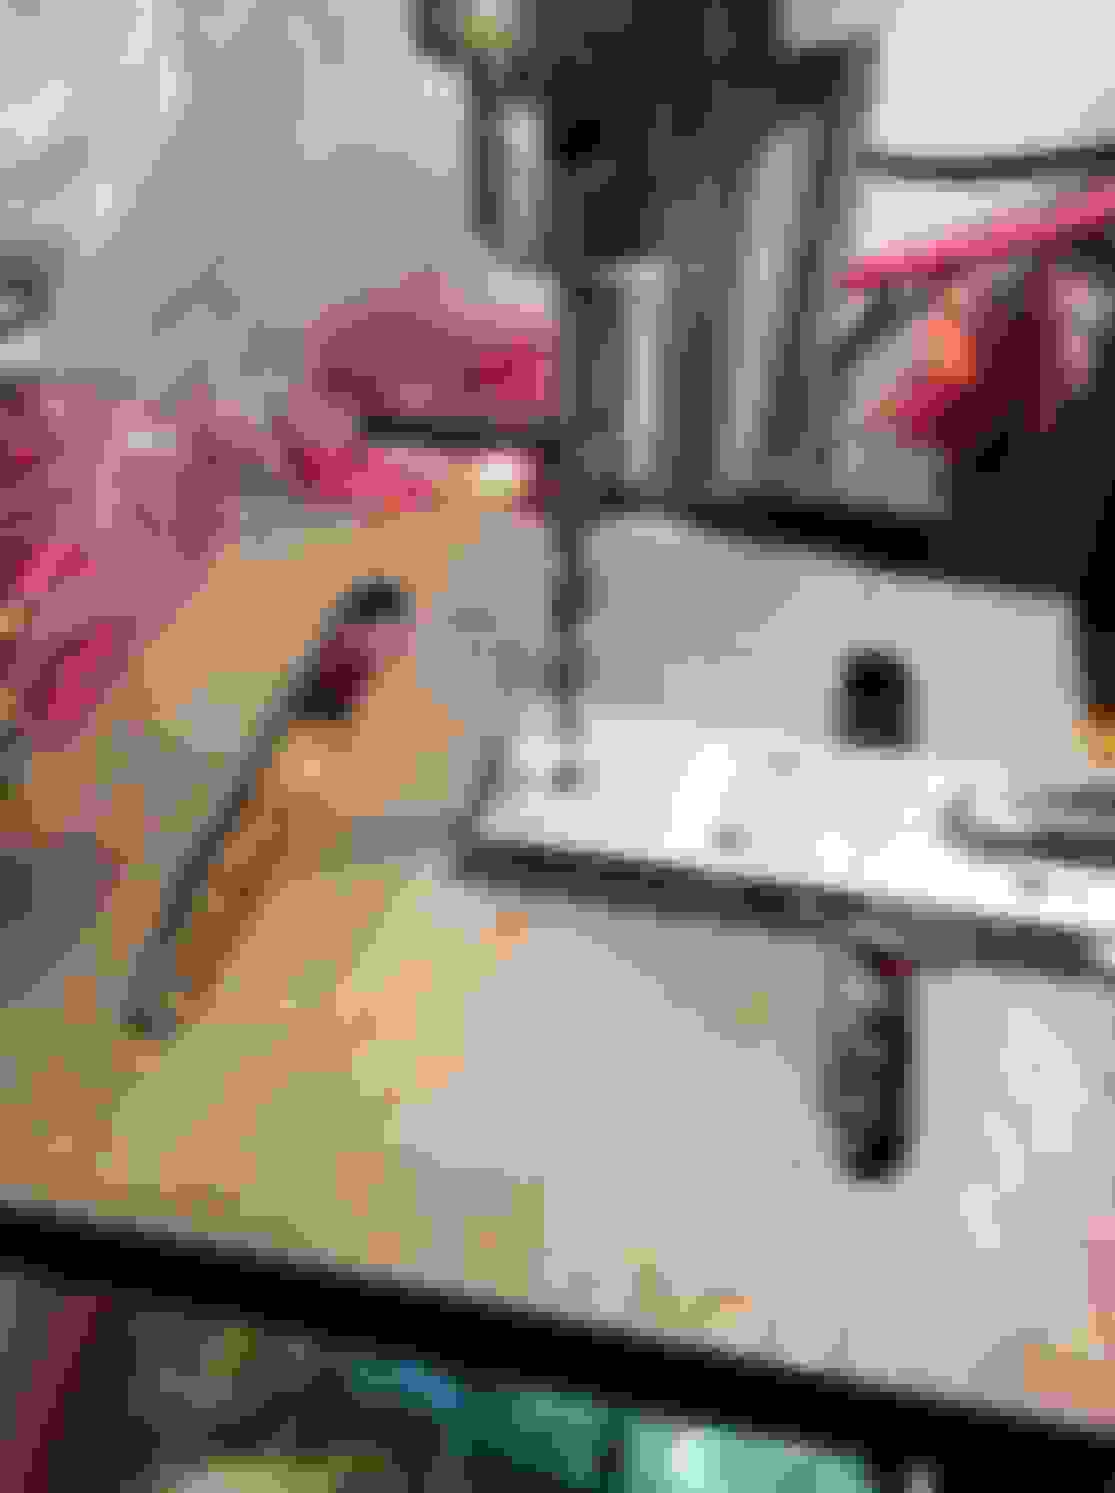
I bought a stainless steel 2 inch 5/16" 18/2 carriage bolt and matching nylon lock nut. That size is very very close to the same size of the stud welded to underside of car. I drilled the hole through both sides of the metal clip in my drill press using progressively larger bits until the 5/16" hole. Then taking Larry's advice I traced a square to grip the carriage bolt on the topside of my clip. I used my Dremel with cutoff wheel to slice on the lines to make the square hole. It fit great! The other side had circular hole. I determined that I needed to make a spacer of the same stock that I made my clip from under the shock tab on the original stud side to make the shock sit even. So I just drilled a 5/16" hole like before in a scrap piece and made my own.
Next step was to cut my clip to length that will fit where it needed to span the tear. The 1 1/2" width was exactly right to fit an indentation in the underside where shock studs are welded. So I measured from my template made from an index card and marked my metal that was bent and now drilled and cut for carriage bolt. I also did that with Dremel cutoff wheels. I used 5 of them in total today.
So now the moment of truth. I put the bolt through and slid my assembled clip over the tear. It took some tapping with a hammer to position exactly but I got it where both my bolt and the original stud lined up on shock eye holes. The nut size for my new one was 1/2 SAE and the original is 13mm. So slowly but surely I tightened the nuts alternating each side with my ratchet. It seemed to have worked and is nice and solid. Time will tell and I will report back if it fails.
I just don't see how it would be possible or cost effective to try and weld the tearout that I had. Very tight quarters in there. I thought about this and went through several scenarios before settling on this method. The metal that secures the shock eye to the car is now twice as thick as it was and also is spread over a greater surface area. Hopefully it will last as long as I plan to enjoy the car.

 01-08-2017, 05:03 PM