When you click on links to various merchants on this site and make a purchase, this can result in this site earning a commission. Affiliate programs and affiliations include, but are not limited to, the eBay Partner Network.
Hi guys. I have a 2005 Jaguar Xtype 3.0L engine. i received the P0174 error code (system too lean bank 2). I read that my O2 sensor is probably bad as my MAF sensor wasn't that dirty or my air filter. My ODB reader that pulled the codes had an O2 sensor test that my car apparently failed. (for both minimum and maximum values) My car sputtered while accelerating last week and my gas mileage has been crap lately. I have a little experience with DIY car projects but want to know exactly what i need and where this little sucker is at. There was only one video on youtube... thanks a bunch!
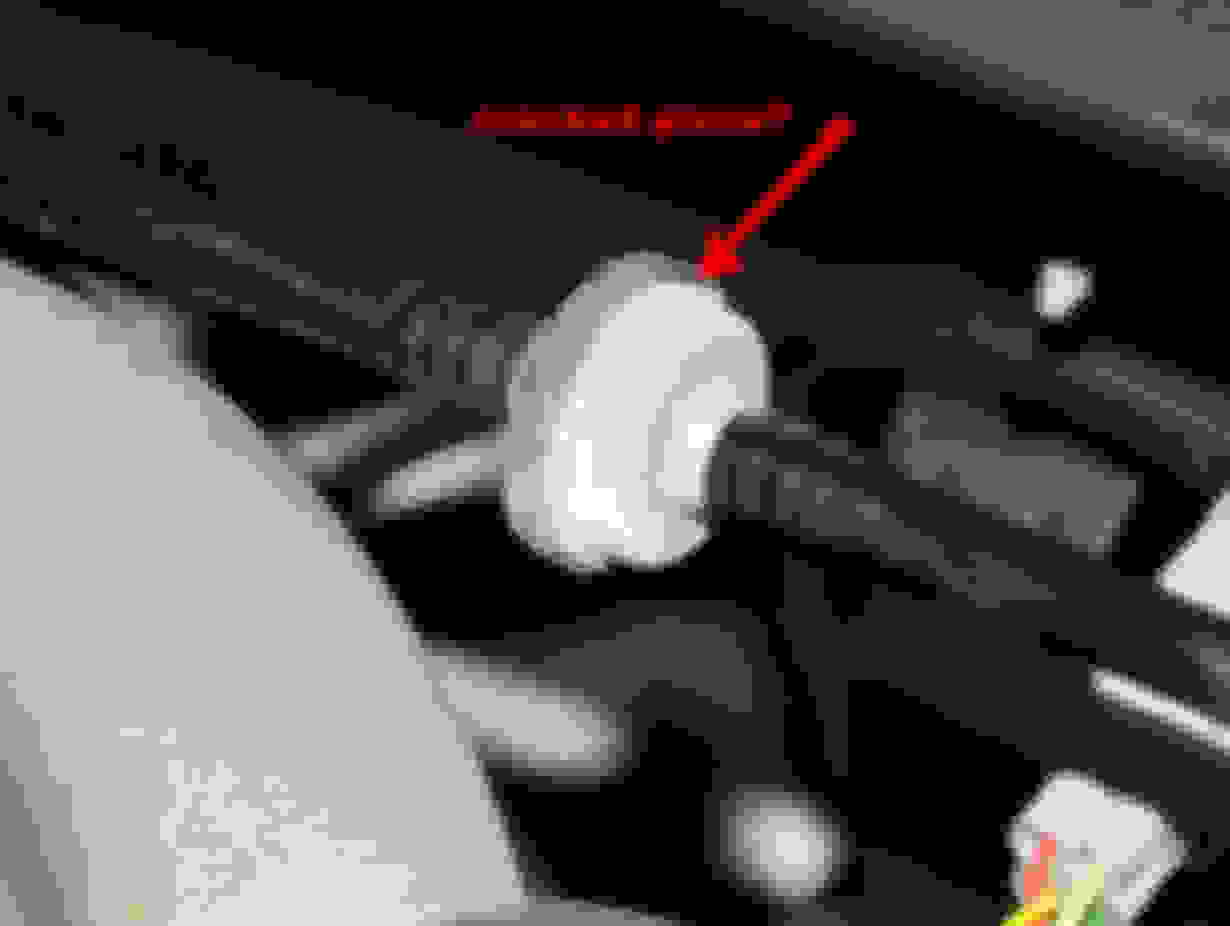
Dennis, the sensor is located on the back side of the engine. If you stand by the driver's front tire, look down between the brake booster and the engine (there is a small hole there). If you look down about 18" from the top of the hood cowl, you will see the O2 sensor sticking out.
Based on your code, you are experiencing a vacuum leak. In a lot of cases, it is the brake booster line check valve. Granted, it could also be IMT valve o-rings. The other new thing I am finding is if you look on the back side of the intake, there is a vacuum line that I am finding with age is starting to get brittle and cracking, leading to the code you are seeing.
If you want some more info, let me know and I will assist however I can.
thank you very much Thermo. How difficult a task would this be for someone like me who has had no formal training and basic knowledge of car parts? I'll need to order an O2 sensor anyway as my car has just hit 100,000 miles but the other parts? Trying to decide whether i want to do this myself or pay for repair. definitely not interested in the typical "jaguar markups" on parts by taking it into a garage
upon taking your advice i inspected the brake booster line check valve. There is a spot where it appears to have a crack in the plastic but i can't be sure..attached is a photo. also.. i tried to inspect the IMT rings by removing the bolts that hold them onto the manifold but they are still firmly in place. gotta look for a thread that shows how to do this
Dennis, it isn't too hard of a job. The big question is how much of a bear the O2 sensor wants to be. With this being said, I will advise that spending some money (or finding a place to rent one) on a good O2 sensor socket is going to be a blessing. What I am talking about is one like this:
Yes, it is a few more dollars than a basic O2 sensor socket, but it is well worth the money. Like I mentioned indirectly, you may even be able to rent one of these from your local auto parts store. Then all you need is a 1/2" breaker bar. The "socket style" O2 sensors work fine if the sensor is not stuck in the header. Otherwise, I have found that the socket style will tend to open up and slip, leaving the sensor in the header.
As for the crack that you are pointing out, that is most likely the cause of your P0174 code. You will need a new brake booster hose. Replacing it is easy. The end on the brake booster is simply pressed into place. The end on the intake manifold is a little more complex to remove. All you need to do is to hold down the plastic ring on the outside of the elbow and lift the elbow straight up, leaving the plastic ring in place. Not hard, but some people have fought to get this connection apart.
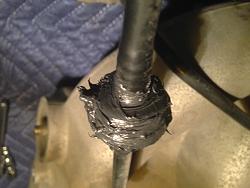
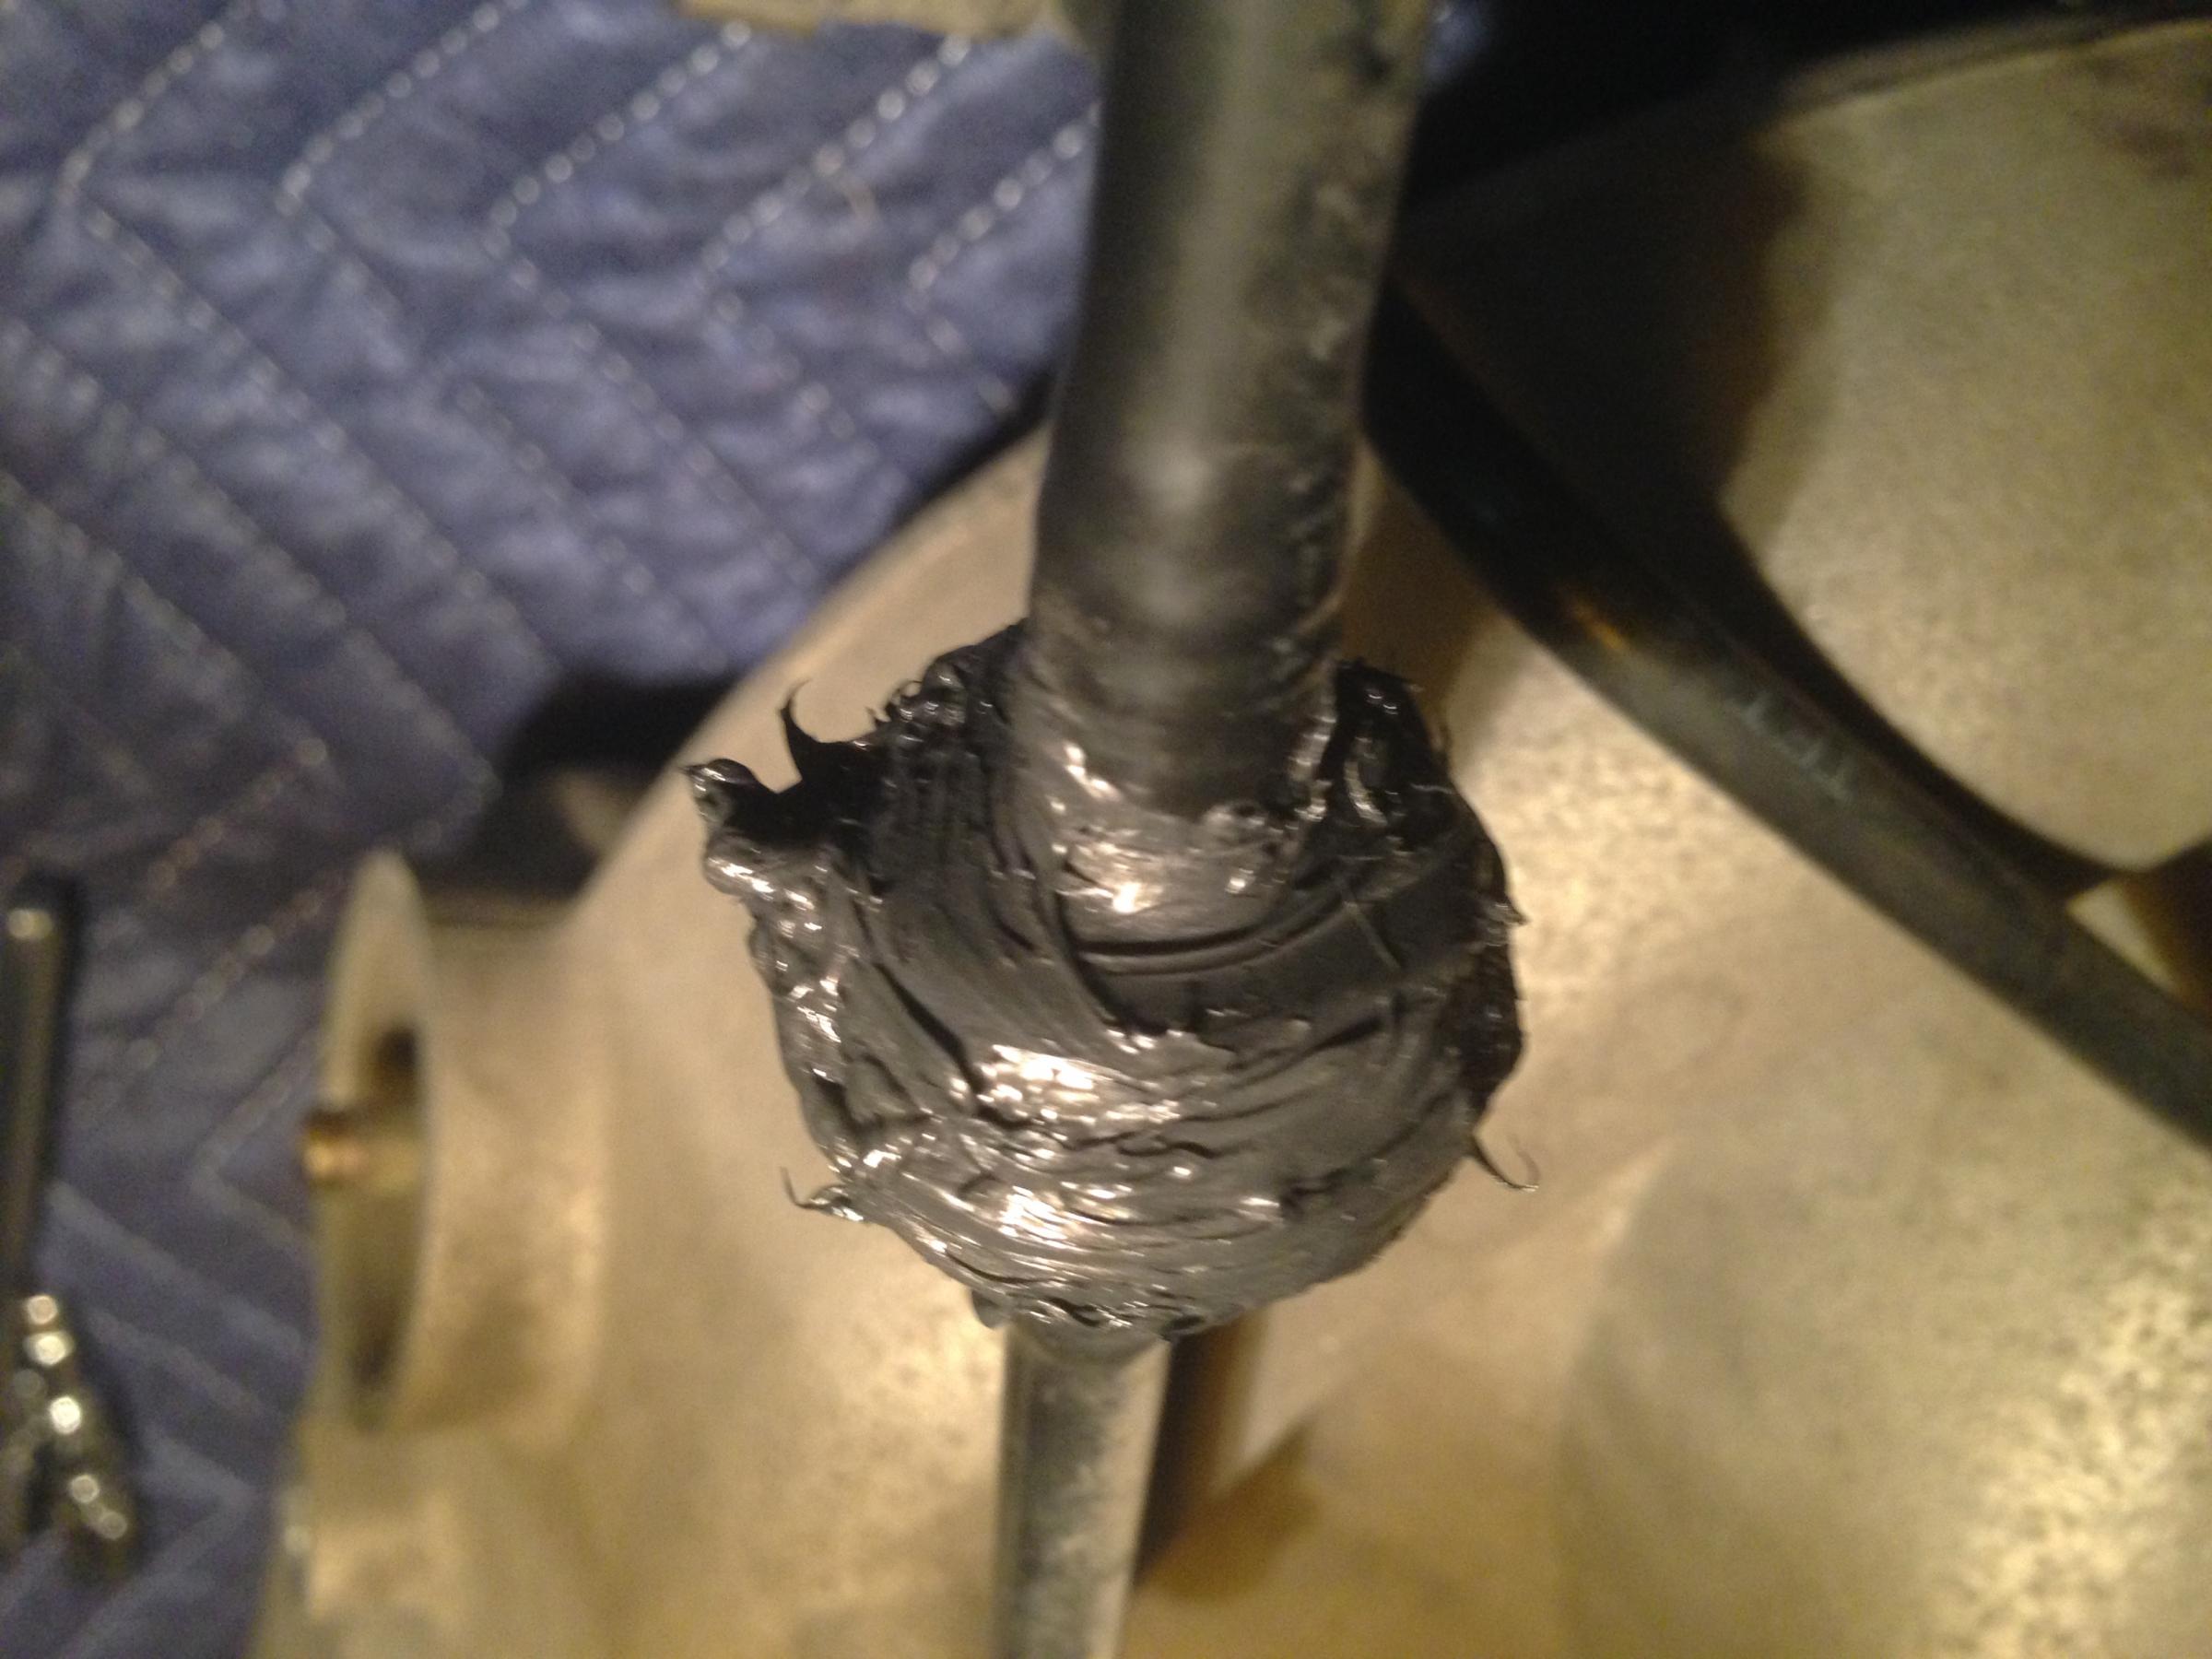
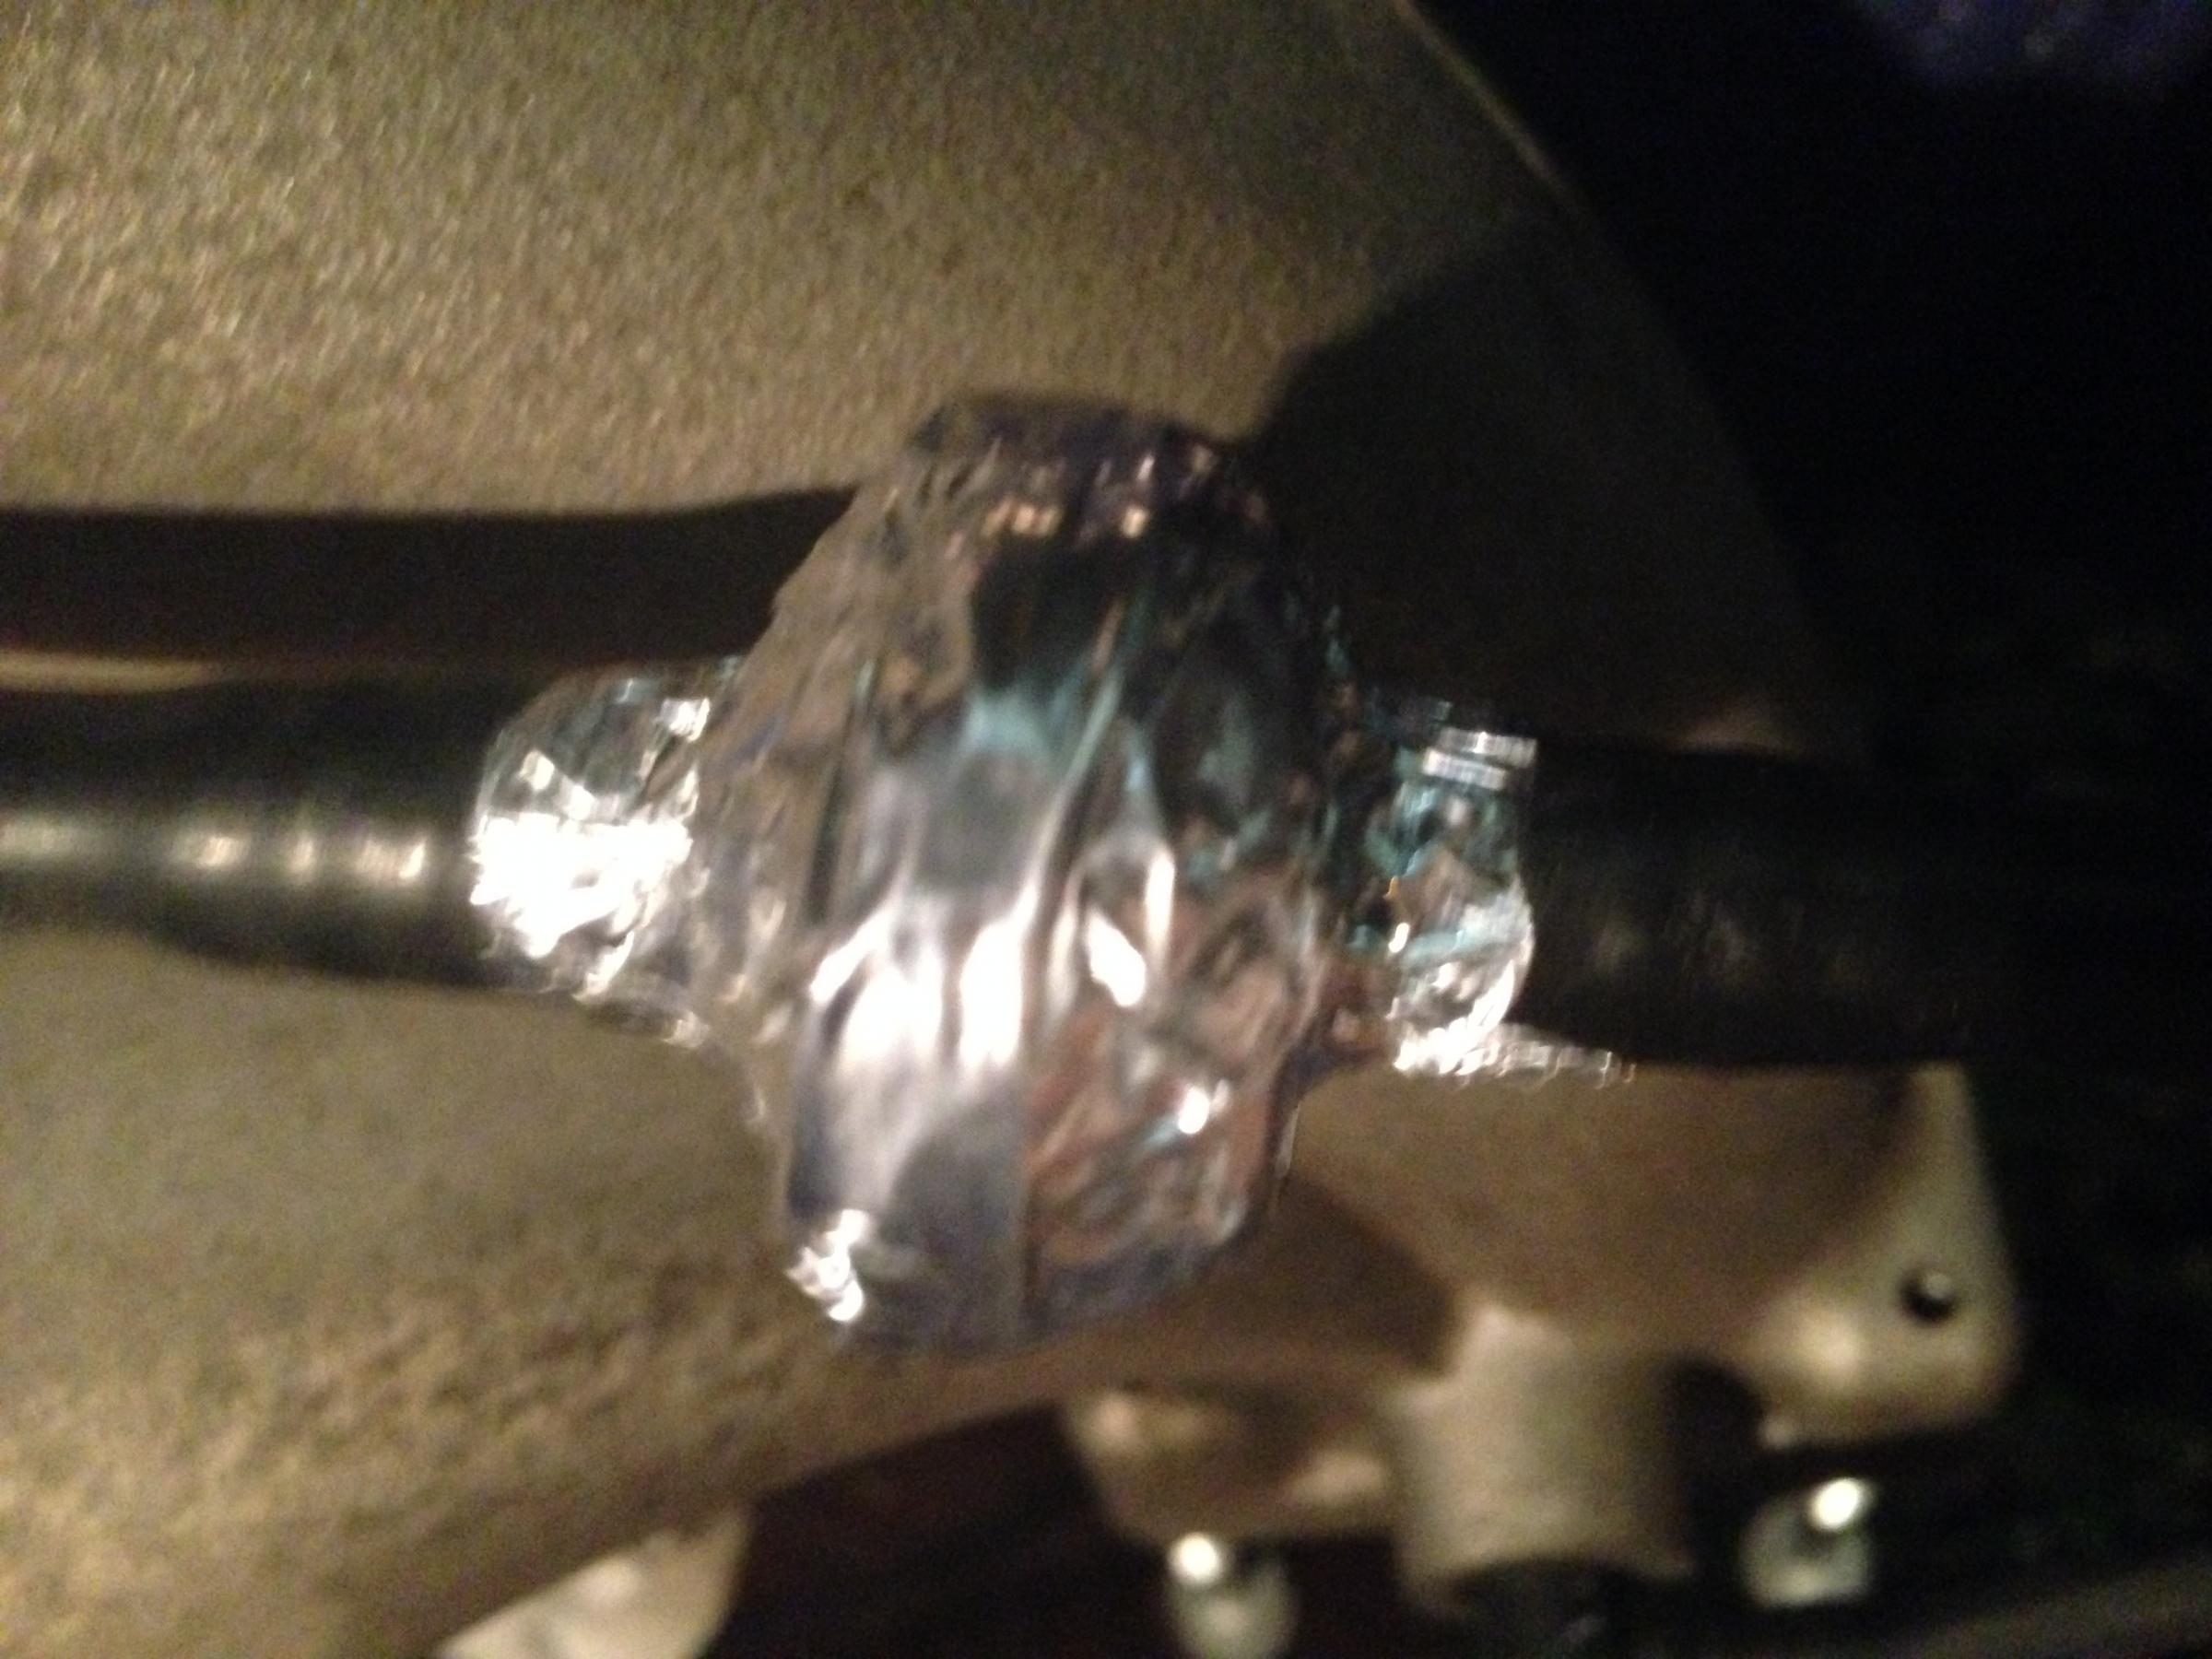
Thermo: You'll probably chuckle at a redneck Texan solution..........
To confirm an old brake booster check valve is leaking, coat it with RTV silicone, wrapped it with aluminum foil while still wet, let it cure, and cleared the lean error code. When the code doesn't reappear, you can now be certain the old check valve was causing the lean error code and needs to be replaced. Redneck - sure. But it works, and avoids chasing for leaks down the wrong rabbit hole.
thank you both. i like the redneck solution! couldn't hurt if i'll be ordering one anyway. I double checked my MAF sensor today after reading one guy's post that he had what appeared to be a tiny red bulb. When i checked mine the other day i remember it was black so i removed it and sure enough it was half covered with black grime. i carefully cleaned with a qtip and check engine light hasn't returned. I'll have to keep an eye on it.... gas mileage isn't ridiculous anymore either.
Thermo, any advice for getting to the MTI Oring once i've removed the two bolts that hold them in place? They won't budge for sh*@!
car driving fine and check engine light is still off. thinking the charcoal-like appearance on the little bulb of the MAF sensor was partially responsible
Dennis, best advise that I can give you is to try twisting the sensor slightly to get the o-ring broken loose inside the manifold. From there, you can then wiggle the IMT valve out by pulling it straight out.
In this thread, member Karmak describes how he also struggled to remove IMT valves, and discovered a former owner or mechanic glued it in with liquid gasket! Karmak describes how he finally removed the stuck IMT valve with WD40, a screwdriver under each ear (the IMT valve ears, that is!), and the twisting motion Thermo describes: https://www.jaguarforums.com/forum/x...t-seals-35784/
I did not know them lil bars were back inside the MAF either.
What a difference a clean maf makes.
That was my issue also.
Did you get the cruise not available message first?
Dennis / Innzane: To clean an MAF, Q-tips work, but MAF spray cleaner is best to avoid breaking those skinny wires inside the MAF. Parts stores sell MAF cleaner like this common US brand: 05110 -- Mass Air Flow Sensor Cleaner, 11 Wt Oz
It's essentially carburetor cleaner further refined to not leave residue on sensitive electronics.
The black "dirt" is on one side of the MAF, the side facing "into the wind" from the air cleaner. The dirt is particulate so fine it got thru the air filter, which is why it takes many miles to gradually accumulate, so gradual that you don't notice the performance loss, until one day you clean a neglected MAF and are pleasantly surprised by the significant performance gain.
I don't know if this really helps or not, but when cleaning the MAF, disconnect the battery so the ECM "relearns" how to re-optimize with a clean MAF.
Those thin wires and red "bulb" inside the MAF measure air temperature and humidity. Hot or humid air is less dense / has less oxygen; cold or dry air is more dense / has more oxygen. The ECM needs to know the oxygen density of the air to properly adjust the fuel ratio via the injectors.
UPDATE in case anyone reading this has similar problem. I heeded advice and started with replacing the Bank 2 O2 sensor. I accessed it by removing the battery tray from the top and then was able to use offset O2 sensor wrench to remove the old one. Results were immediate. No more acceleration issues and check engine light has stayed off for a week now. Ready to get this baby inspected. Thank you so much for the replies everyone. Big Help
pull the error codes on an ODB reader or take it to an auto store that can do it for free. You need to know which sensor is bad. I replaced the one indicated by my error code bank 2. The sensor was about $35
Buddha, when I replaced my O2 sensor, I only replace the one that was bad. I will second the need for the offset socket for doing the O2 Sensors. I had the special O2 sensor socket and I was finding that mine were in there well enough that the socket was expanding and slipping on the O2 sensor. The offset one was a little thicker and didn't flex like the straight on socket.
Ok if I can get them for 40 bucks a piece ill replace them all I have a good amount of codes coming up and am sick of the acceleration and terrible mpg. So is there 4 o2 sensors total or just 2? I have an 02
Buddha, you have 4 O2 sensors. You have 2 air/fuel mixture sensors (aka, upstream sensors) and you have 2 oxygen sensors (downstream sensors). So, keep an eye out for which you are ordering as they are not interchangeable. They do completely different things as it relates to the engine. I will admit that they function very similarly, but there is enough of a difference that you can't just go about things *****-nilly.
The upstream sensors are mounted into the cat. The downstream sensors are in the exhaust pipe just downstream of the cat. I think you will find the downstream ones extremely easy to get to. The upstream ones, well, may I recommend a beer and a lot of patients. Not necessarily hard to get to, but you are not going to just walk up to them and spin them out. I know when I did the upstream sensor on my X-Type that was against the firewall, I was bent all over the engine bay and had my arms stuck in 2 holes leading to the back side of the engine. Then there still wasn't a lot of room to move around.
Thermo: You'll probably chuckle at a redneck Texan solution..........
To confirm an old brake booster check valve is leaking, coat it with RTV silicone, wrapped it with aluminum foil while still wet, let it cure, and cleared the lean error code. When the code doesn't reappear, you can now be certain the old check valve was causing the lean error code and needs to be replaced. Redneck - sure. But it works, and avoids chasing for leaks down the wrong rabbit hole.


 05-19-2015, 12:22 AM


 Karmak describes how he finally removed the stuck IMT valve with WD40, a screwdriver under each ear (the IMT valve ears, that is!), and the twisting motion Thermo describes:

