What did you do to or buy for your XJ-S/XJS today?
#141
 12-16-2014, 09:55 PM

Veteran Member
Lets see
ASI PROCOOL Jaguar XJS V12 silicone radiator heater Hose kit BLUE
5 PACK 12V DC 30A/40A Relay & Socket SPDT Bosch Style
JAGUAR XJS DASH LIGHT DIMMER SWITCH RELAY DAC10512
Genuine Freshwater White Pearl Necklace Bracelet & Earring Set (for the wife to wear while riding shotgun)
(need to buy scarfs... for their hair...)
Last edited by Jonathan-W; 12-16-2014 at 10:08 PM. Reason: left of something / spelling
#142
12-17-2014, 11:33 AM

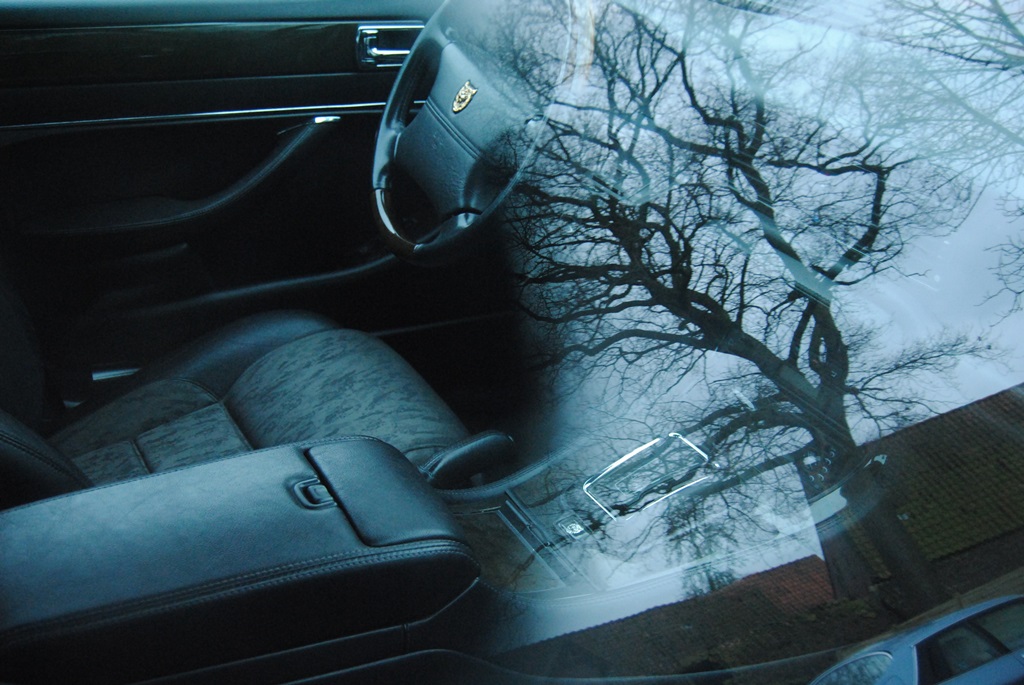
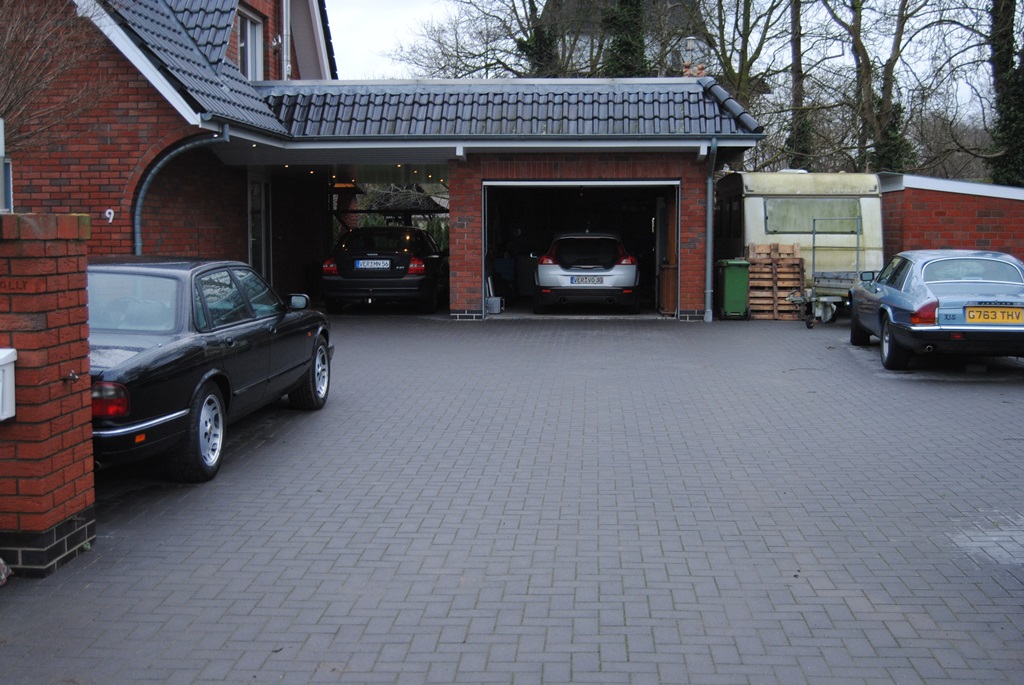
 Maybe 2014?
#143
12-18-2014, 09:54 PM
#144
12-28-2014, 09:01 PM
Member
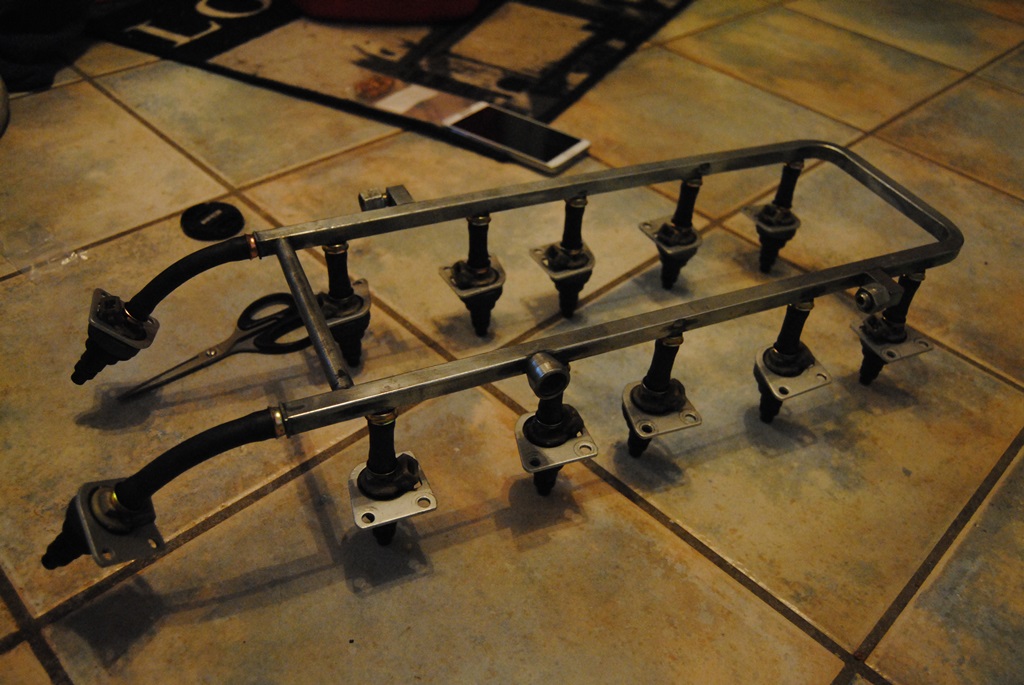
Installed my new/used Delanaire Mk-III unit and blowers to no avail. So I tracked the wiring down and jumped some plugs to have heat and blowers for now. Not pictured is the switch I put between the high speed relay and the Ign. power supply.
Since the gremlins are still pretty active in my car. I awoke this morning to a dead battery. Seems the Interior light timer decided to come on overnight and drained the battery flat. Figuring i didn't need a timer anyway I jumped the connections with a 10a fuse and now i have normal operating interior lights.
Since the gremlins are still pretty active in my car. I awoke this morning to a dead battery. Seems the Interior light timer decided to come on overnight and drained the battery flat. Figuring i didn't need a timer anyway I jumped the connections with a 10a fuse and now i have normal operating interior lights.
The following users liked this post:
Mkii250 (01-03-2015)
#146
12-31-2014, 10:59 AM

#149
01-02-2015, 11:04 PM
The following users liked this post:
Flint Ironstag (01-04-2015)
#150
01-02-2015, 11:17 PM
Daim, Interesting little tidbit, Here in Canada, vehicles get licensed yearly based on their weight- - and we are in the Metric system now.
Obviously, over the years, somebody entered the 2200kg weight as 2200 lbs, and Dept. Motor Vehicles charges me a fee of $72.00CDN. Will I tell them????? - I'll take my chances and plead ignorant if asked.
-Greg
Obviously, over the years, somebody entered the 2200kg weight as 2200 lbs, and Dept. Motor Vehicles charges me a fee of $72.00CDN. Will I tell them????? - I'll take my chances and plead ignorant if asked.
-Greg
#151
01-03-2015, 04:32 AM
Daim, Interesting little tidbit, Here in Canada, vehicles get licensed yearly based on their weight- - and we are in the Metric system now.
Obviously, over the years, somebody entered the 2200kg weight as 2200 lbs, and Dept. Motor Vehicles charges me a fee of $72.00CDN. Will I tell them????? - I'll take my chances and plead ignorant if asked.
-Greg
Obviously, over the years, somebody entered the 2200kg weight as 2200 lbs, and Dept. Motor Vehicles charges me a fee of $72.00CDN. Will I tell them????? - I'll take my chances and plead ignorant if asked.
-Greg

#152
01-03-2015, 09:16 AM


Veteran Member
Warmed up the car in the garage today to give the aircon compressor a go, and to have a general XJS fix. Noticed that the air bleed arrangement pipe from the crosspipe centre fill spout take-off to the RHS radtop banjo and thin radtop cross pipe was not getting warm.
This indicating the small steel tube exiting the crosspipe fill spout was blocked.When the engine cooled off I removed the rubber pipe from the steel tube takeoff, and the cap on the spout (a solid non-valved cap in my case). Air in the spout which there should not be ideally. Blew through the rubber pipe into the fill spout and it was blocked, sucked, same thing. There is a non-return vale arrangement in this tube that prevents water going into the spout from the radtop bleed arrangement. This is still available from Jaguar, and fits into the end of the rubber pipe that connects to the crosspipe spout takeoff pipe. Part number EAC4126
Metal takeoff pipe from the fill spout was completely blocked. I had ensured it was free when I rebuilt 4 years ago. Coolant regularly changed, so how it blocked up I do not know. So I drilled out the blockage, refitted a new rubber pipe, pushed the non-return valve into the rubber pipe to clear the steel takeoff pipe and allow enough free rubber pipe to be clamped up to the steel takeoff. Then checked the non return valve was working by sucking/blowing. Did it all up, topped up the spout and started the car.
In no time the tube was getting warm, indicating the crosspipe bleed arrangement was working again. So well worth checking this function from time to time. If it is working correctly, the takeoff pipe should get warm, not hot but noticeably warm, well before the thermostats open. Once they open, the whole lot gets so hot you cannot tell.
greg
The following users liked this post:
Jonathan-W (01-05-2015)
#153
01-03-2015, 09:48 AM
Senior Member
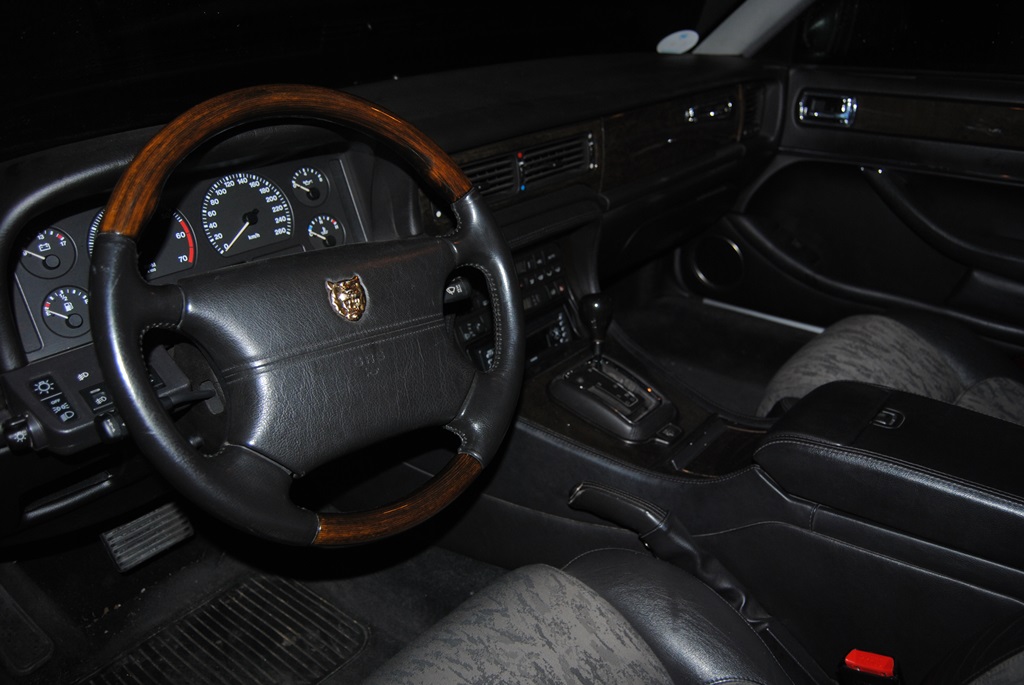
The controller is attached to the right hand side of the heater. You need to remove the knee bolster and the air duct outlet and then the heater controller CPU is the small black grand piano shaped module must behind the fan speed control knob. There are 3 screws that hold it in. 2 are easy to get to. I think the 3rd requires removal of the trip computer.
#154
01-04-2015, 05:07 AM
Veteran Member
#155
01-04-2015, 05:21 AM

Senior Member
#156
01-04-2015, 08:28 AM
Veteran Member
#157
01-12-2015, 02:14 PM


The following users liked this post:
Flint Ironstag (01-12-2015)

#159
01-13-2015, 01:42 PM

The following users liked this post:
Flint Ironstag (01-14-2015)