When you click on links to various merchants on this site and make a purchase, this can result in this site earning a commission. Affiliate programs and affiliations include, but are not limited to, the eBay Partner Network.
This is an odd one for sure. I just had to fix it after I realized I could solve a minor annoyance.
One day I was vacuuming the carpet (beach trips = lotsa sand) and I found this small plastic sleeve behind a front seat. It took a few minutes to figure out where it came from.
Turns out it was a sleeve that cushioned the contact between the upper seat support pin and the latch. I took a look at the other three pins and found that those had already lost their plastic sleeves. Here's a pin with the missing sleeve.
You might think the sleeves are really not necessary. Take a look at this pin and notice how much wear it had on the metal since the sleeve failed. (And yeah the seat is out of the car. I decided to go ahead and steam the carpet. I guess I spent too much time with my face near it.)
I had actually noticed that the passenger seat back seemed to move around a bit when going over rough roads. It was starting to make sense.
So I went to my local dealer and showed the parts person what I needed. "Sorry, you can't get that part separately. Part of the seat rack assembly." Crap. What do I do now? Where could I find a sleeve that would fit the pin and be a hard enough plastic to handle the brutal force of the metal seat latch?
You don't have to pull the seats to get at the pins. You can get them out without removing the seats. The ones near the console took some creativity with a socket and a wrench.
So I took a pin and went hunting. First to the auto parts store. No luck there. Then to Lowes where I found just the thing. Hard plastic boots that fit on chair legs. The plastic is hard enough to take the punishment and the diameter was just right.
All I had to do was cut off the width I needed to make each sleeve. Here is one all cut and fitted.
And a new sleeve mounted.
The results of this extremely cheap and simple repair are 1) the seat backs quietly click into place vs. the old metal clank 2) the passenger seat back stays steadier on rough roads.
I had noticed that the passenger door had a nasty clunk/rattle whenever it was closed while the window was down.
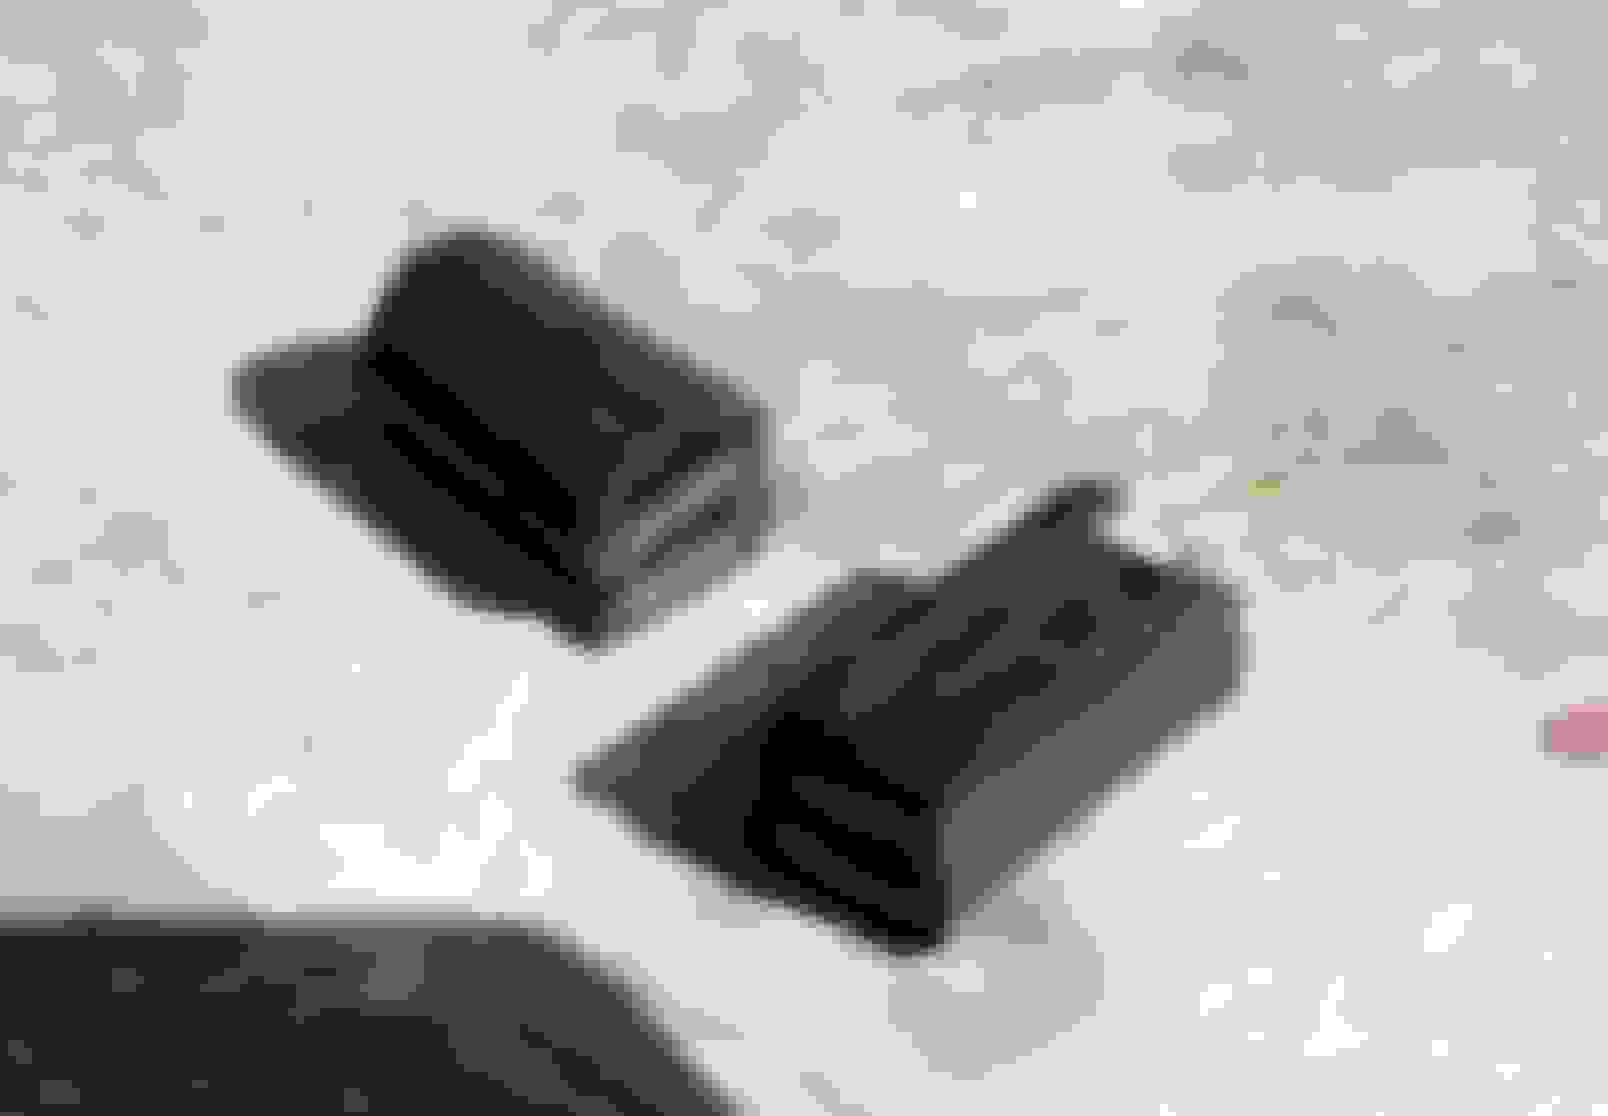
I looked into it and found that the felt covered bumpers that hold against the glass were falling apart. They are a lousy design that uses plastic for the tensioning. Here is a pic of one still relatively intact and one that is collapsed.
I decided to fix (and improve) them by filling them with memory foam. I used a couple of those foam ear plugs. I glued some new felt on the broken one. The foam rubber should prevent the plastic from failing and still give enough to work as originally intended.
Here they are mounted in the passenger door. They just slide on. Note that I removed the door panel and the rubber seal to have good access to them. There is one bumper deeper inside the door that I could not photo. You can get to it by reaching up thru the center cavity of the door.
Now the door closes with that reassuring thud of a new car.
A year or so ago I found a brand new original console lid cover so I bought it for that day when the original cover wore enough to hurt the looks of the interior. My elbow finally work the finish down and I decided to go ahead and use the new cover.
Here's the old and new for comparison.
The NOS one had a foam liner that was deteriorating so I removed that. The 1996 date stamp was interesting.
Last time I repaired the console (it had the wavy issue) I used a thicker foam pad. It looked ok but was not as "original" looking as I now realize I prefer. So this time I cut 2mm dense foam sheet to fit. Now the lid surface is flat and firm.
I think I'll have a go at refinishing the old cover.
I just have to comment on this magnificent piece of over-engineering that only under the best conditions can barely hold a soda cup upright. It is only rivaled by the hydraulic top latch in being the worst design in the car.
Ever since I got my 2004 XK8 I have never liked those amber lenses that looked like an afterthought that was not part of the original design. So I removed those and replaced them with two of the red leaper badges found on earlier models. Much, much better.
I decided to move the side turn signals into the front amber housings. It is what Jaguar should have done rather than slap those protruding lenses on the sides of the car.
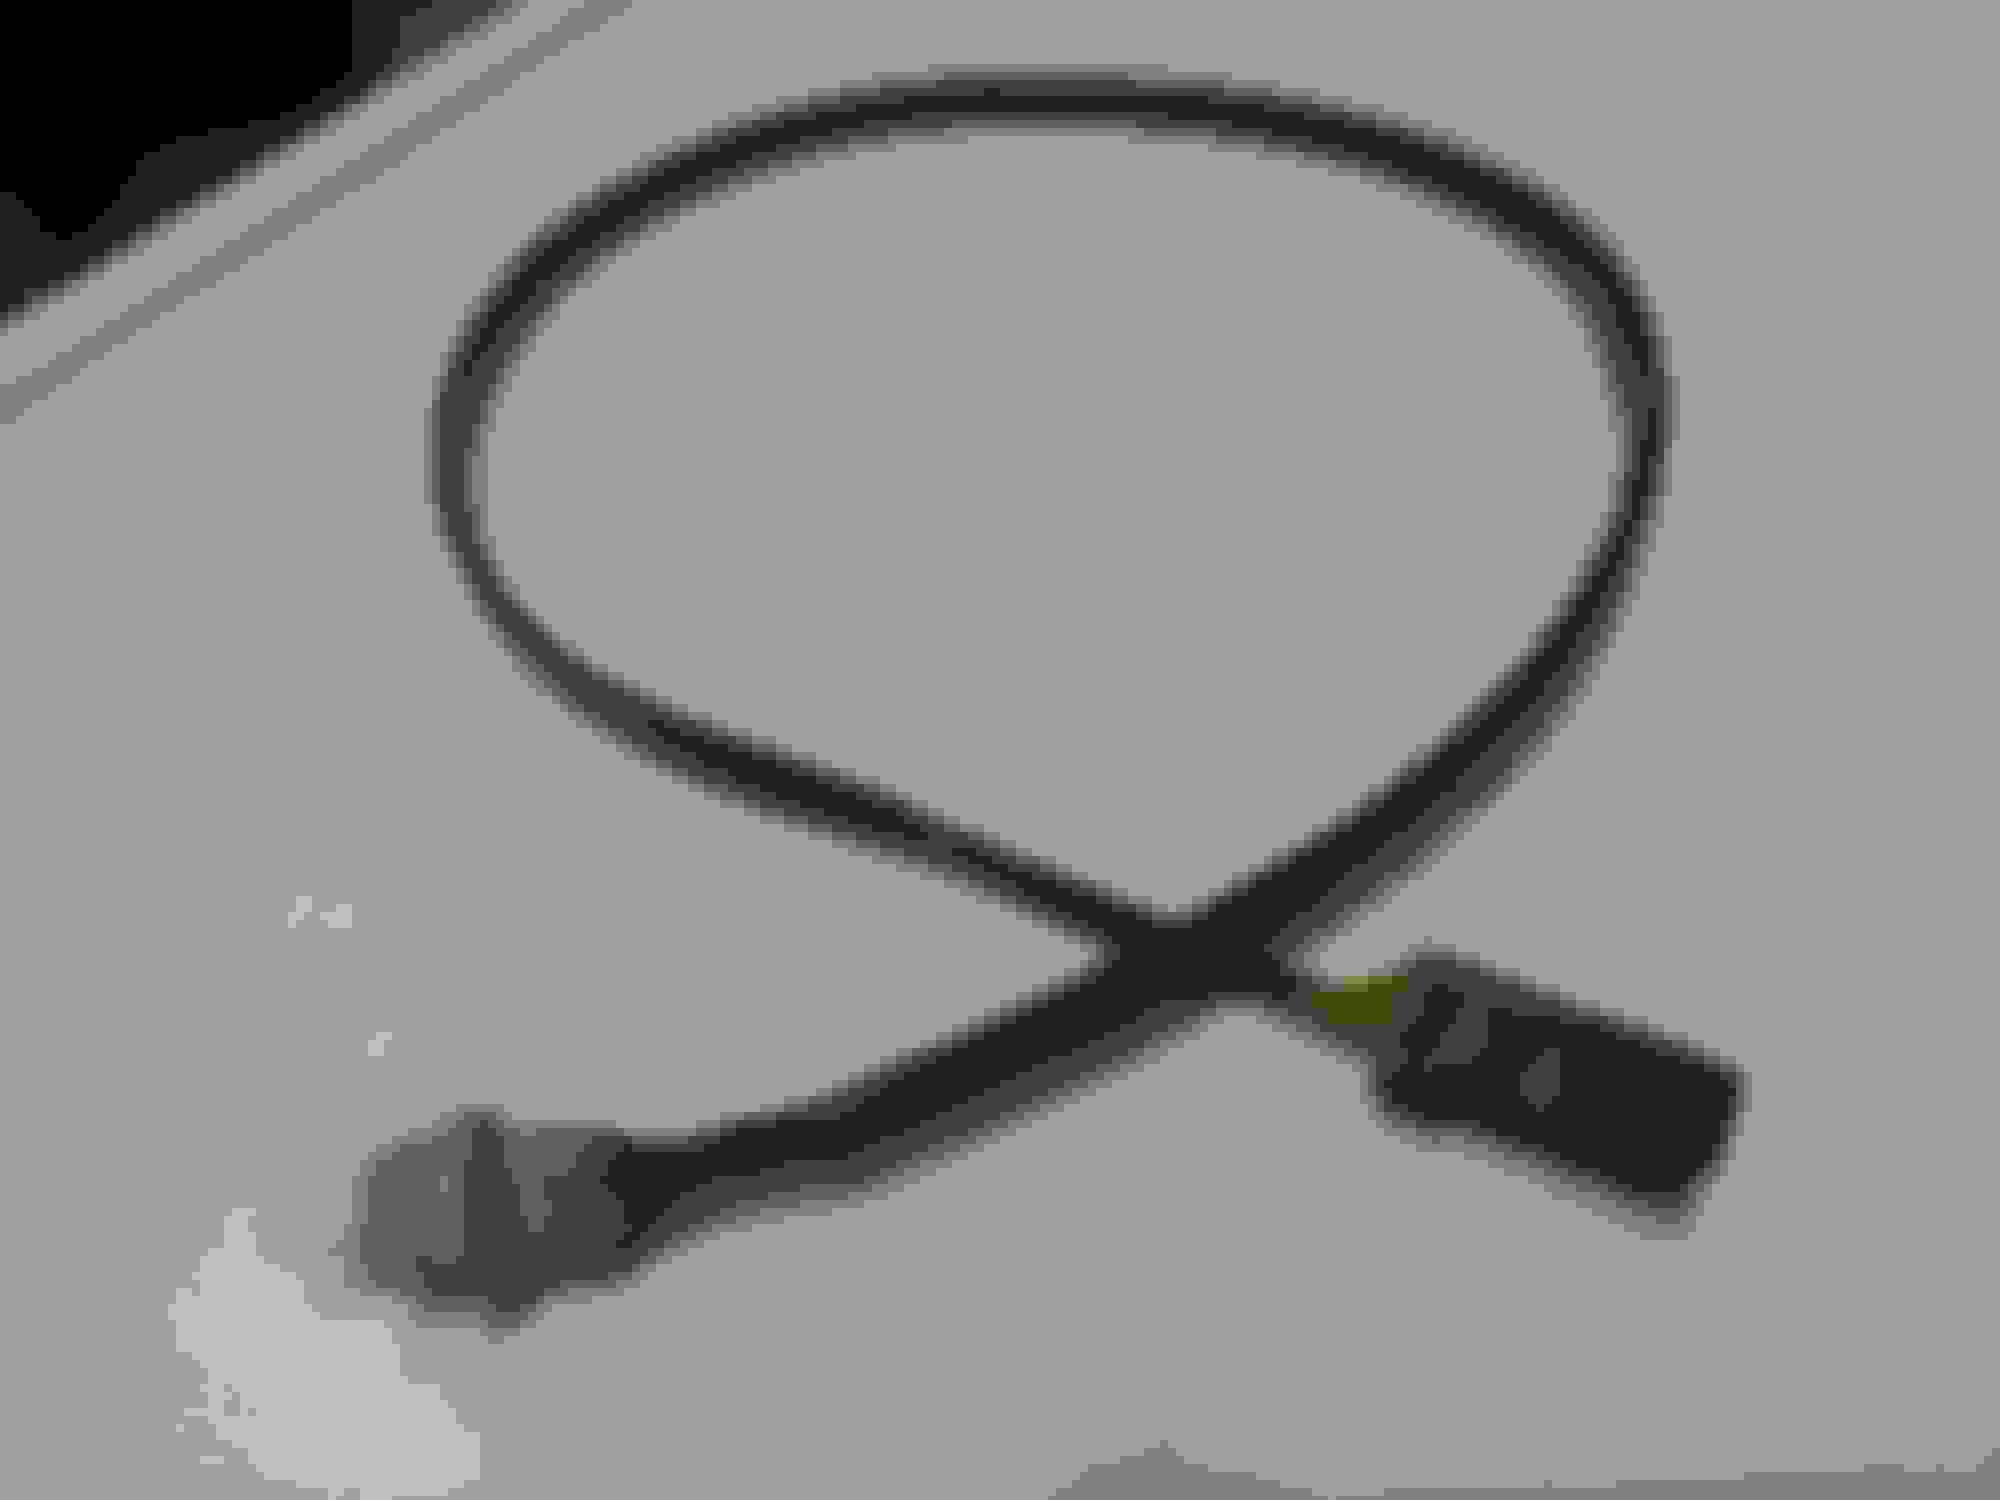
For this mod I did not want to cut up the original harness so I found the parts to make up an extension that I could plug into the original female connector and run up to the new location in front of the wheel well.
A little research resulted in finding EV1 male connectors and T10 all weather bulb sockets. I spent about $20 total on parts. A finished extension below. It is about 32 inches long.
Next was to drill a 1/2 inch hole in each housing for the rubber bulb socket.
Here is the bulb socket fitted into the housing. A nice water resistant seal.
The fender had an empty hole that was perfect for adding a retainer to hold the harness extension. Here is the passenger side.
I had to get creative for the 2nd retainer on this side. I used a rubber grommet in another slotted hole and tucked the harness into it for a friction hold.
This shows the passenger side housing in place. Plenty of clearance for the new addition.
The drivers side was a bit easier. There were already some retaining clips along the fender that hold the wiper fluid line. I was able to use those since they had plenty of room.
Don't operate the tom anymore until you fix it. You are lucky you found it before disaster struck. You will have to replace the lines to the latch from the pump - big job.
Meanwhile, check the thread on "green showers" elsewhere on this forum and buy the caps for the latch lines on the pump end. You will be able to operate the latch manually and still use the pump to raise and lower the top.
I'm in the midst of the same process.
Continued good luck to you!
If you read the above about relocating your turn signals and thought "I would like to have those but my car doe not have the wiring on both sides." then go here for a great how-to on adding the missing wires correctly.
You said you "found an excellent how-to article in an old Jaguar magazine that covered all the front suspension bushing replacement". I'd be interested in reading that if there's any way you might post it or otherwise send it to me.
Sorry to hear you're experiencing soft top hydraulic problems. I received the dreaded green shower last year myself. Decided that wouldn't happen again. Changed all six hoses (sourced high pressure units from Top Hydraulics), flushed the system, and replaced the hydraulic fluid with clear Bilstein 02615. The job was a PITA but the result was certainly worthwhile.
Regarding the trunk push button, I purchased four "union jack" screw covers for securing license plates via EBAY. I used 2 on the front plate and one to cover the faded growler on that trunk button. Proper diameter and 3M glue on the backside. I now have a spare.
rothwell,
You are, with-out a doubt, a very excellent innovator and your solutions are all excellent ideas.
The only one so far that I have concern about, is the one about the passenger door glass and the felt covered bumpers.
I would keep an eye on the window where the bumpers rub against. Some material may look and feel soft as a babies butt, but can scratch glass after repeated rubbing. I'm sure you thought of this, but I thought I would just pass that thought on to a fellow Floridian. If your like me, I very seldom raise or lower that window anyway, so it may not be a real issue.
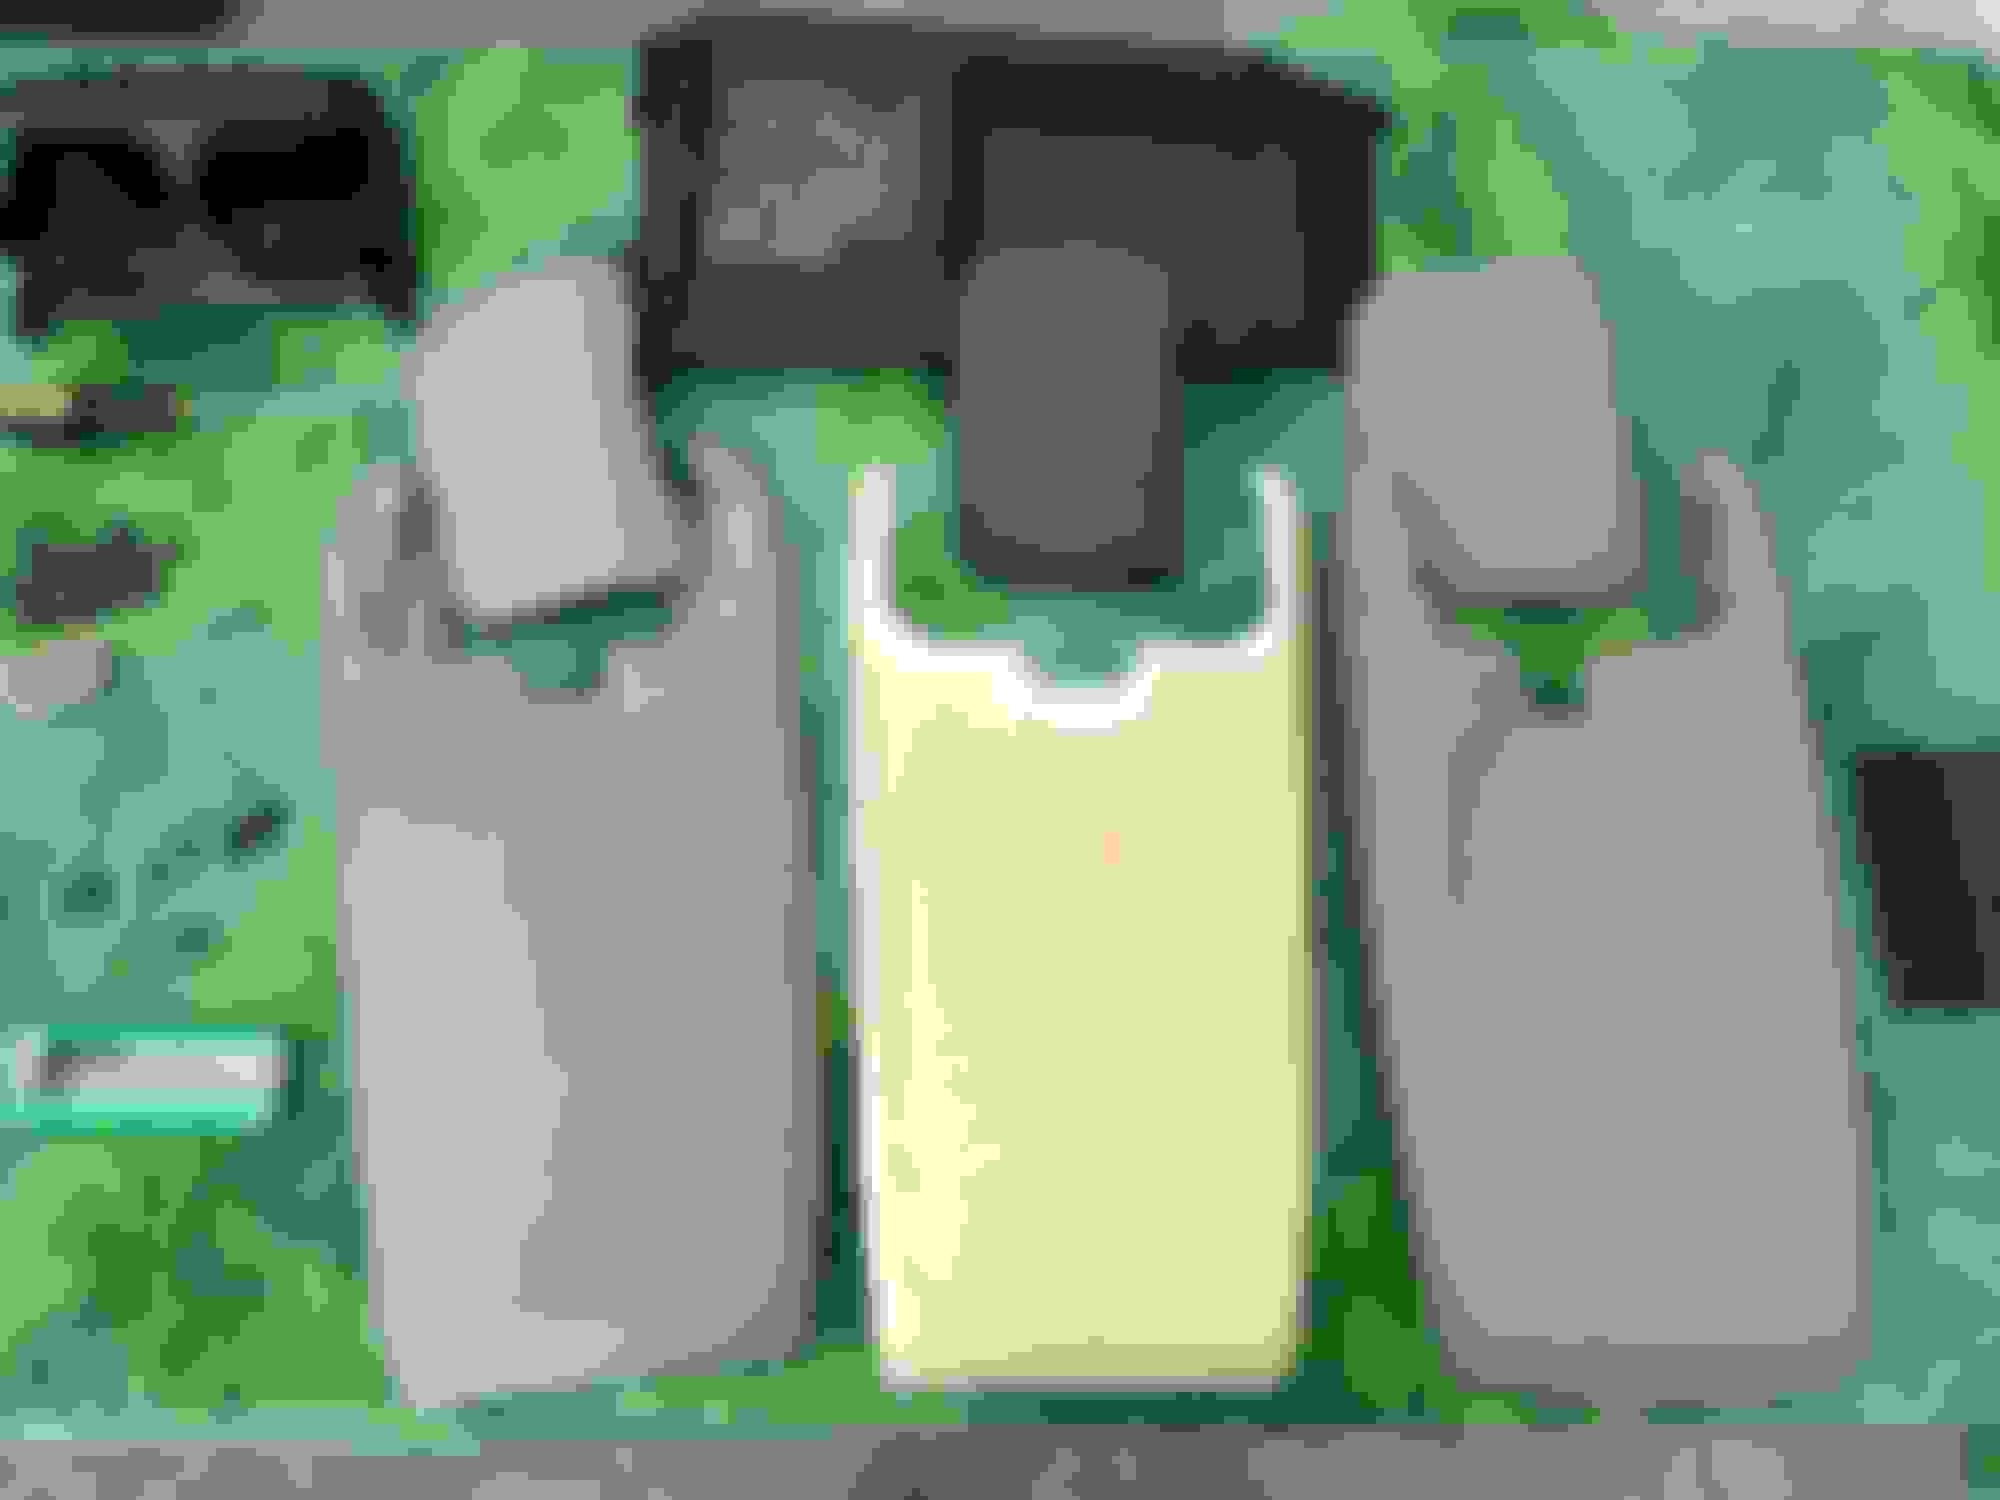
I wanted to show a few pics of my new floor mats I got from my wife for Christmas.
They are Lloyds Ultimat in color named Neutral. My car's interior is SDZ Cashmere so the carpet is Sable color.
My old mats were the kind that slid around a lot due to poor fit. Not sure if they were the original ones. I got the car with 38K miles on it. The old ones are still in good shape but always seemed cheap and sloppy fitting. Not so with the Lloyds Ultimat replacements. The Lloyds are the two in the center of of this pic.
I went for the Neutral color based on another post I read a while back. I think they match ok. Not perfect but they match as close as my old ones did. The fit is awesome. The Ultimats could not move around much even without the clip. A couple pics of them installed.
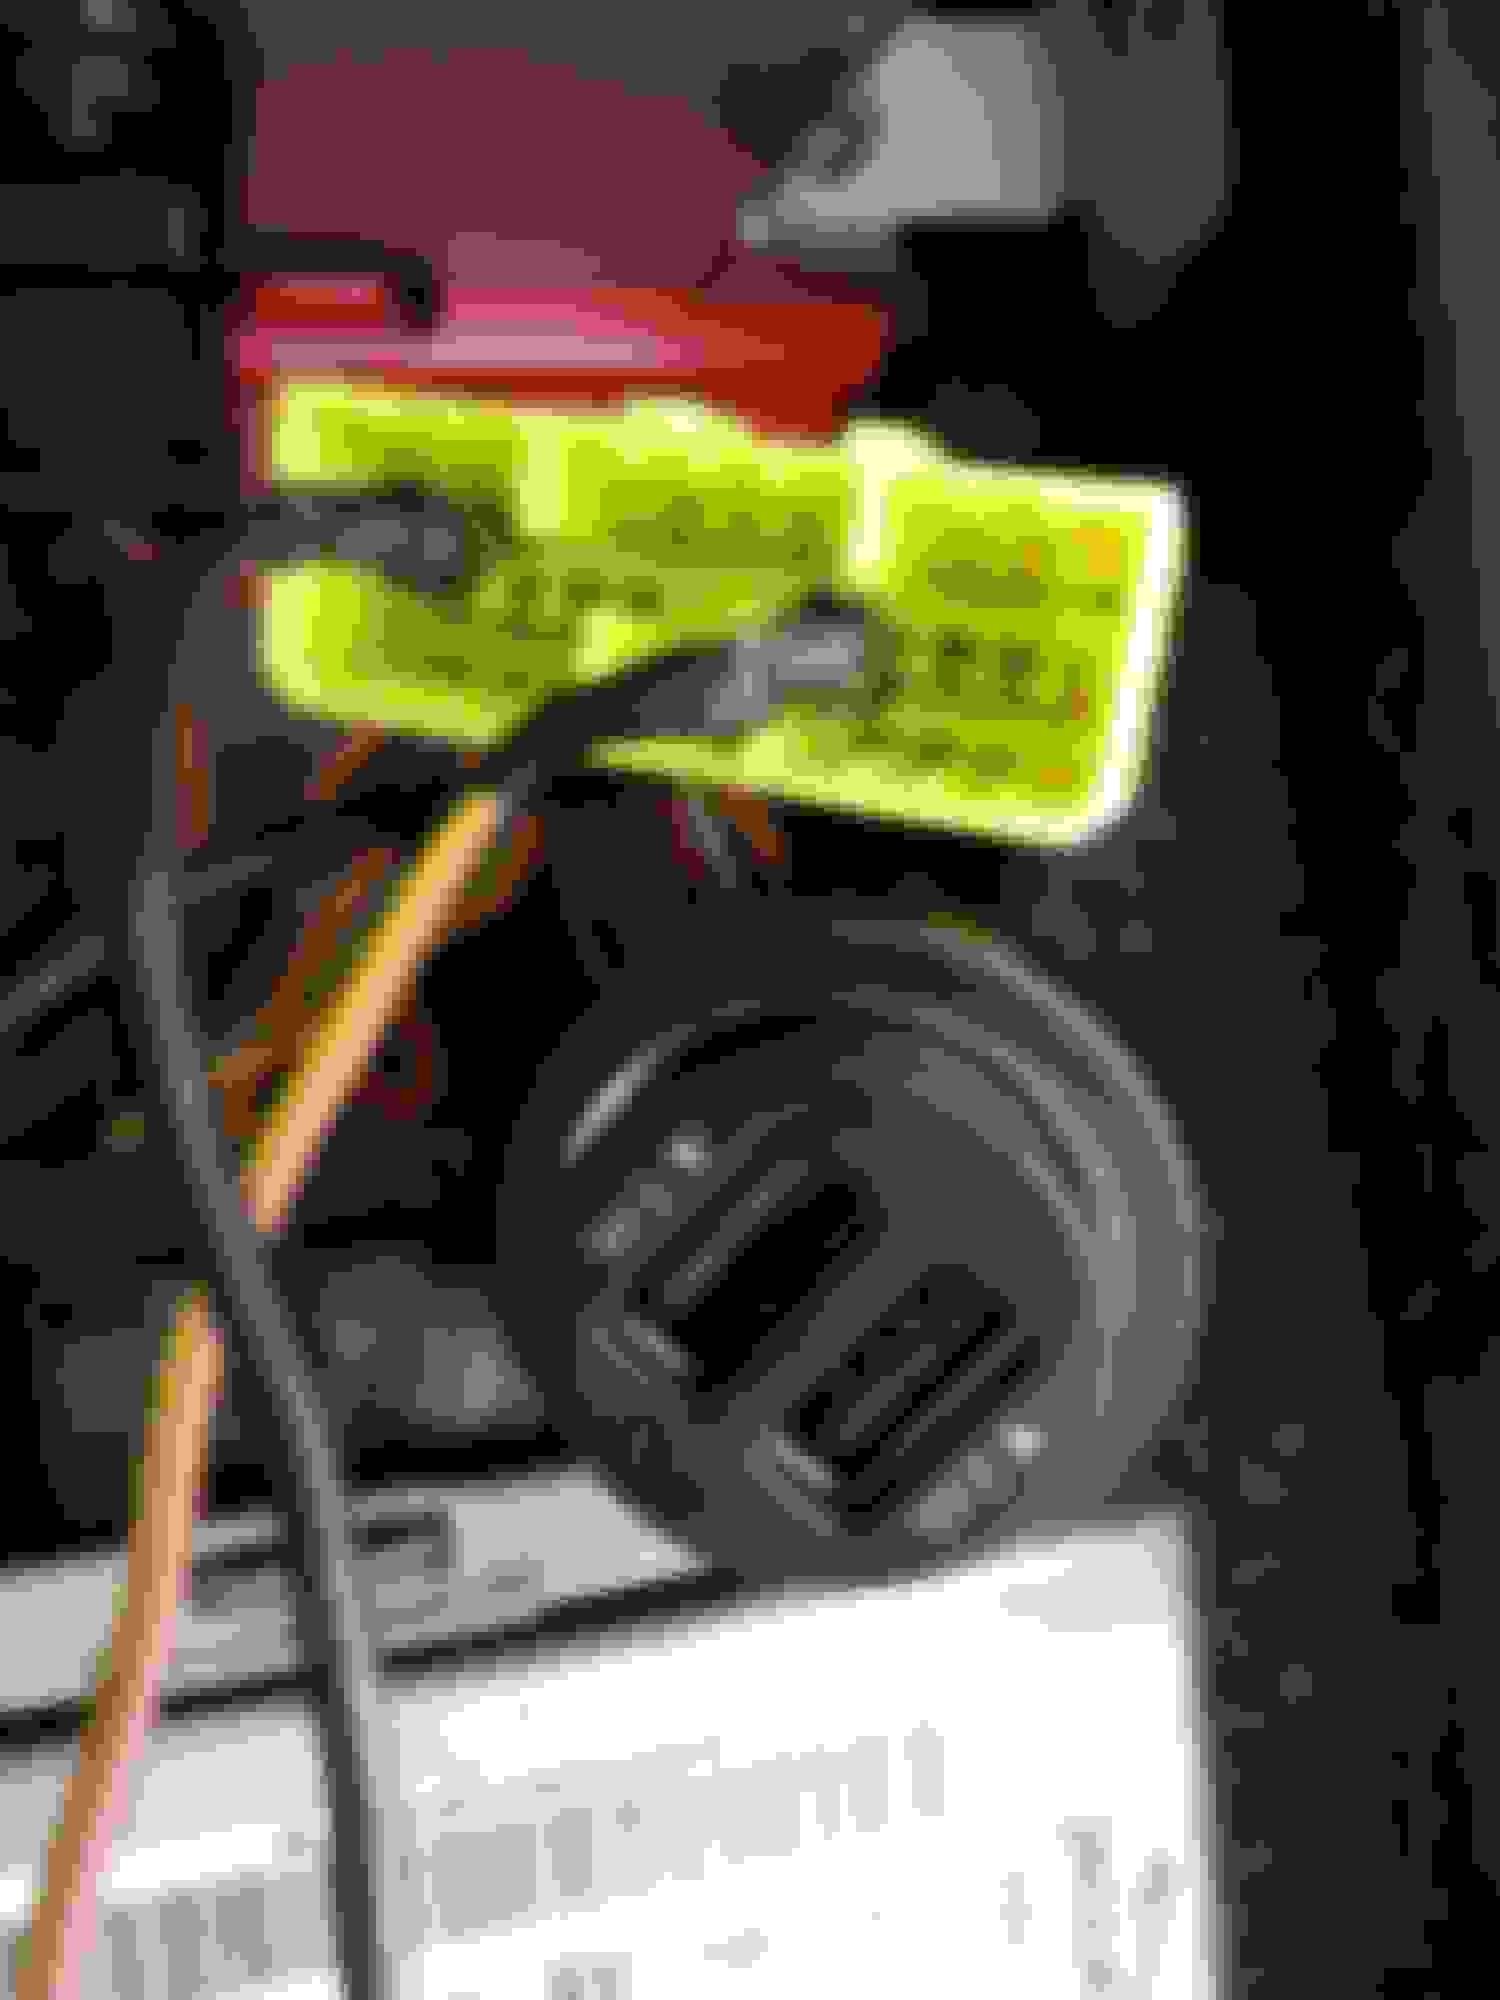
I had been waiting until I found the perfect switch to use for the aerial power interrupt. The one I chose was from Freightliner I think the p/n is A06-47581-050.
This switch has a lot of pins but only four are needed to make it work so that the caption is lighted same as other dash controls and the indicator lights up when antenna is up.
I capped all the pins that are not needed in this pic.
Pin at top right is for ground of caption light tapped into ground of cigar lighter.
Pin at bottom right is 12v dimming power that is tapped into the red wire that connects to the light in the tray next to cigar lighter.
Remaining two pins pins on left connect the green wire that gets cut going into the white connector - this cut is well documented in other posts.
Here is another view with wires connected.
Pin at upper left is for ground of caption light tapped into ground of cigar lighter.
Pin at upper right is 12v dimming power that is tapped into the red wire that connects to the light in the tray next to cigar lighter.
2nd and 3rd pins on right connect the green wire that gets cut going into the white connector - this cut is well documented in other posts.
Here is a pic of the cut wire in the white connector.
I just crimped my two green wires onto the cut ends.
Here is the switch connected. Note that is is upside down from the earlier pic.
I chose to install the switch inside the console on the ledge at the back. Note that this is a large switch. I wanted that so I could more easily find and press it while driving. I used a dremel and it took a couple minutes to cut a rectangle to fit.
Since I had the console out I decided to update the car with a couple other mods.
Converting the useless bi-level coin tray in front of the shifter to a USB cradle for my phone.
Adding a wireless Qi charger inside the console so I could just drop my phone in there and it would charge without plugging it in.
I have seen a few variations on adding USB to the coin tray. I prefer to do mods that I can undo later, so here's how I did the coin tray mod.
First I needed to level out the tray. To do that I filled it with Plastidip and let it harden for a couple days. That left me with a firm fill that I could easily pull back out.
Then using a dremel I carved out an oblong hole that I could insert a micro USB cable end into and then turn 90 degrees and wedge lock it into place. I added a little epoxy to make it rock solid when pushing a phone down onto it.
I inserted the connector just far enough so its base would be flush with the surface and added a thin layer of Plastidip again to seal it up nicely.
I also drilled another hole along the driver side edge so I could put the audio connector from the cassette adapter. (Forgot to take a pic of that.)
I pulled the front off the "old school media center" so I could hide the cable completely and not have it drooping out of the cassette door. You can see how I routed the cable. Remember to turn off the auto eject option for the cassette too.
To finish it out I cut a piece of thin flat rubber to line the base of the tray and fabricated a foam bumper pad to line the inside wall. For that I used one of those corner bumpers you can get to make furniture toddler safe.
I think it looks pretty good. Now I can charge my phone and play tunes if I want.
For the USB power I used a couple pins in the yellow telephone connector. I referred to this post for pin outs.
I made myself a couple female connectors for the pins I needed to tap. Those wires were connected to a dual USB adapter.
Next I had to add the wireless charger to the console. It turns out that on my model year the lower front portion of the console tray snaps out.
That made it easy to cut another hole for a USB cable end and connect it to this wireless charger base that I think fits really well into the cavity. It was only $7 on Amazon. https://smile.amazon.com/gp/product/...?ie=UTF8&psc=1
After attaching it with a piece of double sided sticky rubber about 2mm thick it is a perfect level.
Here is the bottom of the tray with the USB cable and the Aerial switch installed.
As I put the console back together, I cleaned all the mating edges and gave them a thin coat of silicone grease to reduce the squeaks. It is all very quiet now.
One thing that I also did was to add this felt edging to the console lid. It really makes the lid sit solidly and keeps it from feeling loose.
Rothwell,
I'm indebted to you, my car suffers from many of the little issues you are addressing.
Thank you for sharing and I might add�I�ll gladly take you to lunch while we talk Jags�next time in Austin, LMK.
The seat back bouncing: I thought I�d let folks know that the
Softtouch by Waxman
Chair Tips
Part number is #0066943
5/8� (id) diameter
I used one per seat, cut it on a band saw and there was enough material to handle both studs on a seat.
Total cost @ 1.24.17 Lowes = $1.69 + tx.
Hello, I am rebuilding my front suspension on my 98 XK8. I too have been accumulating parts and am ready to begin. I saw in your post that you had come across an article in Jaguar Mag about bushing replacement. Is that posted anywhere in this forum? I'd love to read it.
Thanks,
Hello, I am rebuilding my front suspension on my 98 XK8. I too have been accumulating parts and am ready to begin. I saw in your post that you had come across an article in Jaguar Mag about bushing replacement. Is that posted anywhere in this forum? I'd love to read it.
Thanks,
I had yet to replace the wiper blades on this car. The ones on it were working well and quiet. Replacements were on my list to do but in no rush.
A few days ago I ran across this NOS OEM wiper blade kit on ebay. Bought it for $30 shipped. It seemed like a nice upgrade that includes the deflectors. I did not know that this kit was even available. It is not in my parts list pdf.
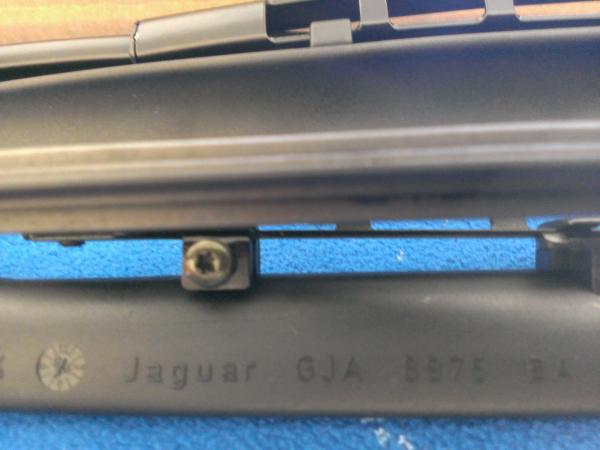
Jaguar Part #GJA8962CA
The deflectors are mounted with screws. So the frames are different than my originals in that respect. Otherwise identical.
Comparison of upgrade to original.
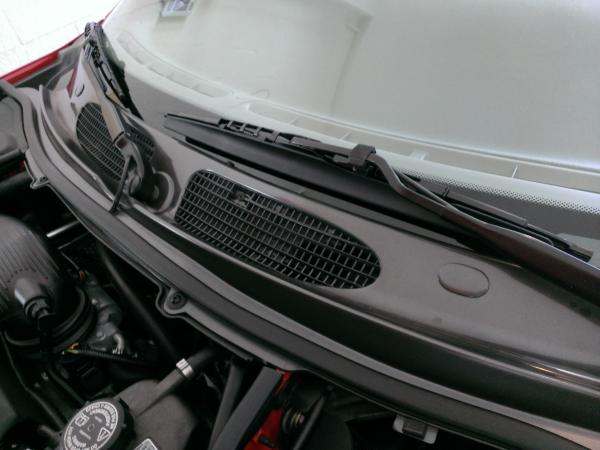
New ones mounted. Now I have new frames, blades and deflectors too!
A much cleaner look I think. I was never impressed with how much the wipers are exposed on this car.
The car does not get many drives in the rain. Eventually I'll test them out.
Question for you Rothwell please
do both wipers have the air foil.
i took the one off my Platinum XKR when I changed the wiper and saved it just in case it was a real jag part...
I looked and it is
so now if there are 2
I need to find the other one I guess... off to eBay.
Based on all that I think your car probably came with only one.
Two would make your car that much more awesome.
Note that the blade frame is different so you can't just buy the deflector. You will need a complete assembly. I only have the part number for the two blade kit but I imagine your dealer could break that down easily.

 10-15-2016, 01:15 PM