
Bumper save for the win....Extensive bumper correction by Innovative Detailing

Thread Starter
|
Senior Member
Joined: Sep 2009
Posts: 573
Likes: 86
From: Orange County, California. USA
Here is a thread showing how to remove deep scratches and gauges from a vehicle by colorsanding and polishing with a rotary and d/a for an almost flawless finish.
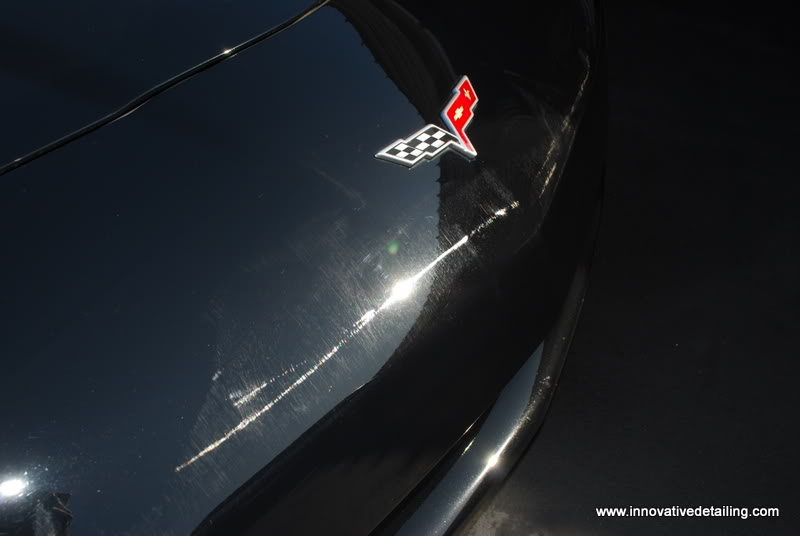
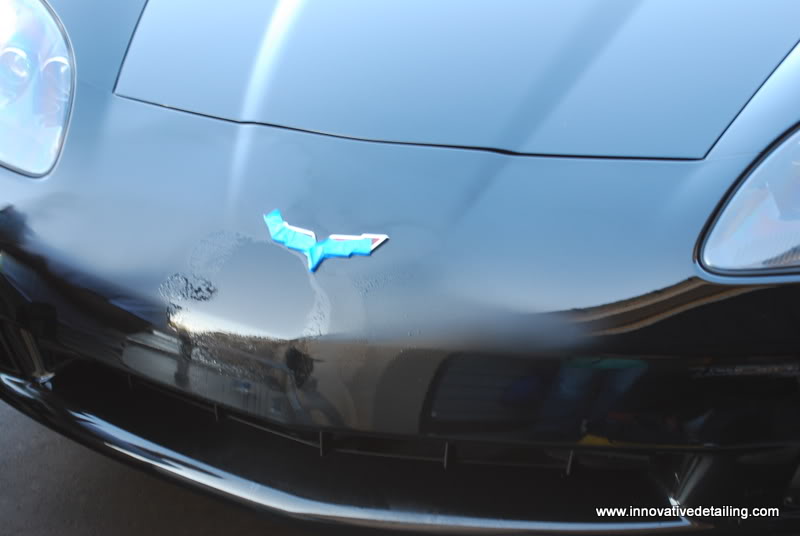
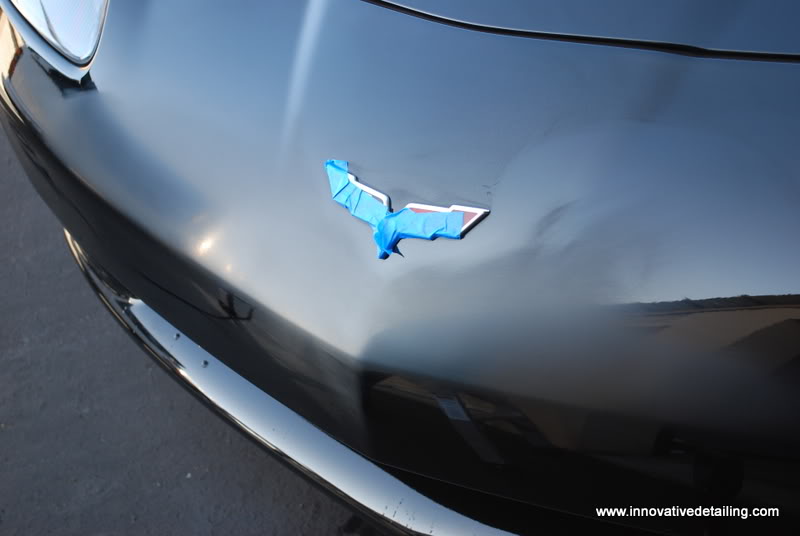
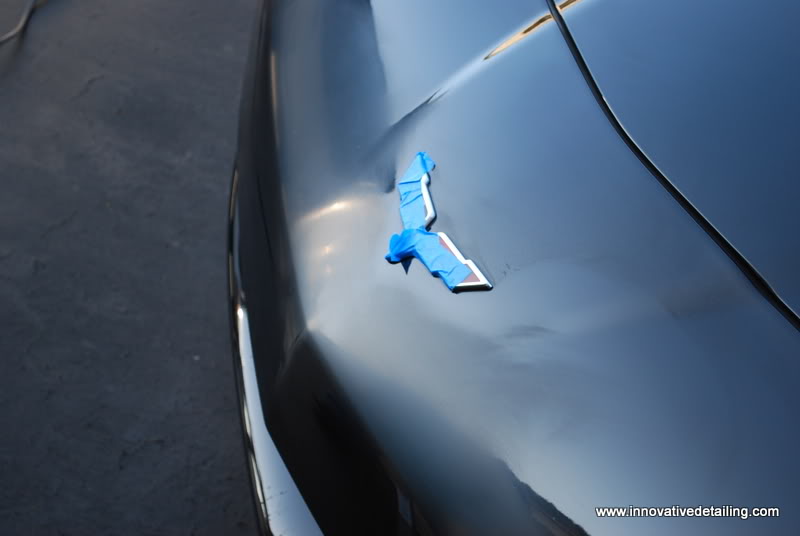
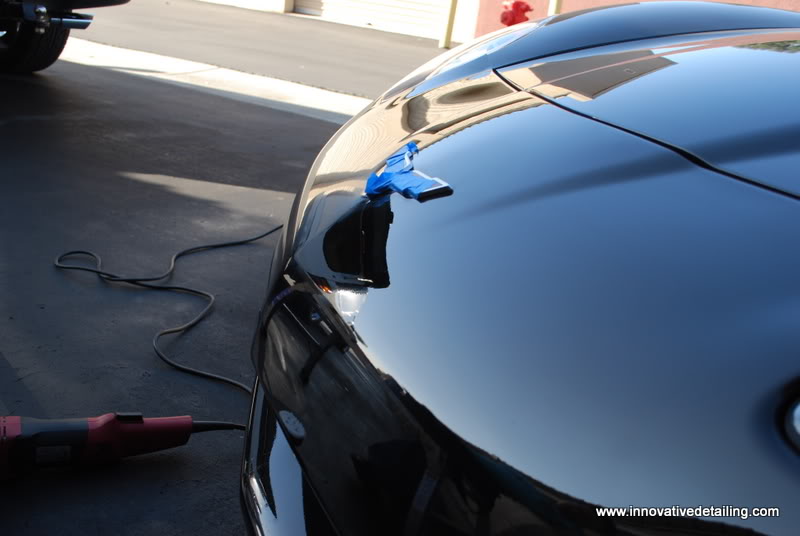
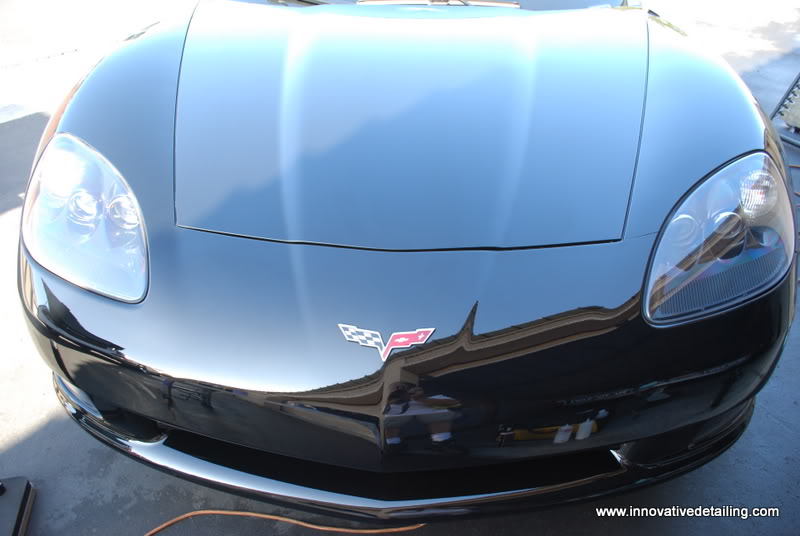
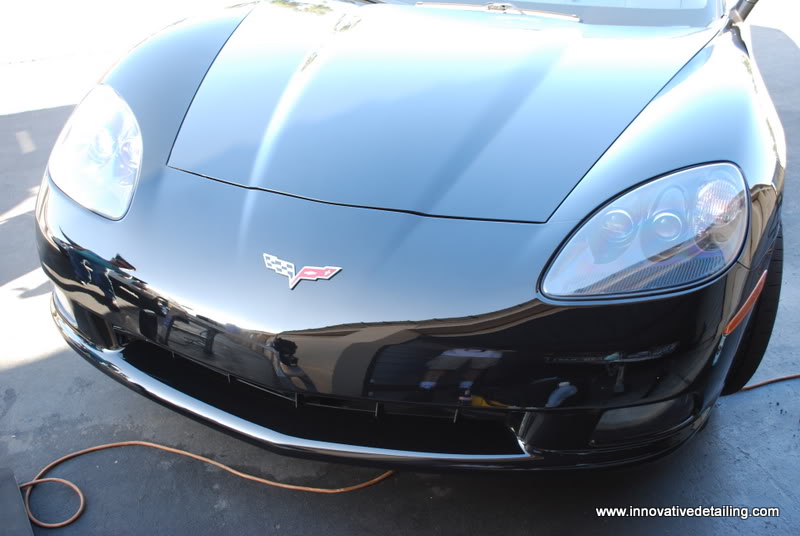
To start out my subject case is a 2008 Chevrolet Corvette C6 which was in prestine condition and detailed by me prior to the holidays. Unfortunately his father backed his Toytota Rav 4 right up the front bumper. The bad news was this nasty damage it created on the bumper, the good news was that no paint had cracked......
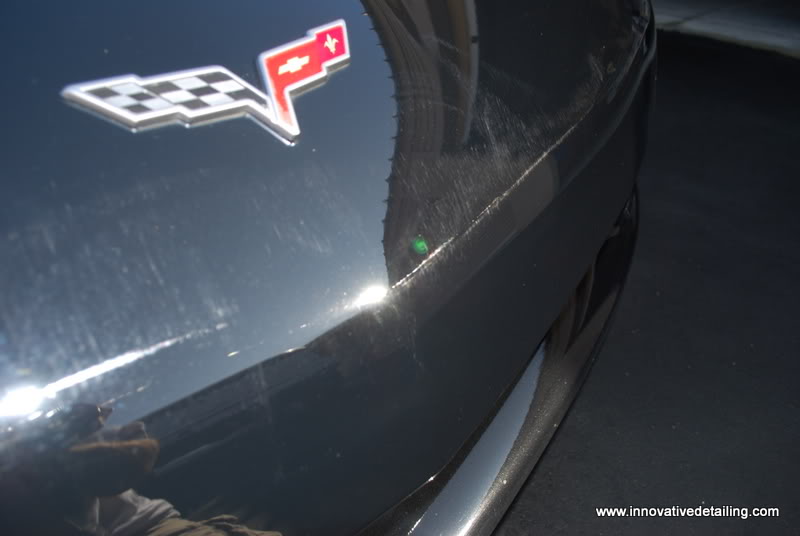
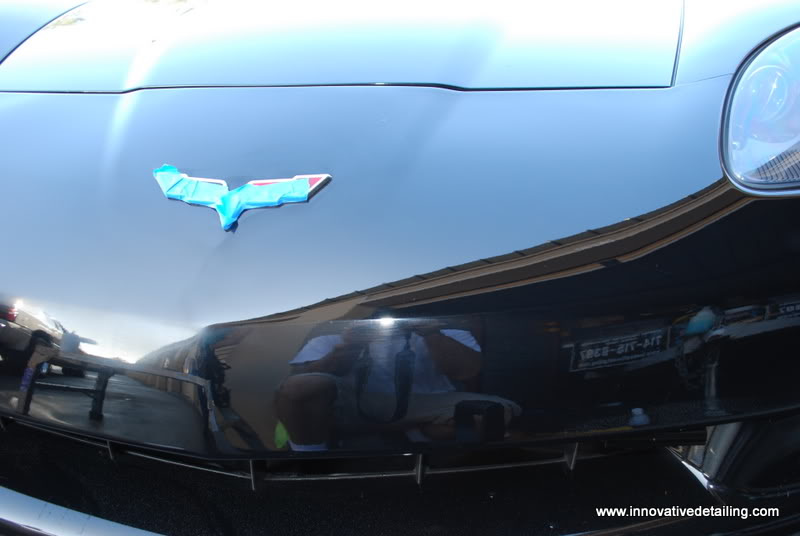
The first thing to do is clean thoroughly and inspect the damage
Then using the Meguairs Professional Headlight Restoration Kit I start my correction
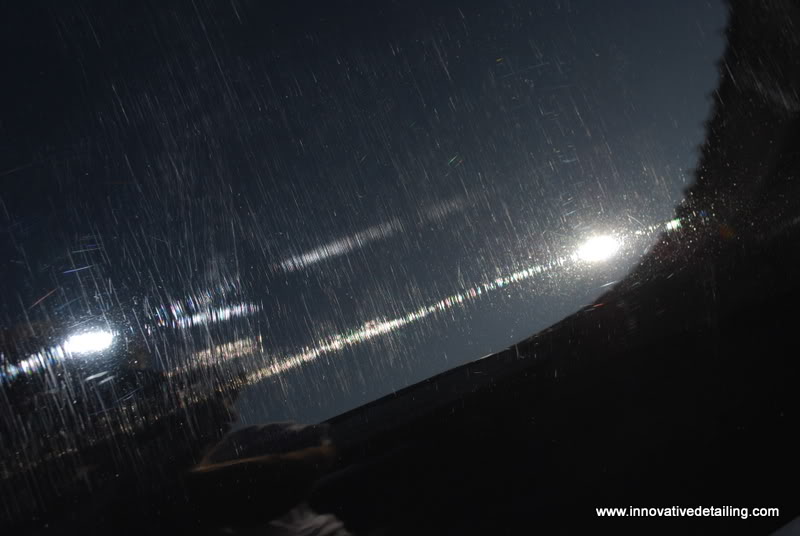
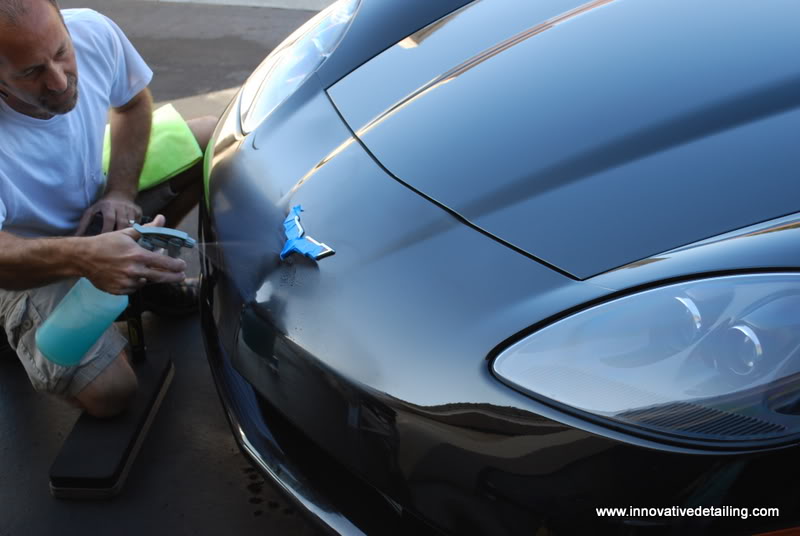
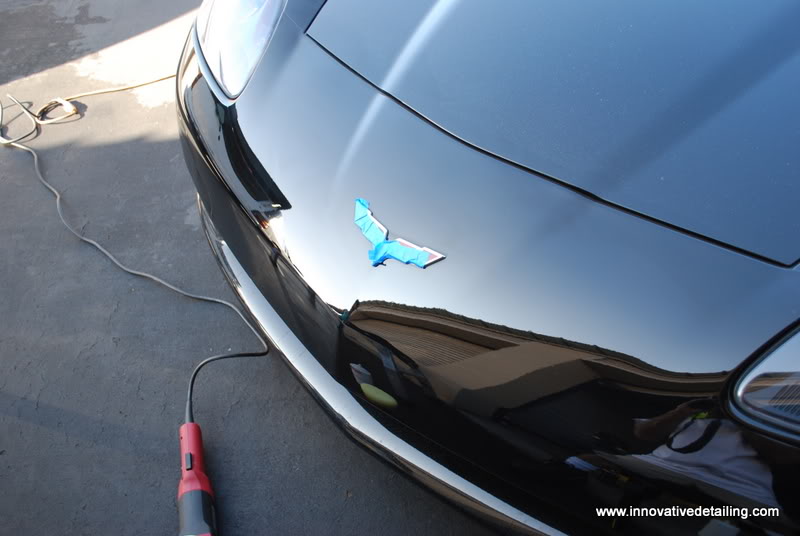
Using the S3HP Hand Pad and the Unigrit SF1000 I start to wet sand to level out the heavier scratches.
Always keeping the surfaces and paper wet to avoid additional marring and to aid in the colorsanding.
I then use the unigrit SF1500 to reduce the finer scratches that remain.
Then my last pass is with the Unigrit SF3000 also wet...
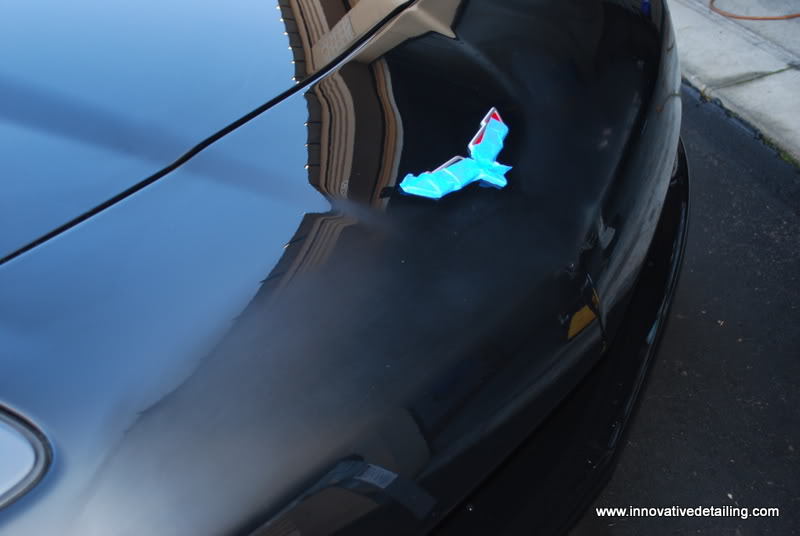
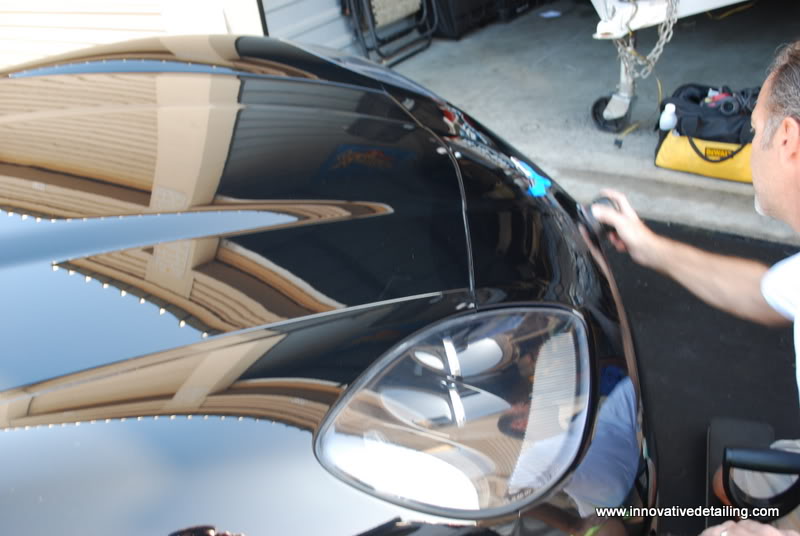
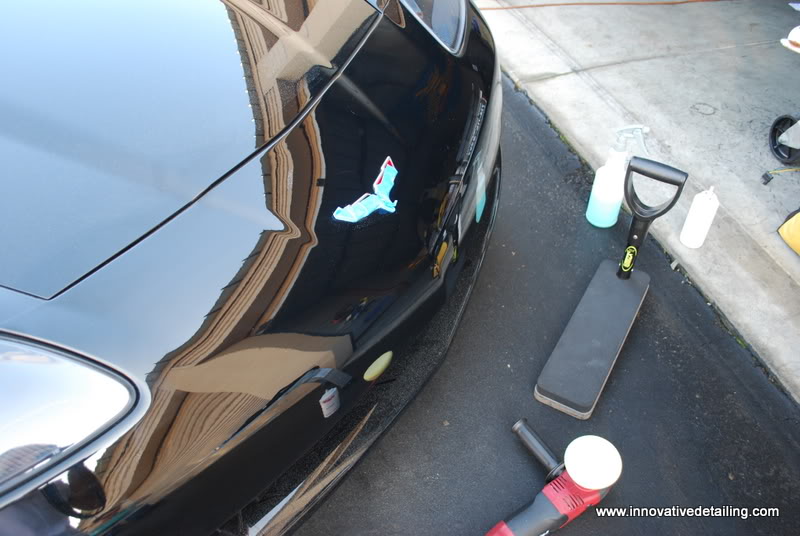
The heavy scratches and gauges have now been reduced to a haze and now is the time to use the rotary polisher for the correction. Using my Flex and the Meguair's 3" MF system with D300 for my first cut, but it wasn't powerful enough.
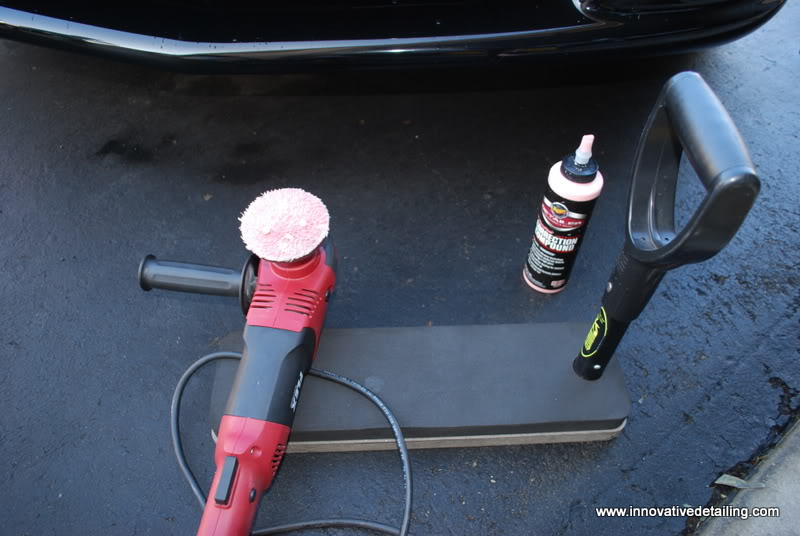
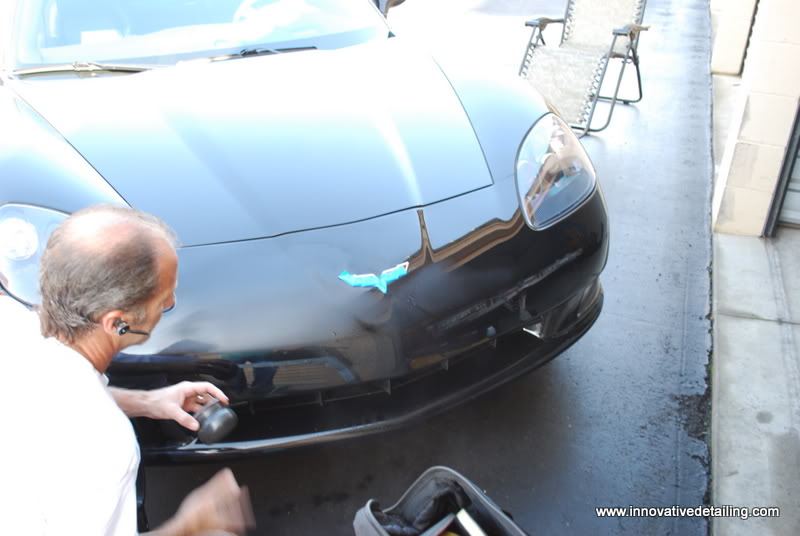
Using the same Flex rotatary I decided to change up to a 4 "foam system and the Meguairs M105 y M205 combo
W4003>M105
W7204>M105
W8204>M205
W9205>M21 (Synthetic Sealant) using the D/A
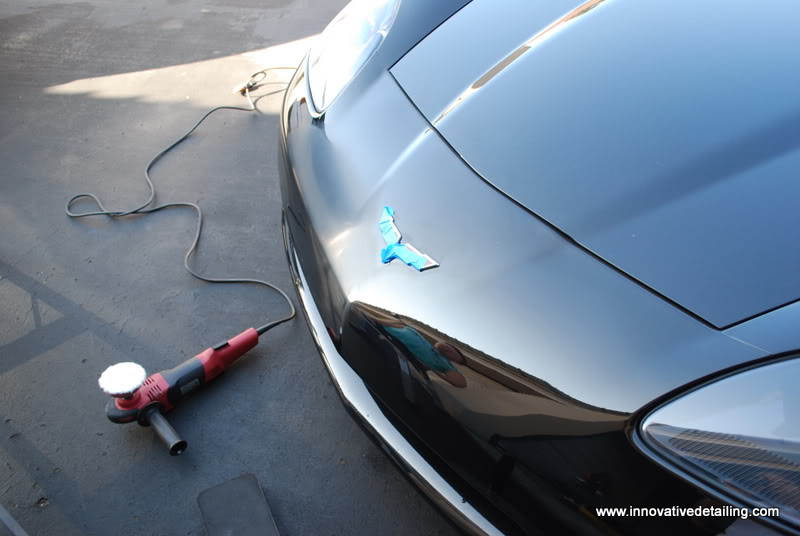
The results..
Before the correcion
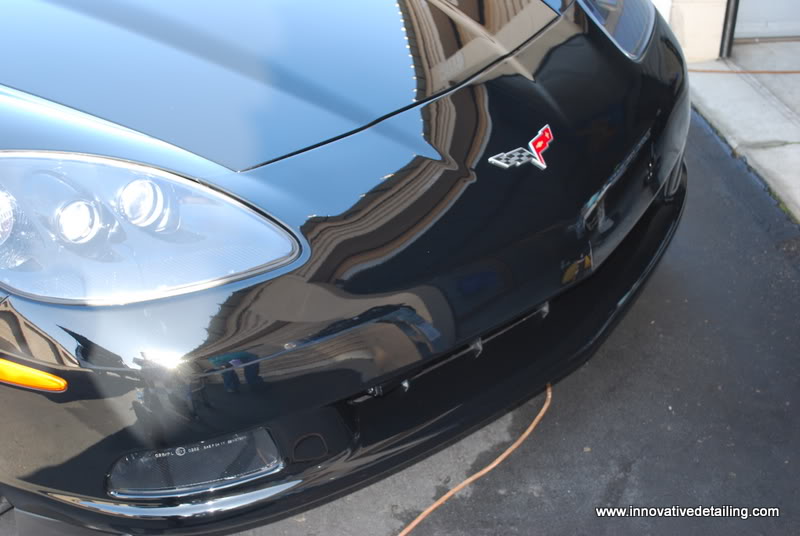
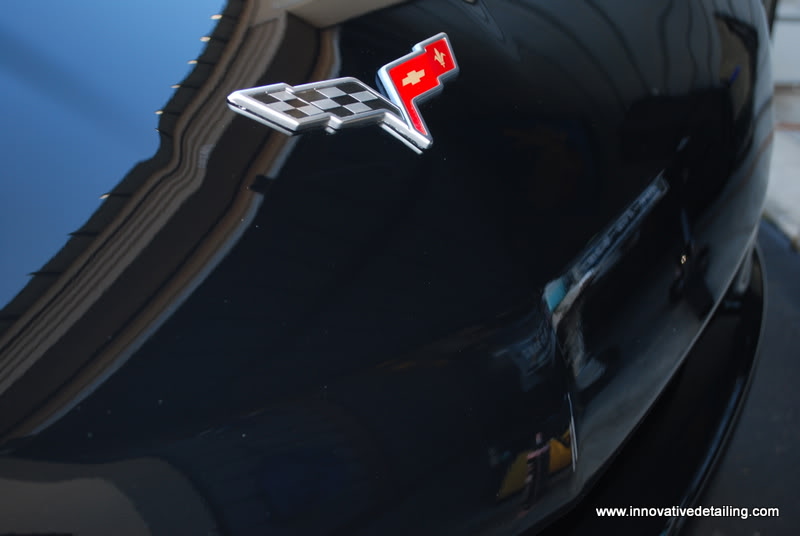
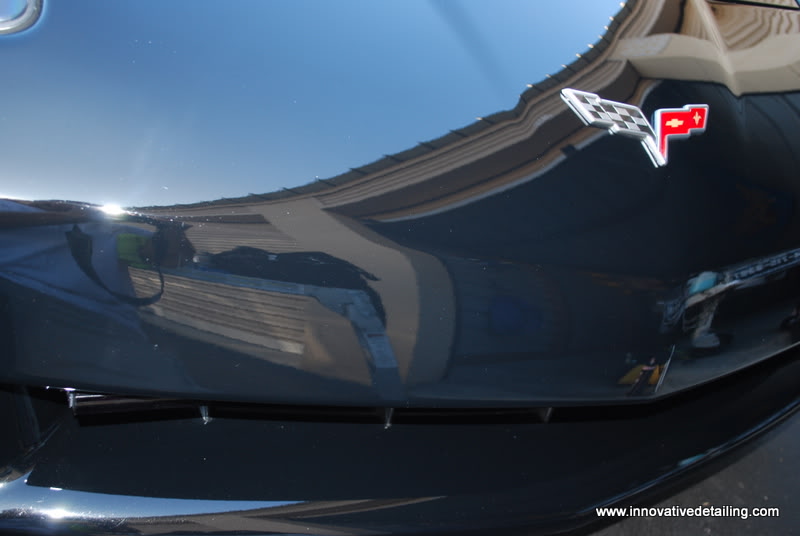
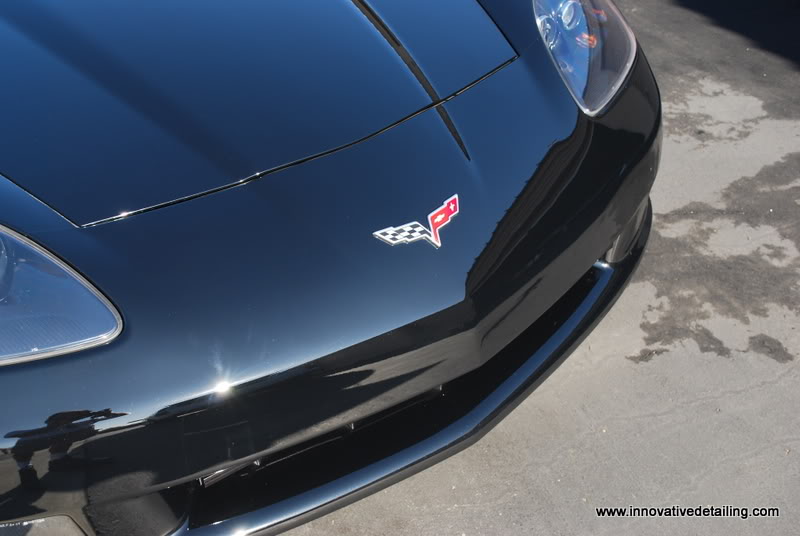
After the correcion
My customer was absolutely exstatic on how well this repair and save came out, and was finally able to sleep that night in peace!
Please any comments or questions......fire away!
To start out my subject case is a 2008 Chevrolet Corvette C6 which was in prestine condition and detailed by me prior to the holidays. Unfortunately his father backed his Toytota Rav 4 right up the front bumper. The bad news was this nasty damage it created on the bumper, the good news was that no paint had cracked......
The first thing to do is clean thoroughly and inspect the damage
Then using the Meguairs Professional Headlight Restoration Kit I start my correction
Using the S3HP Hand Pad and the Unigrit SF1000 I start to wet sand to level out the heavier scratches.
Always keeping the surfaces and paper wet to avoid additional marring and to aid in the colorsanding.
I then use the unigrit SF1500 to reduce the finer scratches that remain.
Then my last pass is with the Unigrit SF3000 also wet...
The heavy scratches and gauges have now been reduced to a haze and now is the time to use the rotary polisher for the correction. Using my Flex and the Meguair's 3" MF system with D300 for my first cut, but it wasn't powerful enough.
Using the same Flex rotatary I decided to change up to a 4 "foam system and the Meguairs M105 y M205 combo
W4003>M105
W7204>M105
W8204>M205
W9205>M21 (Synthetic Sealant) using the D/A
The results..
Before the correcion
After the correcion
My customer was absolutely exstatic on how well this repair and save came out, and was finally able to sleep that night in peace!
Please any comments or questions......fire away!

If I didn't know you or your work and just what you can achieve Dave, there would only be one question........
How in Hell
Great work, nice little write up AND pic heavy.......just the way we like it here.
Awesome work, thanks for sharing


Junior Member
Joined: Jan 2012
Posts: 9
Likes: 2
From: indiana
Great project, and results.
I've got a few similar issues with my recently purchased '07 XK in BRG. It looks like someone dragged it through a brushpile. I'm not familiar with all the products and equiptment you used. Is there a scratch repair 101 some where, or could you make a short 1,2,3 ...list ? Many thanks.
I've got a few similar issues with my recently purchased '07 XK in BRG. It looks like someone dragged it through a brushpile. I'm not familiar with all the products and equiptment you used. Is there a scratch repair 101 some where, or could you make a short 1,2,3 ...list ? Many thanks.
Veteran Member
Joined: Jul 2009
Posts: 12,704
Likes: 1,236
From: Brittany France
Stunning work as always Dave.
I'm no longer amazed, I just expect that no matter what, the car will always look better than when it left the show room for the first time.
Truly a Master Craftsman at work.
I'm no longer amazed, I just expect that no matter what, the car will always look better than when it left the show room for the first time.
Truly a Master Craftsman at work.

Senior Member
Joined: Dec 2011
Posts: 835
Likes: 143
From: Southern California, USA
Dave,
You have an amazing gift that you should be proud of. We are so honored to have you here with us.
Thanks for sharing sir.
You have an amazing gift that you should be proud of. We are so honored to have you here with us.
Thanks for sharing sir.
Trending Topics
Thread Starter
|
Senior Member
Joined: Sep 2009
Posts: 573
Likes: 86
From: Orange County, California. USA

Sorry about the extensive pics but it was the only way to show the repair....
Great project, and results.
I've got a few similar issues with my recently purchased '07 XK in BRG. It looks like someone dragged it through a brushpile. I'm not familiar with all the products and equiptment you used. Is there a scratch repair 101 some where, or could you make a short 1,2,3 ...list ? Many thanks.
I've got a few similar issues with my recently purchased '07 XK in BRG. It looks like someone dragged it through a brushpile. I'm not familiar with all the products and equiptment you used. Is there a scratch repair 101 some where, or could you make a short 1,2,3 ...list ? Many thanks.
This repair is one that should be done by an experienced operator or detailer. It requires the use of a high speed rotary polisher and a d/a polisher. It requires the use of high grade sandpapers along with wool and foam buffing pads. If you have access to a paint gauge meter this helps tremendously, its like insurance........
I will add a list to this reply shortly....

Enjoy the week!

Thread
Thread Starter
Forum
Replies
Last Post
Marque
XJ XJ6 / XJ8 / XJR ( X350 & X358 )
1
Sep 14, 2015 11:17 AM
Currently Active Users Viewing This Thread: 1 (0 members and 1 guests)