Engine detailing


ENGINE DETAILING
Engine detailing is nothing more than cleaning the exterior of the engine and applying dressing.
Did you know a detailed engine increases the resale value of your car? It's a well-known fact that people who take the time and effort to detail their engines also take better care of their cars. Mechanics, too, realize that a clean engine belongs to someone who cares for his or her car, and they will take the time to do the repair or service work correctly.
Engine detailing is nothing more than cleaning the exterior of the engine and the engine compartment, and applying dressing to protect and beautify the engine. It's very easy to do, and requires no more than 45 minutes to an hour every couple of months.
A beautifully detailed engine, like this one, is crisp, sharp and neat. This engine compartment is as tidy as the rest of the car. The attention to detail is excellent, and it shows.
ENGINE DETAILING - The first step in cleaning your engine is to remove the excess debris that gets trapped in your hood, grille and vent openings. This is particularly true if you live in an area with four seasons. If you have compressed air available, this is the best way to remove old leaves, dead cats and such. If you don't, a simple hand brush will suffice.
Notice the use of a rag on the intake of this 911 engine to protect from water flooding.
The next very important step is to prepare your engine for getting wet. You must cover all sensors, the distributor, spark plug openings and any electrical devices that have the potential for water accumulation (which could cause a short). Use plastic baggies to cover these items. Be sure to use tape or rubber bands to hold the plastic bags in place. You're only trying to prevent the majority of the water from getting in; it does not need to be watertight. The engine environment should already be waterproof. The baggies are just a precaution.
To loosen the grease accumulated on your engine and the engine compartment, start your engine and allow it to warm for a few minutes. The best temperature for cleaning your engine is warm to the touch, but not hot. If you're able to hold your hand to the engine without saying "Ouch," then the temperature is just about right.
Aluminum foil is an excellent wrap to protect engine components. This works for spray-cleaning, painting and washing. The aluminum foil is easily molded around parts to keep them masked. Since the foil fits tightly, it doesn't hamper your view or make it hard to get into tight spots. It's faster and cheaper to use than tape and fits around odd shapes better than rags or paper. Tip and photo by Brad Bloomquist.
Applying DegreaserAfter warming the engine and protecting sensitive areas, you're ready to apply your engine degreaser. Although they are quick and easy, I warn people against the use of harsh petroleum-based cleaners in the engine compartment. They quickly cut through grease and grime, but they also deteriorate your rubber and vinyl components (not to mention what they do to our environment!). As an alternative, use a citrus- or water-based cleaner. My favorite is Autoglym Engine & Machine Cleaner.
Holly is using a degreaser on the top side of her engine. Good degreasers are strong enough to cut through the heavy grease and dirt, but some scrubbing is necessary to remove the remaining dirt film.
When applying your engine degreaser, it's best to start from the lower areas and work your way up. This prevents the degreaser from dripping on you as you clean the underside areas. One important thing to remember: the engine degreaser will remove the wax from the painted surfaces of your car. If you get degreaser overspray on your fenders, plan on re-waxing these areas.
When you have applied your engine degreaser, be sure to wash any excess cleaner from the exterior painted surfaces of the fenders, hood and grille. I like to spray these areas with water first.
Depending on the amount of accumulated grease, allow the degreaser to soak on the engine for 3 to 5 minutes. Do not allow the degreaser to dry on your engine. For light to mild levels of grease, you will not need to use a brush on the engine and other surfaces. For heavy soil, you can use a long-handled brush (parts brush) and car wash solution to provide additional cleaning action prior to hosing off the degreaser.
Use a soft parts cleaning brush get into cracks and around parts. If your engine compartment has a heavy accumulation of dirt, you may need to spray with cleaner, brush, and rinse several times.
An old toothbrush works great in tight areas that other brushes can't reach.
Hosing OffWhen you are ready to remove the degreaser, hose down the entire engine compartment and surrounding surfaces with plenty of water. If you're using a high-pressure nozzle, be careful that you don't get the nozzle too close to the covered electrical connectors. Allow your engine to air dry for several minutes before using a towel to wipe down all accessible parts. Remove the plastic bags. The heat from the engine will assist in the drying process; however, do not allow the engine to air dry, as this will result in water spots. When dry, start your engine and allow it to run for a few minutes.
Rinse with a stiff stream of water to remove as much of the grease and grime as possible. Be sure to avoid electrical connections and other sensitive areas. After rinsing, start the engine immediately. Allow it to run for about 5 minutes to help dry things out.
Here's a handy tip for you. After your final rinse use your vacuum (if it can blow forced air) or an air compressor to blow water off the engine for a spot-free finish. This Vac B' Blow vacuum makes quick work of the job.
Protect & BeautifyWhen everything is dry, and your engine has cooled, you should apply a coating of engine protectant. If you don't have an engine protectant, use your rubber and vinyl protectant to coat your hoses, wires, and plastic shields. To add a quick shine and protection to the painted surfaces in the engine compartment, use a high-quality detailing spray. Just spray it on all surfaces, and wipe off the excess with a clean terry cloth towel.
Sorry guys....the pics didn't show up!!


Senior Member


Joined: Aug 2010
Posts: 165
Likes: 37
From: Warner Robins, GA
I wipe my engine down everytime I wash the car with a damp cloth. Along with the door, trunk, etc. Keeps it looking great.
Trending Topics
Senior Member
Joined: Jul 2011
Posts: 623
Likes: 43
From: Brandon, FL
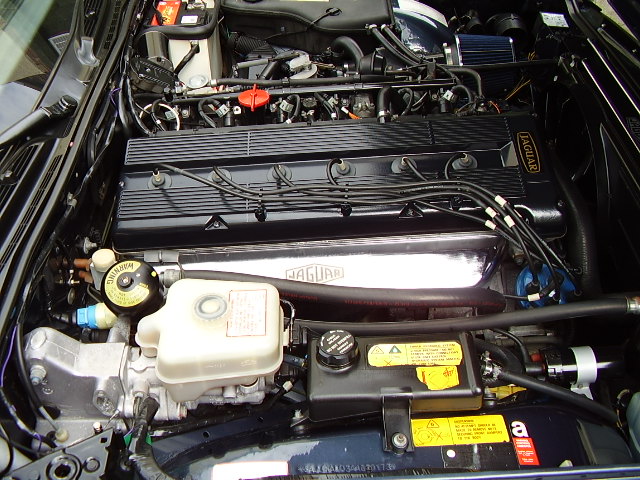
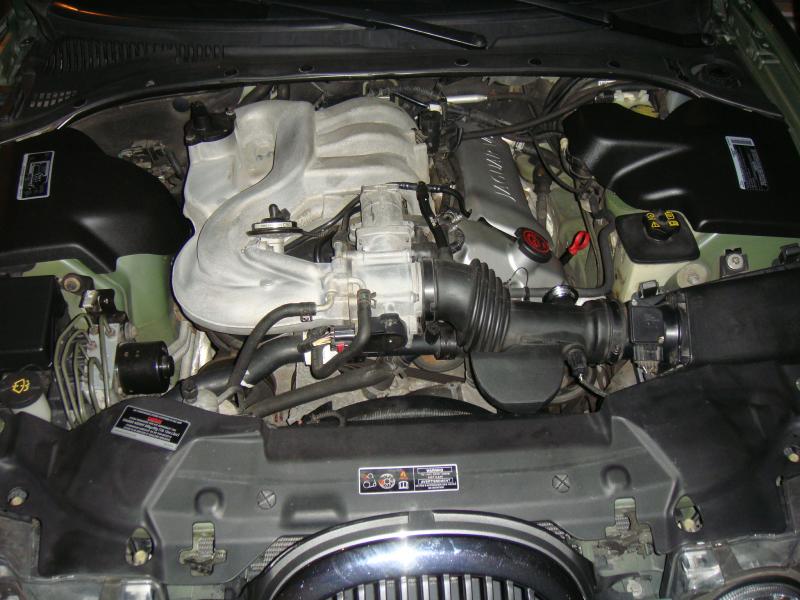
Well as a matter of fact, took some pics today, didn't detail it. But did clean out any leaves and debris.
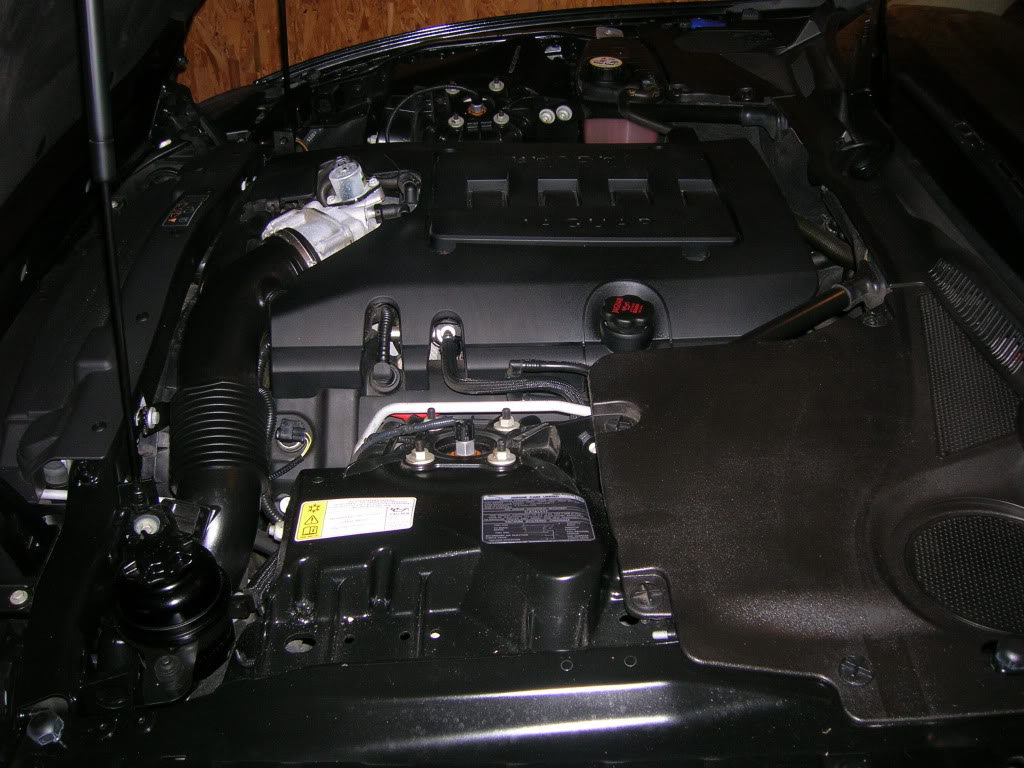
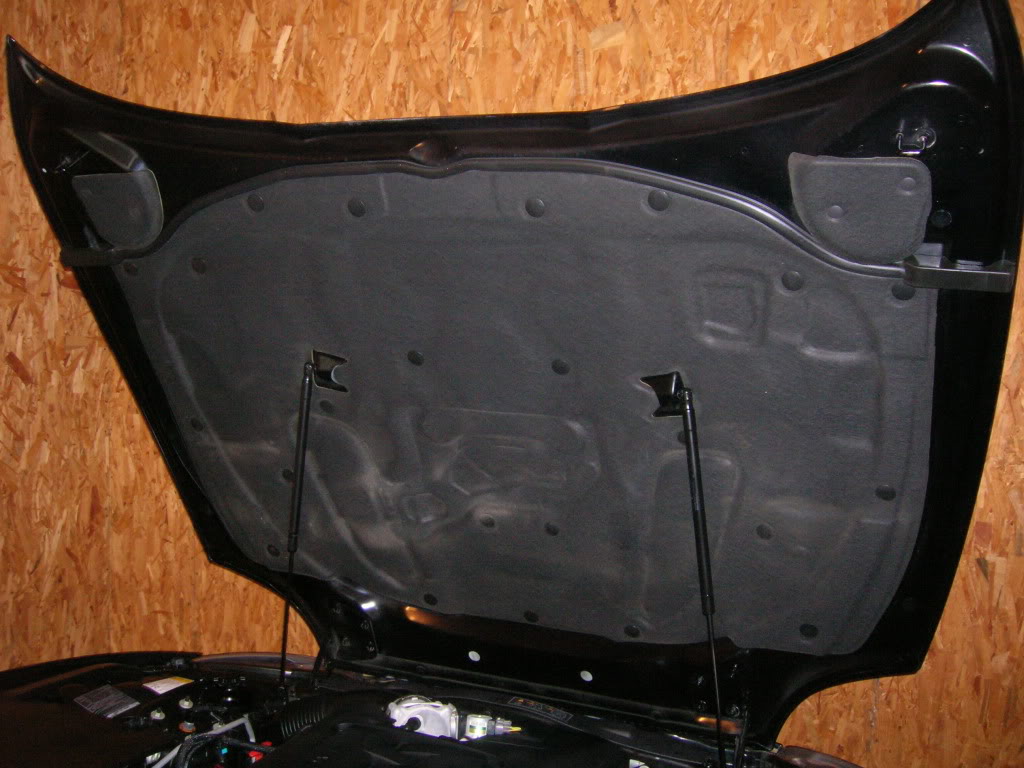
I think it's pretty clean, thinking bout maybe highlighting the jaguar lettering in white?
I think it's pretty clean, thinking bout maybe highlighting the jaguar lettering in white?

Nice one CG, thanks for sharing!
Even without a detail your engine bay looks in great shape......I always say you can tell a lot about a person by their car and their attention to the finer points / details.
As for the hoodliner? There are more than a few on here that have actually bought a new hoodliner c/w Jaguar Leaper decal attached.....looks awesome, perhaps do a search and see what I mean!
As for me?
Everytime I wash my car my exhaust tips , door shuts and engine bay are cleaned as well as the alloys etc etc.
It only adds a little more time to my routine and certainly pays dividens 4 years on as the bay looks almost as good as new.
Senior Member
Joined: Jul 2011
Posts: 623
Likes: 43
From: Brandon, FL

Nice one CG, thanks for sharing!
Even without a detail your engine bay looks in great shape......I always say you can tell a lot about a person by their car and their attention to the finer points / details.
As for the hoodliner? There are more than a few on here that have actually bought a new hoodliner c/w Jaguar Leaper decal attached.....looks awesome, perhaps do a search and see what I mean!
As for me?
Everytime I wash my car my exhaust tips , door shuts and engine bay are cleaned as well as the alloys etc etc.
It only adds a little more time to my routine and certainly pays dividens 4 years on as the bay looks almost as good as new.
I've also been in contact with Gonzo, asked if he had a template for making the hoodliner for the 07 XK. He does not. Asked if I could send him pics of mine so we can see about getting him a template. Pics have been sent. so we'll see what happens...

Member
Joined: Jan 2013
Posts: 65
Likes: 13
From: Northern CA
Saw this while surfering around...
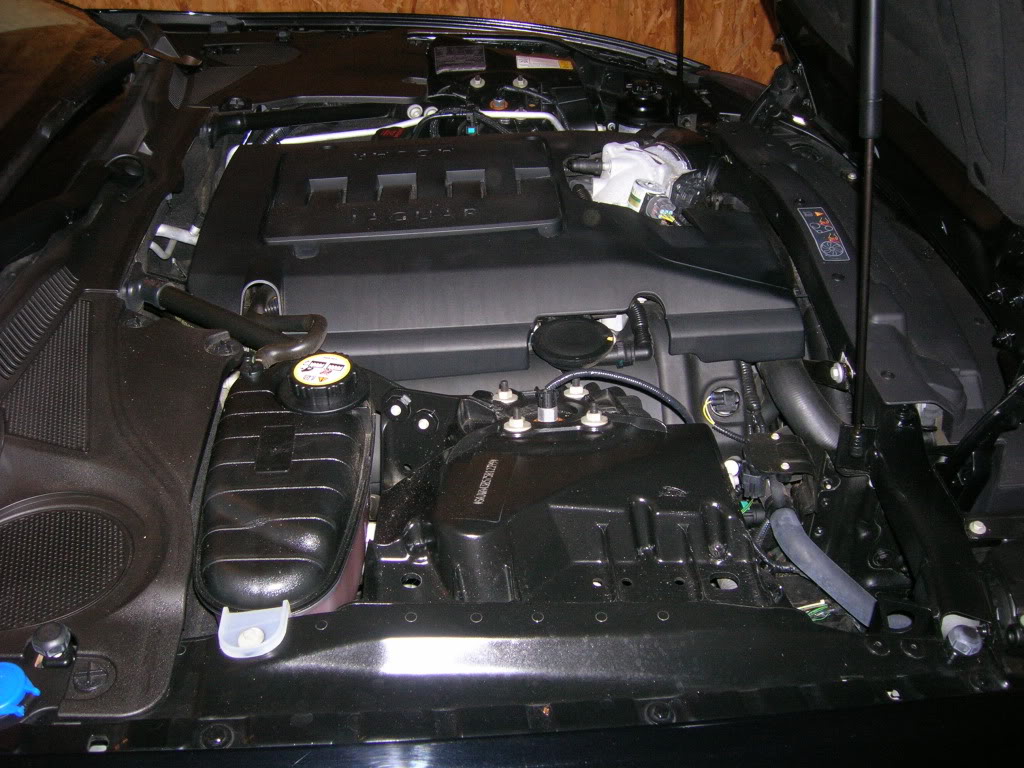
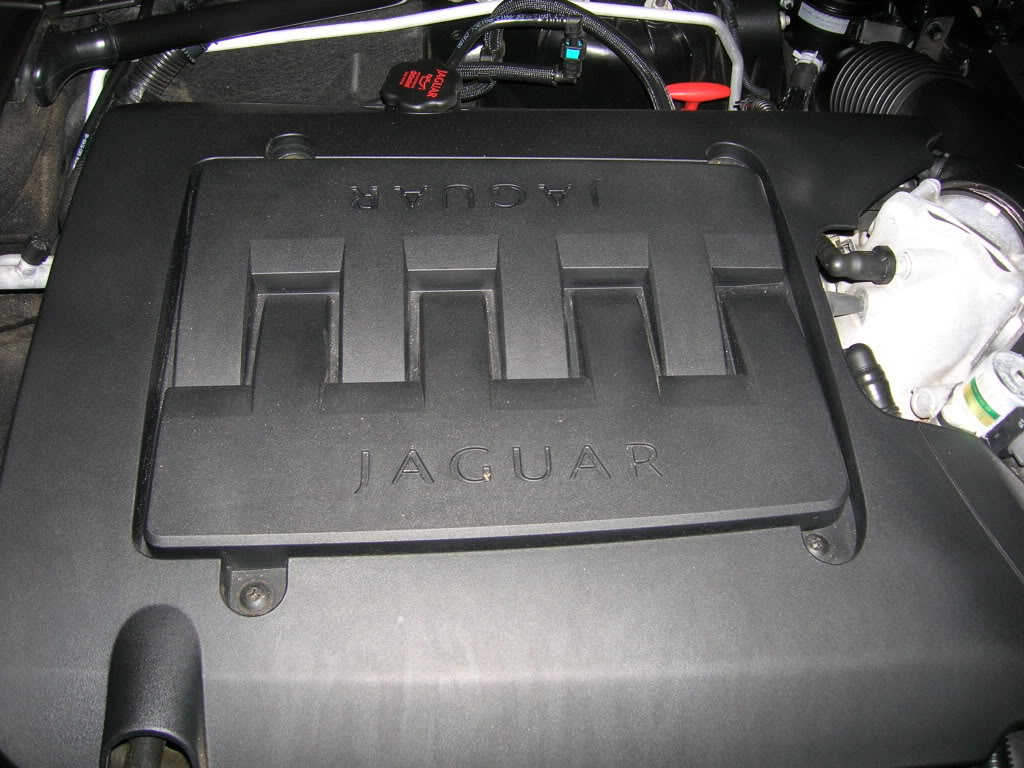
Need the cap for the shock mount... btw - is there a beefier sway bar that can be put in the engine compartment using these mounts?
And would like the original Oil cap... not sure how that got switched unless that's how it came...
furthermore... getting those engine covers to snap into the right spots is a pita....
Cheers
DJ

Junior Member
Joined: May 2013
Posts: 29
Likes: 8
From: UK