When you click on links to various merchants on this site and make a purchase, this can result in this site earning a commission. Affiliate programs and affiliations include, but are not limited to, the eBay Partner Network.
Hey all, we seem to have a distinct shortage of "how to" threads here......
Please advise as and when any info worthy of addition becomes available and we will gladly update them.
Lets get this section moving, onwards n upwards
I will be working on FHC and OTS more now that it is warm. Complete floor replacement, new wings on OTS, panel replacement, etc. More than happy to share!
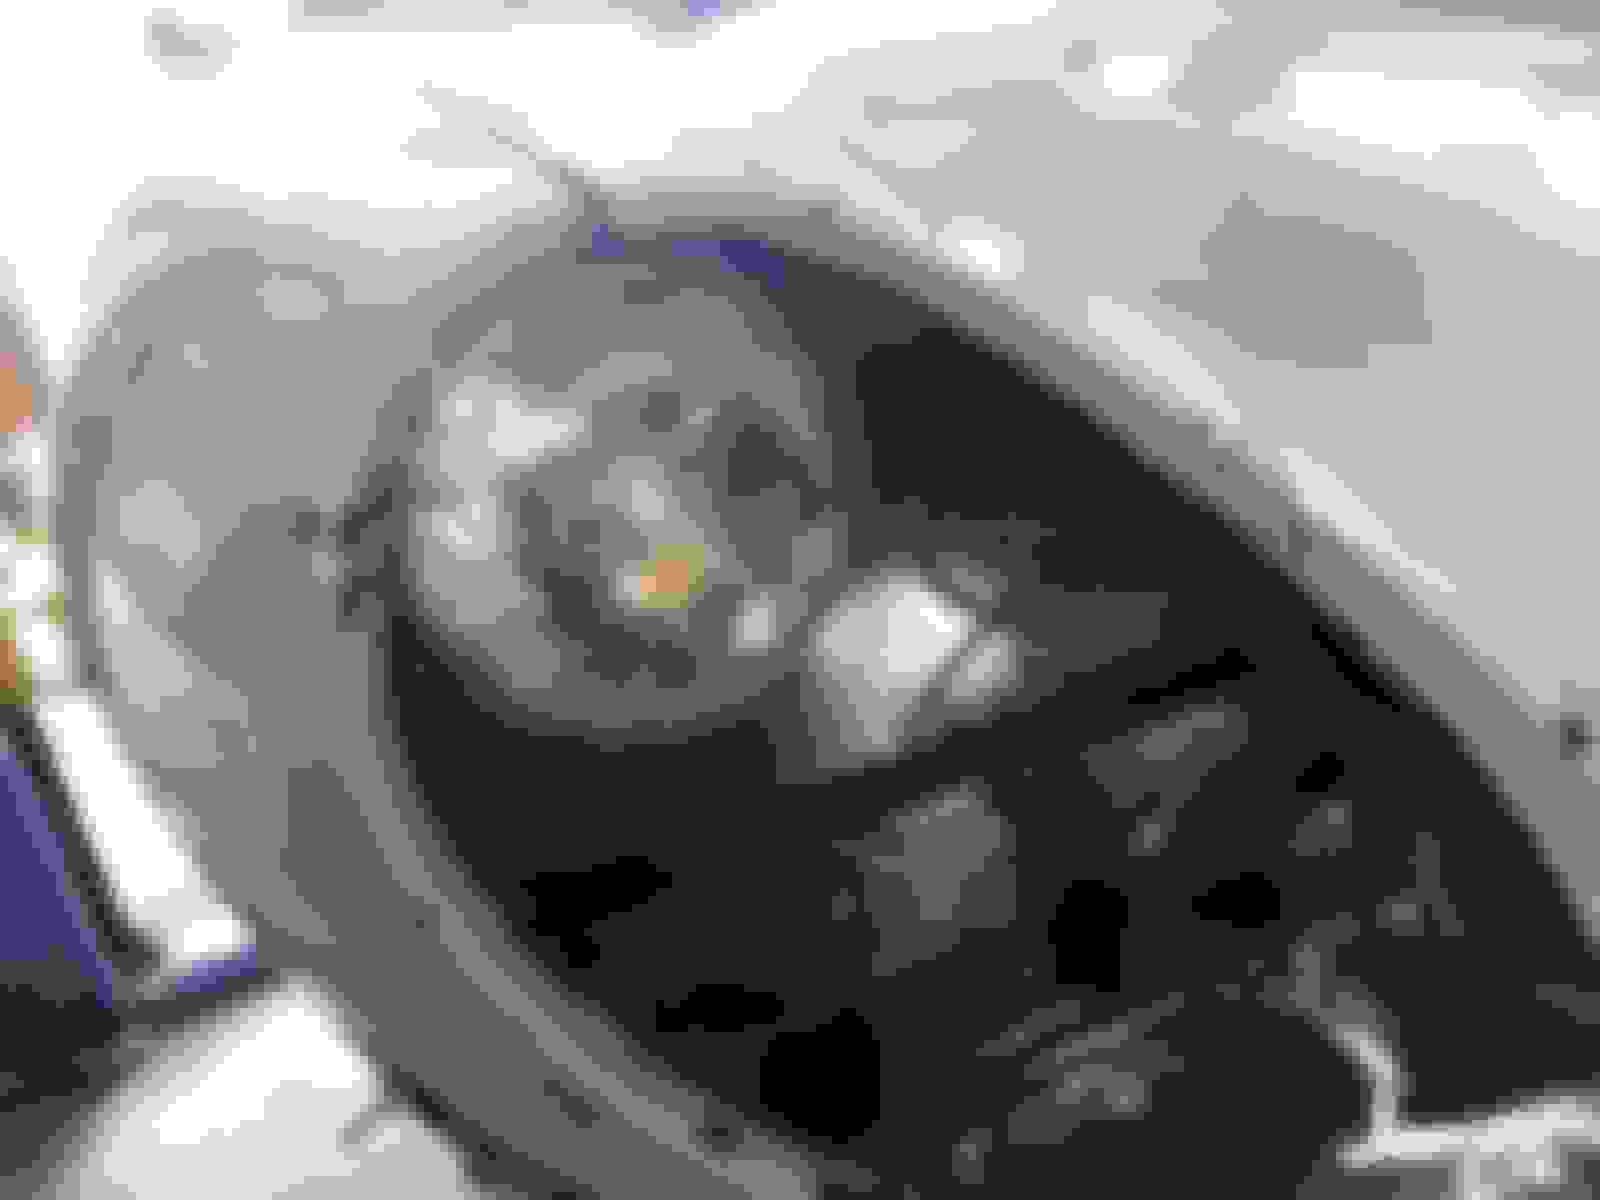
Just found a a great product to deter rust from another member of the Jag Forum. It's called Rust Bullet and can be purchased on Amazon and works better than Por-15. I have a 1966 XKE 4.2 Litre Roadster and decided to check the status of the lower bonnet nose panel. This is an important area to keep free of rust because you have so much stress and tension for the bonnet frame support bracket. To access this area you have to remove the headlight chrome, headlight glass and sugar scoops. It seems rust develops in this area on the inside and you never see it as it so inaccessible. Cleaned the area thoroughly with mineral spirits, lightly sanded it, then finally applied Eastwood Rust Remover. That step was probably not necessary but out of an abundance of caution I applied the remover. At this point I brushed on the Rust Bullet Black Paint. Then checked all the wiring connections, cleaned them, and reinstalled the headlight glass and related parts. I found it was easier to remove the front bumper system to access the seams where rust could accumulate as well. For what it's worth, I feel this was an important area that is not seen but will prevent the car from deteriorating further. Was very impressed with Rust Bullet that I found out about on the XK8 forum. Area before corrective treatment area after treatment area after treatment
I�ve only had the wool fabric to redo the visors for about 30 years. Still in new condition, I took on the rebuilding of the visors. I will also post a link to this in the regular E type section.
Before starting to work on rebuilding your visors, watch this YouTube video, many techniques are used and demonstrated. The pattern making technique was not used for this project.
Materials used: Fabric to match interior of car, usually the same as the headliner; posterboard, shelf liner, sheet foam, aerosol adhesive (not brush-on) sharp scissors, utility knife, sewing machine, heavy duty machine needles, thread, patience.
Take photos of the existing visors, in place. As you remove one from the car, label it as to right or left. Put the screws back in the plates in the headliner edging. Take photos of the existing visor from all views. DO NOT take apart the second visor, you may need it for reference.
Use a sharp utility knife (i.e. new blade) to separate the two halves of the visor. If you plan to use the existing visor as a pattern, work carefully. Use a putty knife to help separate the two halves.
Mark with a Sharpie, the end point of where the fabric was on the swivel end of the visor bar. The chrome piece at the outer end of the visor is a pinch fit. Tiny slices of the visor fabric were originally tucked down into the opening and the chrome piece was pressed down in to place. In this rebuild, that technique will not be used. Use a plastic trim tool to get the chrome end piece out. If it appears to be rusted, you may have to use some spray penetrant to loosen it. If you have to use pliers, wrap several layers of masking tape around the edge, to prevent damage.
The inside of the visor on this car was some sort of foam, now dried and crumbly. Carefully separate the visor bar from the foam and fabric. Use a wire brush to remove all the traces of the old adhesive and foam bits from the bar. Work over a garbage can, it�s pretty messy.
At this point you may want to check the rotation of the visor on the bar. If it doesn�t want to turn fairly easily, spray a bit of penetrant (PB Blaster) in the open end. Work the visor and the metal flange. Let it sit while you are working on the rest of the visor. Clean it completely before attaching any materials, as staining from the penetrant may occur.
5. The visor rebuild described here used everyday posterboard. Black was used, as it would not show up noticeably from either end of the visor. White posterboard could be used (easier to see your pattern markings to cut), and then sprayed black around the edges. While commercial upholstery material (fiberboard) for visors was originally obtained, after a mockup was created using these, it was deemed to be way too thick. Posterboard, along with a bendable plastic shelf-lining (Easy Liner Clear Classic) material was chosen (available from Amazon, Walmart, etc). The posterboard along with the shelf liner recreated the level of stiffness in the original visor. To re-create the �foam� appearance, Pellon Style 76 �Naked Flex-Foam� (Joann Fabrics, etc.)was used, because it was not as thick as the upholstery shop�s foam. (and yes, that IS what it is called).
6. Use your old visor laid flat to create your pattern. This is the most time consuming part of the process, as you HAVE to have ALL the edges smooth and also line up when the visor is folded for sewing. Be sure to follow the �score line� instructions in the YouTube. This allows your posterboard to make a �roll-fold� and not just get creased. The score lines face to the outside, when folding the posterboard.
7. After you are satisfied with the pattern, use it to cut out your �shelf liner� and foam. You can also use it as a pattern for the second visor. It is a good idea to trim the shelfliner so it is 1/16 inch or so smaller than the posterboard
8. If you have your visor exterior material, use some trimmed off pieces of posterboard, shelfliner, foam and exterior material to make a mockup of what the visor will be like. This is to test your sewing machine. I have a consumer-grade sewing machine, and used a brand new �heavy-duty� needle. This sewing test is to make sure the proper tension is on the thread from the bobbin as well as from the spool. A stitch length of 8 was used for this project. The needle has to go through 4 thicknesses of the exterior fabric, two thicknesses of posterboard, two thicknesses of foam and two thicknesses of shelfliner. A superior grade of thread in a matching color was used.
9. Using a heavy-duty grade of spray adhesive (for example; 3M Hi-Strength 90 Contact Adhesive) spray one side of the cut out pieces of posterboard and the shelf liner. Use something like a linoleum roller to make sure the adhesive makes consistent overall contact. If this brand of shelf liner is used, glue the flat side of the liner to the posterboard. The �bumps� will be covered up by the foam in the next step. Although the Visor videos all show a visor being rebuilt, one step after another, for this project, it was determined to let any gluing cure overnight. Once the posterboard and shelf liner have cured, spray the shelf liner and one side of the foam. Use a roller to assure even contact. Again, let that cure.
Watch the video again where trimming the fabric prior to gluing it on begins. Trimming the corners is important to reduce bulk. After spraying the adhesive along the edge of the posterboard and the fabric allowance, use your palm as the video shows, to fold over the fabric to the inside. Also follow the directions for cutting the slits in the inside curves. Don�t cut all the way to the posterboard. After all the fabric is pressed into place, go around the edges again and trim off any thick �folds� of material, usually in the corners and finger-press all fabric down as flat as you can. The video shows this step. The goal is to reduce �bulk� in these areas when sewing the two halves together. Lay the visor bar in place, carefully fold the visor in half and lay a couple of heavy books along the outside edge, just to give the visor a bit of instruction for what is to follow.
The next step is the most crucial, the gluing of the two halves together. This is where your detailed work to assure that the posterboard edges all match and line up is tested. Spray your adhesive on both inner halves, center and lay in your visor rod and fold the visor in half, matching all the edges. For the first visor, I clamped paint stir sticks over foam strips to press the halves together. After that cured, the stick left depressions, even with the foam, so I used heavy books for the second visor. Be sure to press down along all the edges and along the side of the visor rod, do this several times before using your compression method of choice. Let it all cure overnight.
The final step is sewing the two halves together. You may have to rotate the spring-plate end of the visor rod to allow for smooth feed under the machine needle. I started at the far end, with the little chrome finisher piece. Since you checked your machine operation earlier in the process (step 8) , you should be able to slowly guide the visor under the machine needle and along the fabric edge.
Now, follow the same steps for the second visor and hopefully it all goes well for a second time!
Nicely done. An ambitious project with a great outcome. The vinyl covered visors in the Series 3 cars are not so suitable to a reproduction like this, and not particularly effective in any case. I didn't even try and started from scratch with this:
Tinted acrylic, used in aviation visors, so they are effective in sun attenuation but also don't block the sight line for traffic lights. Not quite concours, but neither is the rest of the car. Just a nice driving E-Type.
Nicely done as well!! How DID you cut that acrylic???
I think 'vinyl' covered visors 'could' be redone, except using cloth backed vinyl AKA Naugahyde, often available in fabric depts (WalMart) and/or stores like Jo-ann Fabrics.
Now if I could only find some way to make my F type's visor rotate in the corner like the Es do.
The Series 3 visors are a rather small, inconsequential affair. vinyl without a backing, foam and a bit of wire. The foam is of course powder by now, and the thing is closed out by heat-sealing the perimeter. One could make something along the lines of the Series 2, but it would not duplicate the original for those so inclined.
I cheated on the acrylic. I have a company that makes visors for airplanes. So I designed it and my guys made it. The acrylic is cut on a 3-axis router with a radius cutter then polished. The rotating arbor is black anodized aluminum, and the end brackets are chrome plated brass.
In Part 2, I don't know how they worked with that redone visor... the bar is nowhere near the spine of the visor, and not a particularly nice sewing job either (IMO) but it does show recovering a visor with wire structure.
Oh dear. I've seen videos by this guy before, I have some Range Rovers, Discos and Defenders that he has videos on. He's helpful, but I can only endure if I watch at 2X speed. I agree on the sewing as well. Would perhaps been better pouching the covering, turning it inside out, inserting the panel and mechanics then seaming one short edge only.
As it happens, the Series 3 E-Type visor is not unlike the F-Type in shape and motion. Small, not particularly effective and as single axis of motion. My replacement is also single axis, but larger and works pretty well.
How wide, tall, is the F-Type visor? Something like this may may work, but the current configuration needs about 4" of height:
Hi and thank you for the link. I did buy a tinted standalone visor for the F.. the kind that you just stuff in the door window to block the sun when its blasting through those windows. It's just tinted flexible plastic. I'm Ok with the Fs visors for front sun.. it's the lack of a corner pivot, but what I have 'works'. I'm hoping another JLR product will have a pivoting visor that I can adapt, (yeah, dream on!!!)