When you click on links to various merchants on this site and make a purchase, this can result in this site earning a commission. Affiliate programs and affiliations include, but are not limited to, the eBay Partner Network.
Perhaps I've found the cure for leaking heater valves. Many discussions to date on O-rings, etc. to replace the unobtainable "olive" seal as originally fitted. After a prolonged ground-up restoration of my '64 OTS, it was finally time to top up the cooling system. Next morning I discovered the area under the heater box by the voltage regulator was a pool of coolant and there was a huge puddle of coolant under the car. Phooey! My supposedly water tight original heater core now obviously leaks. New heater core now on its way. Should have replaced it in the first place as it's reasonably priced.
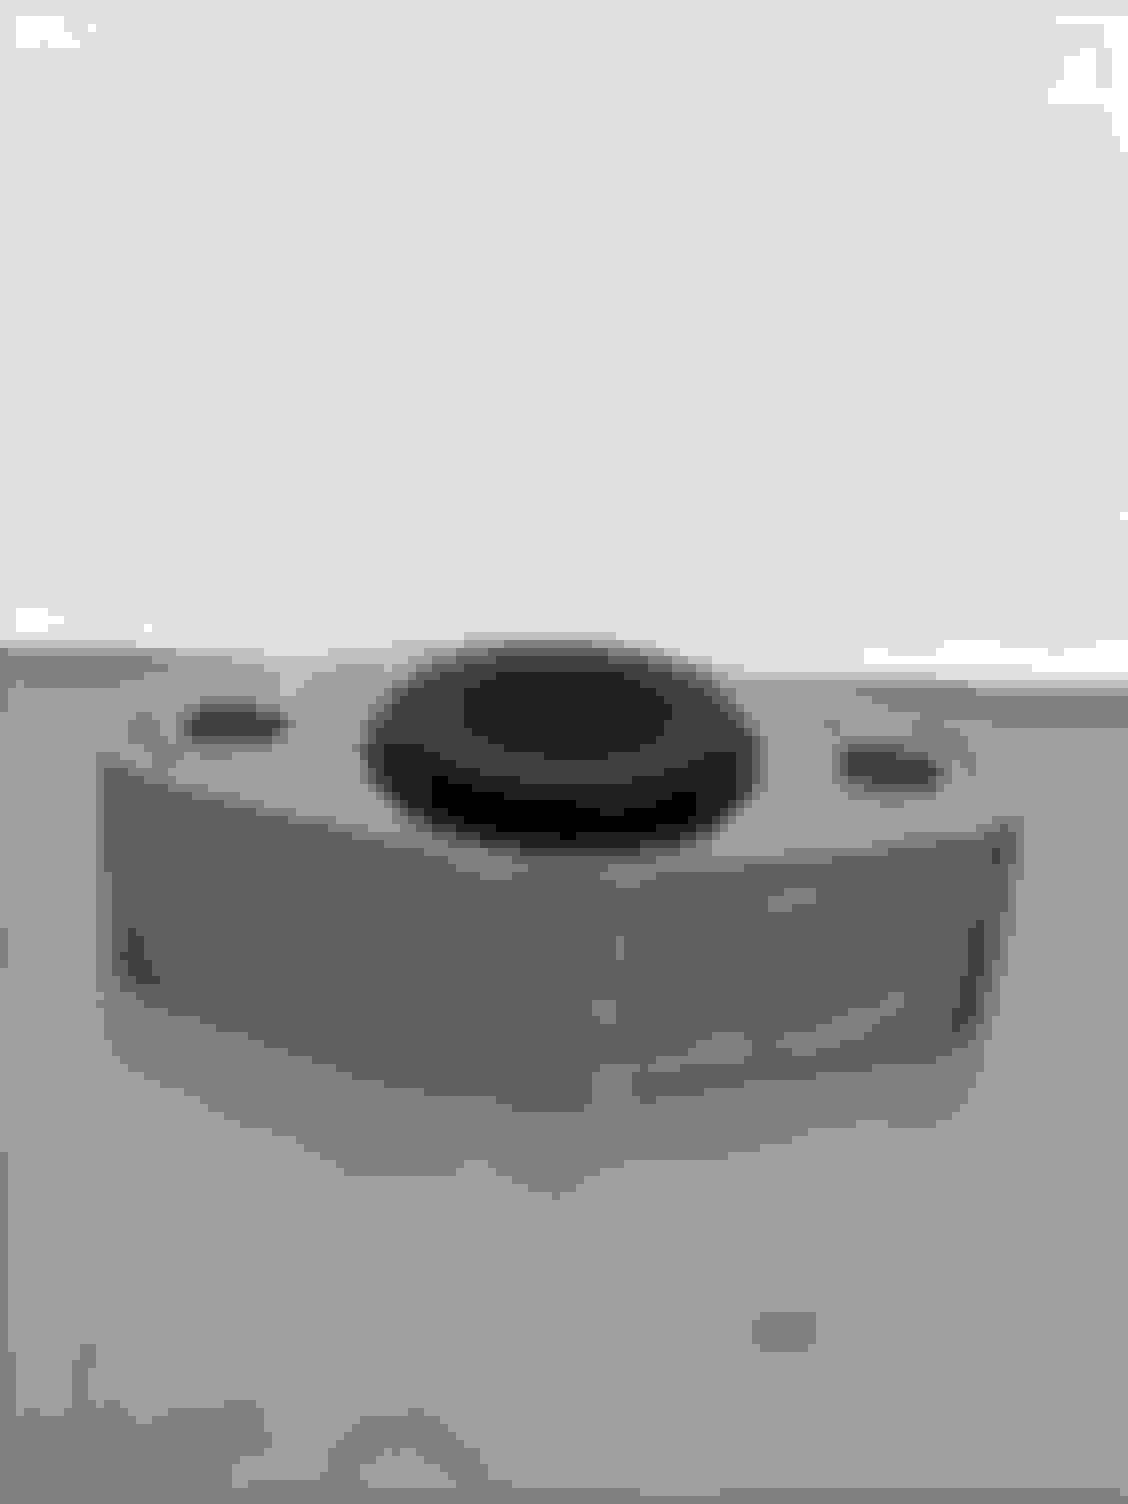
I had installed a fresh heater valve and the supplied O-ring. But alas, a soggy floor and coolant in the driver's footwell. Rather than resort to liberally stuffing silicone sealant into every possible source of leakage around the O-ring, I paid a visit to my local plumbing supply store. To my joy I found "cone washers" that almost perfectly fit the profile of both the valve body and the spacer piece. The inner diameter provides a nice tight seal against my fresh coolant pipes. Now, rather than a few 16th's inch contact area of rubber to the pipe, I have a tight seal with about 3/8" contact area. As seen in the photos, the new rubber fitting when seated in the valve or spacing piece, sits a bit high. I'm hoping that with just a little removal of the excess rubber, the two halves will fit snuggly together providing a good seal.
Just to be on the safe side I've also made a rubber gasket to fit between the spacer piece and the firewall. The gasket's inner opening where the pipe passes through has a diameter of a little under 7/16" which will provide a tight seal against the pipe. Hopefully this will keep any possible coolant from passing through the firewall into the inside of the cockpit.
For a little over $1 for the two seals, I'm confident the E type will no longer be a leaker. I'll post a follow-up on the results of this experiment. cone washer Sits a little high sourced at a local True Value hardware rubber gasket to go between spacer piece and firewall Fits profile almost perfectly
Hi Lotibob,
Great post. I am in the process of restoring a 68 FHC and have been thinking about same issue you have addressed in your post, and I really like your solution. I also like the gasket idea. I wonder why Jag didn't do that to begin with.
So, I have a few of questions.
Are you using 2 cone washers? Do you know if the cone rubber washers you found are compatible with products such as antifreeze? and high temperatures?
Also, you mentioned the original olive colored seal. Are you saying that originally, the "O" ring was an olive colored O ring? That would most likely make it a Vitton O ring. Our local Fastnall carries therm.
Thanks again for your post and let us know how this turns out for you. Post some pics of your car. I am sure that all here would like to see them. At least I would.
Bill.
On previous posts I've seen the original seal referred to as an "olive" seal accounting for its similar shape with no reference to its color. Yes, I used two seals back-to-back. I abraded the seals with 180 grit sandpaper to reduce their thickness a bit. I'll be refilling the system with coolant in a day or two. I'm hoping I see no further puddles.
I'm happy to report the hardware sourced and slightly modified "cone" rubber washers are working wonderfully. No leakage from the heater water control valve. By the way, I sourced the valve from Victoria British located near my home in suburban KC and at a very reasonable price.. You'll discover that the same water valve is used on MGB's, Triumphs etc. but with he difference in the location of the cable mounting bracket. As the valve body is built in two halves, it's very simple to take the valve apart and reposition the bracket to suit your E type's configuration.