When you click on links to various merchants on this site and make a purchase, this can result in this site earning a commission. Affiliate programs and affiliations include, but are not limited to, the eBay Partner Network.
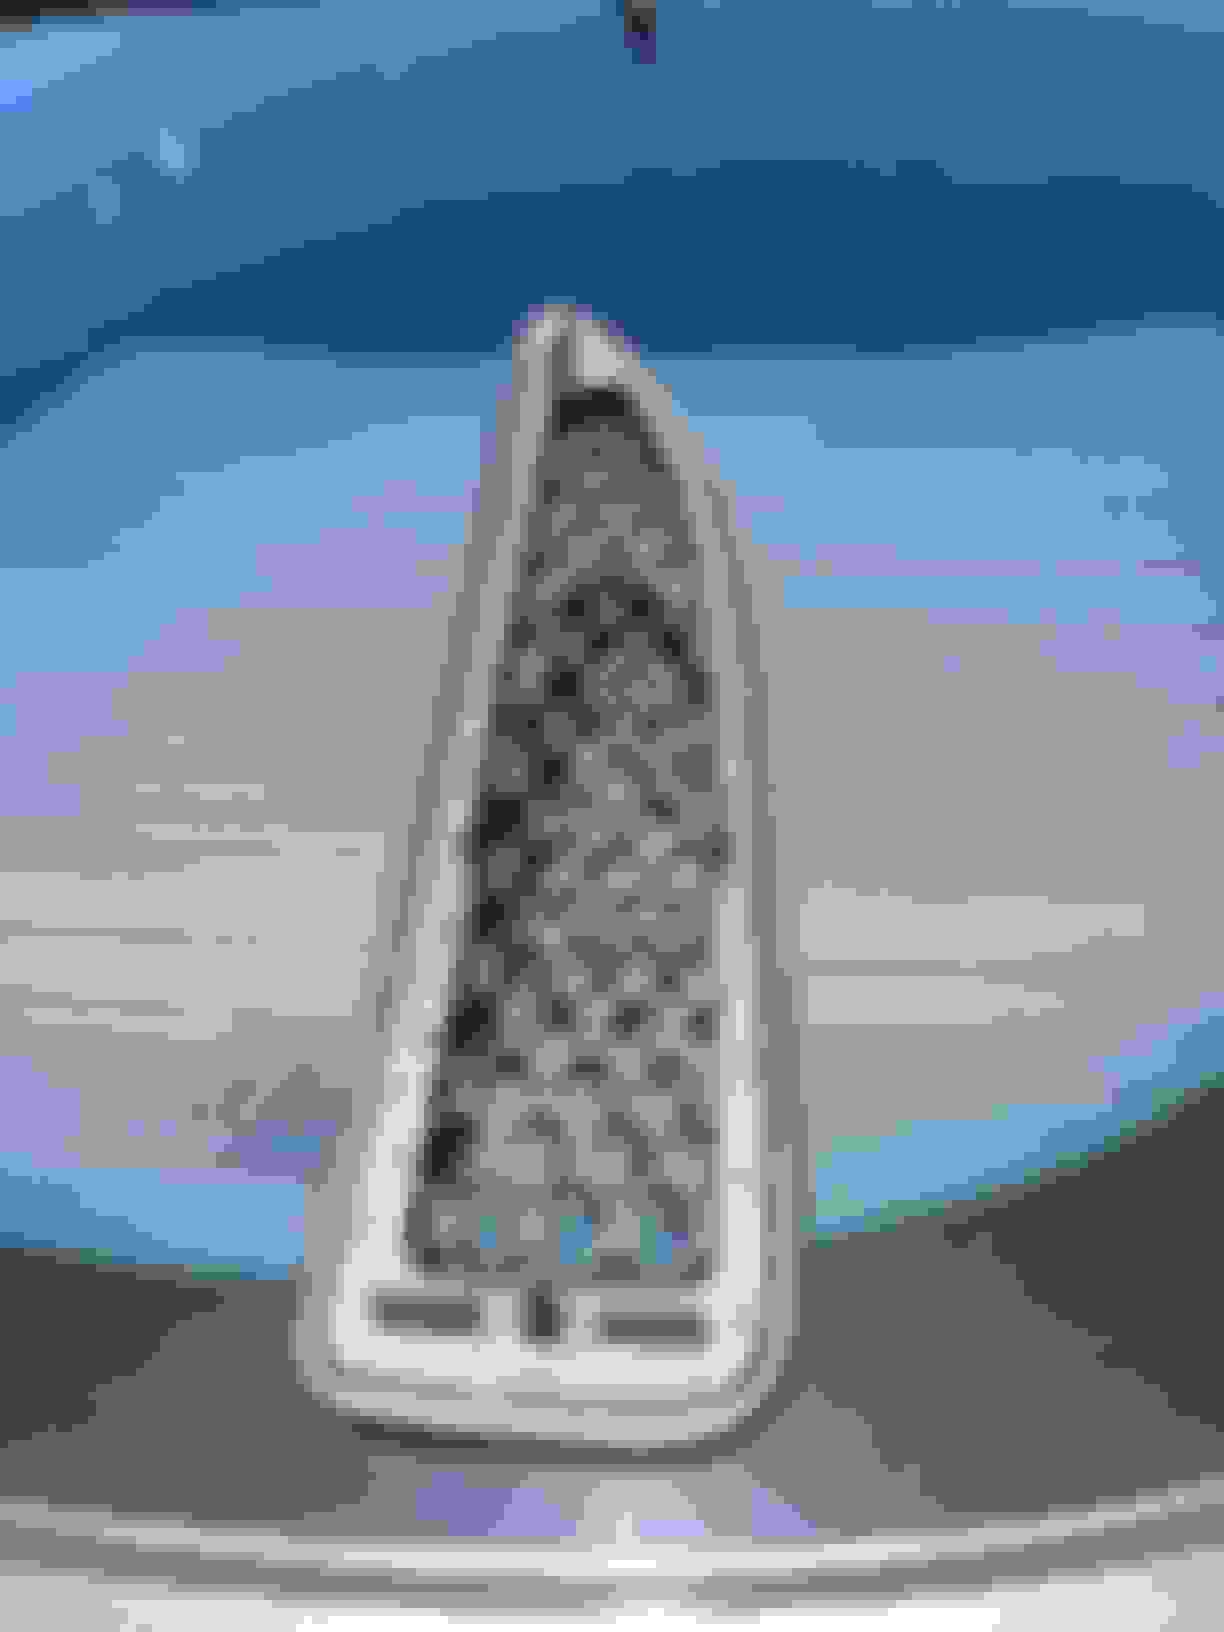
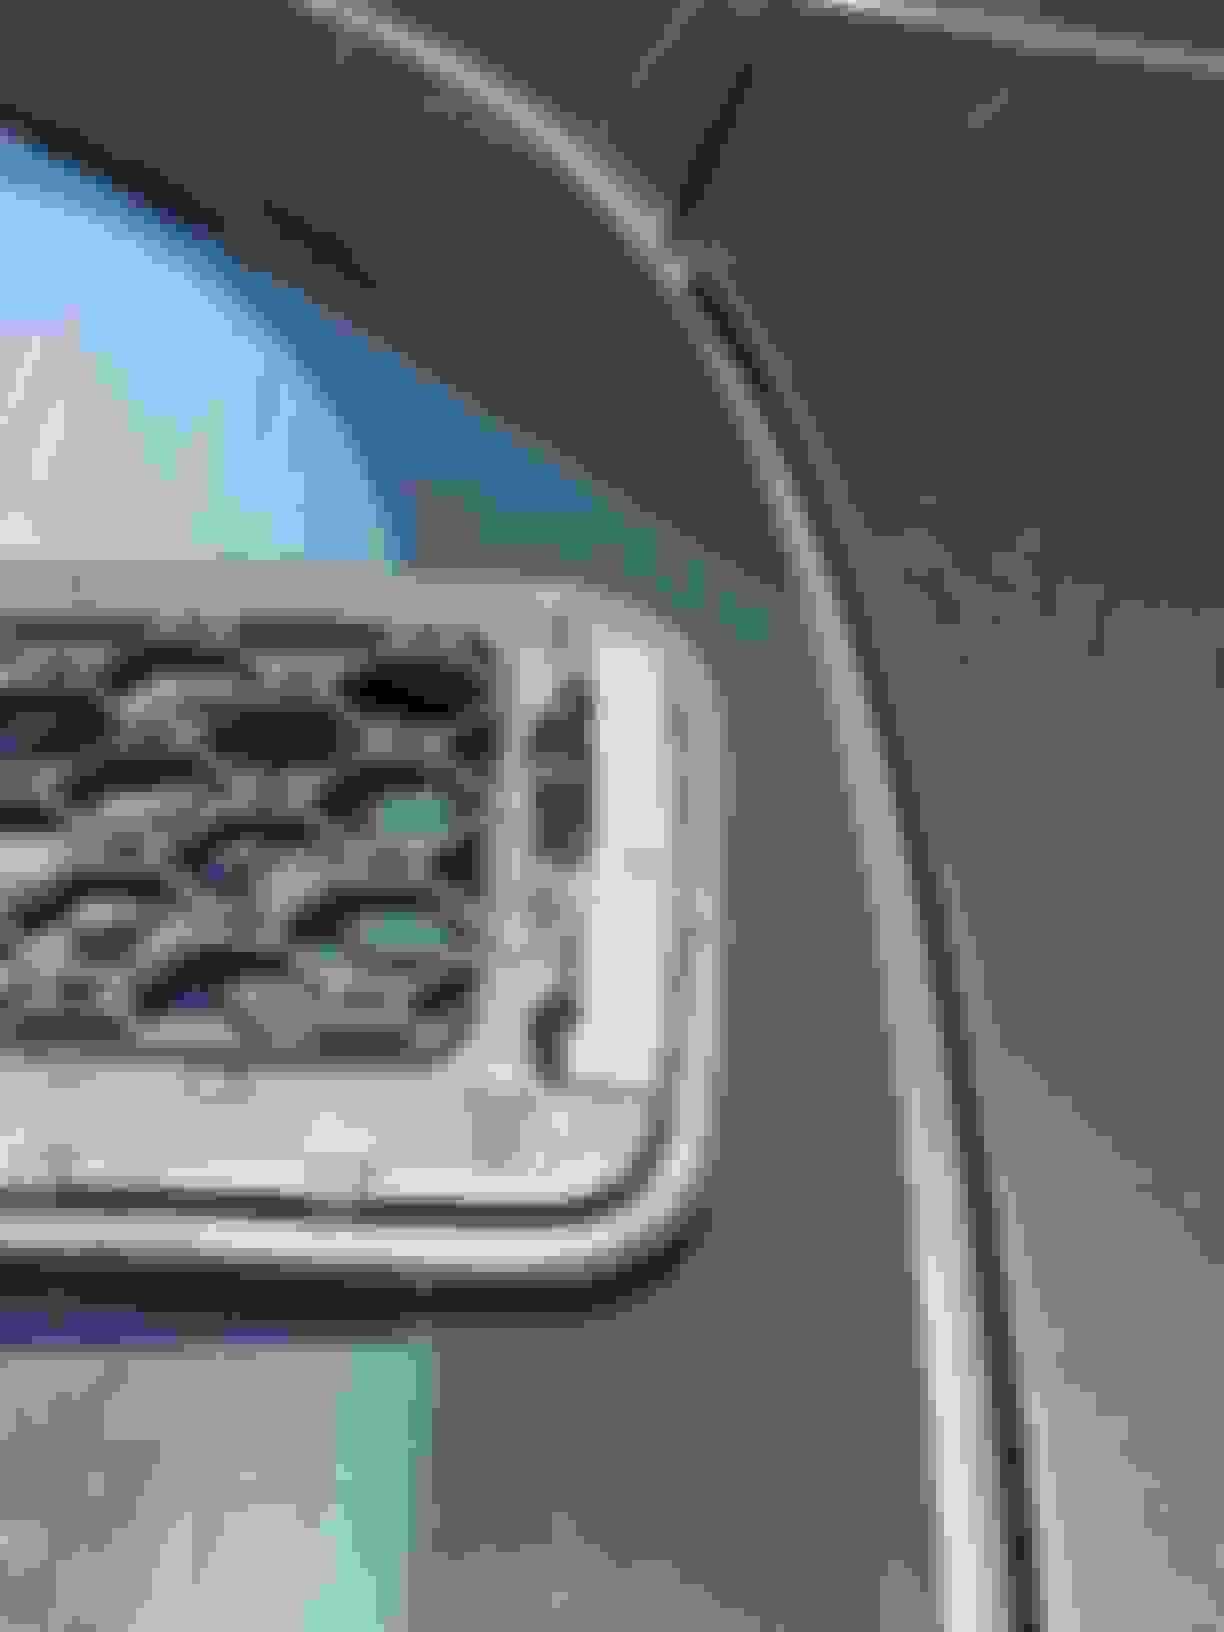
Interested in swapping these out for something a bit more interesting. I can see how the little tabs underneath hold the vent in, plus a pin and a larger tab. My question is what is going on with the upper part... no pins or tabs. How is the top end held in? there appears to be some sort of blackout material the covers the metal in the top part of the vent. See from underneath, there is the material in the 'oval'. This is a MY2017 Premium Coupe, supercharged 6.
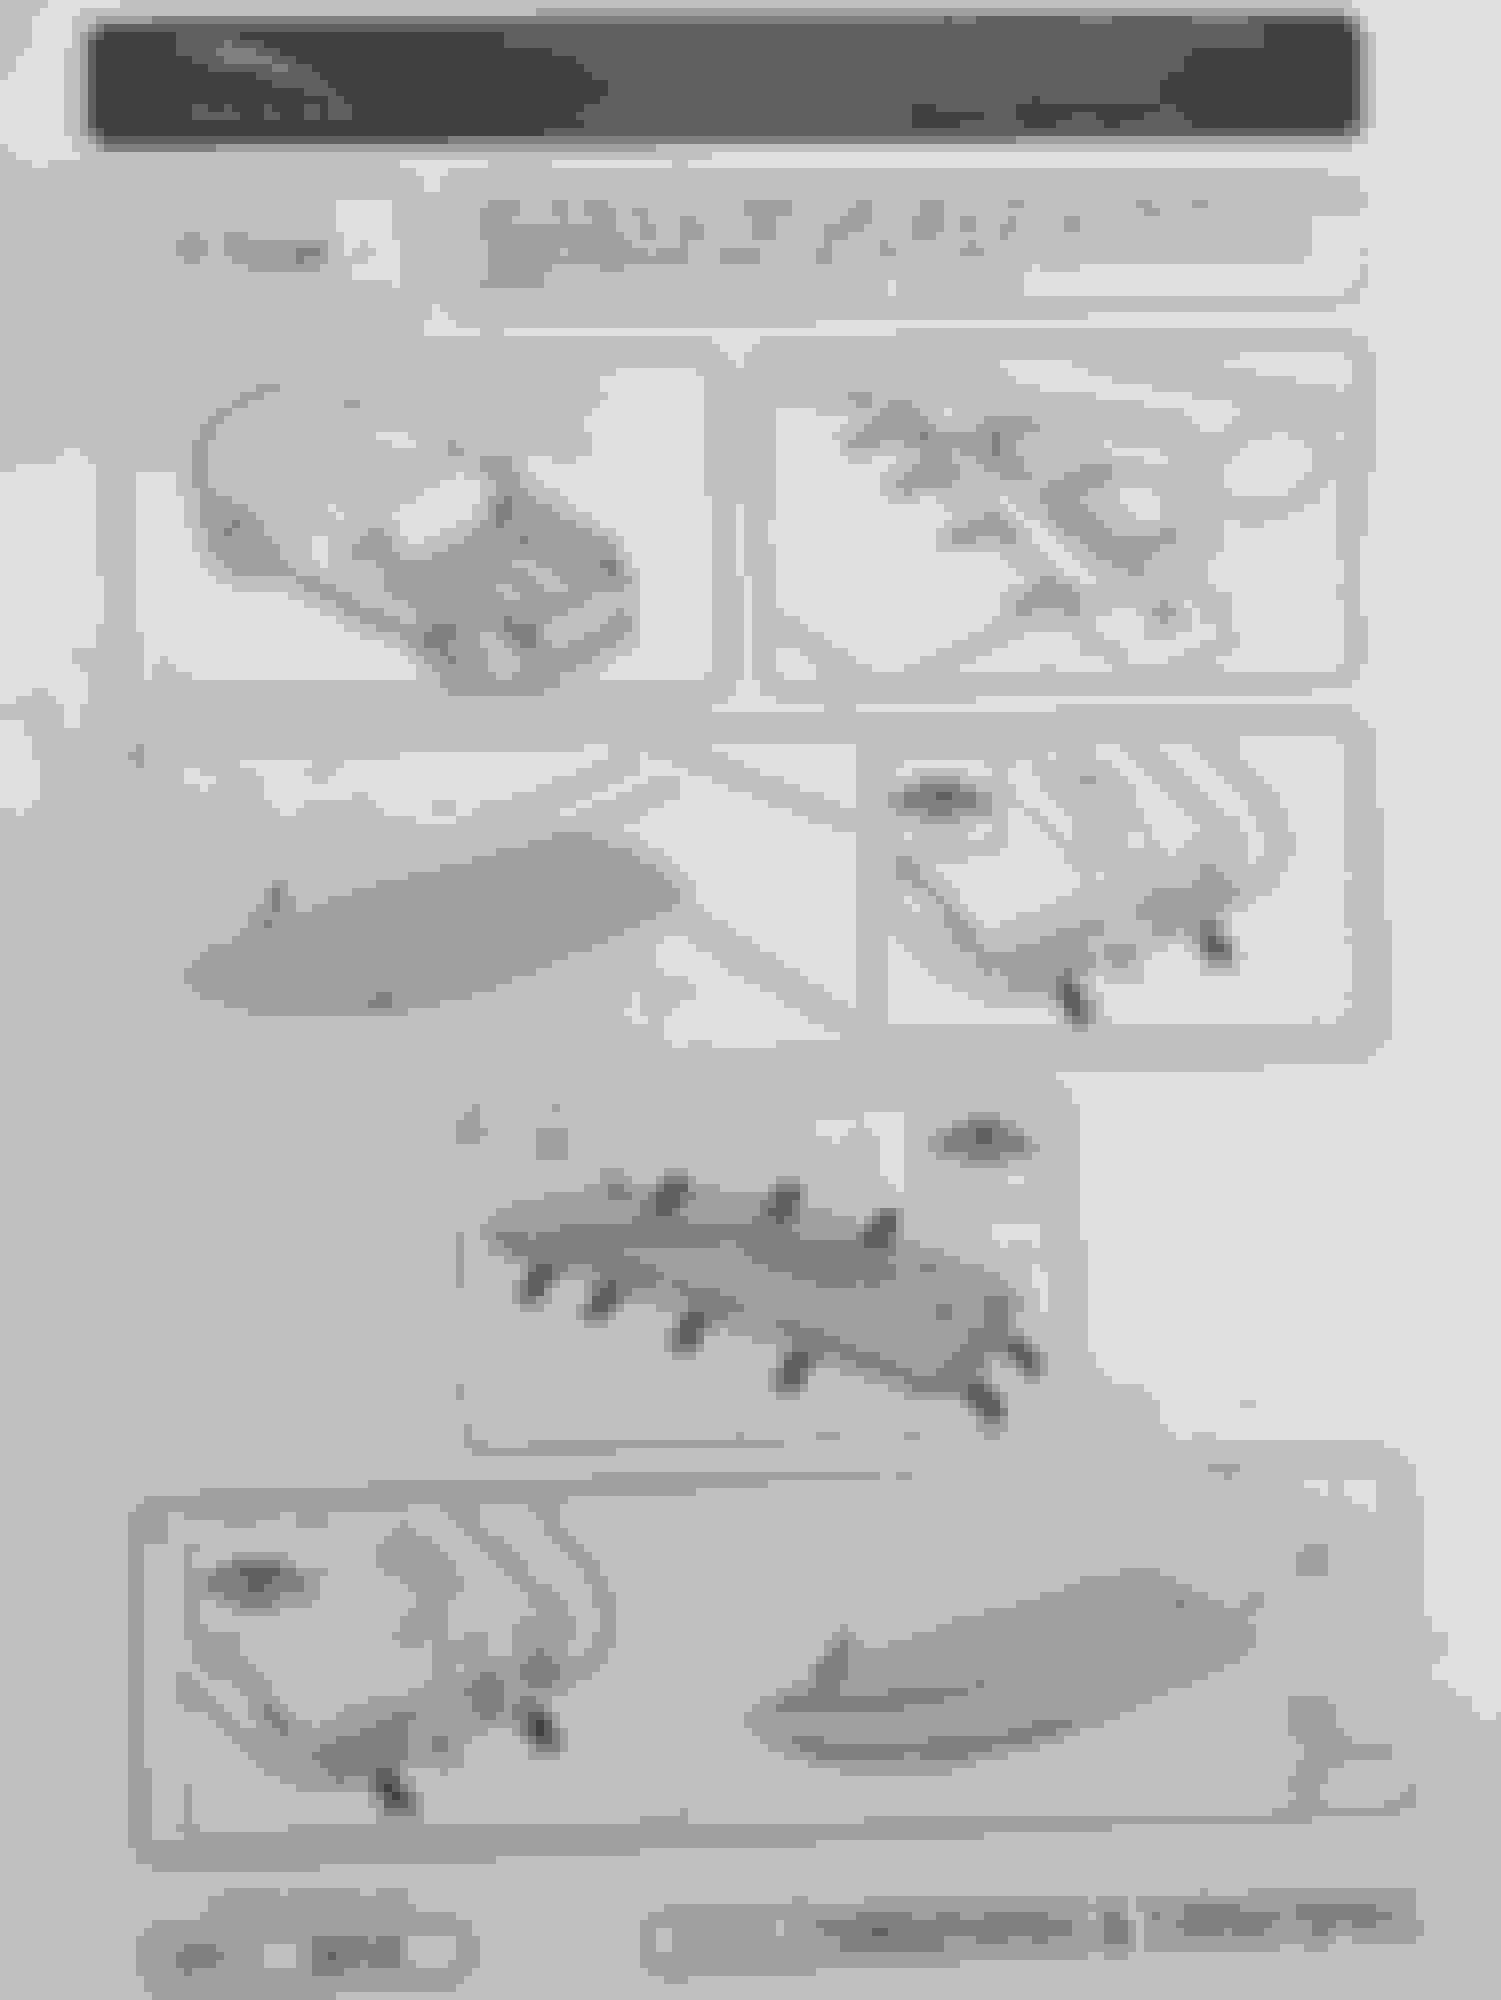
The forward end lifts up once the visible clips are pushed back and then the rearward end unhooks. The mesh and frame are all one piece. I can get pictures later, plus I'm sure I can copy the instructions for replacement.
Interested in swapping these out for something a bit more interesting. I can see how the little tabs underneath hold the vent in, plus a pin and a larger tab. My question is what is going on with the upper part... no pins or tabs. How is the top end held in? there appears to be some sort of blackout material the covers the metal in the top part of the vent. See from underneath, there is the material in the 'oval'. This is a MY2017 Premium Coupe, supercharged 6.
I elected to replace my ugly plastic vents with steel ones from Mina Gallery. Originally I went with the black ones on my blue car as shown in the picture. I then changed that to stainless silver color which I now prefer. The procedure is simple as each of the black tabs on the vent have to be pushed in towards the center of the grill using a plastic pry tool or small screw driver. However, I most strongly suggest that you take a piece of string, tie it to the vent and then tie it down to the hood supports. When you do this, the tie down will keep the vent in place until you can reach over and gently remove the vent otherwise you run the risk of it flying off and possibly marring your hood. The vents are pricy for sure but well worth it in my opinion. As a bonus, you get an itty bitty bit of extra space for the air to move out of you engine compartment compared to stock vents. The vents do come with screws and bolts to connect to the hood as shown in the photo.
They are a bit long and now I am reminded that I should cut the down. I do have the black Mina vents and if you are interested PM me and I will consider parting with them.
Those and the chrome (not sure about black) tip upwards at the front for the rear to come loose. The mesh ones should pull pretty much straight up at the rear once the seven clips seen from the underside are released.
Below are some pictures of the original mesh vent. To remove, start at the pointy end and push in the tabs of the clips, one at a time. Each one should let the vent come out a little farther so they don't re-clip themselves as you work back. The hidden part has a locating pin in the center and two clips. The clips are not that big, and once all visible clips have been disengaged, these should pop loose without much force.
I haven't looked(will now) but why can't it be removed from back?
I removed mine a few years ago (to Dremel out more of the middle for better air flow/cooling) and I pushed the clips in from the back/underneath with a screwdriver.
After looking at the vents and without any instructions I assumed this was the best/correct method as I thought attacking them from the top/front would risk scratching the paint.
With the first vent I discovered what George111 talks about - it popped off and slid down the hood/bonnet before I got to the last two clips but luckily it didn't scratch anything. So I was a little more careful with the second vent!