When you click on links to various merchants on this site and make a purchase, this can result in this site earning a commission. Affiliate programs and affiliations include, but are not limited to, the eBay Partner Network.
Just had all my sticky bits replaced under warranty. That includes the window switch surround and the center cup holder / cover assembly and get this,,,,,the steering wheel top piece of molding too!!
MIne is the same. I think the finish is/was supposed to feel like rubber, for some grip for some reason. Whomever came up with that finish should be shot. My old point and shoot Nikon has the same finish and is sticky. I've taken toluene and removed it on the camera, but that is extreme. Let me ask you this, are the replacement parts the same finish, albeit not sticky, but definitely not smooth?
Just had all my sticky bits replaced under warranty. That includes the window switch surround and the center cup holder / cover assembly and get this,,,,,the steering wheel top piece of molding too!!
Originally Posted by jagleap
Chanced upon this post when hunting for JLR Start/Stop button model numbers. Planning to develop a billet Aluminum Start button similar to the ones we have developed for the Mustang and Challenger/Charger/Viper.
A metal button will definitely get rid of this sticky issue and will also feel a lot classier. Interested in finding out from members what other items wear out in this fashion.
My bronze colored one was rubbed off with 18,000 miles, I asked and had the dealer replace it. Anodized Al start button would be nice.
The replacement parts for the steering wheel upper and lower covers and the window switch surround are smooth as glass and hard like metal. It is metal.
The center piece, the cup holder door, is not metal but some sort of non-sticky stuff.
You like that Unhingd? Non-sticky stuff!
The replacement parts for the steering wheel upper and lower covers and the window switch surround are smooth as glass and hard like metal. It is metal.
The center piece, the cup holder door, is not metal but some sort of non-sticky stuff.
You like that Unhingd? Non-sticky stuff!
Far easier than removing the sticky surface is to simply coat the surface with satin finish urethane or similar. Presto! No stickiness and now the issue of wear is also eliminated. The stickiness problem is one produced mainly by heat.
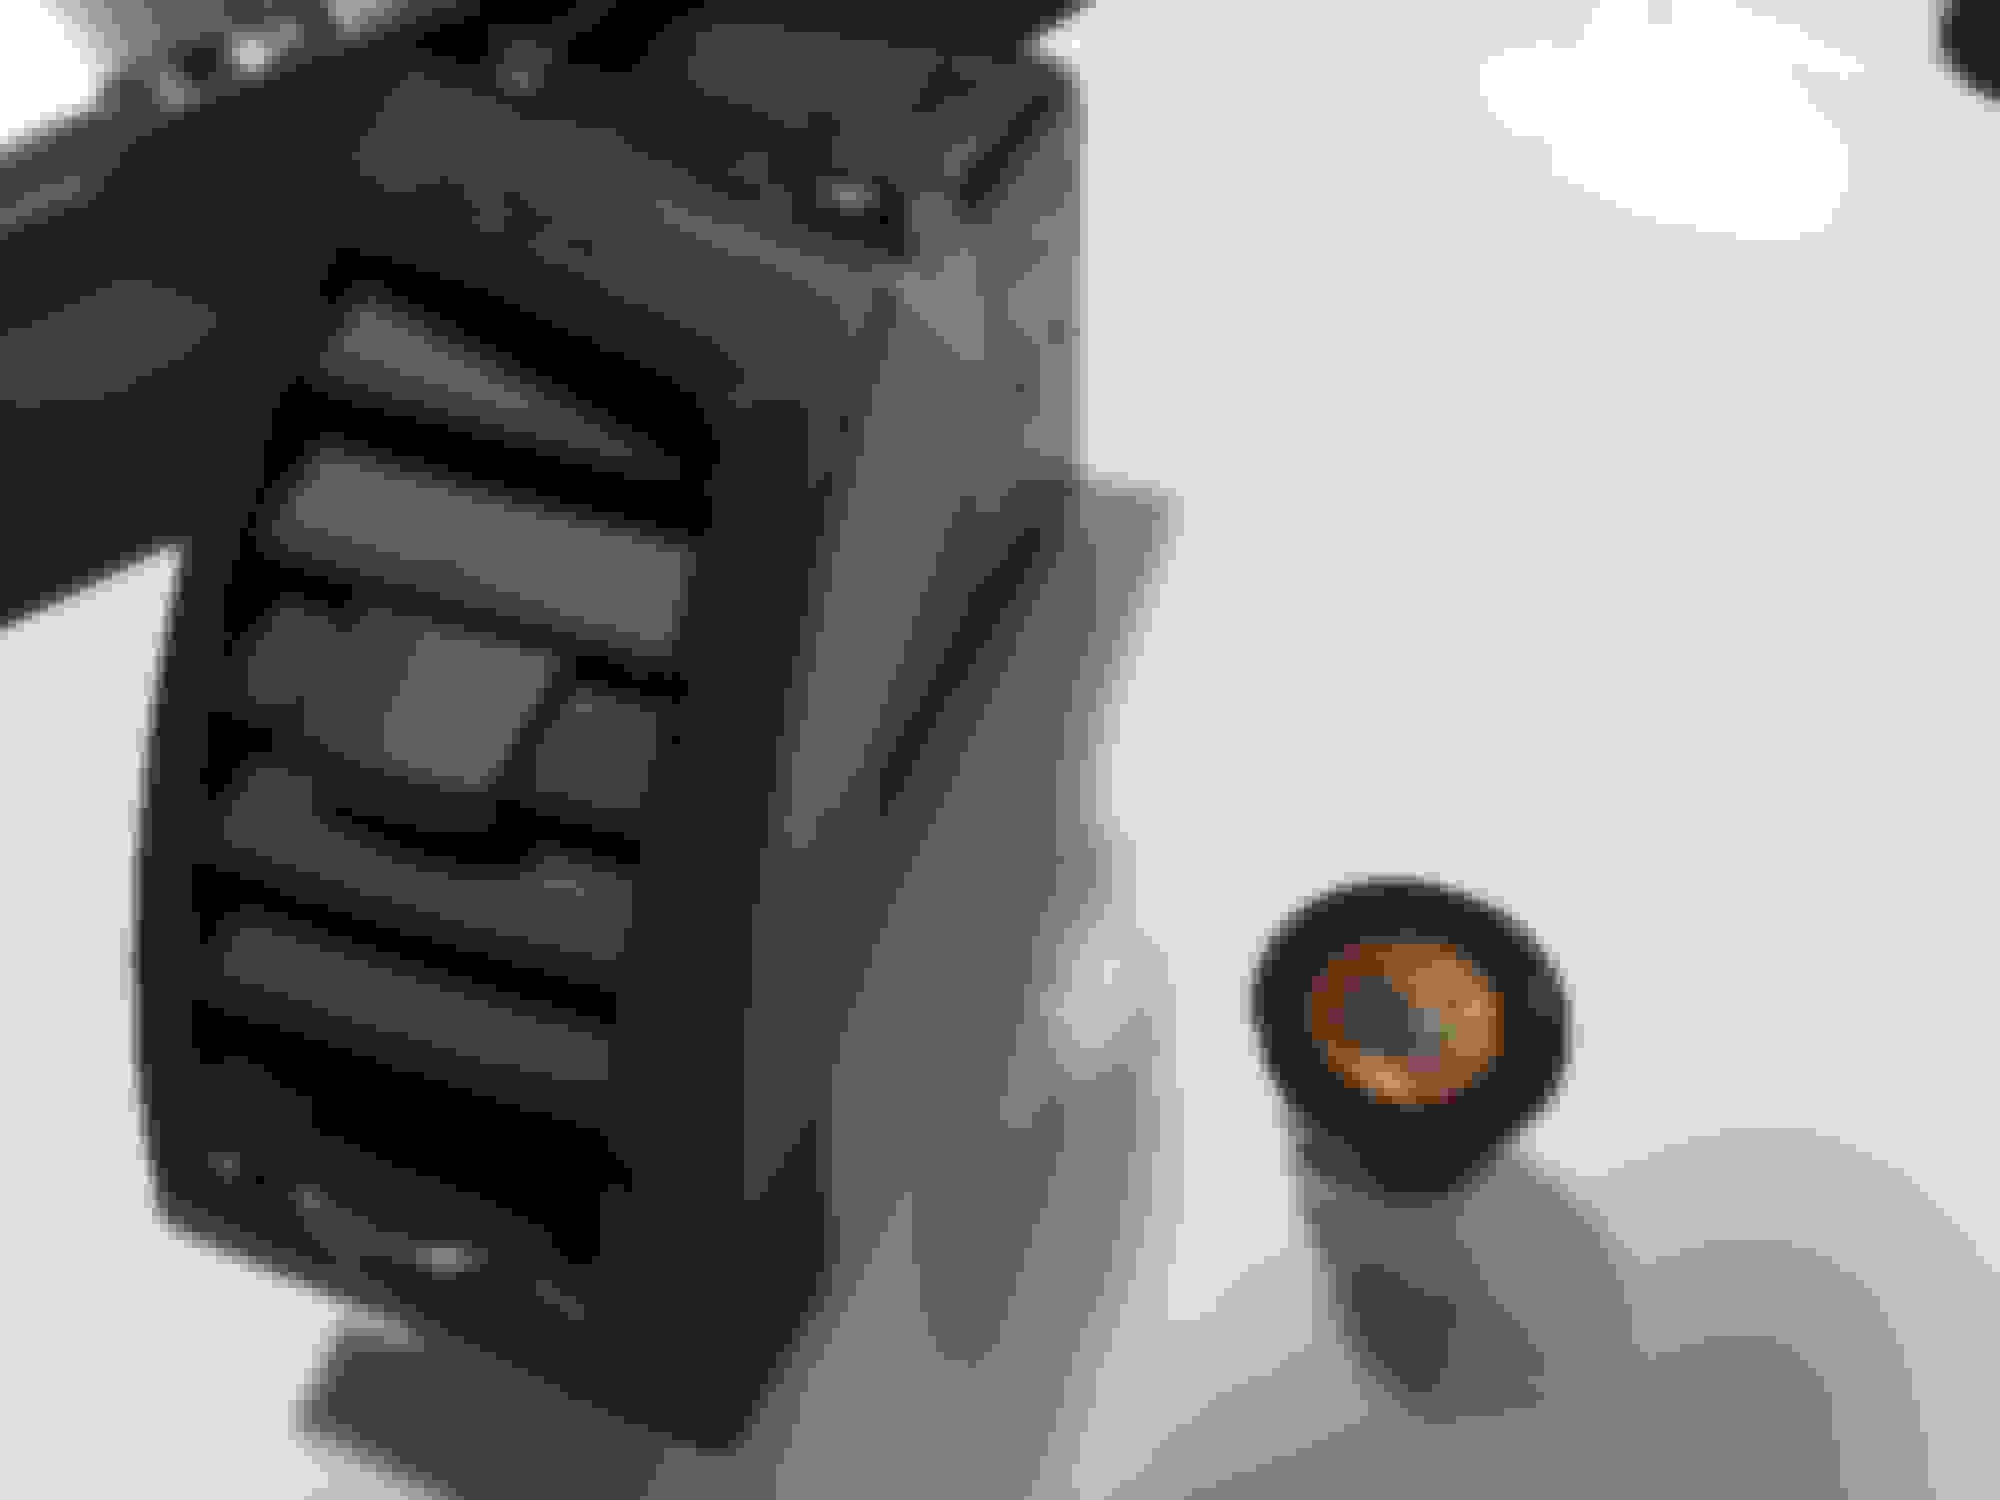
After several months of procrastination on changing my start/stop button I finally ordered the new one from Jaguar. T2R187711. $32.03 for the ignition switch. Start button. I taped of the new one and sprayed on a coat of Rustolium Clear Gloss Acrylic to coat it and let it dry for 24 hours. Looks natural and you can’t even tell it was coated. Don’t want the same problem to happen again. DriedAs others have noted it’s very easy to replace. Just used a white rigid plastic spatula my wife had and placed it at the seal along the left side of the switch. Applied some gentle pressure and it popped right out. Wire is long enough to get to the back easily. Plug and play connector is easy to disconnect and only attaches one way. Plugged it into the new one, lined it up and pushed it in. Done.
now to tackle the passenger a/c vent replacement. That I suspect will require far more effort.
After several months of procrastination on changing my start/stop button I finally ordered the new one from Jaguar. T2R187711. $32.03 for the ignition switch. Start button. I taped of the new one and sprayed on a coat of Rustolium Clear Gloss Acrylic to coat it and let it dry for 24 hours. Looks natural and you can�t even tell it was coated. Don�t want the same problem to happen again. DriedAs others have noted it�s very easy to replace. Just used a white rigid plastic spatula my wife had and placed it at the seal along the left side of the switch. Applied some gentle pressure and it popped right out. Wire is long enough to get to the back easily. Plug and play connector is easy to disconnect and only attaches one way. Plugged it into the new one, lined it up and pushed it in. Done.
now to tackle the passenger a/c vent replacement. That I suspect will require far more effort.
It was so sticky and almost seemed like the top trim piece was melted. Trying to clean it did nothing or made it worse, Was a. real eyesore so it had to do. Left one may need replacing soon as well.
It was so sticky and almost seemed like the top trim piece was melted. Trying to clean it did nothing or made it worse, Was a. real eyesore so it had to do. Left one may need replacing soon as well.
Top and sides really cruddy. Had to go.
Do the vents just pop out or are they screwed in? Do you need to remove anything else to get these out?