When you click on links to various merchants on this site and make a purchase, this can result in this site earning a commission. Affiliate programs and affiliations include, but are not limited to, the eBay Partner Network.
I successfully installed a nice Pioneer aftermarket radio.
- Front end: disassembled center console and central dash. Removed OEM radio. Connecting an adapter to the wire harness for the OEM radio doesn’t work bc Jag uses a fiber optic system to send sound and general data to the amp unit (discussed later).
Ran a new wire snake +wiring for two channel sub signal and cat line for subwoofer volume control unit into dash (the Pioneer head has a built in crossover and subsequent sub outputs.). Ran everything snugly mounted in a wire loom above front driver foot well,
then behind trim panels on driver side foot well, under driver side foot guard trim along bottom of driver door opening, under trim for driver side pillar B, under foot guard trim for rear driver side door opening, under trim for rear driver side next to the seat, then heading into the trunk through an opening in the body behind the seat (where the antenna and rear defrost is located... btw I may have accidentally messed up the rear defrost ham-fisting things around there. But that’s another thread).
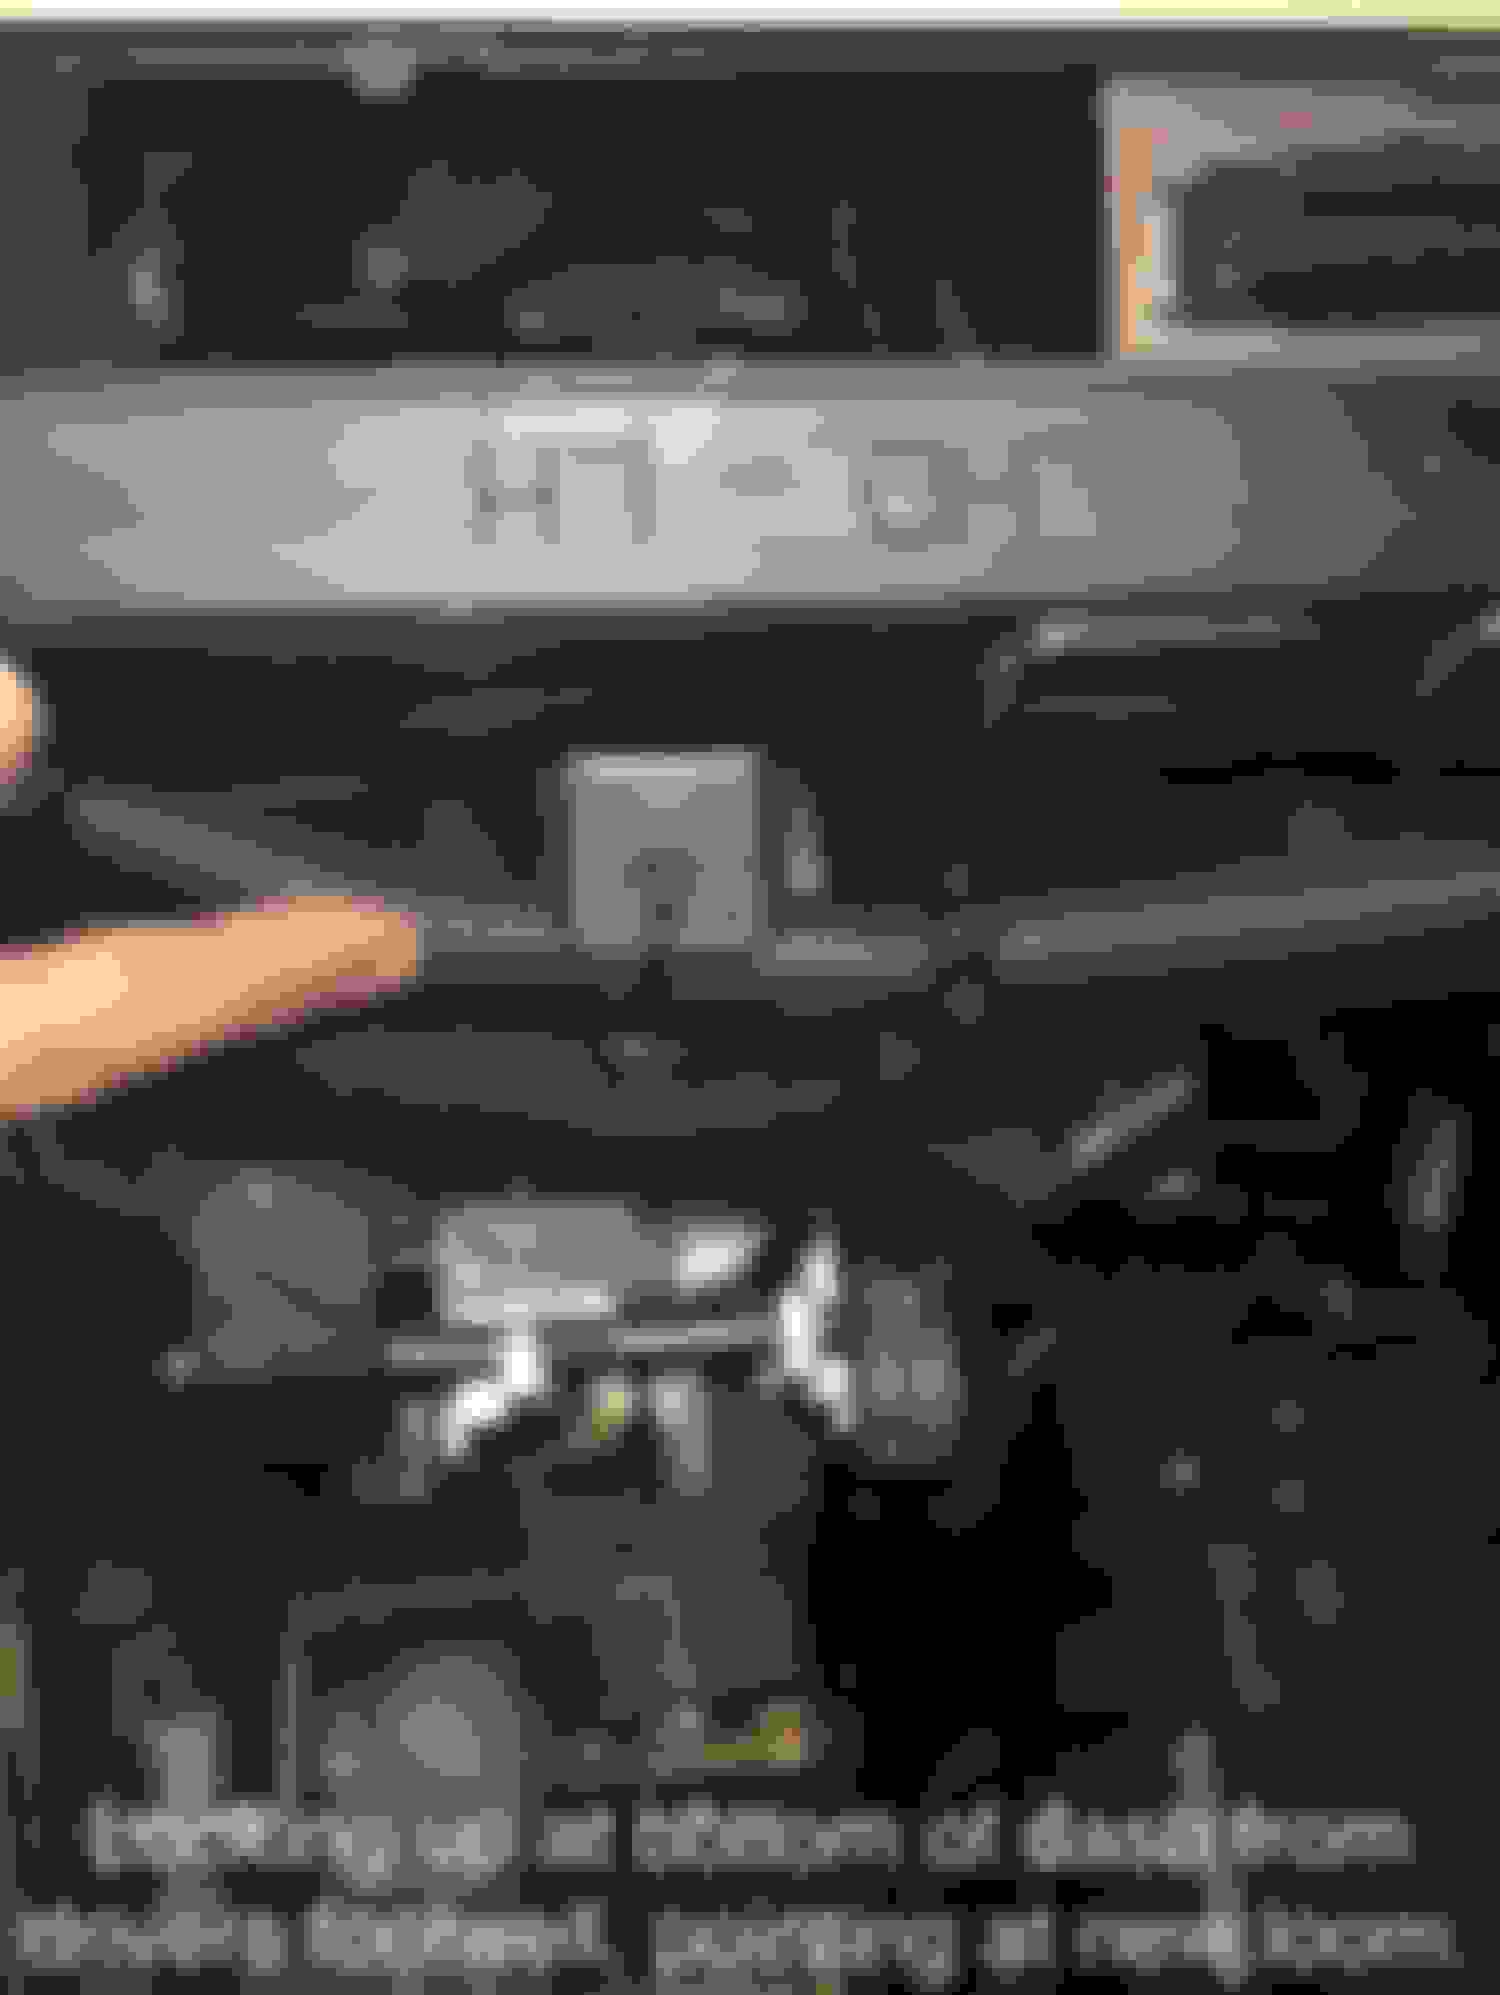
Now in the trunk... Removed OEM amplifier and mounted a new one (left non-working cd changer bc it has a Jaguar logo on it lol). Connected inputs to the new amp, ran sub-signal wires and cat line under trunk carpet to appropriate location for install. (Pic is after completed install)
Removed ski bag behind rear arm rest, creating an opening from trunk to passenger cabin. Installed custom made mounting kit to the cabin wall between the trunk and passenger cabin, and mounted a powered subwoofer to this wall. Speaker blowing bass through the opening that skis would have gone through (although I wish I would have centered it better in the armrest opening). Velcro leather flap keeps it looking pretty while allowing low end sound into cabin. Connected input and cat lines to powered subwoofer.
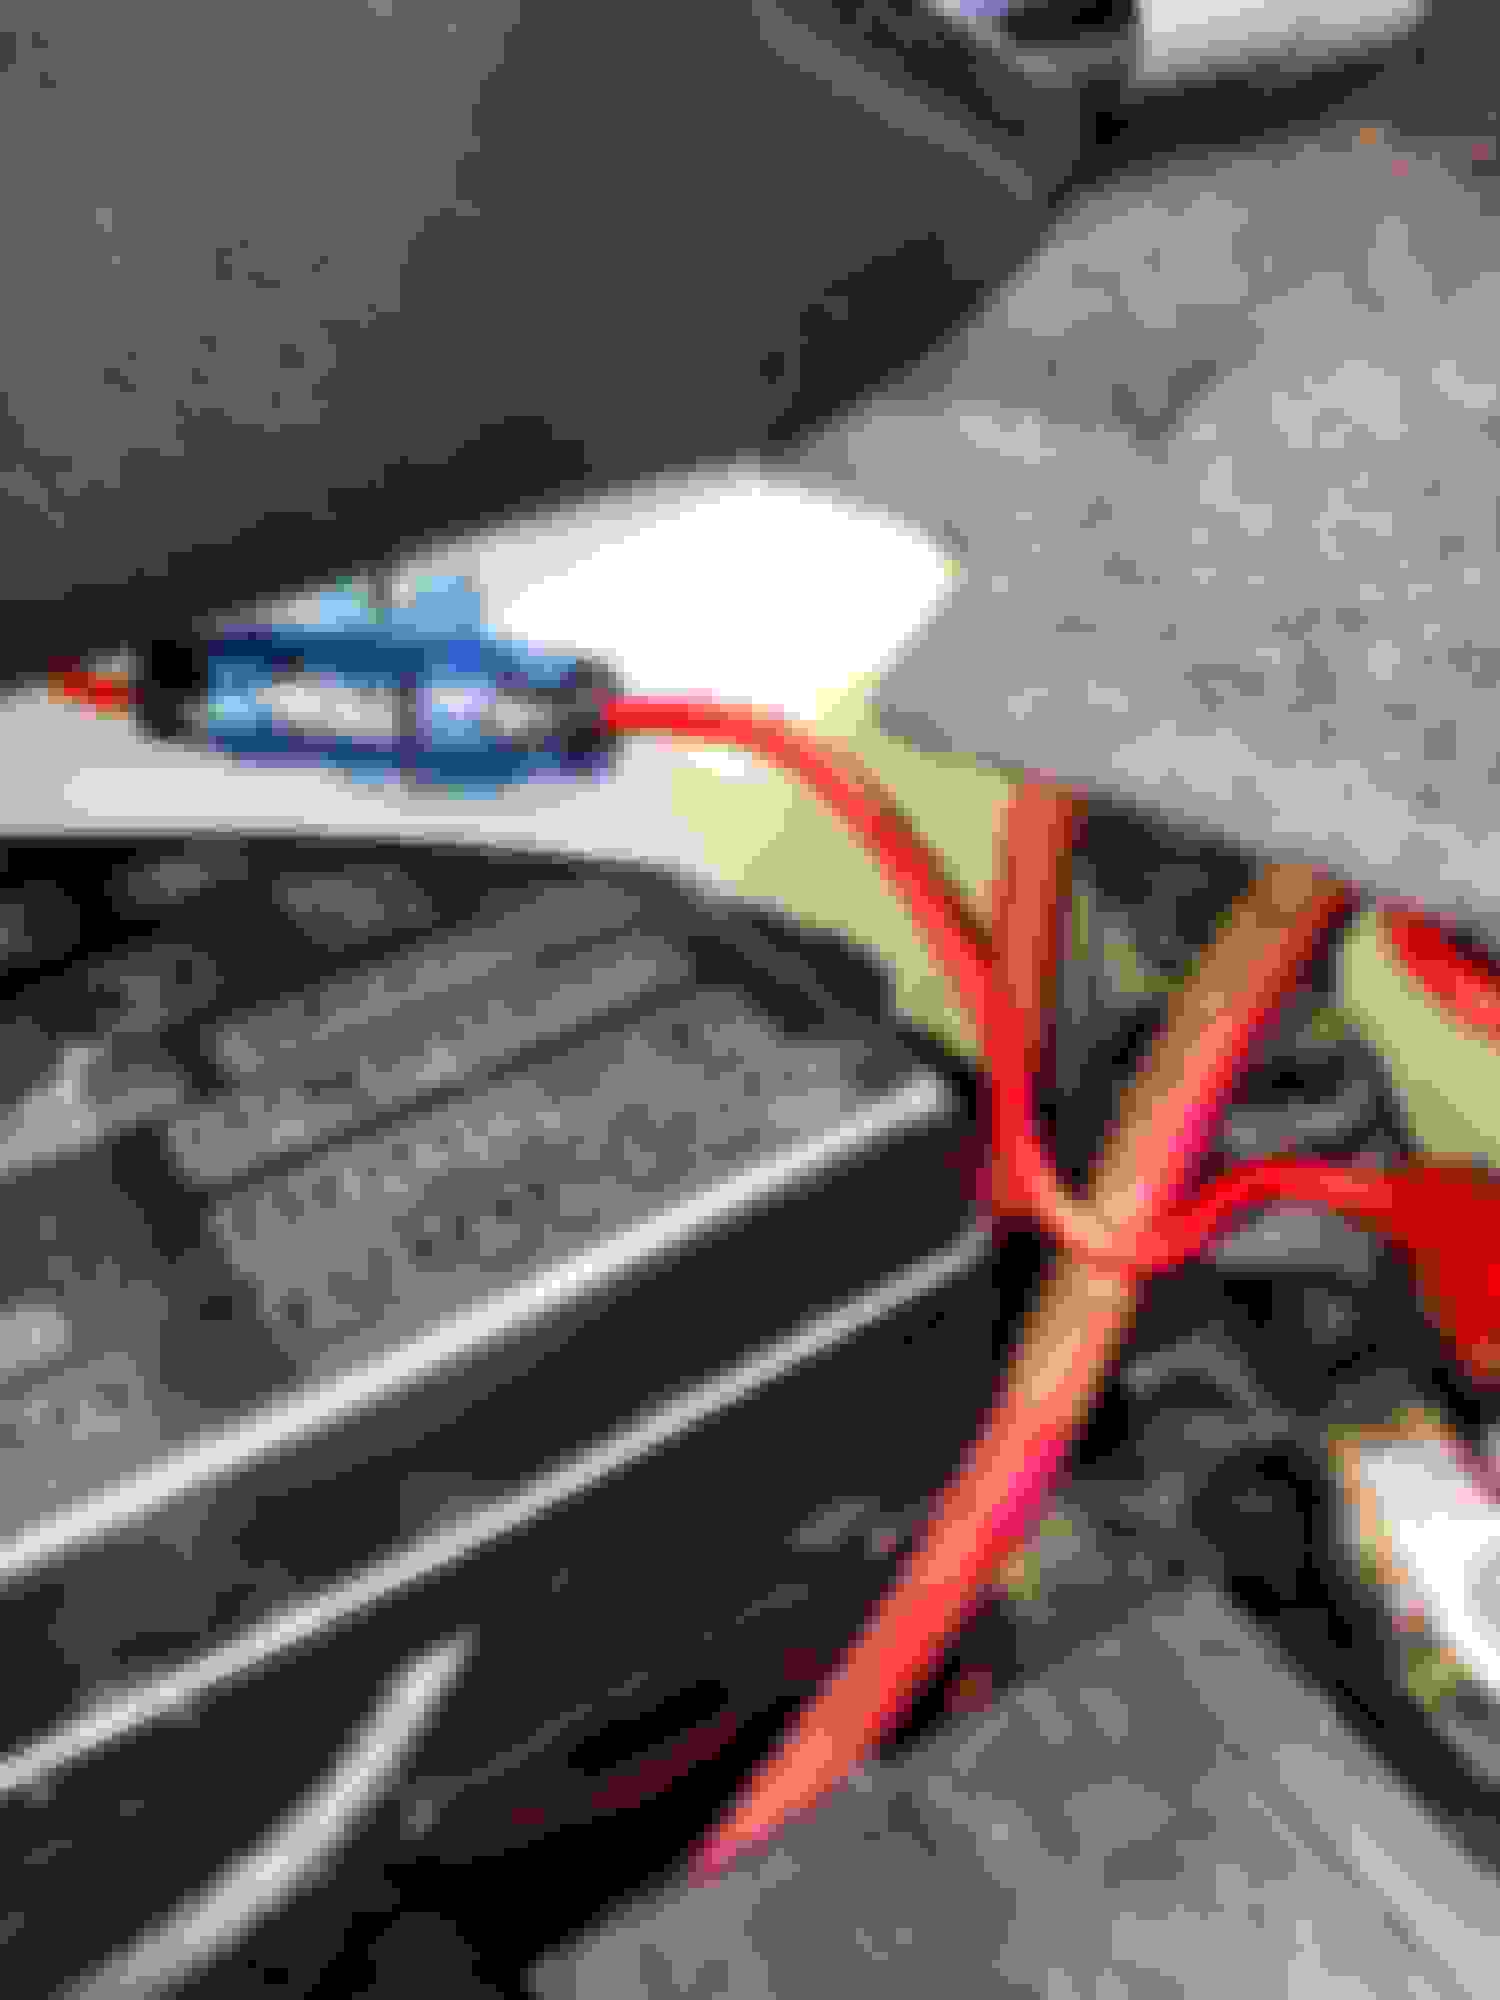
Connected power supply with appropriate in-line fuse to supply power to the sub from the battery. Repeat for amp. Sub in-line fuse Amp in-line fuse visible
Back to front end, dash... Connected new pioneer radio to the power supply, antenna and new lines in the dash. Powered it up and put on some music (didn’t hear it yet of course). Also connected volume control unit for sub woofer, mounted in a trim seam on central aspect wall on driver foot well. Easily within reach for the driver.
Back to the trunk... Connected snake to the amp, supplying line level signal to the amp.
Connected speaker wires to the amp, using wire diagram and verifying proper connection using the pan/fade function of the pioneer head to isolate each speaker I was connecting. This includes the subwoofer and subs in rear dash.
Back to the dash...
Installed Pioneer head into dash, using adapter to fit the unit into the space where the OEM radio was.
Ran USB connector wire through center console exiting by slightly expanding the opening for the existing 12v socket in the armrest storage box. Connected pretty connection line so I could plug in my iPhone. Looking down into center armrest storage box.
Reassembled the dash, center console, trunk trim and trunk liner.
Now I have a nice Pioneer head and a new subwoofer. I am jamming!
Even had room to stash a tin with some cigars and associated items
Epic Win!
Last edited by Reklaw1973; 05-12-2019 at 03:09 PM.
Reason: Title change to include car model for easier search results
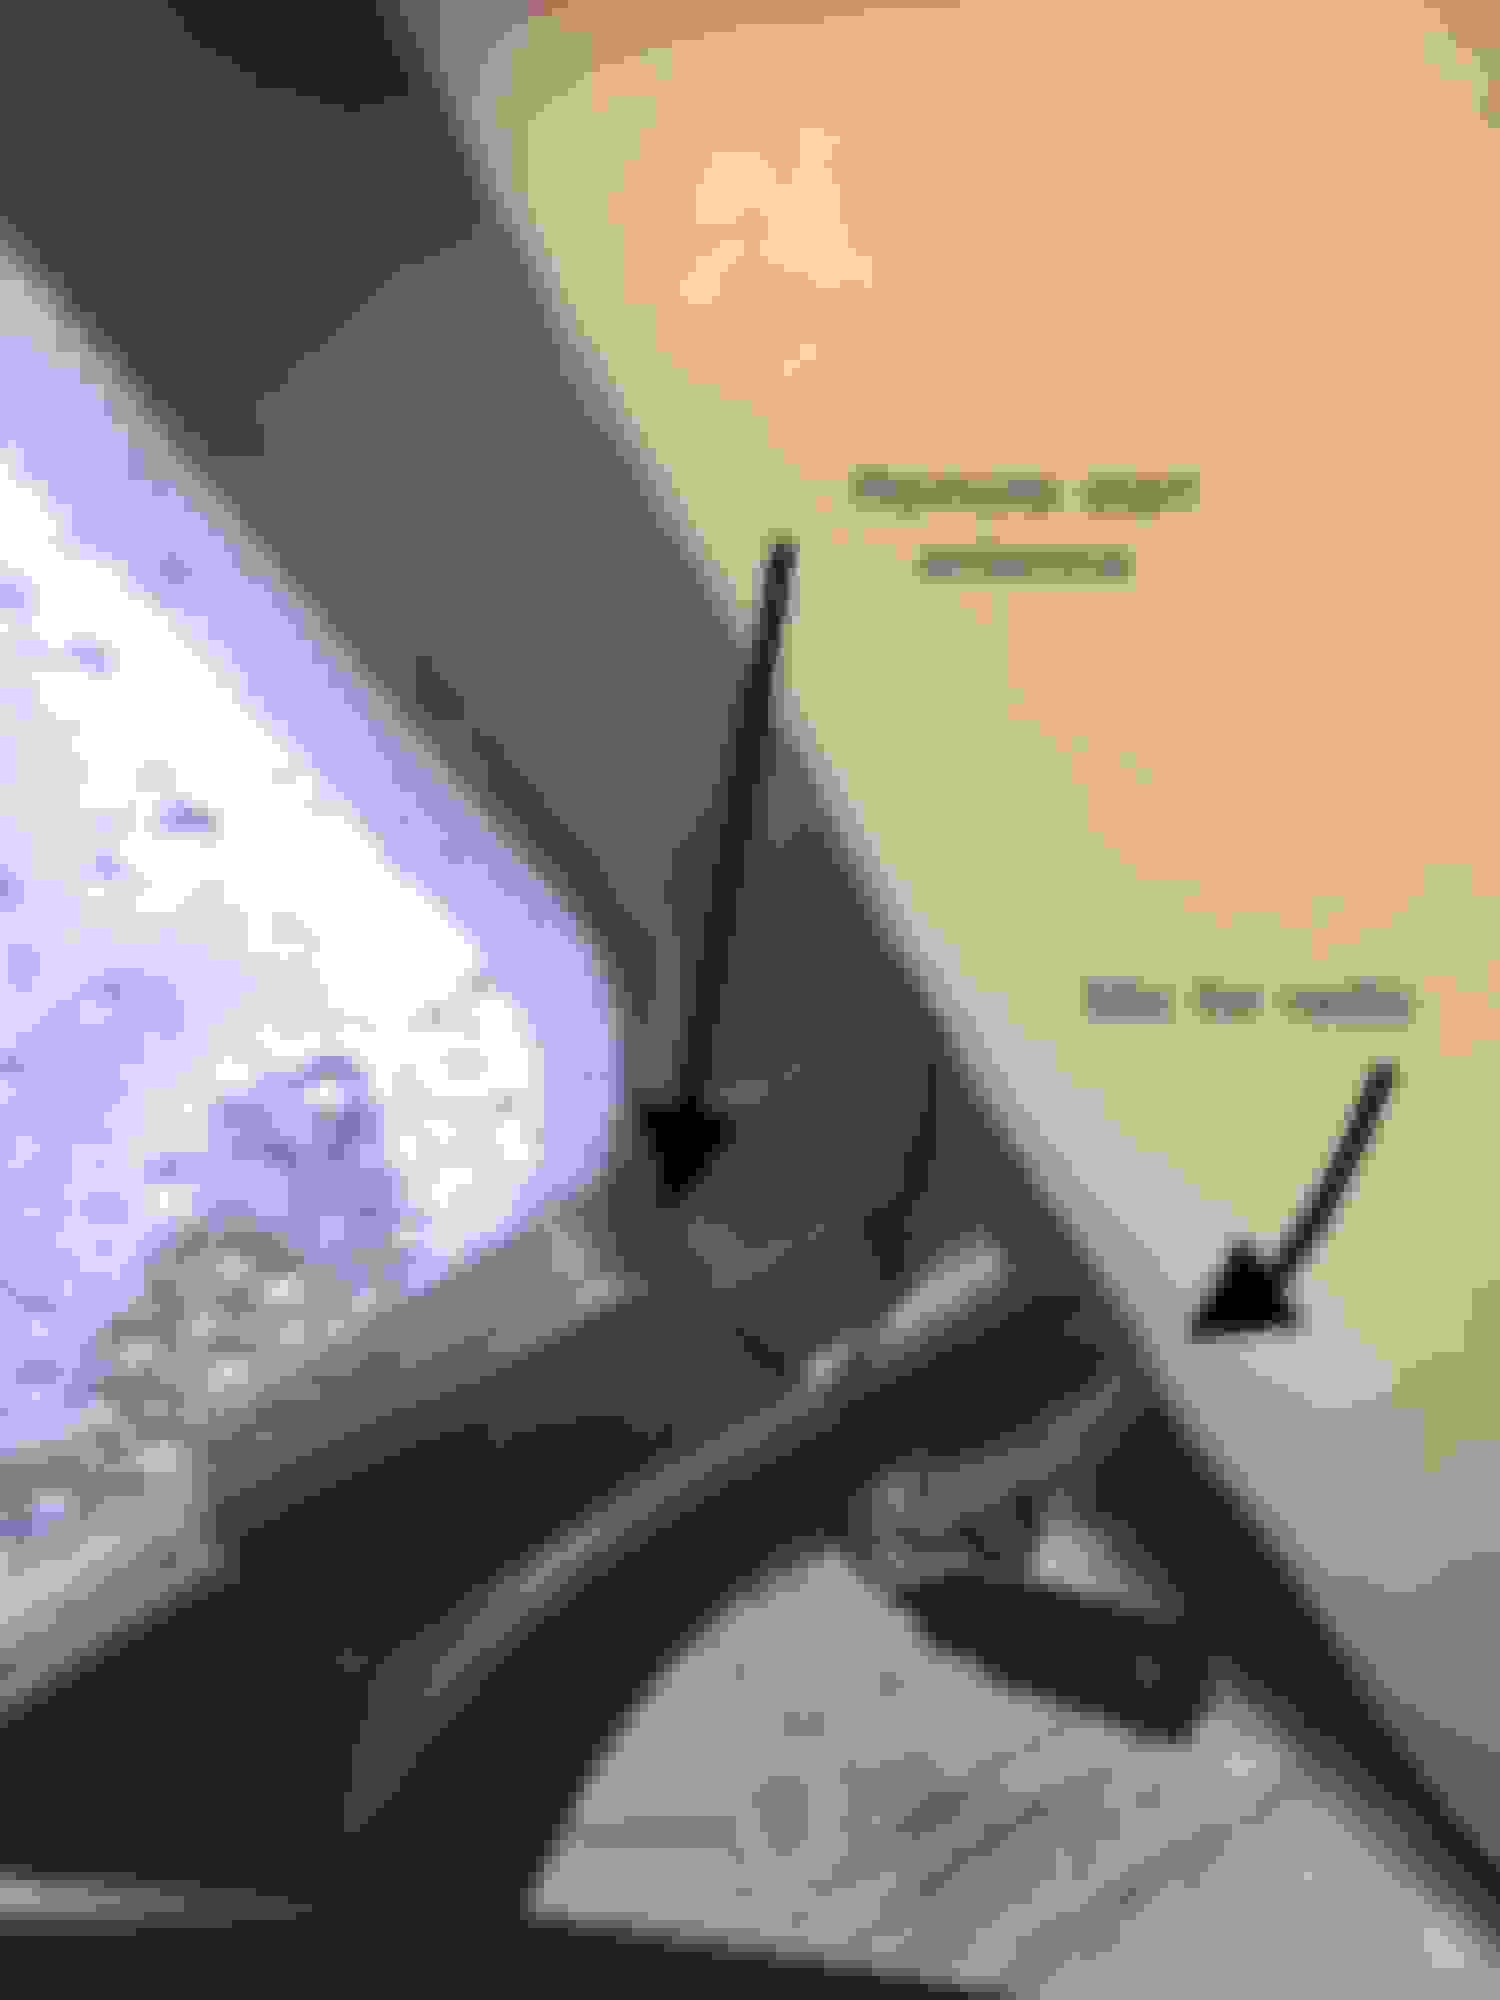
I just realized that what I thought was the remote start antenna exiting the loom was actually the line for the microphone I mounted above the rear view mirror. 😬
The remote start antenna wire does run the same route as the mic, but it was already in place and not included in the loom. Looking at rear view mirror area from driver seat area. Closer view to illustrate what is going on up there.
So if you are installing and visiting this thread for help, remember to include the mic line in your loom and exit early to head up driver pillar A trim and along headliner to either the sun visor or windshield just above the rear view mirror.
Notes:
1. I purchased almost everything through Crutchfield and had it all delivered. Their techs were also very helpful via phone, but it took them a while to discover the Jag uses the fiber optic method to transmit the sound data from the head to the trunk. So YOU and forum members are actually the experts of your car.
2. The speaker wires in the trunk are frustratingly short. I wanted to and tried to use crimp connections but in the end I had to put extensions on the wires to connect. Subsequently I ran out of crimps and it was after dark. I was unable to go buy more and I was in the home stretch, so with a “HUMPH!!” And a stiff upper lip I caved and used small Waite nuts to connect the speaker wires to the amp. So buy plenty of crimps and plenty of colors to keep track of the wiring.
3. I used a straightened wire hanger to fish through from the passenger cabin to the trunk. Then I tied twine to the hanger and pulled the twine back into the cabin. Finally I was able to use the twine to pull everything through. Tie the twine to all cables (snake, sub wires and cat line. Then wrap the end of the bundle in electrical tape and keep wrapping off the end of the bundle, tapering down to just the twine. This will keep the bundle from doubling over against the tight path and create a flexible “spear” that will pull through easier. (“Easier” is a relative term. It was a PITA)
4. I used the Axxcess Integrate ASWC-1 to retain steering wheel controls for the stereo, and hid the control
box tucked behind the center console trim wall of the drivers side footwell. This way I could access/program the unit without removing the whole head if needed. Initially the buttons were mixed up with autoprogram, and my attempts to manually program left me with every button either advancing the track or starting the track over. Troubleshooting documents indicated the 35mm plug may be loose and checking this required removing the head anyway :/ But after reseating it the problem remained. Then I concluded the button module on the steering wheel is probably dirty inside. If I pressed hard then things seemed to work correctly 95% of the time. So I shut her off and manually worked the buttons back and forth with some force hoping to work loose any corrosion. In the end things seem to work fine for now, but two weeks of driving and using will be required to call this problem resolved.
5. Other things I’m not remembering. 😜
Last edited by Reklaw1973; 05-12-2019 at 03:06 PM.
Reason: Forgot something

 05-12-2019, 10:08 AM