When you click on links to various merchants on this site and make a purchase, this can result in this site earning a commission. Affiliate programs and affiliations include, but are not limited to, the eBay Partner Network.
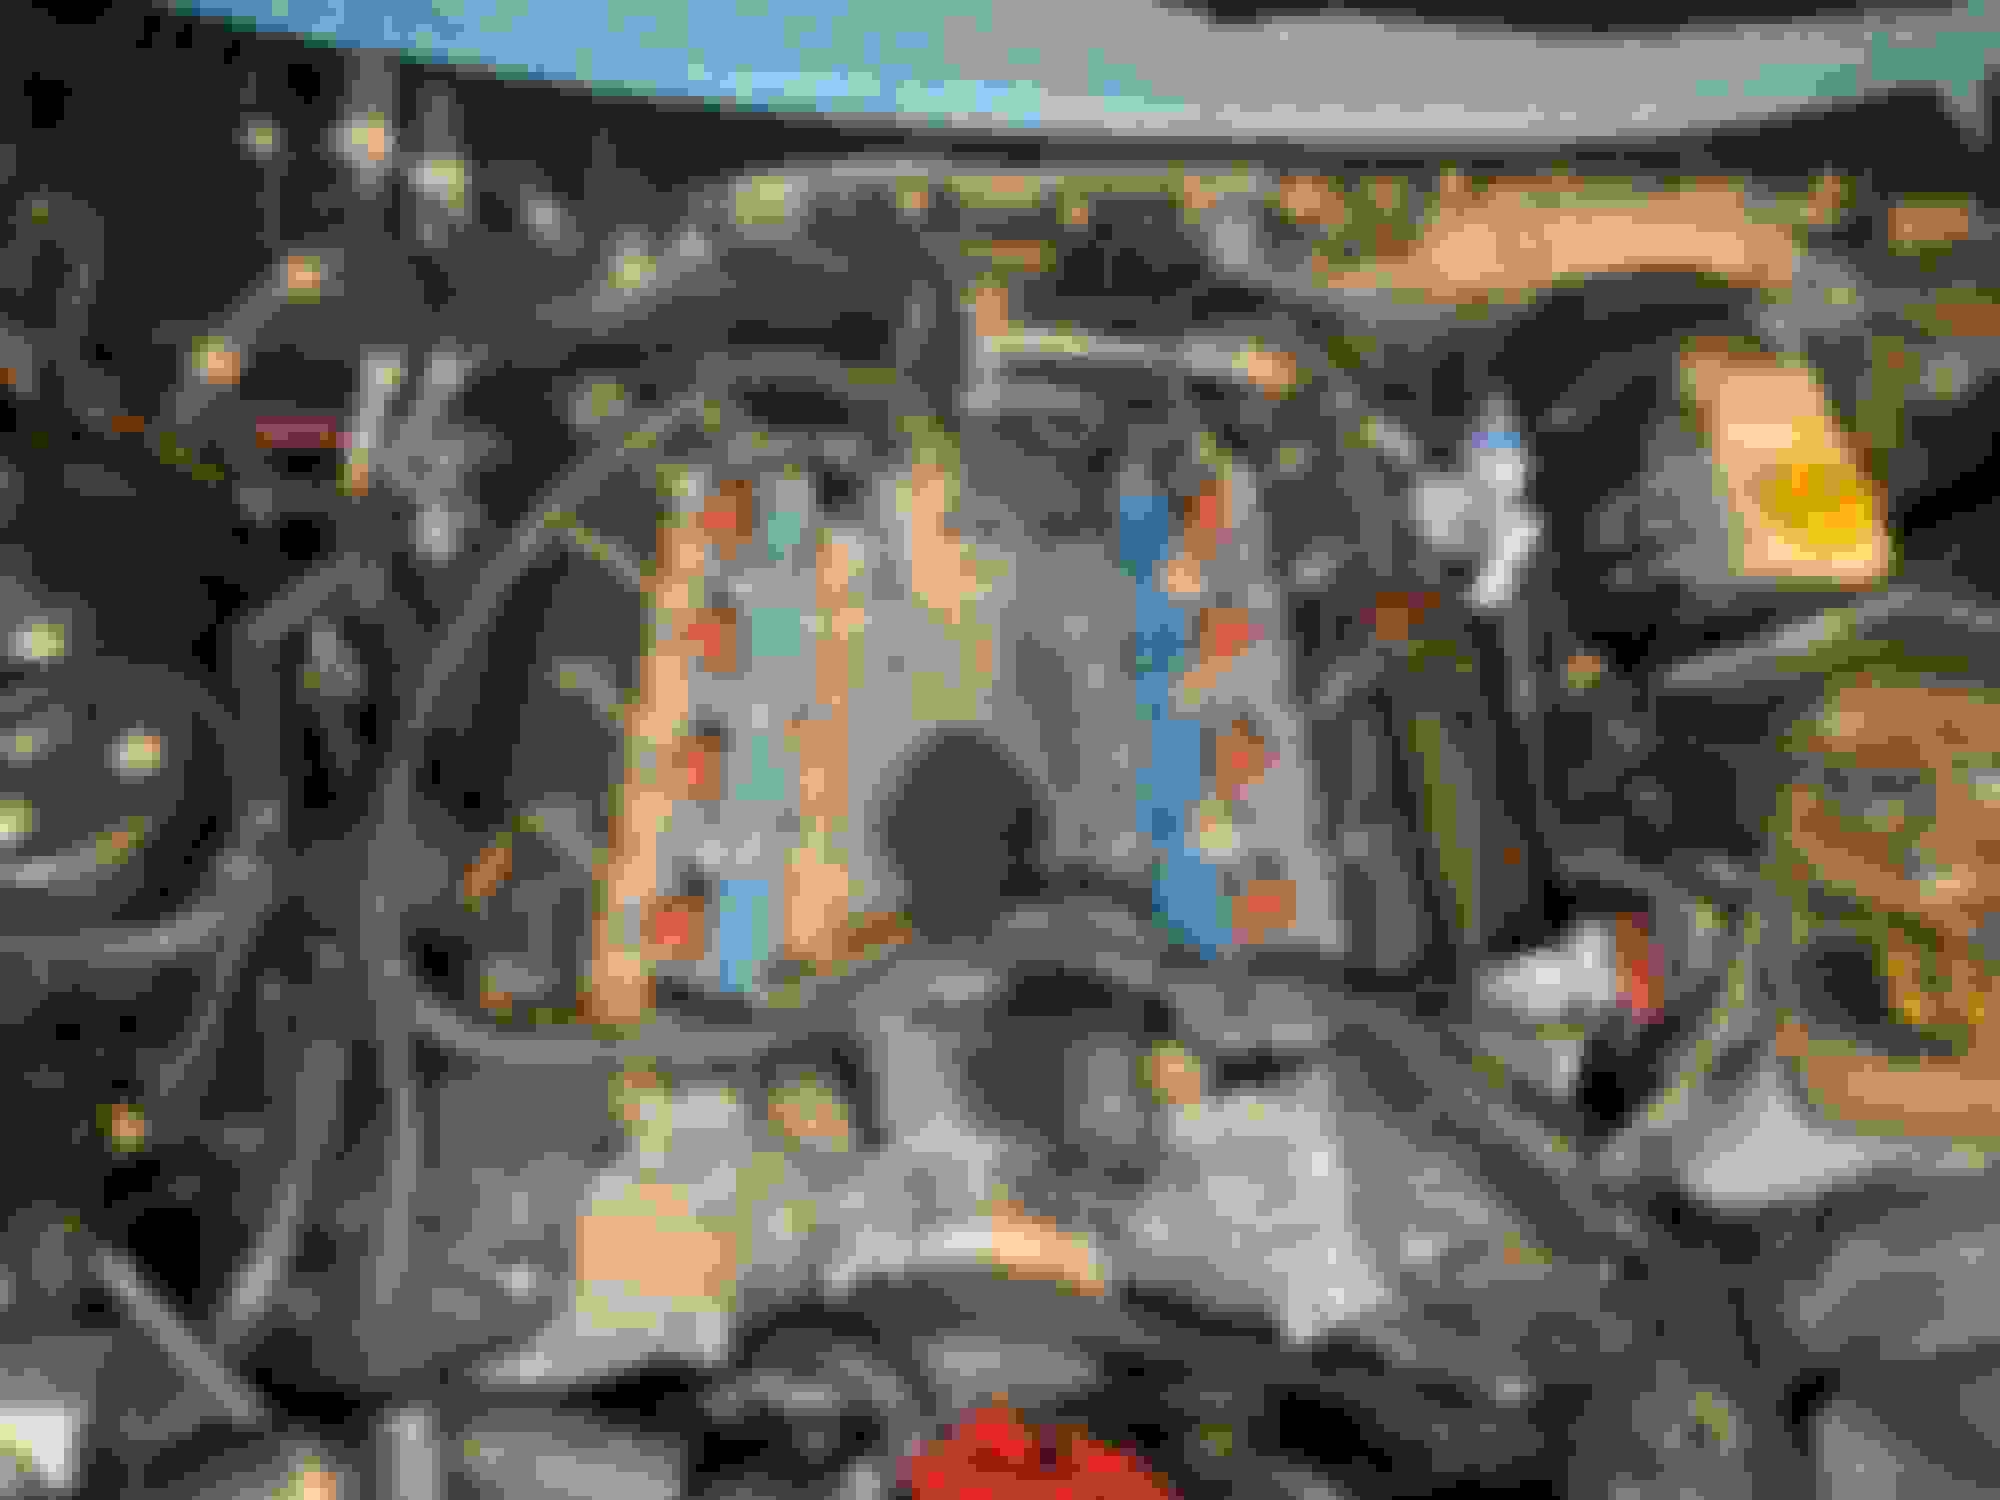
guys once you disconnect the two plastic pipes (PCV & EVAP canister) from the left of the supercharger intake elbow down the back of the engine .
you can move the loom over a little on the left and remove one of the two bolts, that are on ether side of the elbow rear bracket ., the right one has easy access in comparison . my 3/8 ratchet fits in there ok .
i find the easiest way to get the rear supercharger mounting bolt out is to remove the 4 bots on the back of the blower .
and remove the elbow manifold off the back of the blower first .
and reverse for refit .
and also if you do the 1.5 blower pulley upgrade , the smaller pulley does not require the water bypass manifold to be removed at all .
as the upgrade pulley fits through the gap .the stock pulley does not .
Staatsof, yes you have a boost leak in that slip coupling .
He's got a garage and a lift. I'm doing this on my pavers driveway
you do not need the car up at all bar for opening the two radiator drains and draining them .
put it back down for ease sake .
warning . once you have successfully completed this valley pipe job , the word gets round fast .
i've had my blower off 3 times once for the valley pipe ,plus i had to drill out a broken front blower mount bolt from in the Block so count your selves lucky if that doesn't happen ,
once for a broken blower coupler ,
and once to fit the KB.
and i have done a 06 XKR , these are a walk in the park after an STR .
This weekend i'm starting this job for the 5th time , this time on a friends new to him 02 STR .
im keeping optimistic .
Last edited by Datsports; Jul 15, 2019 at 03:52 AM.
Staatsof, yes you have a boost leak in that slip coupling .
you do not need the car up at all bar for opening the two radiator drains and draining them .
put it back down for ease sake .
warning . once you have successfully completed this valley pipe job , the word gets round fast .
i've had my blower off 3 times once for the valley pipe ,plus i had to drill out a broken front blower mount bolt from in the Block so count your selves lucky if that doesn't happen ,
once for a broken blower coupler ,
and once to fit the KB.
and i have done a 06 XKR , these are a walk in the park after an STR .
This weekend i'm starting this job for the 5th time , this time on a friends new to him 02 STR .
im keeping optimistic .
Last edited by Staatsof; Jul 15, 2019 at 10:16 AM.
Having it up in the air has actually saved my back but now it's time to take it down.
I began this horror story not completely sure where the leak was. I still haven't got under the SC yet so if it's not leaking there LOOK OUT!
I also had an engine oil leak which is due to the crappy NAPA Gold filter.
Getting up and down with two floor jacks and a pair of jacks stands is something I swore I wouldn't do again. I even bought a portable lift Quick Jack in December for this but it's tied up on another project. I wasn't expecting this right now, who does? So I'll have to put the thing back up to install all the belly pan bits and I think the front bumper IS going to need to come off to facilitate installing all of the hoses?
No more attempts at progress until I get back from vacation in about 2 weeks. But I will be watching till I leave. Other stuff to do.
Last edited by Staatsof; Jul 15, 2019 at 10:17 AM.
That soft carbon deposit in the elbow beneath the TB will also be clogging the cooling matrixes in the charge coolers making them nearly useless.
Why not take them off and soak in a soft carbon removal solution to clean them out AND think about fitting an oil catch can to help prevent such build up in the future.
Where specifically would you suggest fitting a drain point so that it's a low point and can also be accessible to opened for draining. The entire thing is also going to be under pressure when the SC is at full boost. So the hose from the drainage point to the catch can will have to be quite stout.
An oil catch can is usually fitted in series with the high load breather pipe system on the passenger side of engine.
I think with an STR you may have less room than I have.
Yes. I plan on finding a way to take the output from the pcv valve on the passenger side valve cover and send it to the catch can and take the outlet of catch can an connect it to the line going to throttle body elbow
i don't think there's a tidy way ,
here's where mine is . it's easy to service .
no cutting required ,
just a cigarette lighter or heat gun softens the plastic hose on the clip on pipe elbow at the diaphragm end .
and it just slides out . and will slide back on to return to stock .
it important to chose heavy duty vacuum proof hose .
mine hydraulic supply hose .
Last edited by Datsports; Jul 19, 2019 at 06:48 PM.
So im homeward bound. Been cleaning the hell out of everything so I can see leaks easier. Plus it looks nice. Im at the install stage. Changed my plugs and knock sensors and pcv valve and fuel injectors (hopefully I got the tight ones)
One word of caution. Like you I blocked all open ports for obvious reasons.
However I also blocked the inlet of the super charger in such a way that when I pulled the screwed up paper towel out I left half of it in pace!.
It was facing away from me when I did that and when I tried starting the car it stalled because the half a paper towel jammed the SC rotors.
I had to disassemble the damn thing to get the remains of the paper towel out. To be safe I redid the rear bearings as well.
Understood. I was trying to clean the residue from the spark plug threads using these swabs I borrowed from work. But stopped after the stick came out of the hole without the cotton on it! Ya. The cotton wasnt glued on.
Eeks!
Iblew out the hole with compressed ait real good but ****, seriously???