When you click on links to various merchants on this site and make a purchase, this can result in this site earning a commission. Affiliate programs and affiliations include, but are not limited to, the eBay Partner Network.
I've just replaced those bushes myself - took me 3 days (in between working of course!) to make the tool to press the bushes back in. It only took less than a minute each side to press them fully home.
The bolt connecting the k frame to the a frame are siezed. I cant for the life of me get it off. Its the passenger side where you have no room to get tools into. Can someone please give some tips? Ive already snapped two adapters and am about to just cut it all apart. Thanks
This was very informative and helpful with the pictures. I am going to either attempt parts of this job myself or handing it all over the my garage. I just want to make sure I am talking about the same parts here as i need to order it all from ebay..
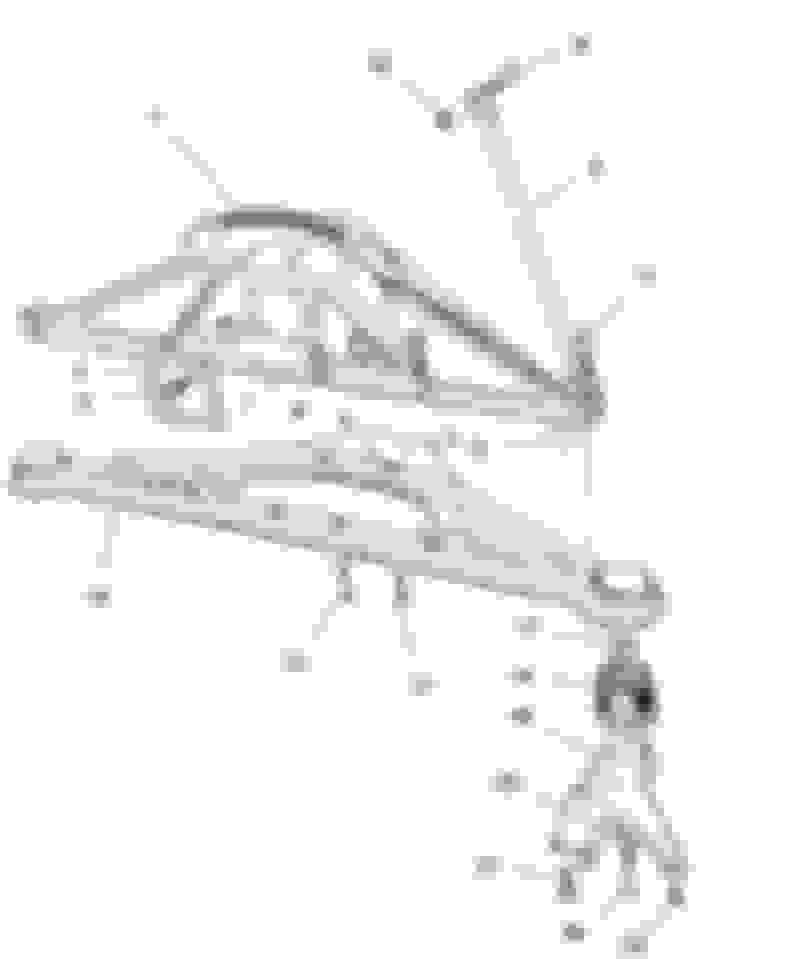
Its this big bushing here you are talking about right? Mine is all wobbly and loose. Makes the backend of the car feel loose and nervous.. Part 14 right? Do i need to order 17 as well? And this is the correct original part?
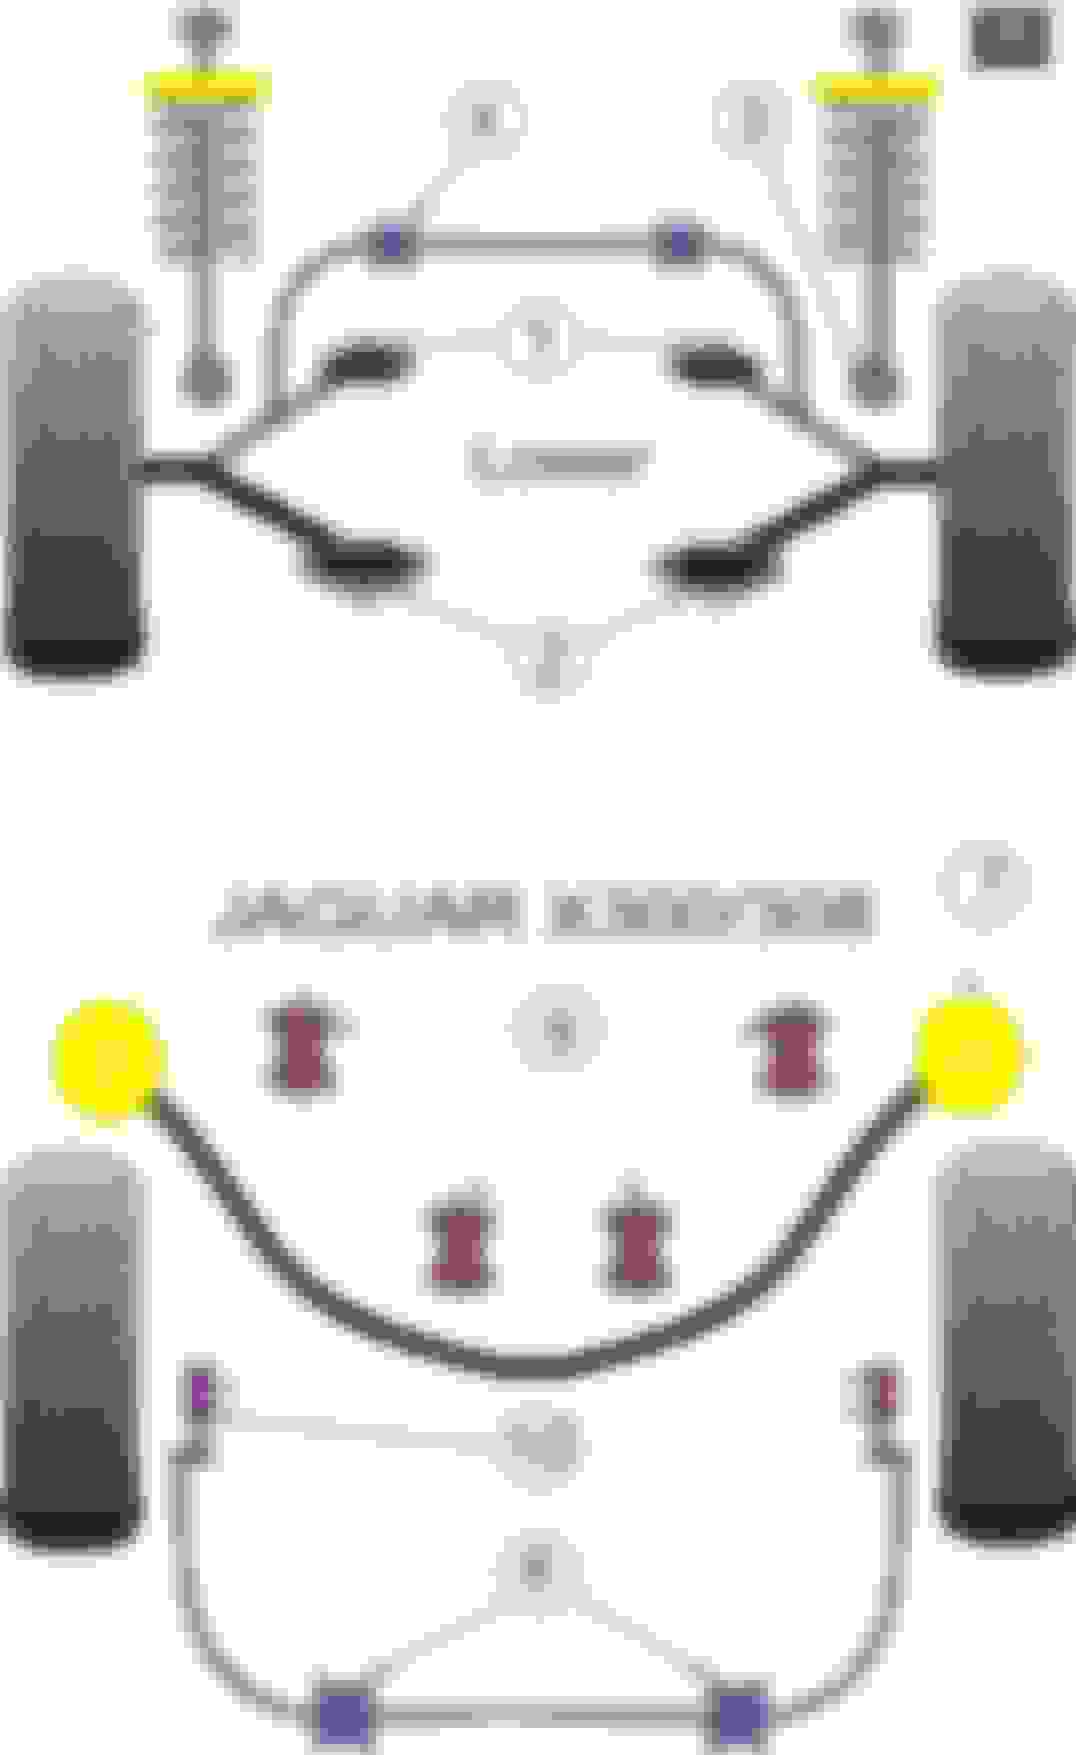
Is this the correct equivalent part from powerflex? Number 7 in this drawing?
sorry for my ignorance I just want to make sure I order the correct parts. My garage said they'd need 3 hours for the job but I am tempted to try to at least remove the whole frame on my own. Maybe then they could manage to remove and install the old/new bushings in 1 hour or so.. is it worth trying or should I leave it all to the pros?
This diagram is the easiest one to reference. The large rear subframe or A-frame bushes are Part 14 in this diagram, and the Jaguar part number is CCC6875 for X300s up to VIN 795101.
Part 17 is a small metal spacer and you should be able to just reuse the original ones unless they are badly corroded.
My local garage installed the powerflex bushings yesterday. It took them 2 hours so the cost turned out cheaper than expected. Driving the car is now a new experience as it simply feels a lot more steady on the handling. It still feels smooth though so there is no reason to fear a stiff unpleasant ride. Steering feels more precise so I am very happy with the result.
The sun is shining today, the car drives better and i just got it back from a rust repair with a new wheelarch installed and painted so it's time to simply get out in the sun and enjoy it like it should be.
I have seen but not used a technique for replacing the a-frame bushing described
fully at xj40.com
- raise vehicle
- drop a-frame at bush on one side a couple of inches
- insert two sockets of equal height between bush and body
- jack up a-frame away from bush or use a receiver
- bush should eventually pop out the bottom, sometimes overnight
In short, you are using the vehicle as a press.
This is how I replaced mine (late XJ40, same assembly).
At first I wasn't sure that the bushings were coming out, nothing looked like it was moving, but after a cup of tea I could see the gap had increased "slightly" .....so I just waited a bit longer and the gap slowly widened - it took maybe 20 minutes for them to press themselves out - keeping the pressure constant.
Did changing the new bushings change the rear end ride height?
The rear shock bushings that have the most effect on ride height are the large yellow foam "donut" spring isolators. Over time they compress, and installing new ones usually raises the rear end a little. If I recall correctly, on our '93 XJ40 the increase was around 3/8 inch, which is not insignificant.
Regarding pressing in these new A frame bushes. Everybody seems to be just greasing them and pushing them in ...the servive bulletin suggests they are meant to be BONDED in place?
Last edited by trampintransit; Jan 6, 2019 at 06:13 AM.
Regarding pressing in these new A frame bushes. Everybody seems to be just greasing them and pushing them in ...the servive bulletin suggests they are meant to be BONDED in place?
Hi Guy,
Most of us have not used any kind of bonding agent. They don't seem to require it in order to remain in position, and if you study the way the subframe is supported by the mounting brackets you'll understand why. Pressing the new bushings in requires quite a bit of force, so I place them in the freezer for 30 minutes or more to contract the metal cores, and apply some soapy water as a lubricant before pressing them in. I don't like the idea of using grease on these, even if it's lithium based or another rubber-safe type. Be sure to photograph the orientation of your old bushings prior to removing them so you can install the new ones with the rubber flanges on the top edges oriented correctly.
I know this is an old thread but I found it very useful.
I just need a little bit of advice about removing the 2 bolts that go in from the top of the frame, see pic from OP:
These are the only 2 bolts i can't get out! The only spanner I can get on to them is a 19mm ring spanner and I can only get to the bolts from inside the wheel arch but can't get any leverage because the brake discs and or springs get in the way. The exhaust is in the way from the front edge so not enough room from that side either.
Can anyone suggest a good method? I really don't want to drop the whole diff and sub frame assembly!
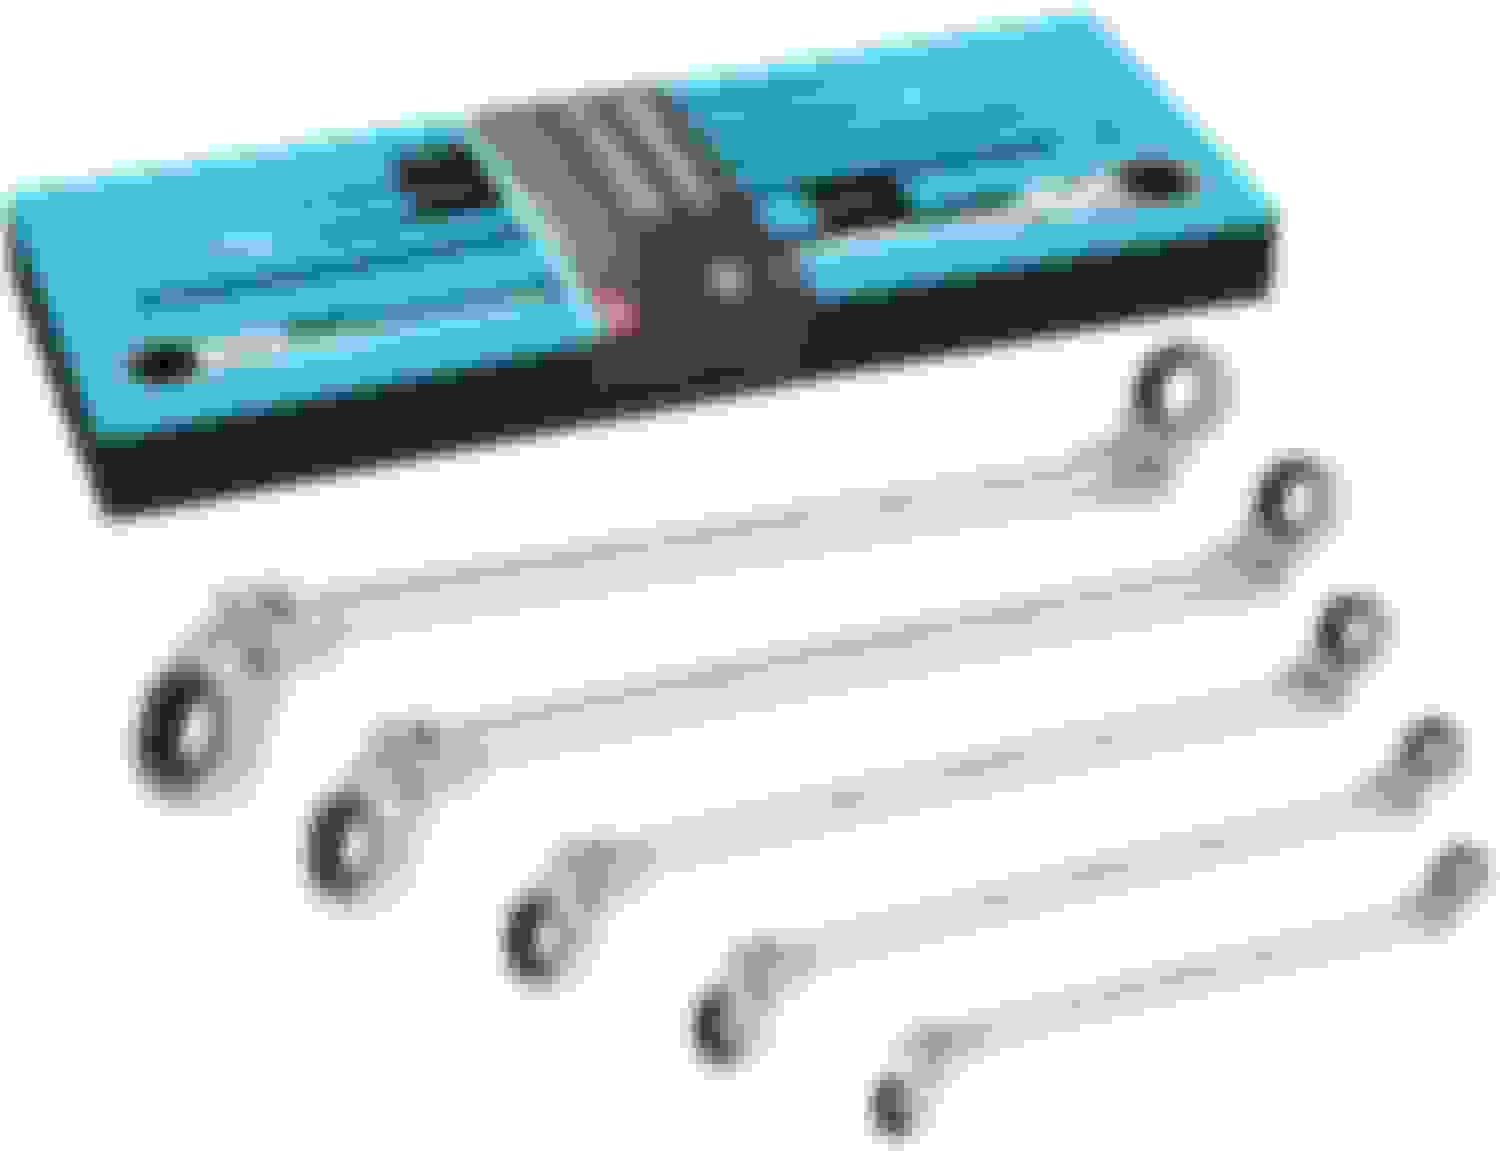
It's been a few months since I lowered a subframe, but I think that in the past I have been able to get those bolts loose by putting a standard ring spanner on the bolt and then tapping the spanner handle with a mallet. More recently, I think I use a long flex-head ratcheting ring spanner like these:
It's been a few months since I lowered a subframe, but I think that in the past I have been able to get those bolts loose by putting a standard ring spanner on the bolt and then tapping the spanner handle with a mallet. More recently, I think I use a long flex-head ratcheting ring spanner like these:
Cheers,
Don
Excellent! I had considered getting a set of those but was concerned the ratchet mechanism wouldn't be man enough.
Thanks for the advice, that gives me more confidence.