When you click on links to various merchants on this site and make a purchase, this can result in this site earning a commission. Affiliate programs and affiliations include, but are not limited to, the eBay Partner Network.
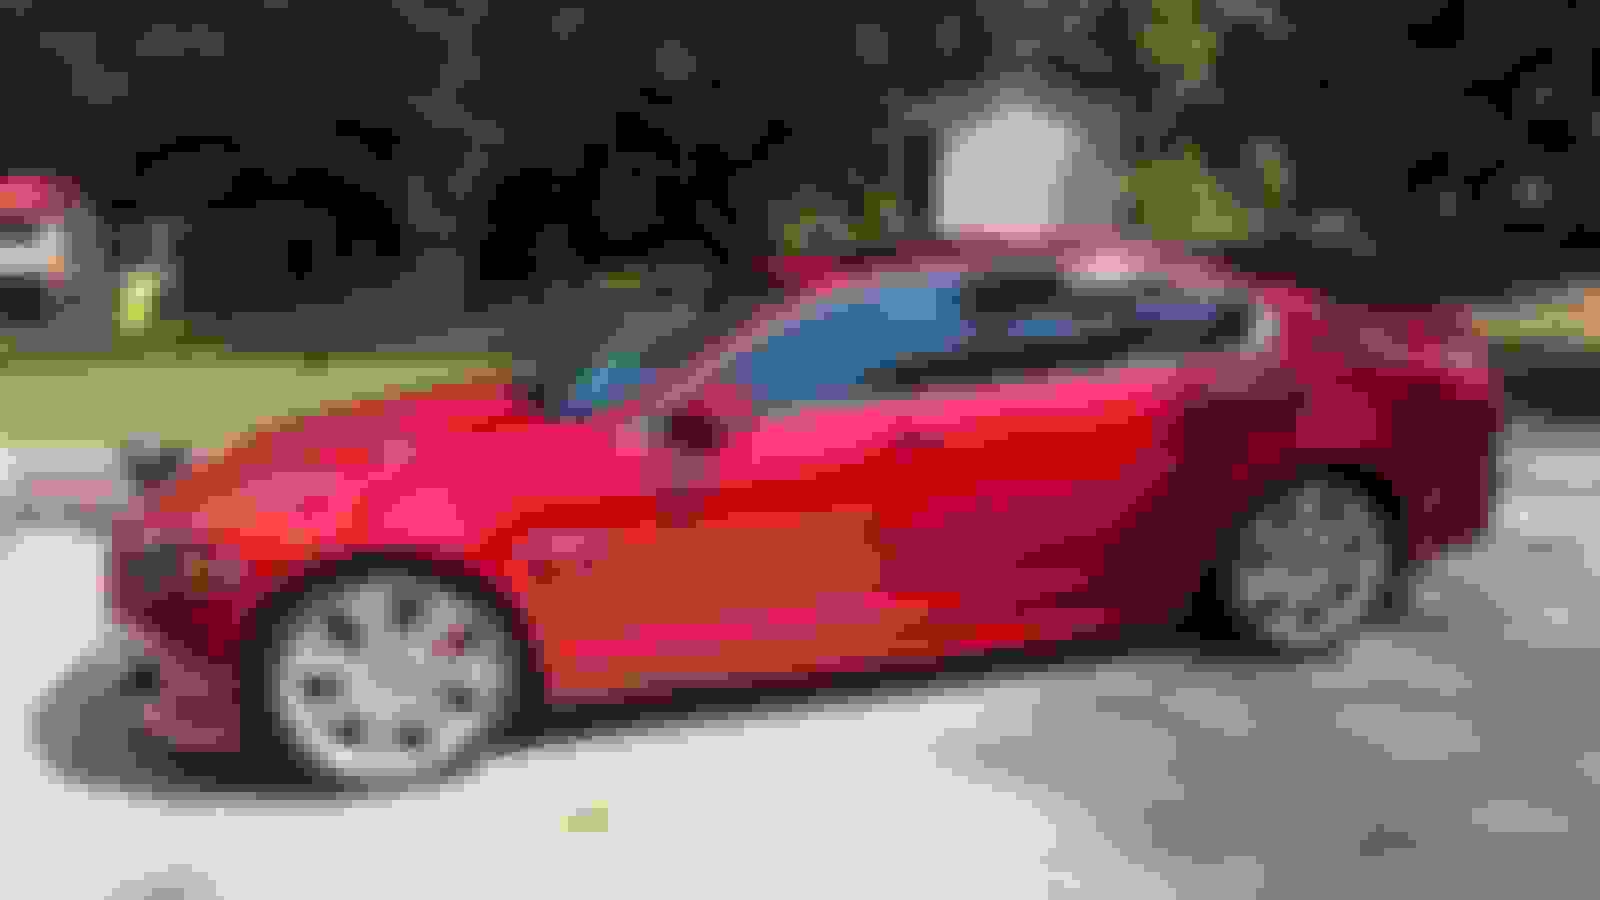
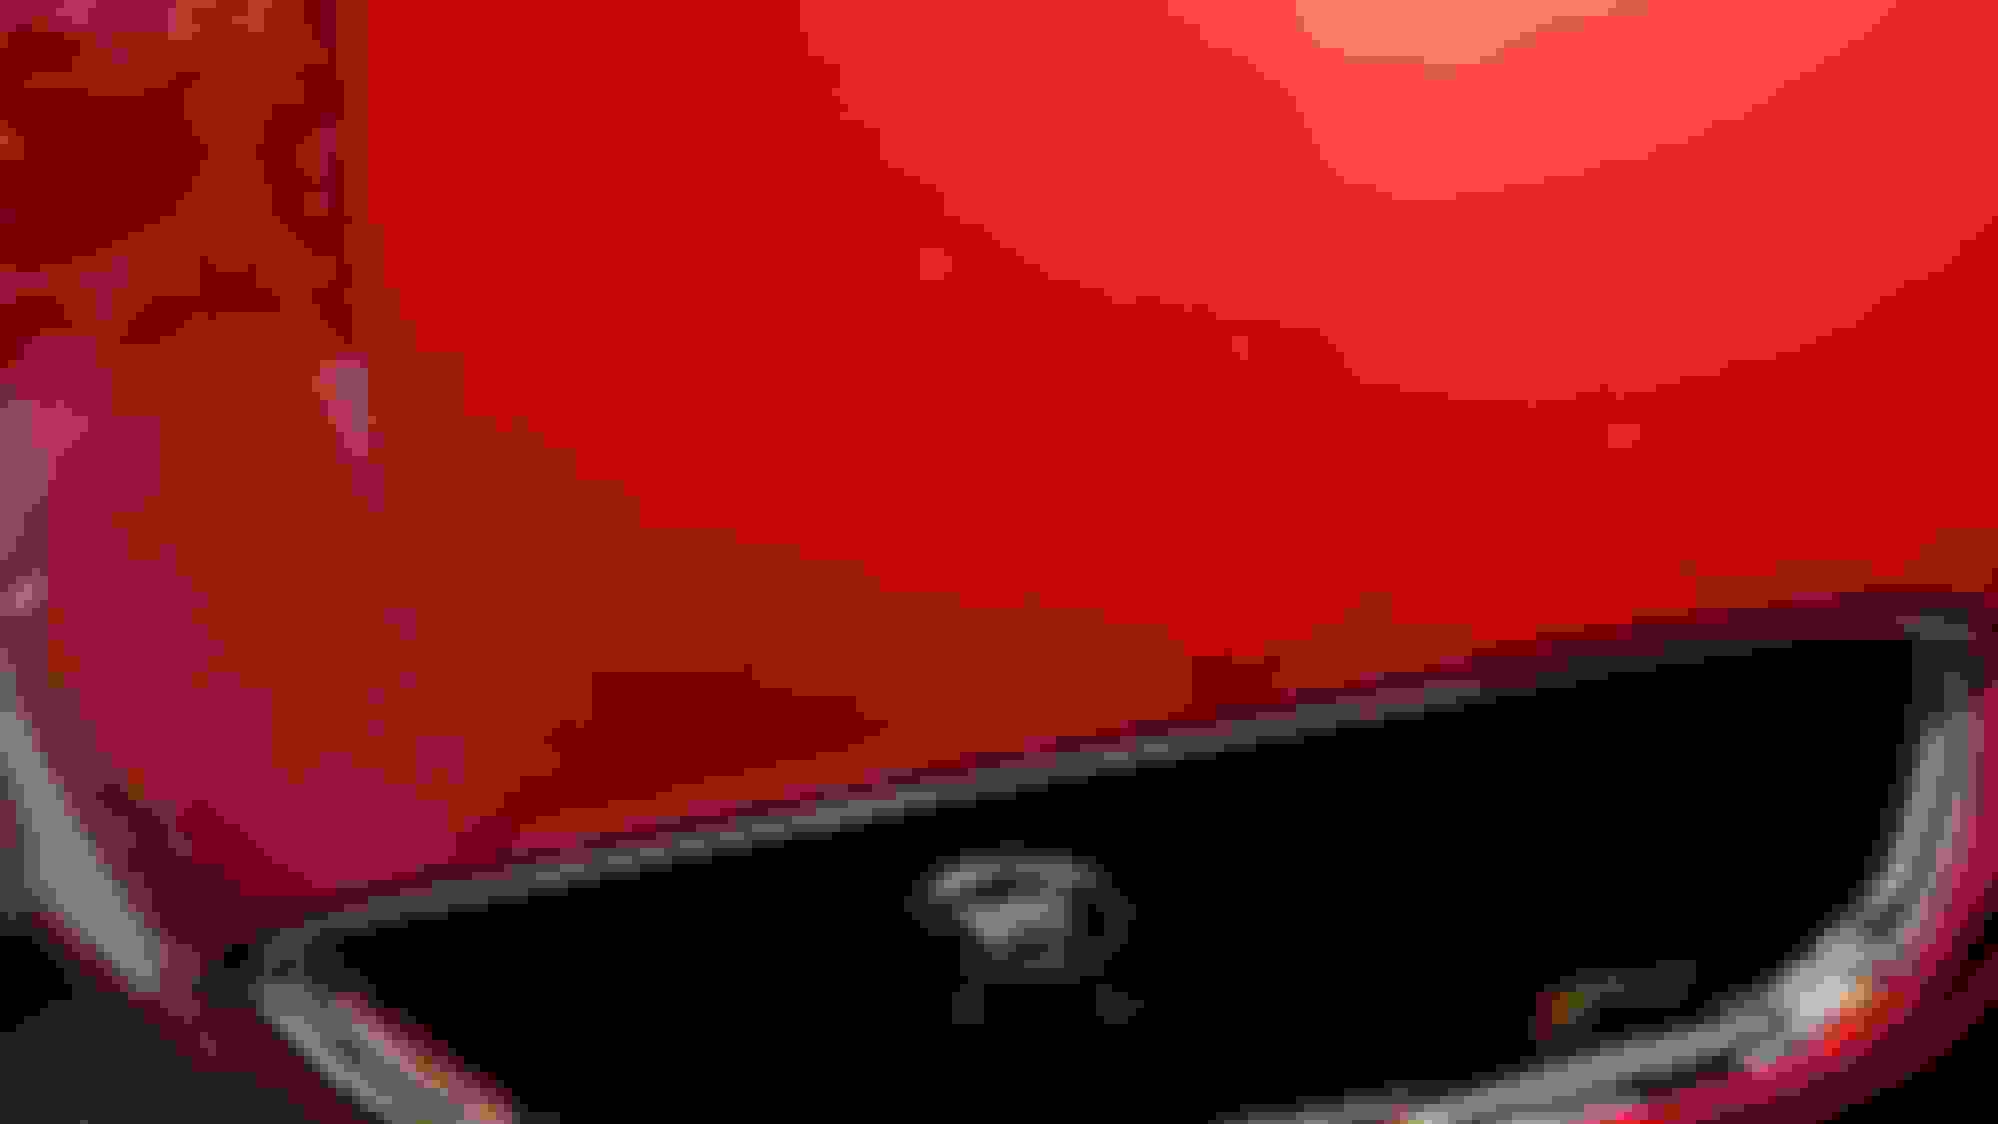
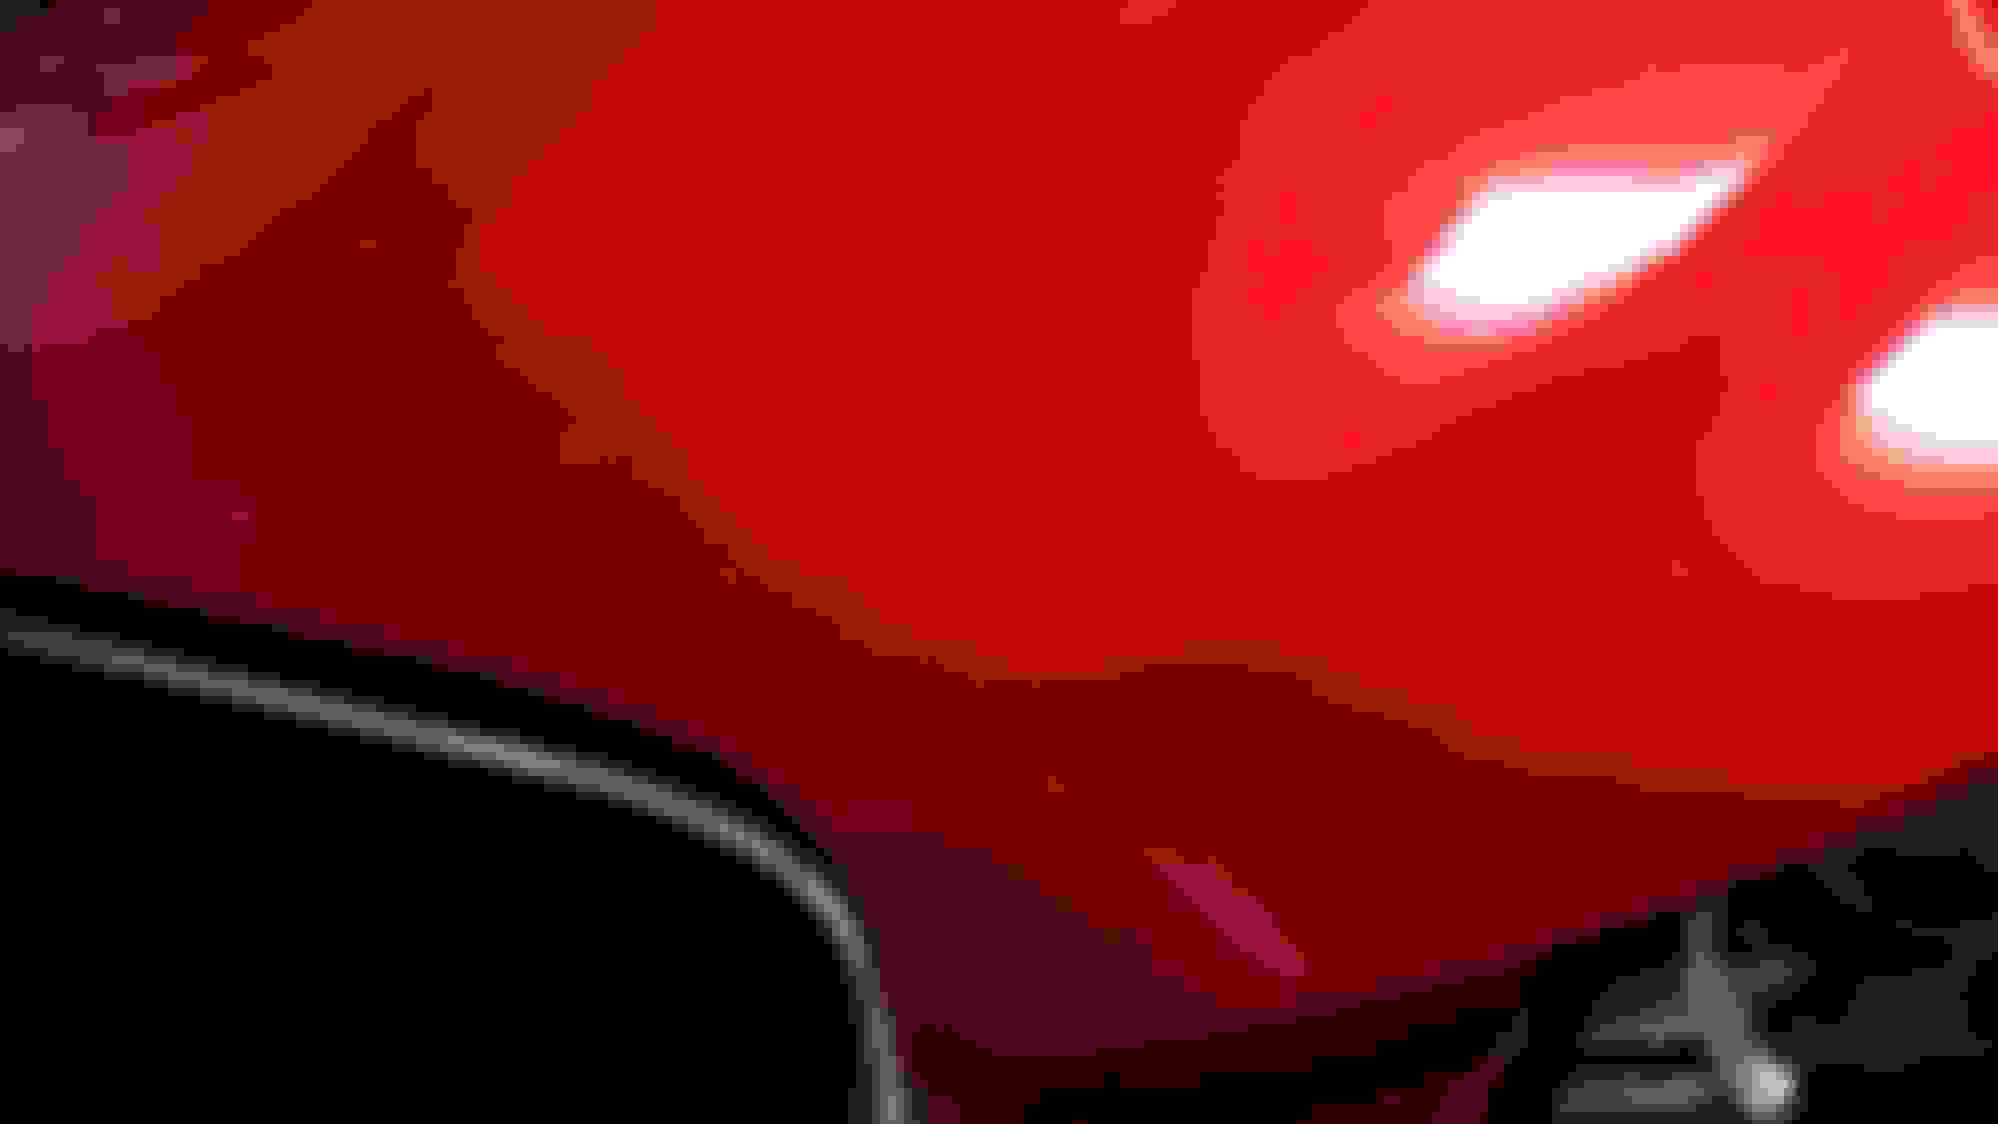
I bought my used '12 XF this spring and have been loving it so far. The only thing that has bothered me is the swirl marks that it had in the beautiful Italian racing red paint. So I finally got some time to polish it up when the kids were gone for a day.
I used a MT300 DA polisher. First step was Meguiars 105 heavy cut with orange lake country pads, followed by 205 using white hex logic pads. Then I topped it off with Klasse high gloss sealant.
Other than the enormous amount of time that it takes, I highly recommend doing this. The paint really is gorgeous now, the metal flake sparkles more and it has a mirror finish.
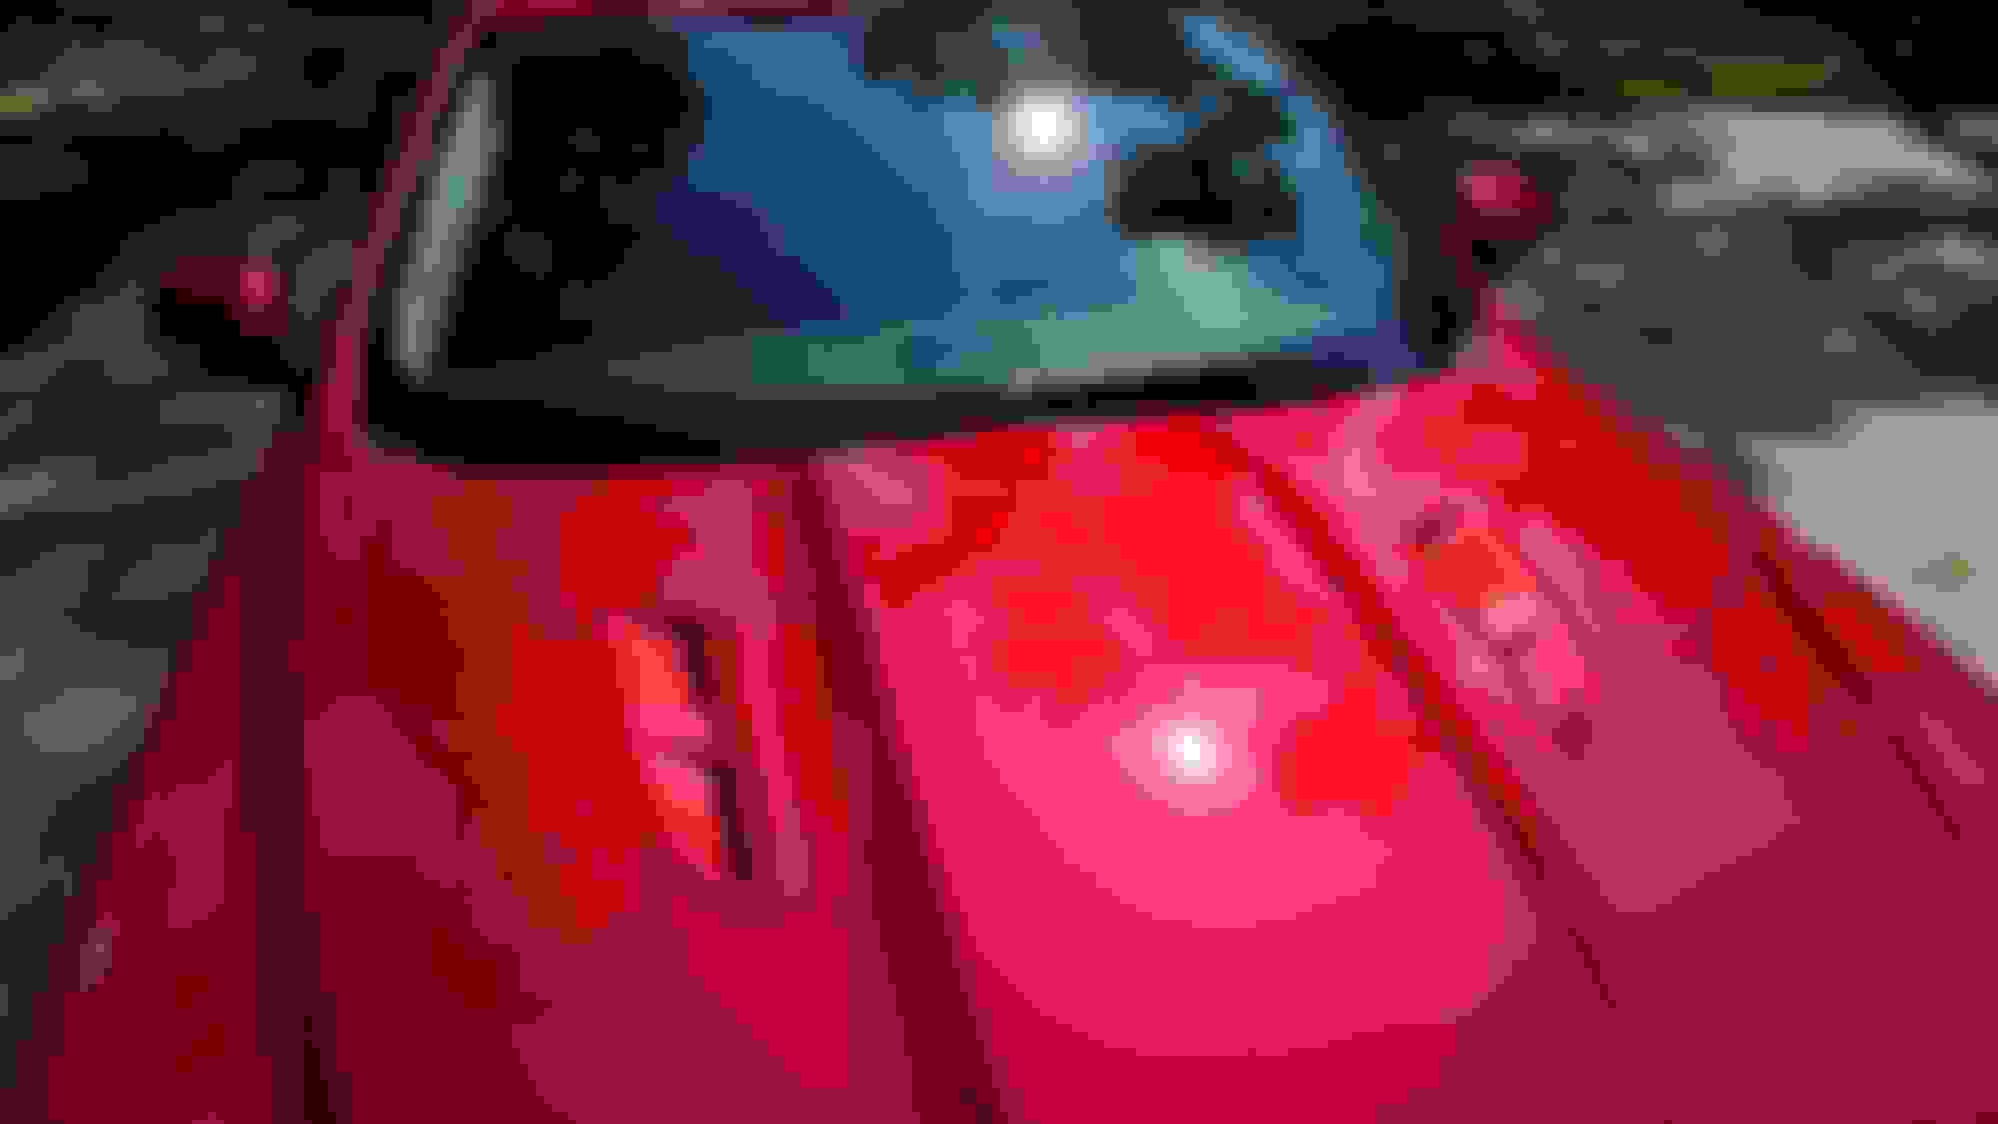
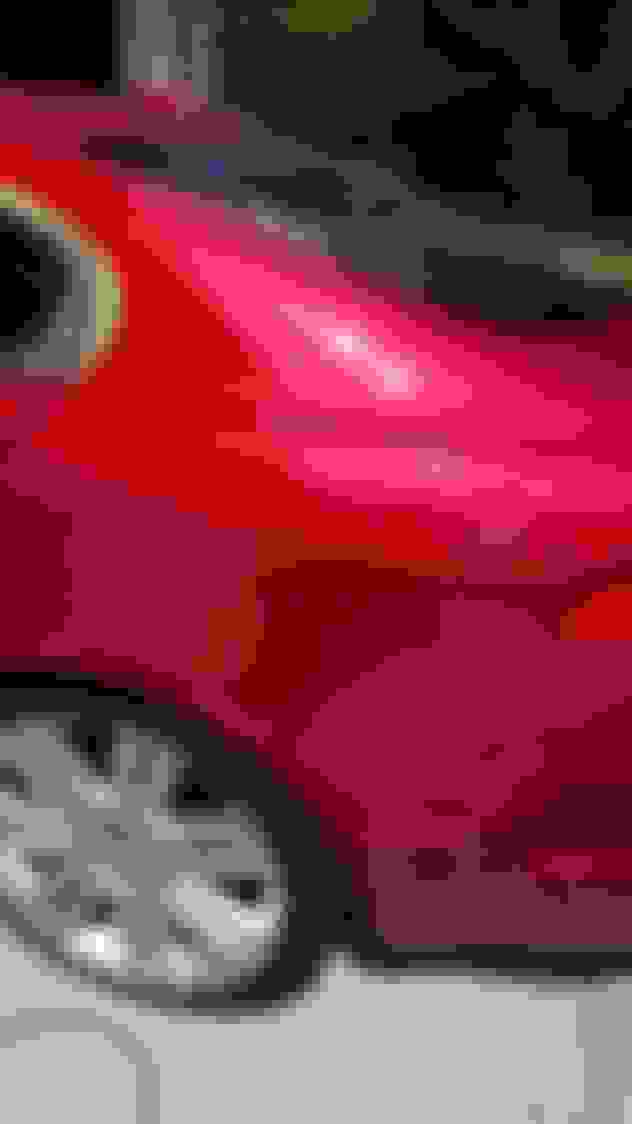
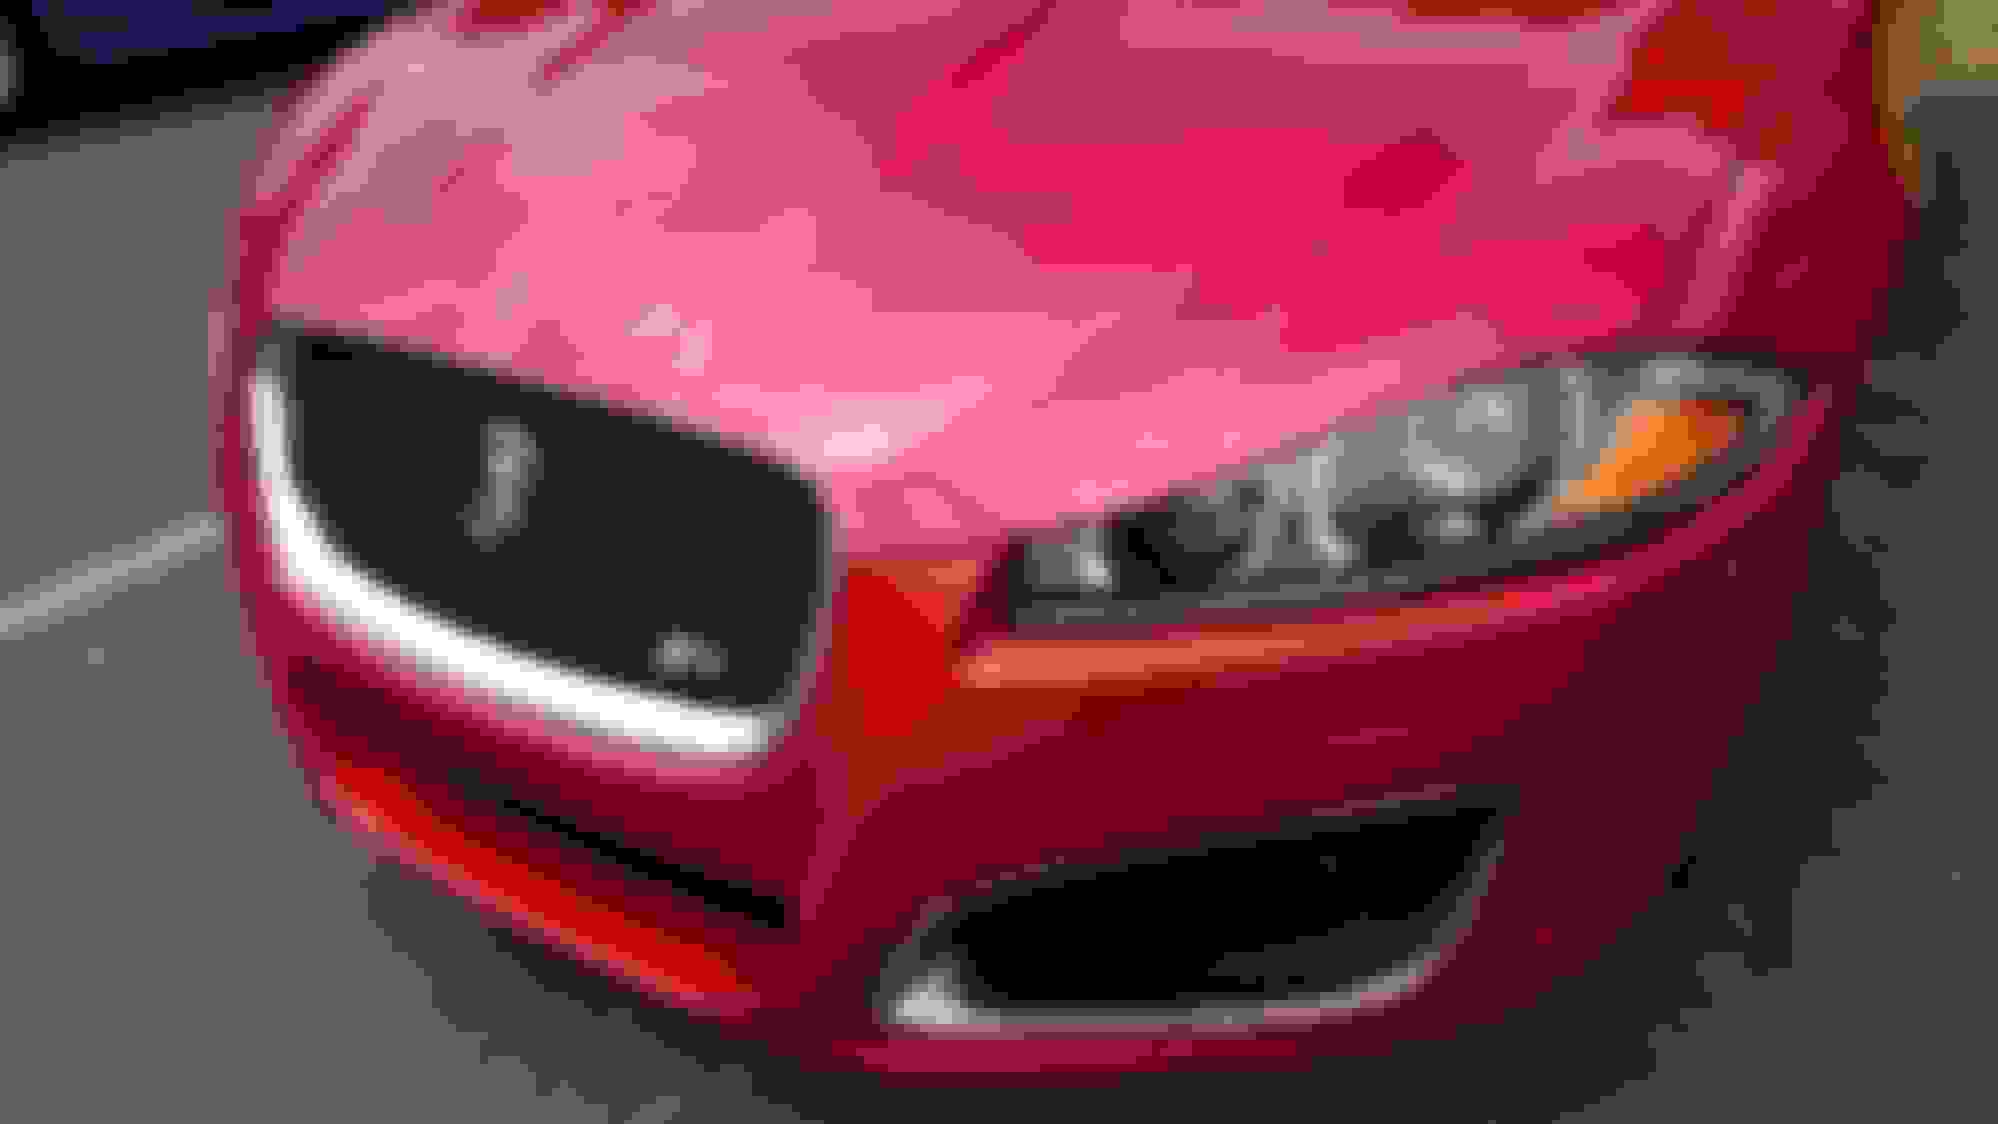
I also used the DrColorChip.com kit for covering up all the stone chips and highway rash on the hood. In the small spots it was amazing, and in the large chips it was pretty good. Check out the before and after shots at the end.
Yeah clay is crazy isn't it? It doesn't make sense how well it works. Gotta do that a couple of times a year, and hopefully this whole car two stage polish only once every few years.
I usually do the clay bar while washing it to save time. I have learned a lot from this helpful guy on YouTube, Larry from Ammo NYC.
I bought mine a few weeks ago and tho the selling dealer sent it through their make-ready shop, it wasn't up to my standards. Same process, but I used a Griots DA and pads, 3m polishes and Mequiar's wax. After I was all done, the only thing letting it down was the rock chips on the hood. The plastic bumper cover wasn't near as bad as the hood. I decided there were too many chips prominent on the hood so I took it to my body shop guy and he explained that the metal hood, not having as much flexibility, tends to chip much worse than the plastic bumper cover. Went ahead and had the hood repainted and the bumper cover touched up.
But yes, its a lot of work, especially the first polishing step, working to get all the scratches and bird etchings out. That was pretty much the first whole day. Then the second step to remove swirls and buff it out to a high shine went pretty quick, a few hours. Its not a show car so I skipped the hand glaze and just applied some Mequiar's Gold Class liquid wax. That third step is a snap, but by then I was very tired.
I'll do full process like described above on each of my cars once a year. The rest of the year, I wash them every other week (or more if it rains but I generally drive the truck if I know its gonna rain). For protection, I have been having very good luck with Mequiar's Ultimate Quick Wax. It doesn't make a show car shine, but it does protect the paint quite well. What I like about it is that its SO EASY, that I'll actually take a few minutes to apply after every wash. The lady manager at the local OhReally's recently recommended Mother's brand saying that it didn't leave as much of a visible "film" like the Mequiar's. I plan to try it when my current supply of Mequiar's runs out.
Once that wax protection wears off, stuff STICKS then you have to use the clay bar, plus bird droppings will etch so you have to use polish or swirl remover. So its key to keep a layer of wax or sealant protection intact all the time. Since the unfortunate demise of Polyglycoat in the 90s, I haven't found a product that lasted more than a few weeks of a Texas summer and survive multiple washes. These easy modern wipe-on products are a good solution for the daily driver. Keep'em waxed and that yearly full detail only takes a half a day.
I bought mine a few weeks ago and tho the selling dealer sent it through their make-ready shop, it wasn't up to my standards. Same process, but I used a Griots DA and pads, 3m polishes and Mequiar's wax. After I was all done, the only thing letting it down was the rock chips on the hood. The plastic bumper cover wasn't near as bad as the hood. I decided there were too many chips prominent on the hood so I took it to my body shop guy and he explained that the metal hood, not having as much flexibility, tends to chip much worse than the plastic bumper cover. Went ahead and had the hood repainted and the bumper cover touched up.
If you don't mind, how much was it to have the hood painted?
Eric that white looks great. It doesn't make sense how well the clay works, but it does it. I clay twice a year if I can, but this car may have never been. To save time I usually do it while washing.
I have learned a lot from Larry from Ammo NYC. Check his channel out on YouTube.
If you don't mind, how much was it to have the hood painted?
I spent $750, but I don't know how to separate it. I was taking it in anyway to get the chrome side vents replaced with the standard body color vents. So part of it was the hood and part of it was painting the vents, plus removal and installation, plus some touchup work.
Looks fantastic, great work! At what step did you do the Dr. Colorchip? I'll be polishing with a DA for the first time soon and have a Dr. Colorchip kit to apply also.
I clayed mine this weekend before buffing out the nasty water spots and swirls I inherited when I bought it. I was amazed at the results just the clay bar got. Had I known it worked that well, I would have been doing it to cars for years.
Looks fantastic, great work! At what step did you do the Dr. Colorchip? I'll be polishing with a DA for the first time soon and have a Dr. Colorchip kit to apply also.
I did the Dr. Colorchip after polishing, and before sealing. The Dr colorchip instructions say to wait 3 days before sealing or waxing it. So I sealed everything except for the front of the hood and bumper cover where I had applied the paint, and then this weekend after 7 days or so, I rewashed the front and sealed it all up. I actually polished over this area one more time also before sealing.
I am pretty happy with the Klasse High Gloss sealant. I have had stuff that is easier to remove before, this one makes a hard film after drying. I found that if you use a two swipe process and spray some quick detailer on it first then swipe with a dry microfiber that it comes right off.