When you click on links to various merchants on this site and make a purchase, this can result in this site earning a commission. Affiliate programs and affiliations include, but are not limited to, the eBay Partner Network.
All in all, not a hard job at all. Follow the factory service manual and there won't be any questions.
A few observations:
-Removal of the upper supercharger idler pulley makes removing the belt a lot easier.
-No need to remove the throttle body like the manual says, saving you a $22 gasket.
-You can use 8mm x 1.25 x 50mm long all thread in place of the special tools they specify to hold the intake gaskets in place and guide the supercharger back down onto the engine.
-The coupler is going to fit very tightly over the drive pins. The fit is supposed to be tight, so don't file the holes bigger. Use a rubber mallet to tap it on to the supercharger, and use the bolts holding the snout on to pull it towards the body of the supercharger.
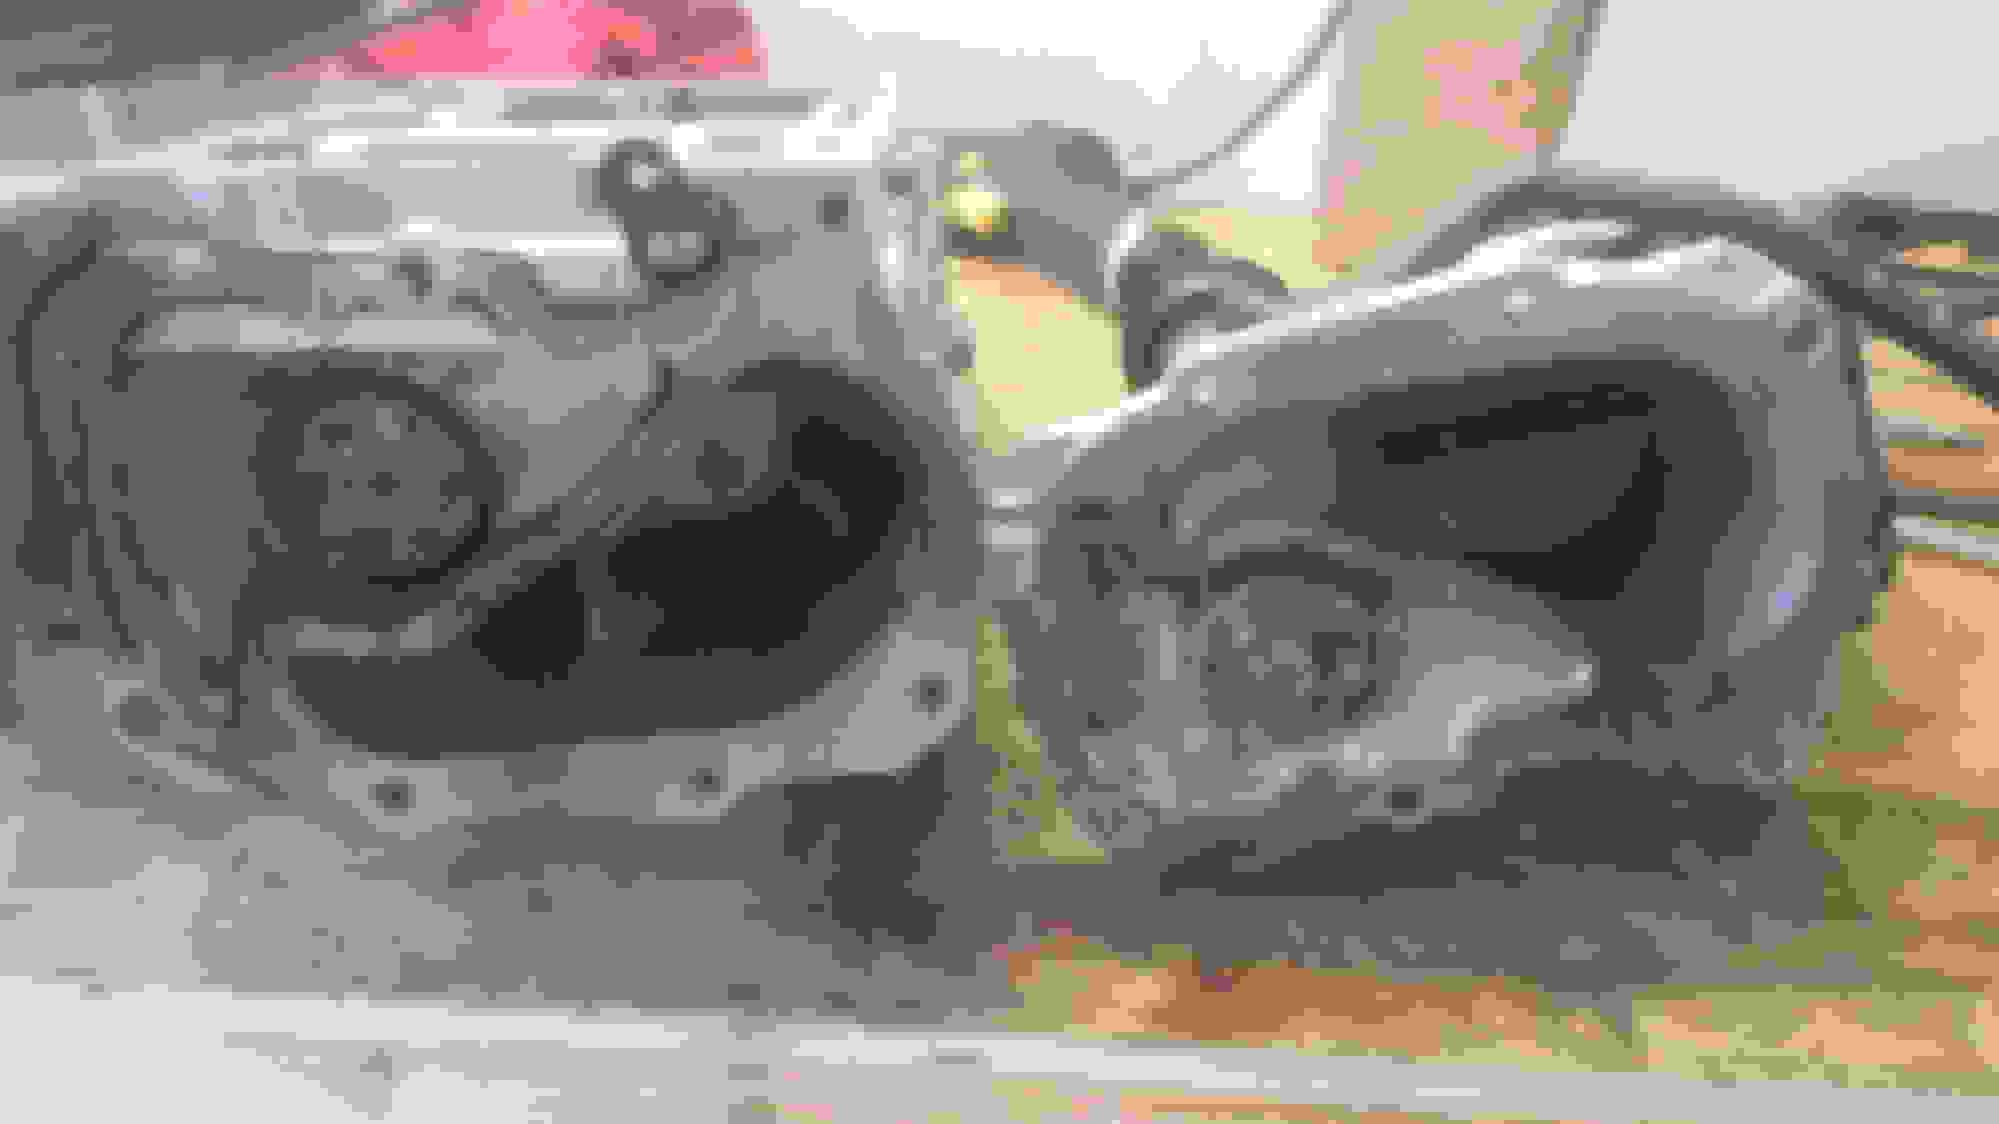
You will not be able to get the snout off with it in the car. You need to remove the drivers side lower plenum to get to one of the bolts and the cast aluminum water neck is in the way of the rest of them. To remove the lower plenum, there's a bolt on the bottom that holds it to the side of the supercharger that you won't have access to without removing the cylinder head, but you won't be able to do that without removing the lower plenum. Additionally, there are dowel pins in both the intake flange of the head and where the plenum meets the side of the supercharger, further impossibling (I just made that word up) its removal while in the car.
As for removing the snout itself, I see guys talking about beating the hell out of the blower with a rubber mallet while hanging it from the pulley. Guys... there's prying tabs built in to the housings... just use a couple screw drivers to gently pry the two parts apart. Percussive maintenance ain't always the answer.
You are absolutely not getting the supercharger out by yourself no matter the level of hubris you carry around. I did what another fellow on the XF board did- I made a simple lifting rig using 6' sections of 1" square tube with all thread connecting them to the lower plenums. Myself on one side and a friend on the other, we rocked the assembly back and forth for a few minutes both left and right and fore and aft, and it eventually gave up the goods. We did try to do it without the lifting rig, but between bending over and not having any real leverage to rock it back and forth, it just wasn't going to happen. Using 6' sections of tube allow us both to stand upright on either side without having to reach over. Once freed, it's not that heavy, so we just lifted it up and carried it over the car to the rear and put it on the ground to remove the lifting rig.
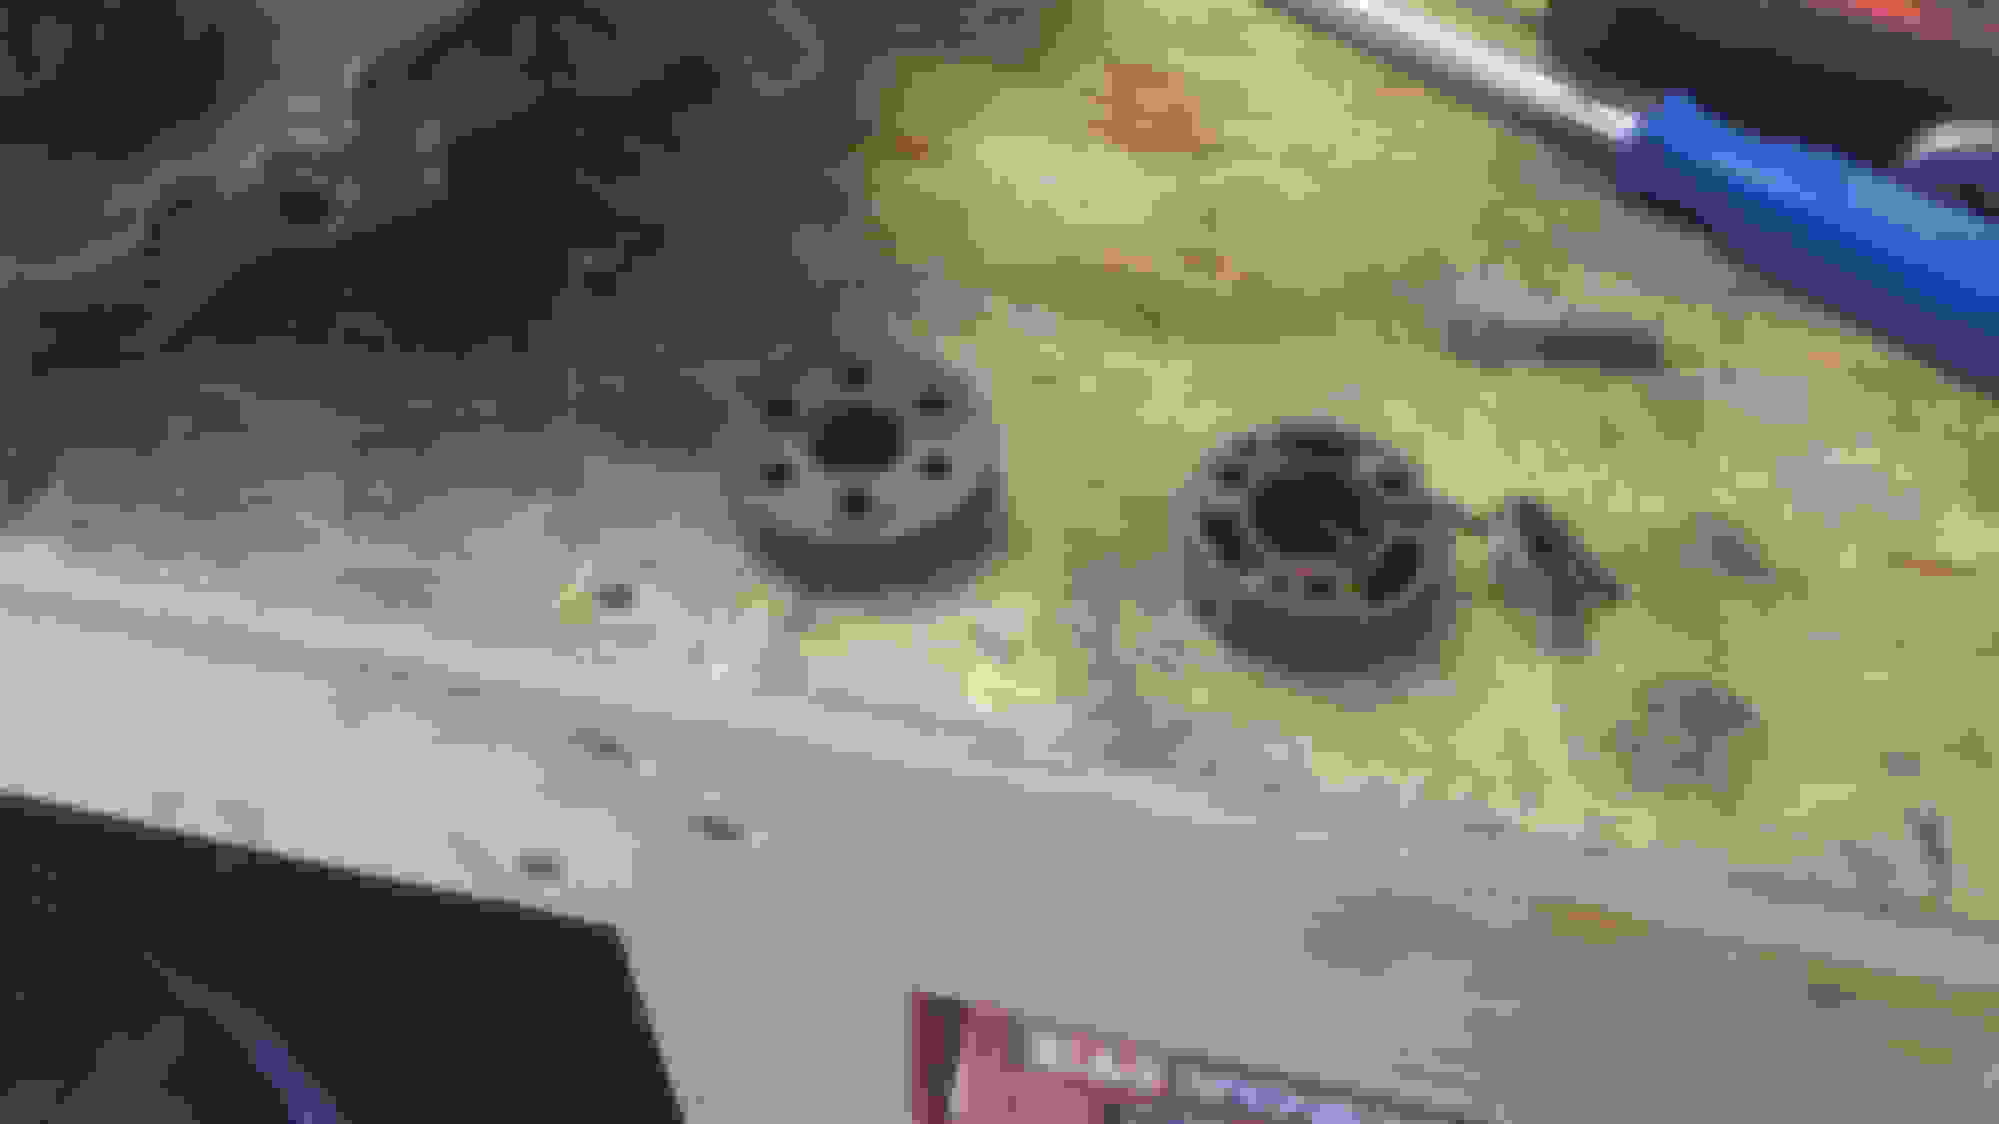
And lastly, I read somewhere that the reason the factory couplers fail was because they were installed backwards by Jaguar. I won't mention names, but that is absolutely dead wrong. Look at the picture of the couplers up there. As you're looking at them is how it sits in the supercharger if you looked from the front of the car. The input shaft rotates clockwise when viewed from the front of the car, which allows the drive pins from the snout to push against the plastic body of the coupler. If it were in backwards, they'd be driving against the single tab on the coil spring you see there and nothing else, and I can promise you that wouldn't last beyond a test drive. And I mean, if it were true, then GM must have hired the same installer to put them in their CTS-V's and ZL-1's and Z06's. It's a common mode of failure on the TVS R1900 blower across all applications.
Last edited by Mandrake; Sep 25, 2017 at 09:45 AM.
You will not be able to get the snout off with it in the car. You need to remove the drivers side lower plenum to get to one of the bolts and the cast aluminum water neck is in the way of the rest of them. To remove the lower plenum, there's a bolt on the bottom that holds it to the side of the supercharger that you won't have access to without removing the cylinder head, but you won't be able to do that without removing the lower plenum. Additionally, there are dowel pins in both the intake flange of the head and where the plenum meets the side of the supercharger, further impossibling (I just made that word up) its removal while in the car.
As for removing the snout itself, I see guys talking about beating the hell out of the blower with a rubber mallet while hanging it from the pulley. Guys... there's prying tabs built in to the housings... just use a couple screw drivers to gently pry the two parts apart. Percussive maintenance ain't always the answer.
You are absolutely not getting the supercharger out by yourself no matter the level of hubris you carry around. I did what another fellow on the XF board did- I made a simple lifting rig using 6' sections of 1" square tube with all thread connecting them to the lower plenums. Myself on one side and a friend on the other, we rocked the assembly back and forth for a few minutes both left and right and fore and aft, and it eventually gave up the goods. We did try to do it without the lifting rig, but between bending over and not having any real leverage to rock it back and forth, it just wasn't going to happen. Using 6' sections of tube allow us both to stand upright on either side without having to reach over. Once freed, it's not that heavy, so we just lifted it up and carried it over the car to the rear and put it on the ground to remove the lifting rig.
And lastly, I read somewhere that the reason the factory couplers fail was because they were installed backwards by Jaguar. I won't mention names, but that is absolutely dead wrong. Look at the picture of the couplers up there. As you're looking at them is how it sits in the supercharger if you looked from the front of the car. The input shaft rotates clockwise when viewed from the front of the car, which allows the drive pins from the snout to push against the plastic body of the coupler. If it were in backwards, they'd be driving against the single tab on the coil spring you see there and nothing else, and I can promise you that wouldn't last beyond a test drive. And I mean, if it were true, then GM must have hired the same installer to put them in their CTS-V's and ZL-1's and Z06's. It's a common mode of failure on the TVS R1900 blower across all applications.
Last edited by Mandrake; Sep 25, 2017 at 09:45 AM.
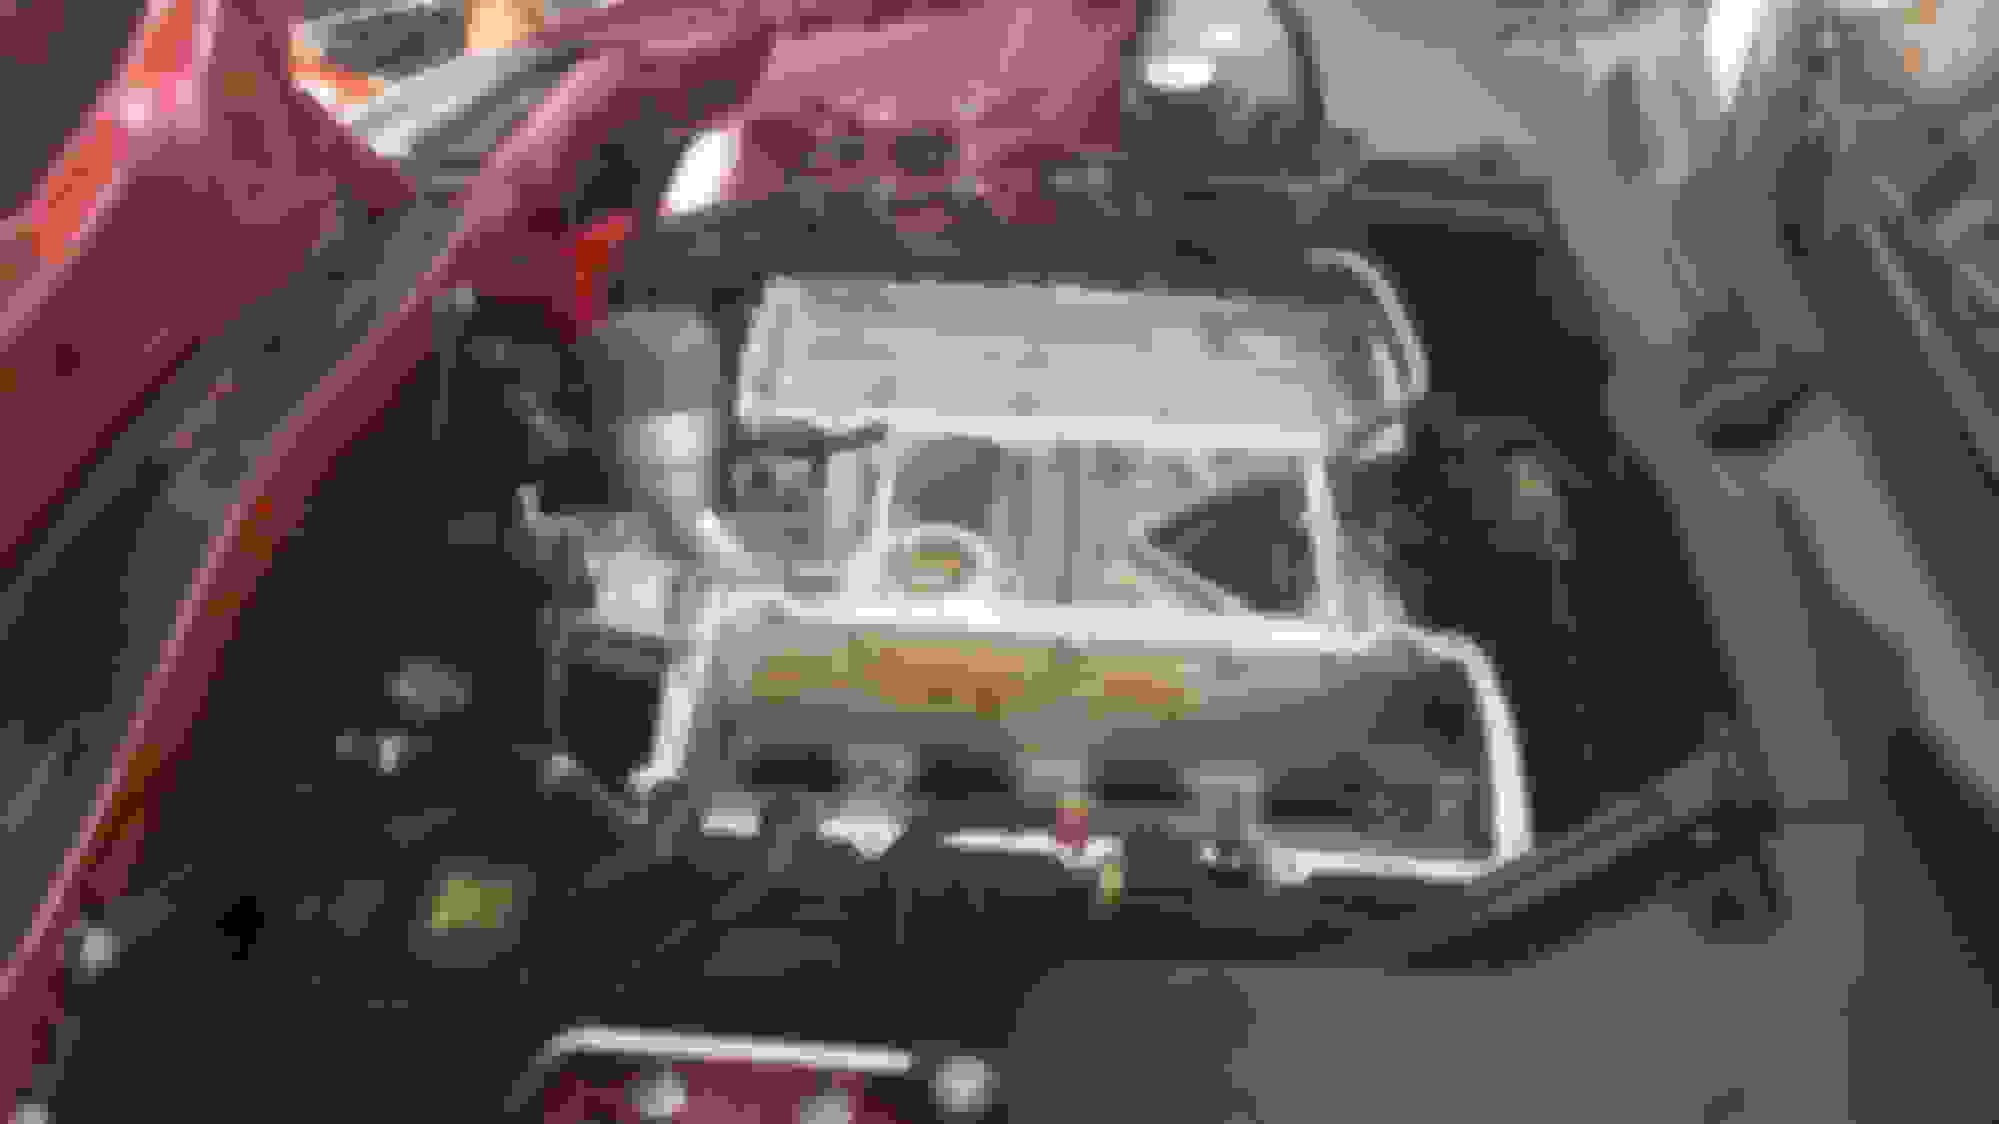
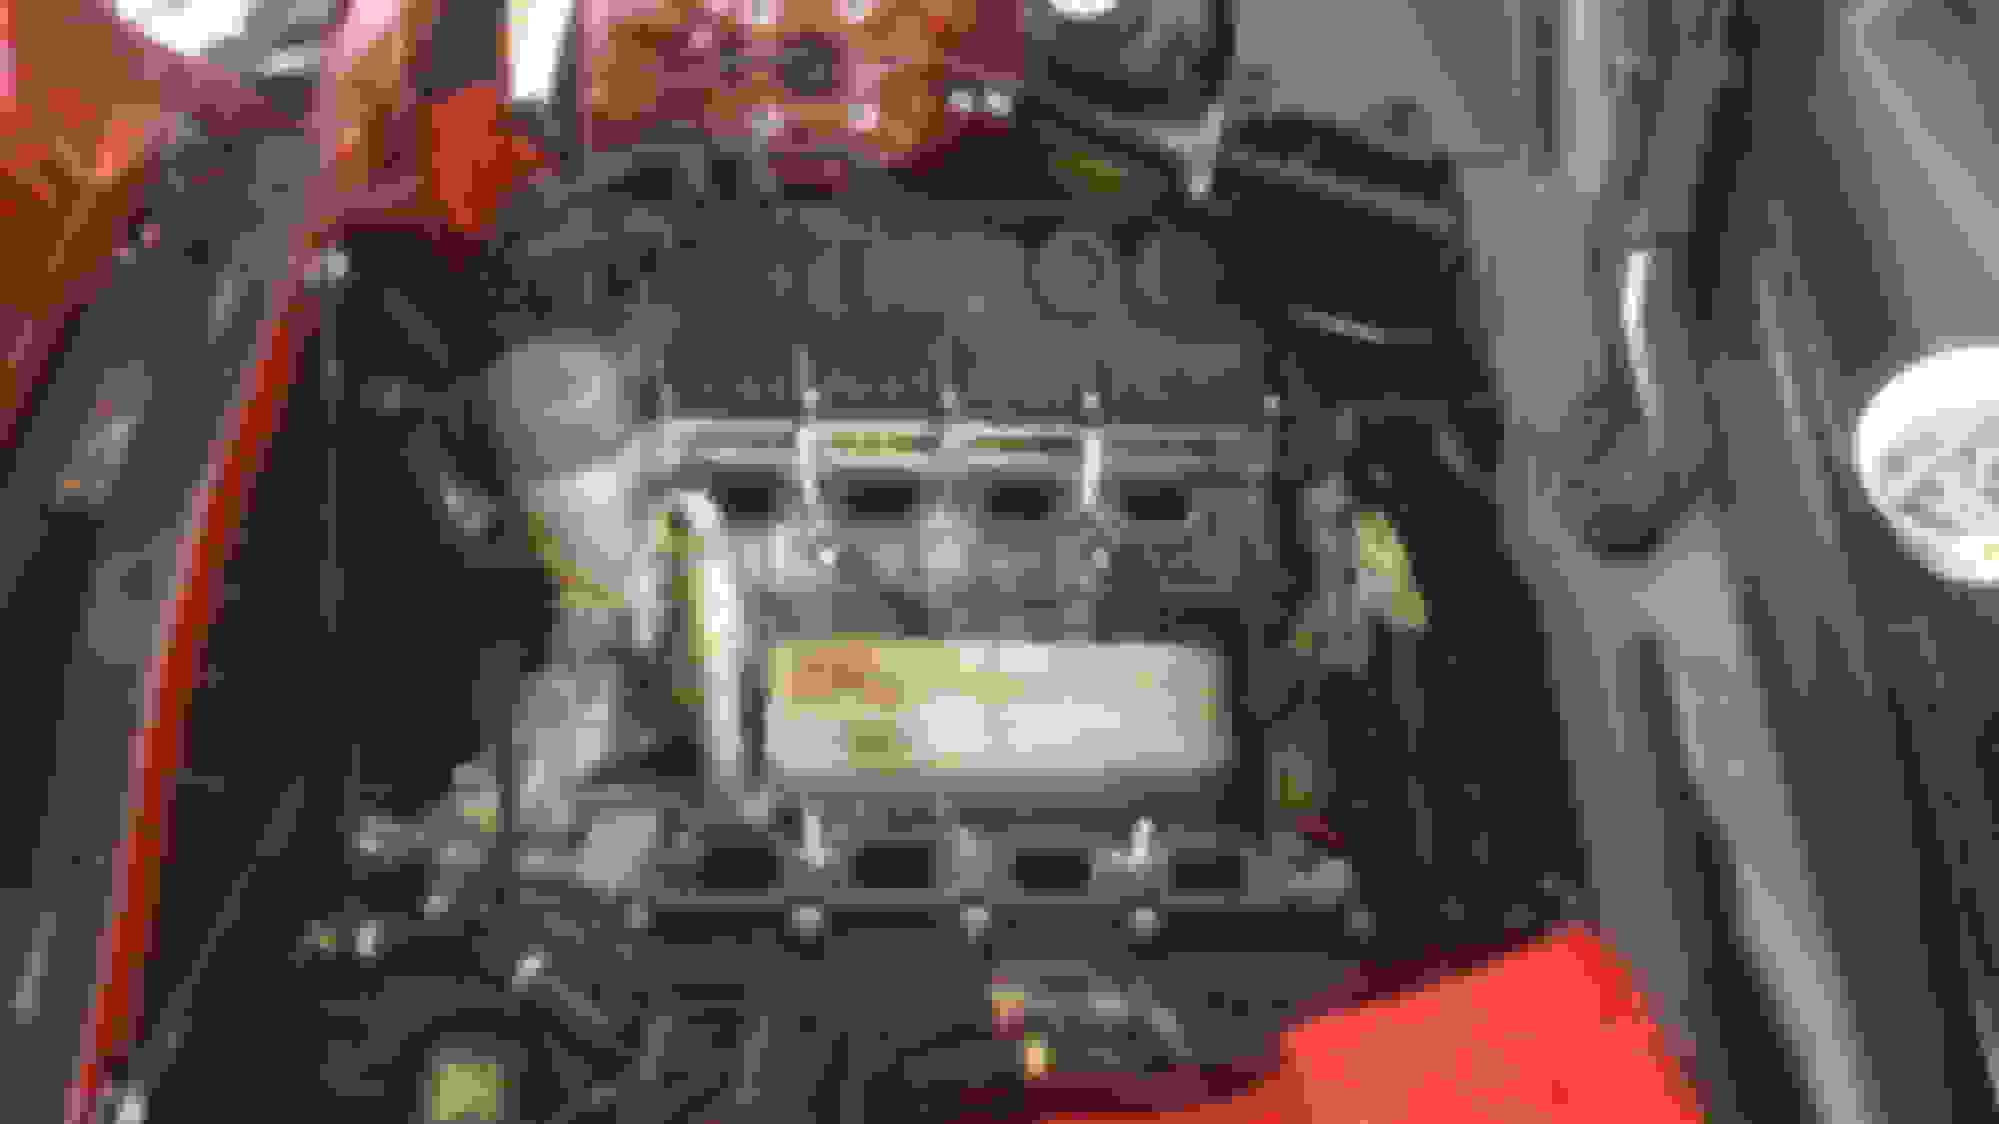
No need for a scope. Just pull the plenum cover off and you can see right down the intake ports.
They were carboned up, buy not as bad as I thought they'd be. Do they need it? Yes. Is it imperative? No. The main reason I didn't do them was that my friend's time was limited and I needed him to help get the supercharger back on. I wasn't intending to go in until this winter, but the coupler forced me hand and turned it in to a quick in- and- out operation. Next time I'm in there, I'll get some before and after shots. Dyno results are unlikely unless you guys want to kick in a couple bucks to cover the cost.
I wasn't really serious. I mean, if there is legitimate interest and people really do want to crowd fund it, sure... I'll set up a gofundme and do the leg work. I'm not looking to make a buck, but I'm not going to spend a couple hundred to satisfy the curiosity of a few people on the internet. Thing is, the results are going to be dubious anyway because I'm not going to do the work on the dyno with the meter running. I'd go make a couple baseline runs, go home, put the car up for the winter, do the work, and go back in the spring.
Sweet baby jesus that's a lot of work. At how many Miles/KM's interval do you reckon this needs to be done? Every 20,000 miles???? Perhaps every 50,000 Miles???? Or will it depend on the number of right foot applications of hard throttle before it wears out again?
Taking my time and referencing the manual, it took about 5 hours. Having done it, I could do it again in well under 4, easy. My car has just shy of 65k miles on it and as far as I can tell, this is the first time it's been done. Some guys face this issue at 30k miles, others at 80, so who knows what the factors are. There is no interval for this job like there is for an oil change, but if you plan on keeping the car and don't install a solid coupler, you're guaranteed to be doing it again at some point.
$45/ hr if I'm turning a wrench, or a bottle of Captain Morgan private stock to come over and talk crap while I walk you through it and help you lift the supercharger out.
Actually, I'd just come over and help out; no booze necessary.
Would have been a great time to change the plastic coolant manifold at the rear of the engine and the water hose underneath the supercharger while it was apart.
All in all, not a hard job at all. Follow the factory service manual and there won't be any questions.
A few observations:
-Removal of the upper supercharger idler pulley makes removing the belt a lot easier.
-No need to remove the throttle body like the manual says, saving you a $22 gasket.
-You can use 8mm x 1.25 x 50mm long all thread in place of the special tools they specify to hold the intake gaskets in place and guide the supercharger back down onto the engine.
-The coupler is going to fit very tightly over the drive pins. The fit is supposed to be tight, so don't file the holes bigger. Use a rubber mallet to tap it on to the supercharger, and use the bolts holding the snout on to pull it towards the body of the supercharger.
Looks like you have alloy coolant return pipes coming up from the front of the engine. In the completed pic, your crossover coolant pipe also looks alloy, is this correct. I'm just about to replace mine and would prefer to put alloy ones in. did they have any part number on them?