When you click on links to various merchants on this site and make a purchase, this can result in this site earning a commission. Affiliate programs and affiliations include, but are not limited to, the eBay Partner Network.
Was driving Thursday to cancer doctor's appointments 65 miles South of me. 101� weather and on the freeway my air-conditioning was blowing hot air then cold air intermittently. Parked it was blowing cold air which is, as I understand it, opposite of normal. Took it in for diagnostics today and R134 low, plus the dye in the unit showed the compressor seals were shot.
Their suggestion was replace compressor, seals, humidifier thing. Do a vacuum and recharge. Their estimate was $2,500.00+!
No can do. Diagnostics was $191.00.
They will not install new parts purchased by me due to having to "guarantee" the parts and labor.
So.... worked out a deal where I will buy parts, tear old out, replace with new. Take it back to them and they will vacuum the system and recharge for $250.00.
Shopped PartsGeek and can get compressor, PAG oil, humidifier thing, orifice thing, seals, O-Rings, AND a condenser for $335.14 delivered with shipping and taxes. I could have ordered the kit without the condenser for $60.00 less, but figured may as well do everything while I'm doing it.
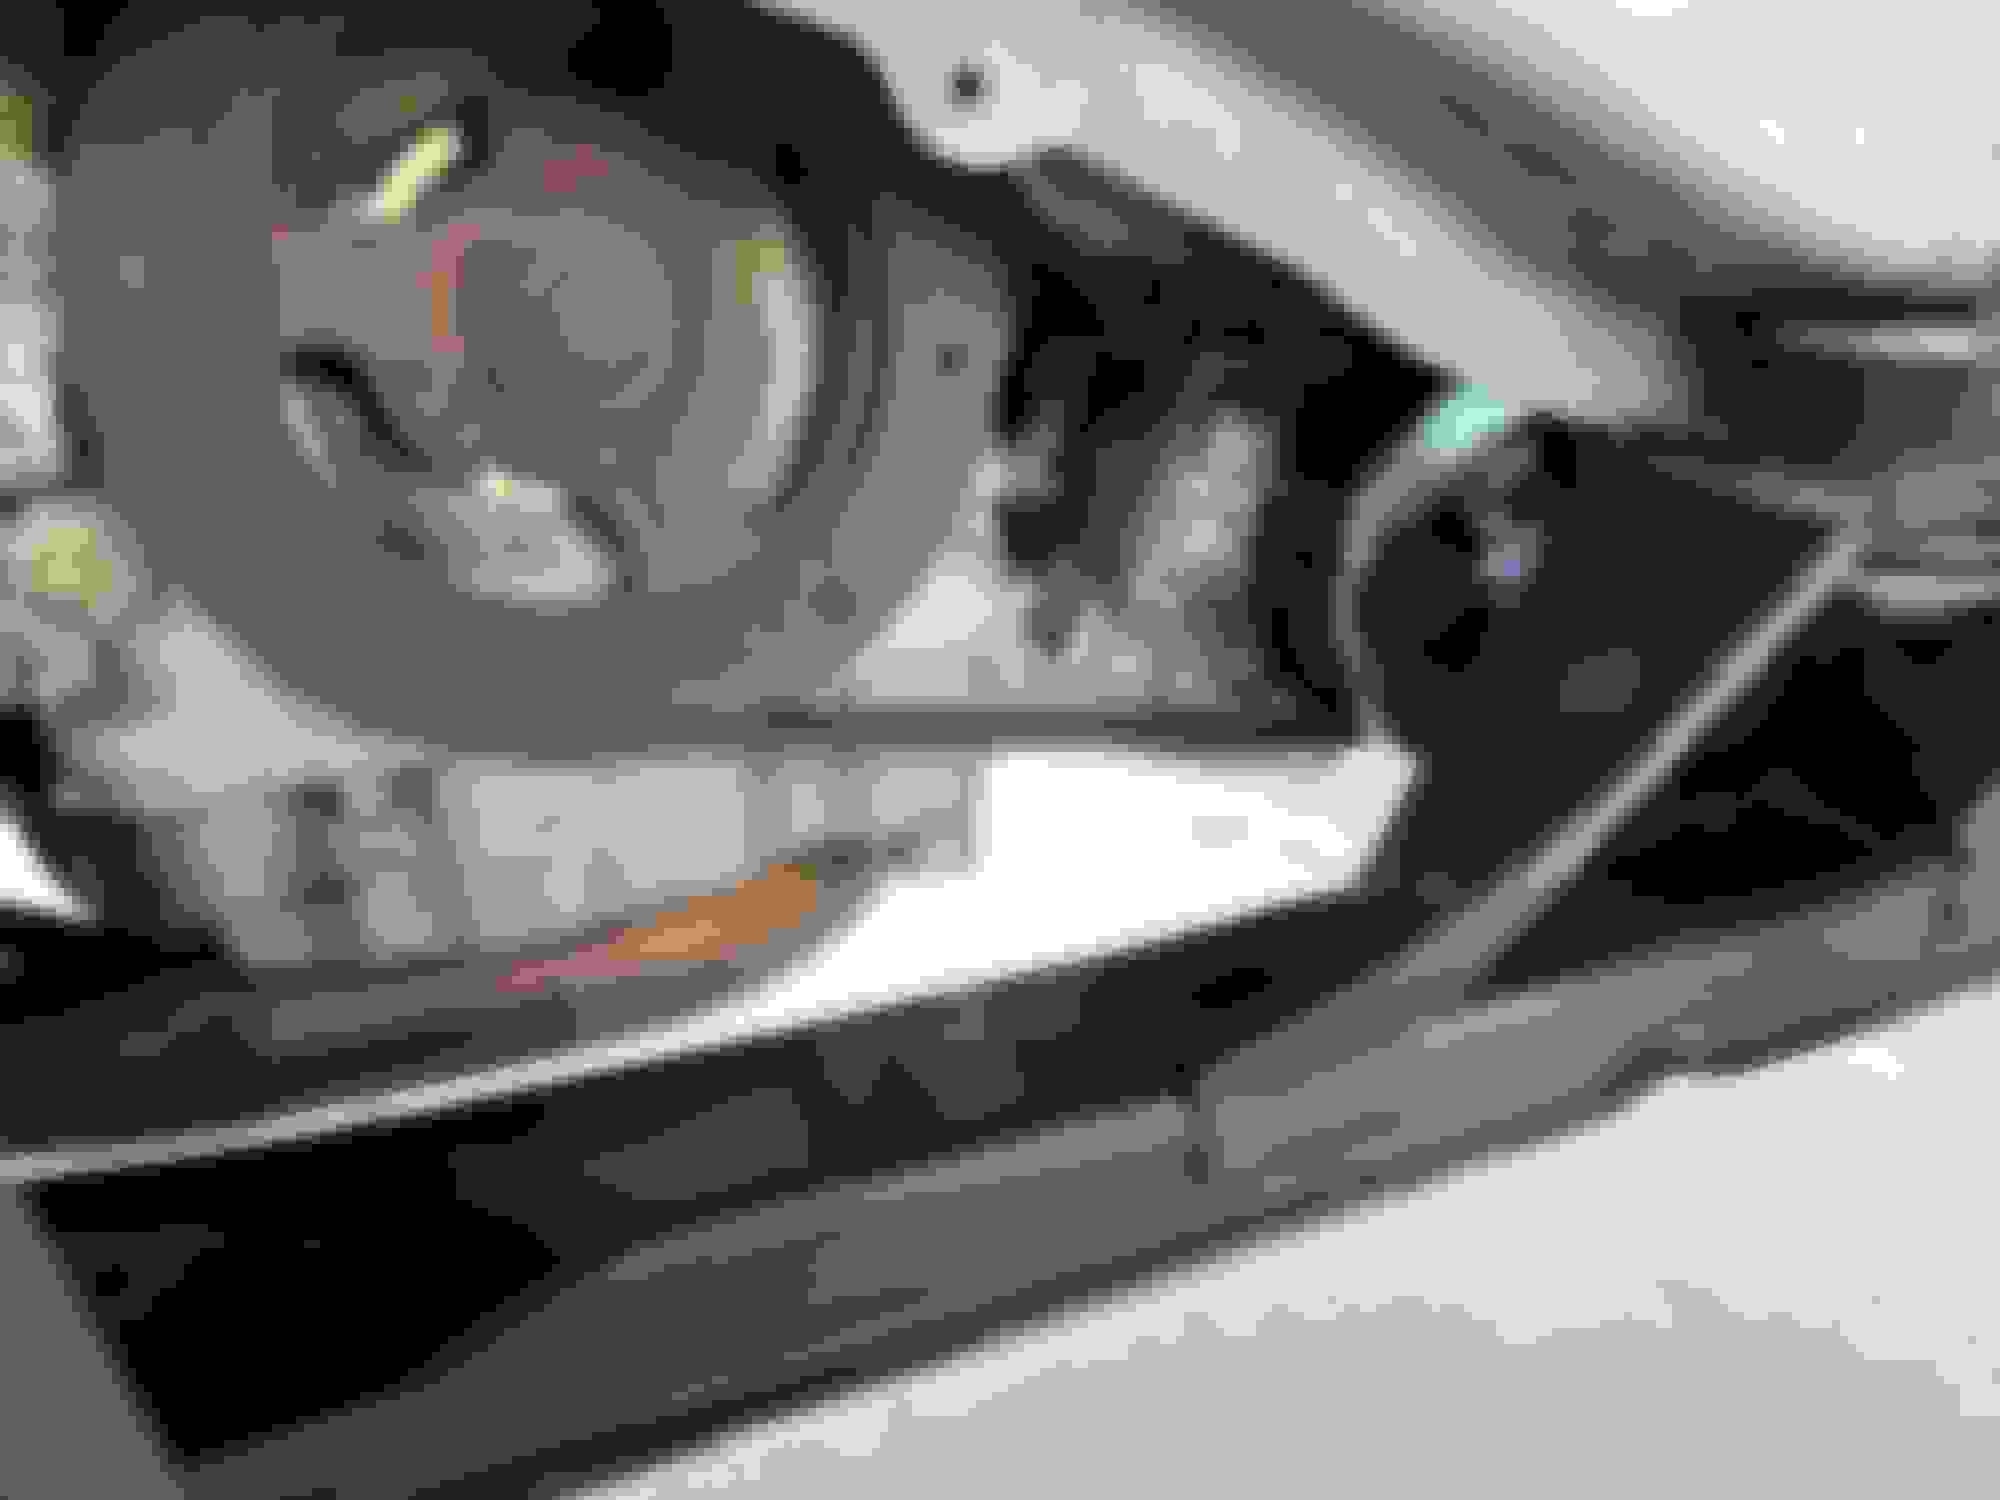
This shows the leak.
My question for help on this project is does everything (including condenser) come out from underneath? I popped the hood and couldn't readily see the condenser nor how it would come out the top.
Any and all guidance on this p.i.t.a. project would be greatly appreciated as well as anything I need to watch out for or shortcuts to help.
Thanks Community.
Last edited by Dell Gailey; Jul 15, 2024 at 03:47 PM.
Hey Dell, sorry to hear that your having AC troubles on top of all the other swirl. I did the AC kit from UAC on RA and was relatively pleased with the quality of everything. If your willing to build you own kit, they also stock the Nissens compressor at a reasonable price. I would have done that the time if it had been in stock.
The condenser comes out the bottom much more easily than the top. I couldn't see any reasonable way to do it without ripping out most of the cooling system otherwise. It's buried under the upper cross-member (which is welded in place) and there wasn't any room to tip it out. If you do try the top, you still have to at least loosen the lower rad support as the rad pins into the upper cross member to support it. Which leads to...
You can remove most of the system by just unbolting the lower radiator support and dropping everything but in my circumstance, it ultimately was easier to pull the front bumper and the crash bar. It gives you all the access to the condenser, radiator (and with the rad out of the way), much easier access to the bolts on the top of the compressor. The bumper removal was especially true if you don't have lift access, the condenser is really too tall to slide out on ramps.
To remove the dryer, you will need a set of fuel line removal tools as it is a special spring loaded connector. To get the dryer to fully seat on the high pressure line under the passenger fender, I ultimately pulled the fender off. I just didn't the hand strength to get it to seat. I found later that clip that secures the connection may get it to lock on without this but your mileage may vary. You will also need to pull all of the passenger fender liner to get to it. I found that pulling all the liner pieces best as you will also need access to the belt drive.
To get to the orifice tube, you may need to pull the wiring harness off the ECU (I definitely did as I was fully worried I'd wreck it). You'll need the five point security star bit or cut a groove into the screw to get it out. It also might be easier to not have the dryer attached yet as it allows a little more wiggle room in the hard lines.
And some while you're in there's...
While I had the compressor out, I did also change the oil pressure sensor. It's completely buried behind the compressor and I see no way to get to it otherwise.
I also completely flushed the system as I found all sorts of junk in the orifice tube and was worried about the new parts. Most auto parts stores sell cans of it (it took me two before it "felt" clean). I left the dryer off while I did this so I didn't contaminate the new part.
I swapped out the schrader valves in the low and high pressure fill ports. I didn't do it initially and lost most of the charge only a few days later. (sigh).
i swapped the drive belt as it had never been done.
for tools, besides the 5 point security bit, it wasn't anything special:
1) Make sure the system is empty which I bet it is as mine was. If not you can go to a shop as they usually do it for free if you ask.
2) Jack the front of the car up and remove both wheels and both fender liners. Remove the skid plate under the car.
3) Remove the compressor from the bottom, 4 bolts, an electrical clip and 1 bolt holding both lines to the compressor.
4) Remove the drier, you need a tool to remove the line near the firewall, it's about $5 from an Advance Auto.
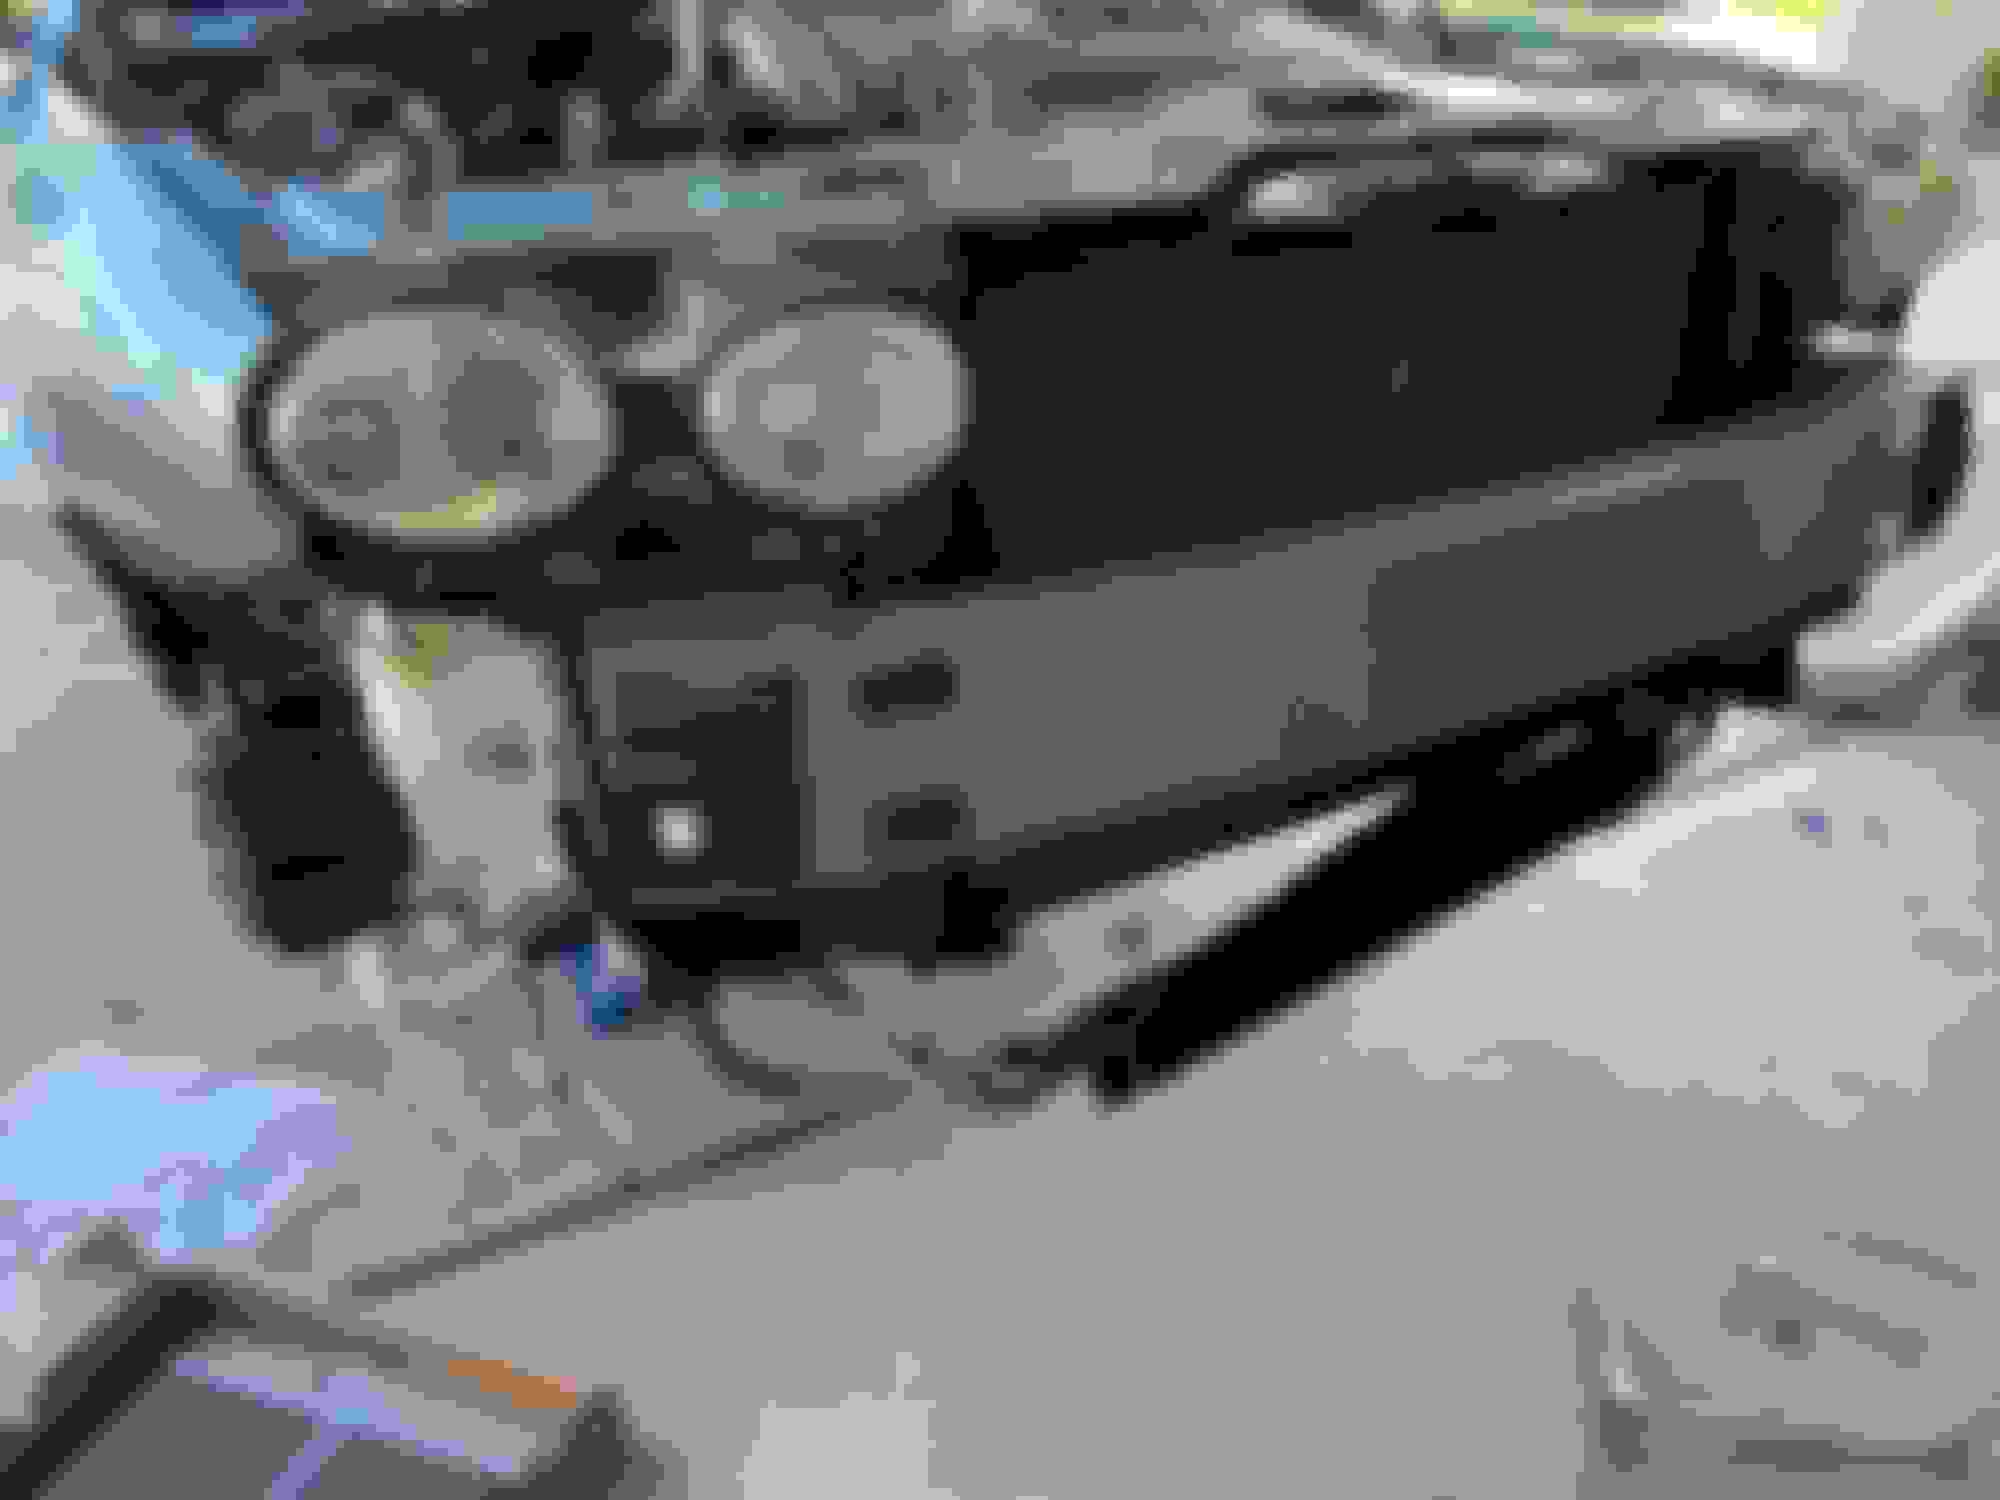
5) Remove the bumper. There are 4 headlights bolts and 2 or 3 10mm bolts on front of each tire, that's it. Pull off the bumper. You do not need to remove the crash bar. Install new condenser, drops out with a couple bolts. Easy job.
6) Use a 5 pt safety star tool to remove the wire harness on the fire wall so you can get the line where the orifice is located. This is a must remove and replace item. It will probably be filled with metal shavings. Drop me a PM with an address and I will send you a couple if you would like, you just need need one.
See video.
7) Spray out lines to remove any contamination. The line from the compressor to the drier and the line from the orifice to the drier.
8) Be sure to use new O rings and remove the old ones. I did reuse one as I couldn't find an exact match, sealed fine.
9) Put the car back together in reverse. Vacuum system and recharge by weight. Be sure you add the correct amount of PAG and the correct viscosity. I dumped the oil out of the new compressor and added the exact amount the manufacturer stated in the directions.
You have no idea how much oil is in the compressor when it�s shipped.
Just my 02.
Last edited by Mr rx-7 tt; Jul 16, 2024 at 11:06 AM.
Last couple of months noticed if I REALLY hard accelerate from a stop (think=turn onto major highway with 60 m.p.h. speed limit) as my kitty shifted from 1 to 2 it sort of "swerved" to the right. Saturday running some errands I hit a set of RR tracks at 50 m.p.h. and it "swerved" to the left. I mentioned this to the shop looking at my A/C yesterday and they said they'd take a look. In discussing the $2,500.00+ A/C estimate nothing was said about the "swerve". Got home threw the receipt on the table. Late last night, I looked the bill over and it says "front left lower ball joint loose".
Well hell, that would do it. I replaced the front suspension 5-6(?) years ago. Kinda quick in my mind for the part to wear out. I normally drive about 6,000-8,000 miles per year. Anyway ordered a new front lower control arm this morning to go along with the all new parts A/C stuff from PartsGeek. More fun, LOL!!!
Hey Dell, sorry to hear that your having AC troubles on top of all the other swirl. I did the AC kit from UAC on RA and was relatively pleased with the quality of everything. If your willing to build you own kit, they also stock the Nissens compressor at a reasonable price. I would have done that the time if it had been in stock.
The condenser comes out the bottom much more easily than the top. I couldn't see any reasonable way to do it without ripping out most of the cooling system otherwise. It's buried under the upper cross-member (which is welded in place) and there wasn't any room to tip it out. If you do try the top, you still have to at least loosen the lower rad support as the rad pins into the upper cross member to support it. Which leads to...
You can remove most of the system by just unbolting the lower radiator support and dropping everything but in my circumstance, it ultimately was easier to pull the front bumper and the crash bar. It gives you all the access to the condenser, radiator (and with the rad out of the way), much easier access to the bolts on the top of the compressor. The bumper removal was especially true if you don't have lift access, the condenser is really too tall to slide out on ramps.
To remove the dryer, you will need a set of fuel line removal tools as it is a special spring loaded connector. To get the dryer to fully seat on the high pressure line under the passenger fender, I ultimately pulled the fender off. I just didn't the hand strength to get it to seat. I found later that clip that secures the connection may get it to lock on without this but your mileage may vary. You will also need to pull all of the passenger fender liner to get to it. I found that pulling all the liner pieces best as you will also need access to the belt drive.
To get to the orifice tube, you may need to pull the wiring harness off the ECU (I definitely did as I was fully worried I'd wreck it). You'll need the five point security star bit or cut a groove into the screw to get it out. It also might be easier to not have the dryer attached yet as it allows a little more wiggle room in the hard lines.
And some while you're in there's...
While I had the compressor out, I did also change the oil pressure sensor. It's completely buried behind the compressor and I see no way to get to it otherwise.
I also completely flushed the system as I found all sorts of junk in the orifice tube and was worried about the new parts. Most auto parts stores sell cans of it (it took me two before it "felt" clean). I left the dryer off while I did this so I didn't contaminate the new part.
I swapped out the schrader valves in the low and high pressure fill ports. I didn't do it initially and lost most of the charge only a few days later. (sigh).
i swapped the drive belt as it had never been done.
for tools, besides the 5 point security bit, it wasn't anything special:
7-13 deep and shallow sockets
star bits
extensions
fuel line disconnect tools
breaker bar for the belt tensioner
rags etc.
Hope that some of this helps?
How did you remove the crash bar? I didn�t need to remove it as it was easy to remove the condenser with the crash bar in place.
Last couple of months noticed if I REALLY hard accelerate from a stop (think=turn onto major highway with 60 m.p.h. speed limit) as my kitty shifted from 1 to 2 it sort of "swerved" to the right. Saturday running some errands I hit a set of RR tracks at 50 m.p.h. and it "swerved" to the left. I mentioned this to the shop looking at my A/C yesterday and they said they'd take a look. In discussing the $2,500.00+ A/C estimate nothing was said about the "swerve". Got home threw the receipt on the table. Late last night, I looked the bill over and it says "front left lower ball joint loose".
Well hell, that would do it. I replaced the front suspension 5-6(?) years ago. Kinda quick in my mind for the part to wear out. I normally drive about 6,000-8,000 miles per year. Anyway ordered a new front lower control arm this morning to go along with the all new parts A/C stuff from PartsGeek. More fun, LOL!!!
Dell, you are easily capable of changing your A/C system yourself. I�ve been helped by you and your advice many times.
Just buy a set of gauges and a vacuum pump from Harbor Freight and watch a YouTube video.
It will cost you about a $100 bucks for the pump and the gauges.
You should dump the old oil out of the compressor to see what color the old oil is. The oil in my old compressor was thick, grey and green from the dye.The compressor started to knock when engaged.
Can't buy R134A off the shelf here anywhere .....totally restricted supply to authorized HVAC installers and accredited Auto repair shops now.
All part of controlling and reducing those greenhouse gas emissions you know........
To remove the dryer, you will need a set of fuel line removal tools as it is a special spring loaded connector.
Do you recall the color or size of the spring tool? I have up to white - 7/8" but can't get it off.
Don't know if it's the wrong size or it's just stubborn... What a horrible location
May just cut it since I'm replacing it anyway
Do you recall the color or size of the spring tool? I have up to white - 7/8" but can't get it off.
Don't know if it's the wrong size or it's just stubborn... What a horrible location
May just cut it since I'm replacing it anyway
Enormous, I went and double checked and either the white or the orange (next size down) should do it.
Couple of things to keep in mind:
is there anything left in the system (air pressure or refrigerant)? Even a little pressure in the system could be holding that connector closed. If you've already removed other parts and it's open, not the issue.
You definitely want to have it empty before you to try to crack it open, if there is dye or other crap in there it will spray everywhere.
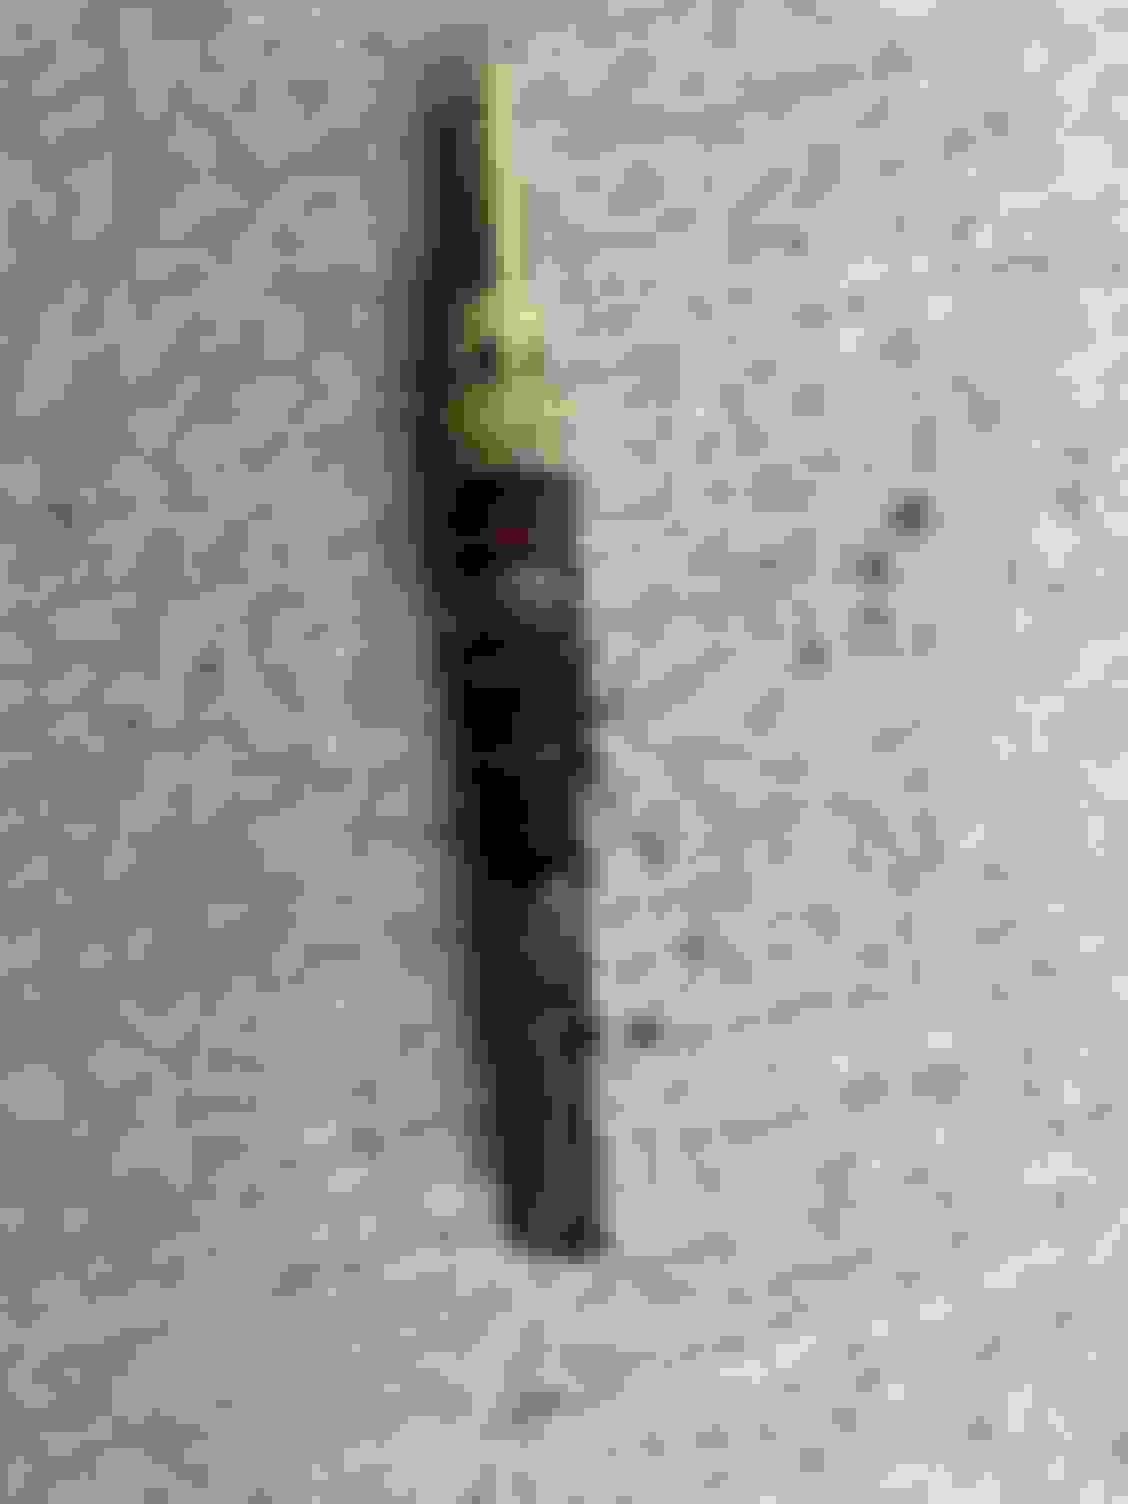
I assume you've already gotten the safety clip off and out of the way. If not it will not open. Picture below for your reference.
I would be very leary of cutting it off. The line it attaches to is very thin aluminum and if you cut too deep or in the wrong way you destroy it. Any damage to it will prevent the new dryer from attaching and sealing. Then you'll have to fish it out and find a replacement or eventually the 134 leaks out and you're right back where you started.
Dell is correct. It took a bunch of fiddling to get it off, I eventually pulled the fender to simplify reinstalling.
For your project, typically, the condenser unit and other components are accessed from underneath the vehicle rather than from the top. If you’re having trouble seeing the condenser after popping the hood, it’s likely because it's positioned lower in the engine bay or mounted in a way that makes it less visible from above. You might need to lift the car and remove any underbody panels or shields to get a better look and access the condenser. Be sure to check for any bolts or brackets that secure it in place, and keep an eye out for connected lines or hoses that might need to be disconnected. As for shortcuts, having a repair manual specific to your vehicle can be incredibly helpful, as it often provides detailed instructions and diagrams. Patience is key, so take your time and tackle one step at a time. Good luck with your project—sometimes these tasks can be a real challenge, but a little extra care can make a big difference!
Just wanted to put a plug in here that sometimes the system on these cars will pull and hold vacuum without issue but leak out of the pressure relief valve once pressurized.