When you click on links to various merchants on this site and make a purchase, this can result in this site earning a commission. Affiliate programs and affiliations include, but are not limited to, the eBay Partner Network.
I have a 2008 Jaguar X type S Saloon with Standard head unit and Bluetooth and previously added the CD Changer which was very easy to do, all wiring was in place except for CDC D2B Fiber connection which required an additional fiber adding in.
My next project is to retrofit the Sat Nav system and Jaguar DAB along with the Bluetooth and CDC. I will update on progress of fitting
The donor vehicle was a 58 Plate X Type (Suspect SP) Estate (Not ideal for loom) which had Sat Nav Head unit, Bluetooth and DAB factory fitted (Sadly no Voice so a future project).
I have removed the following:
Sat Nav Touchscreen (9X43 10E889 BA) & CD Head Unit (9X43-18B876-DC)
RCCM Climate Control Module (1X4H18C612CK)
Sat Nav DVD ECU (7W93 10E887 AC)
DAB Module (MOST Fiber Connection) (VP6F6F-19C034-AH)
MOST-D2B Gateway module (7W93-19C123-AD)
MOST Fiber Loom (DAB - Gateway) (part of main entertainment loom)
Bluetooth Module (7W93-10D893-AB) (Already Had)
D2B Fiber loom (9X43-18K925)
Main Entertainment Loom (Side of fuse box - Under back seat - Rack in boot - Roof antennas via D Pillar) ! Antenna cables are too short to go back through boot and up saloons C Pillar ! Connectors with 6" pigtails for loom behind dash as it wasn't easily removed
Roof Antenna (GPS & DAB L Band (European)) (7W93 19C089 AA0JKH) ! Wrong color for my car ! Hope top cover is removable ! DAB Amplifier for Left Side window (DAB Band 3 UK) (6H52-18C847-DB badged as Land Rover) ! Looks to be a different module from Saloon ! FM Amplifier from Right Side Window (1X43-18C847-AD) NOT REQUIRED ! Looks to be a different module from Saloon !
I also intend to refit the CD Changer once initial fit is complete, unsure if CDC goes before or after gateway module:
D2B Loom Order is Head Unit -> DAB Gateway -> Bluetooth -> Sat Nav DVD -> Head Unit. I was unable to find Elec manual for 2009MY but 2005MY states D2B Order is Head Unit -> CD Changer -> Bluetooth -> Voice -> Sat Nav DVD -> Power Amplifier -> Head Unit
Thanks Dell, As the CDC is shown before the connector that suggests that the CDC goes before the Gateway then so the fully wired D2B loop would be as follows:
Head Unit -> CD Changer -> DAB Gateway -> Bluetooth -> Voice -> Sat Nav DVD -> Power Amplifier -> Head Unit
Fitted successfully and working perfectly including the CD Changer
I used the GPS Antenna & DAB Antenna from estate temporarily via the estate loom for testing but I need to find a permanent solution, I believe a universal DAB aerial and a tomtom GPS antenna are the solution, does anyone know the connector type? Thanks
Method (Please note I am not responsible should any damage be caused by any means):
1) Sat Nav, DAB Module, Gateway moved to my Saloon Rack in addition to the Factory Fitted Bluetooth and CD Changer (Added prior)
2) Sat Nav Rack - Fuse Box Loom and D2B loom fitted from DAB donor car, Ground connected behind rack. Green socket loaded into gap on right of fuse box (above the blue connector). Blue Sat Nav Connector under back seat already had a plug in it with 2 pins connected Pin 15 (Unknown Orange & Green trace wire) and Pin 16 (FM Antenna Amplifier power feed). I removed pin 16 from my estates wiring loom connector as I will not be using it and transferred Pin 15 & 16 cables from old connector to new loom connector. The Blue Socket had all power feeds present, D2B Wake-up & Telephone Mute present, however the SCP Bus appeared to be present but only went to open ends near fuse box / bonnet release (more later on building additional loom though dash).
3) Pull though the climate control connectors from behind dash to left side of right footwell and connect to RCCM module, locate top clip and screw into place.
4) Build & install the dash loom
Blue connector - CA414 - Under back seat left edge:
1 - 12V Perm 10A - Not used on my install
2 - 12V Switched - Accessory & Ign (Nav & Gateway Pin 2)
3 - 12V Perm 15A
4 - D2B Wakeup? (Gateway Pin 3)
5 - D2B Wakeup
6 - SCP- (not connected at dash end)
7 - SCP+ (not connected at dash end)
8 - Tel Mute
9 - 12V Perm? (Gateway Pin 1 & DAB Pin 1)
10-14 - Not connected
15 - Unknown Orange & Green trace wire
16 - (FM Antenna Amplifier power feed
**** Gateway Pin 4 = Ground
Green Connector - NA24 - Next to fuse box
1 - Nav DC Bus+
2 - Nav DC Bus-
3 - Video Green
4 - Video Blue
5 - Video Red
6 - Nav VR / Disp VG
7 - Video Sync
8 - Video Ground & Shield
9+ Not relevant to this install - TV head unit only
Grey Connector - CA240 - Near Bonnet release & fuse box
8 - SCP-
11 - SCP+
The above connections go to the Nav connector only, they need connecting to SCP Bus. Add 2 extra pins to the connector and run a twisted pair though the dash and connect to the Yellow & Blue twisted pair Pin 9 Yellow (SCP+) and Pin 10 Blue (SCP-) at CD Head Unit Connector. ! Failure to connect these will result in a "Communication Fault Please consult your dealer" Warning on the Sat Nav Screen, a blank temperature display, no function except for Navigation and No Sound !
Additionally the loom needs to connect from the Green Connector to the display and the Displays Power feeds
Green Connector - Screen Connector
1 - 4 (Twisted Pair with 2-15)
2 - 15 (Twisted Pair with Pin 1-4)
3 - 7 (1 of 5 inners on shielded cable)
4 - 17 (2 of 5 inners on shielded cable)
5 - 6 (3 of 5 inners on shielded cable)
6 - 5 (4 of 5 inners on shielded cable)
7 - 18 (5 of 5 inners on shielded cable)
8 - 8 (Outer Shield on shielded cable)
Also on the Screen Connector:
1 - 12V Permanent (4A) to fuse box
2 - 12V Switched to Pin 2 on CD Head Unit Connector
9 - Illumination to Pin 17 on CD Head Unit Connector
12 - Ground - Any good ground connection
I have also confirmed the CD Changer works with D2B as follows: Head Unit -> CD Changer -> DAB Gateway -> Bluetooth -> Voice -> Sat Nav DVD -> Power Amplifier -> Head Unit
Therefore open the fiber connector at Gateway end, withdraw the fiber going to the body D2B connector and insert the fiber into the same position on a new plug (For the CD Changer), add a single fiber link to the other side and back to the gateway fiber connector.
The Plug and fiber is half of a D2B body to Bluetooth module fiber loom, to separate unclip the 2 sides of the white connector cover and back it up the loom, next pull out the retaining clip slightly and withdraw the fiber!
I have just taken out the 8 torx screws on the roof mounted GPS/DAB L band antenna and the plastic cover comes off so can fit the factory GPS/DAB L Band antennas with my cover in the correct colour. Just need the correct length of antenna cables or to extend the existing estate antenna cables
Modification of Estate Entertainment loom for Saloon
Remove DAB Antenna Cables Completely
Remove GPS Antenna Cable Completely
Remove FM Antenna Cable and FM Ampllifier 12V power feed to Y Split in boot (and cut off here as FM antenna already in Saloon wiring harness)
Start to undo the insulation tape at the roof FM Antenna end and keep undoing until the gateway module at which point you want to use fresh insulation tape to rewrapping the loom with just the gateway 4 way power plug and MOST Fiber connection, keep unwrapping until the Y split but stop wrapping before the Ground tap for the Ground terminal as can create extra slack in this later.
Start unwrapping the loom at the Sat Nav end removing the Sat Nav antenna from the loom start rewrapping the loom, when you get to the DAB Module split, remove the DAB antennas also from the loom and rewrap, towards the Y split, stopping about 6 inches before the Y split, at this popint the DAB and GPS antenna cables should be completely removed and the FM antenna cable and FM amplifier 12V feed can be cut.
Adjust the loom so that the Y split is pulled approx 3" towards the Sat Nav connectors, pulling excess in ground wires towards the ground terminal and gateway adapter end, and finalise rewrapping.
The loom can be secured with cable ties to the eyelet at the back right of the DVD, then to the 2 eyelets on the top of the bluetooth module.
Some extra points to clarify that I found it hard to find info of:
The climate control loom is long enough to be pulled through into the footwell for the RCCM
My car did not have Front heated screen yet the Front and Rear heated screen head unit works perfectly, I plan to add front heated screen in future if my screen ever cracks, to do this I have also got the relay 2nd down in bonnet fuse box but will have to check rest of loom exists.
The Sat navs SCP bus teminated at dash end near bonnet release in Grey connector, not connecting to the SCP bus itself, as mentioned above
D2B loop goes as follows: Head Unit -> CD Changer -> DAB Gateway -> Bluetooth -> Voice -> Sat Nav DVD -> Power Amplifier -> Head Unit (bypassing any modules not installed)
The GPS extension is straight plug and socket to extend existing.
The DAB L band antenna I have released the clip on the double plug and removed the connector this will be replaced with the extensions connector. The original loom will then be fitted with the Z plug removed off the extension.
Last edited by v8steve; Oct 30, 2018 at 08:28 AM.
Reason: correction
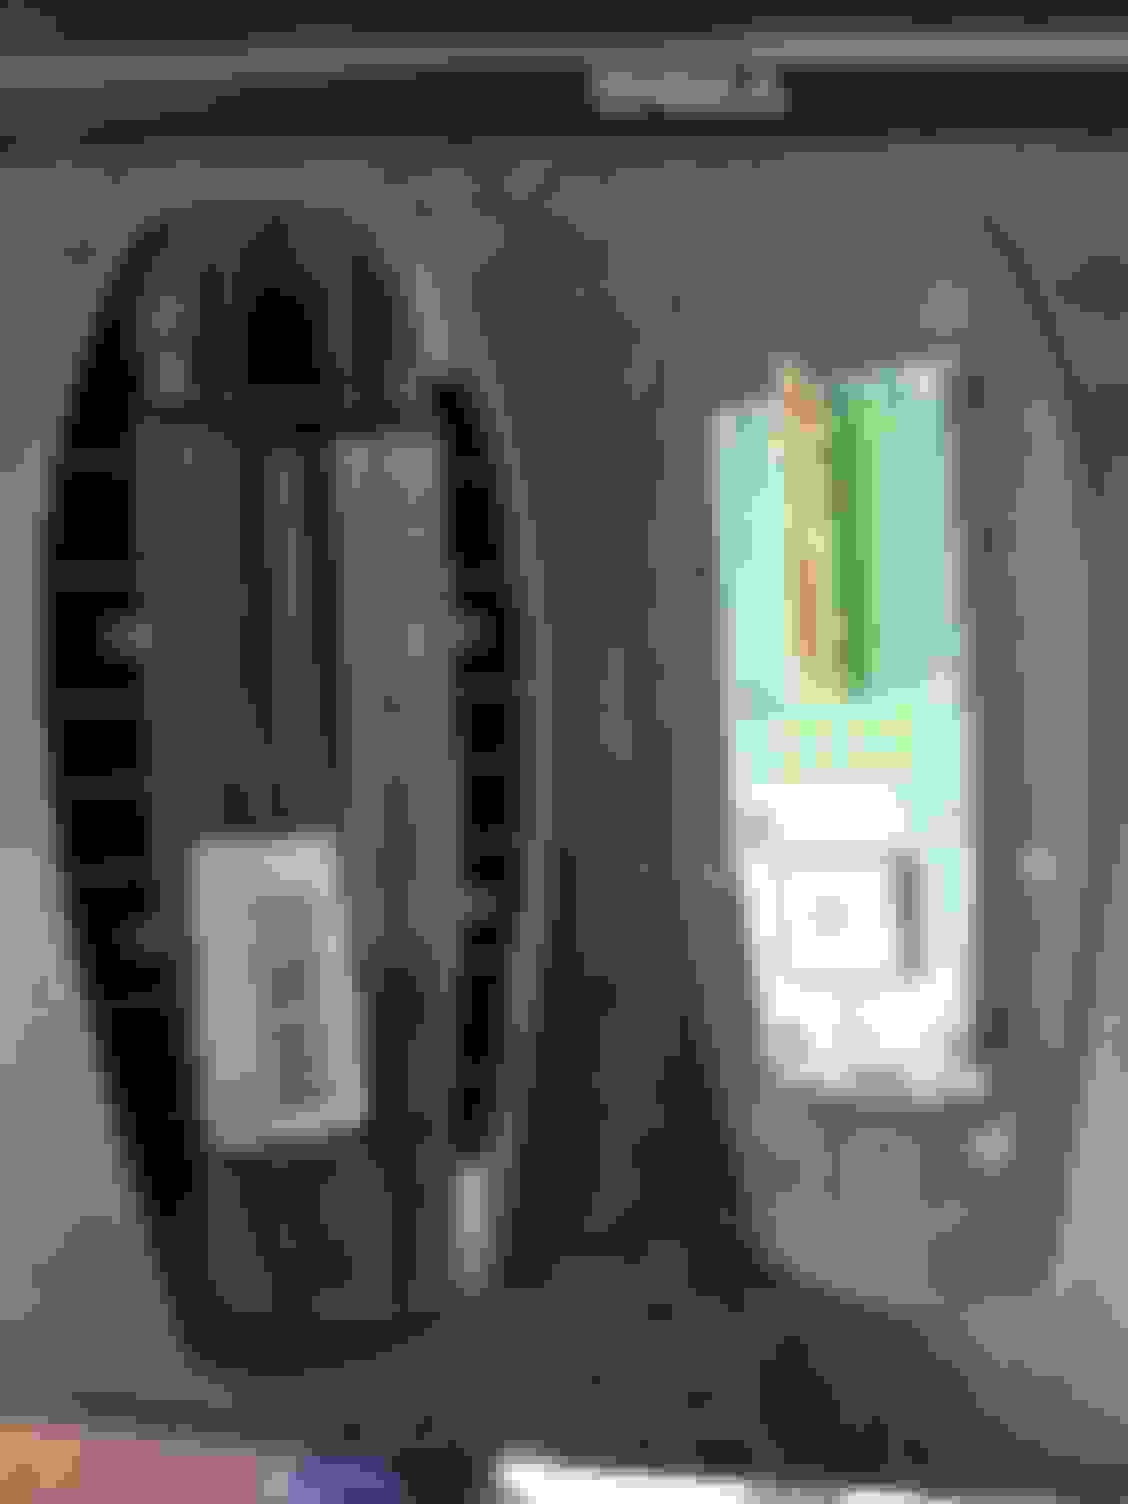
Top view of the finalised loom Rear view of the finalised loom Grey connector where SCP bus from navigation connector terminates. It is here you need to add pins 8 and 11 and take twisted pair to CD player connector The Blue navigation connector under rear seat left hand edge The original nav connector top powering the FM amplifier and 2nd unknown cable, remove both and transfer to new plug leaving new looms FM amplifiers power disconnected and insulated Success with adding CD Changer