When you click on links to various merchants on this site and make a purchase, this can result in this site earning a commission. Affiliate programs and affiliations include, but are not limited to, the eBay Partner Network.
i installed this screen in my x-type but its made for a s-type and xj heres my 4 part series
the s-type and xj dont have to modify anything its plug and play for you guys
purchased here https://www.canavie.com/s-jaguar
Okay. Last question before I pull the trigger on this: Does the unit have a way to handle the rear hvac controls, as in the below photos? I'm going to email this question to Canavie also.
the amp is built into the screen puts out 45watts to each speaker ,how this unit get it to sound better than the factory amp is incredible ,with built in DSP ,AND TIME DELAY
Last edited by dennis black; Aug 31, 2021 at 09:48 PM.
After seeing this post I bought this for my 04 XJR and I will watch your tutorial VERY CLOSELY when it comes in. Soon after I ordered it the company emailed me to ask the year, make and model of my Jaguar which I thought I did through the web site when I ordered it but I replied and the next day got a response stating my order was being processed. If this works out, I will have a new found love for this car since my OEM display is really on the way out (constantly rolls when cold) and I can't integrate my Android into the really old head unit. Hoping installation is smooth. Thanks.
the amp is built into the screen puts out 45watts to each speaker ,how this unit get it to sound better than the factory amp is incredible ,with built in DSP ,AND TIME DELAY
I have the upgraded Alpine system , would you happen to know if this will still work with the additional amp speakers and subs?
After seeing this post I bought this for my 04 XJR and I will watch your tutorial VERY CLOSELY when it comes in. Soon after I ordered it the company emailed me to ask the year, make and model of my Jaguar which I thought I did through the web site when I ordered it but I replied and the next day got a response stating my order was being processed. If this works out, I will have a new found love for this car since my OEM display is really on the way out (constantly rolls when cold) and I can't integrate my Android into the really old head unit. Hoping installation is smooth. Thanks.
Had been planning on getting a JagDroid conversion, but this seems a lot better. Will wait to see how you get on.
Thanks for your really helpful videos, I am installing the Carnavie Tesla Style Android Multimedia Radio etc. and would like to ask how do I remove the rear seat so that I can run a cable bundle from the new radio harness and plug it into the connector that WAS plugged into the amplifier in the trunk. I have been watching the videos that show this connection but not how to run the wires to the trunk. There are no videos available and my emanual is useless. How does this Damn seat come out?
Thanks for your really helpful videos, I am installing the Carnavie Tesla Style Android Multimedia Radio etc. and would like to ask how do I remove the rear seat so that I can run a cable bundle from the new radio harness and plug it into the connector that WAS plugged into the amplifier in the trunk. I have been watching the videos that show this connection but not how to run the wires to the trunk. There are no videos available and my emanual is useless. How does this Damn seat come out?
You know, I watched this video before and I still didn't believe it because I tried to get my hands in there to release the latch and there is NO WAY my hands can fit in the tiny space between the seat and the frame. I mean it cant be \more than half an inch. I guess maybe I can try with a screwdriver. UGH! Stay posted :-)
You know, I watched this video before and I still didn't believe it because I tried to get my hands in there to release the latch and there is NO WAY my hands can fit in the tiny space between the seat and the frame. I mean it cant be \more than half an inch. I guess maybe I can try with a screwdriver. UGH! Stay posted :-)
Yeah, that's a nightmare, every time I need to do that I set my mind that I'll get some pain
I removed the backrest and it wasn't difficult but you should have a helper since there are 2 release straps that must be pulled to remove the seatback. With the seat rest (or seat cushion) removed (done in the previous step) 2 thin cloth straps are exposed on the floor where the REMOVED seat rest was, one to the left of center and one to the right of center. To disengage the seatback, pull the straps forward and a spring loaded "catch" at the TOP of the seatback releases the seatback from its locked in position. Next, pivot the TOP of the seatback forward and you'll gain access to the trunk bulkhead where existing wire looms are routed into the trunk. Next step is to find an existing path through the trunk bulkhead (through which) to route the new loom from the new Tesla style wiring harness. If I can't manage that, I'll create a new more suitable opening. Stay tuned :-)
I hope a few pictures will help, I'm really not good at DIY videos.
As far as getting the wires from the new HU to the trunk bulkhead, hiding the cable loom was very simple. I just tucked the loom under the dash and to the trunk bulkhead by running it under the driver's side kick panel and then under the front and rear door trim. I didn't even have to take the trim off, I just used a plastic pry tool to lift it up slightly and tucked the loom under it. There was no problem getting the loom to fit, everything went under with no forcing. So, with the back seat backrest pivoted forward I selected a location that seemed innocuous enough and used a step drill bit to make a hole large enough to push the connector through the trunk bulkhead and into the trunk. I then plugged the connector from the new HU into the vacated receptacle that was pulled out from the OEM amplifier and in doing so completed the final HU connection. For precautions I split a small piece of vacuum tube and lined the edges of the sheet metal around the new hole I drilled and then cemented it in place with epoxy. OEM HU
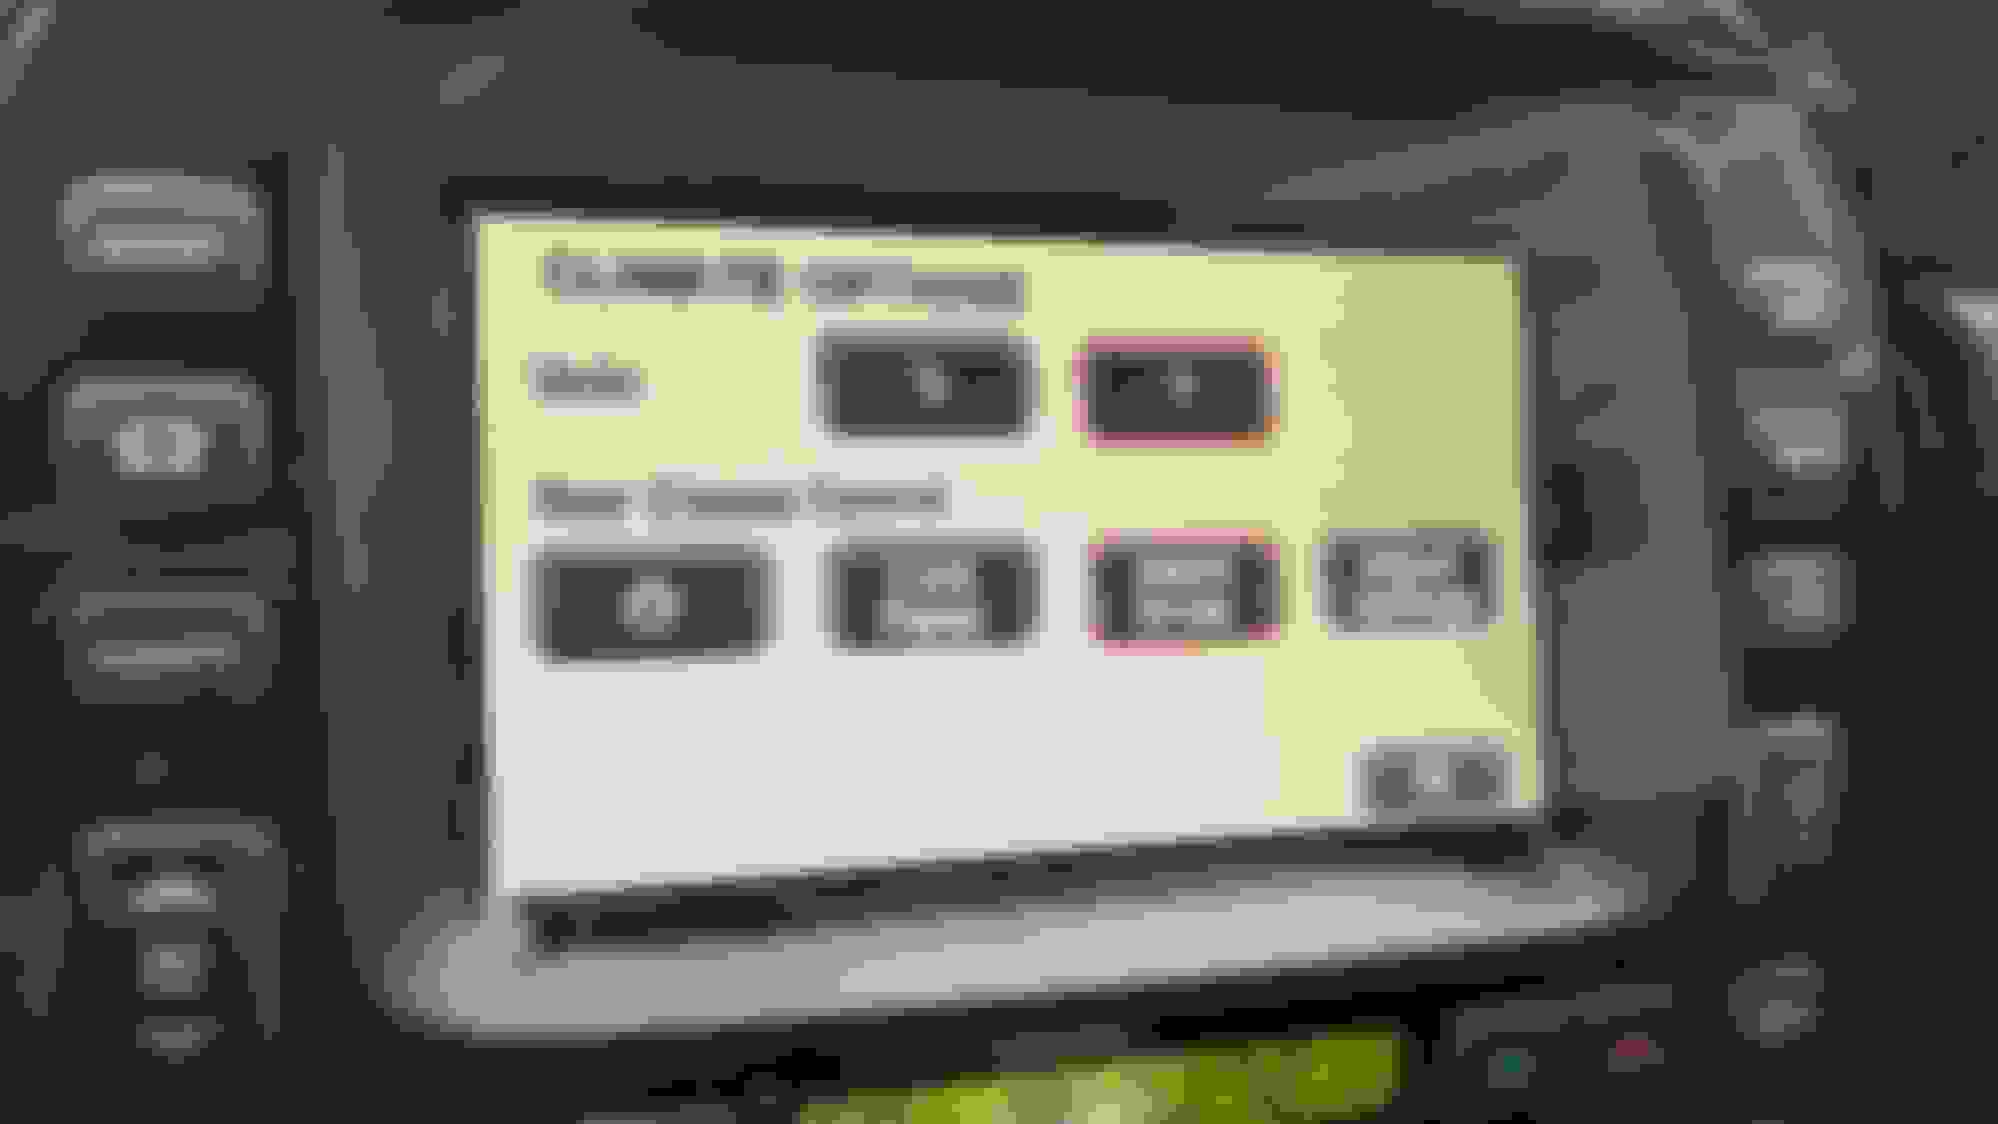
This is quite helpful thank you! What is your user experience so far? I am concerned about the AC menus being so deep within the menu options. Please share your user experiences. I am definitely planning on this one and the shipping seems to be fairly quick.
Originally Posted by russpe
I hope a few pictures will help, I'm really not good at DIY videos.
As far as getting the wires from the new HU to the trunk bulkhead, hiding the cable loom was very simple. I just tucked the loom under the dash and to the trunk bulkhead by running it under the driver's side kick panel and then under the front and rear door trim. I didn't even have to take the trim off, I just used a plastic pry tool to lift it up slightly and tucked the loom under it. There was no problem getting the loom to fit, everything went under with no forcing. So, with the back seat backrest pivoted forward I selected a location that seemed innocuous enough and used a step drill bit to make a hole large enough to push the connector through the trunk bulkhead and into the trunk. I then plugged the connector from the new HU into the vacated receptacle that was pulled out from the OEM amplifier and in doing so completed the final HU connection. For precautions I split a small piece of vacuum tube and lined the edges of the sheet metal around the new hole I drilled and then cemented it in place with epoxy. OEM HU