When you click on links to various merchants on this site and make a purchase, this can result in this site earning a commission. Affiliate programs and affiliations include, but are not limited to, the eBay Partner Network.
HID replacement | Easy, not fiddly, without doing a thing to the bumper.
Good morning all:
as you might recall, I've slightly cocked up the HID replacement recently, losing the lower spring fastener somewhere in the engine bay. Good news, I've found it! Now, before I started the entire replacement bit, I've googled the issue extensively, browsed through forums from around the world and one step has never been mentioned so I will.
Replacing the HID bulb easily without removing the bumper:
Pop bonnet after turning steering wheel to full lock to the opposite side of the one whose bulb you wish to replace (eg. turn all right for access to the left)
Remove the six plastic fasteners to hold the panel in place immediately behind the gill and above the lights. Familiar so far.
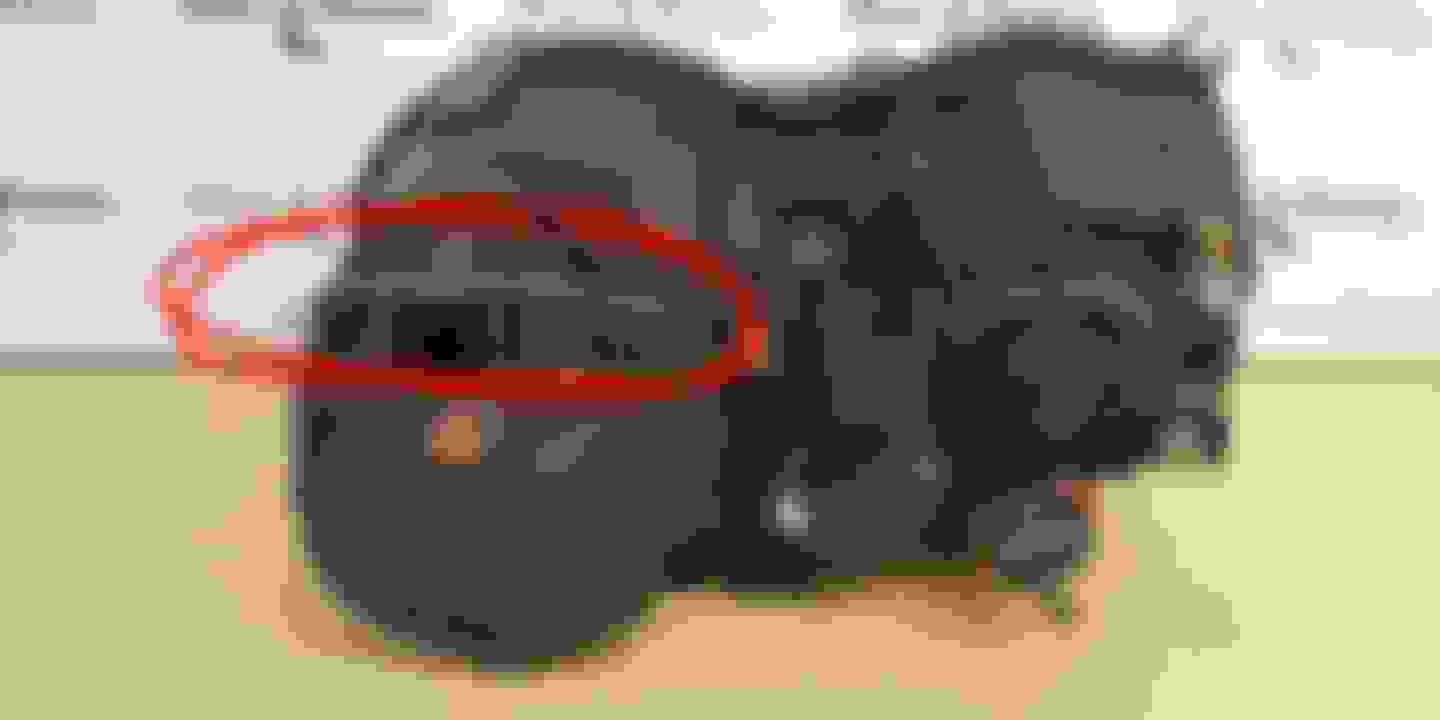
Release the upper spring fastener, comfortably from the top (see photo) to gain access to the light's internals.
Remember how we turned the wheel to full lock? Good! In the wheel well, remove the only torx screw in sight, pointing forward, about halfway up. My description is horrible and I forgot to take photos but it'll make sense the moment you look in there.
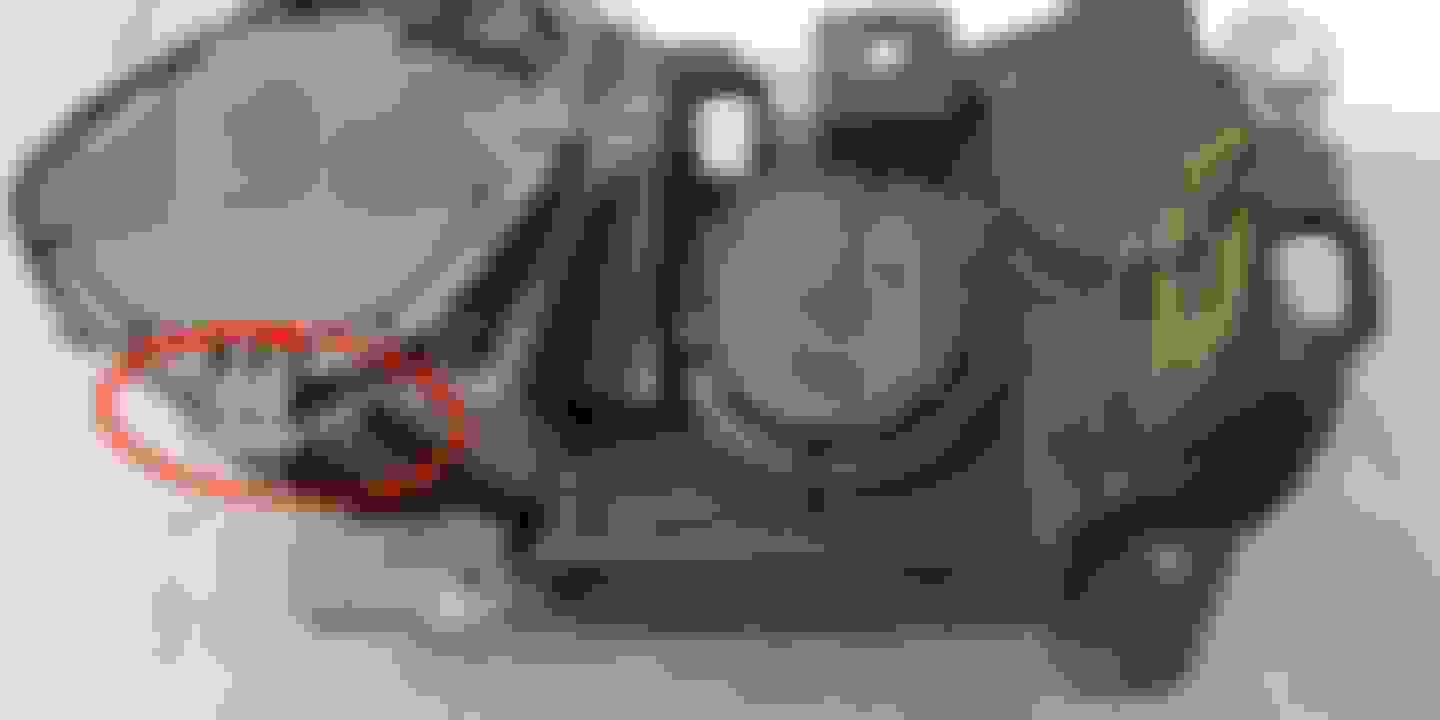
With that screw removed, gently peel back the wheel well liner. Through the gap, use a light and look up towards the light. You will see the lower spring fastener that's otherwise inaccessible to human hands. (see other photo)
Release it downwards
From the top, fiddle out the now free panel and switch the bulb.
You've switched the bulb? Brilliant, now let's put this all back together, shall we
With the bulb in place, fastened and connected, put the rear cover back in the space behind the light.
From the wheel well, slide the lower spring fastener over the nipple on the bayonet bit to secure it from the bottom.
Reattach the upper spring fastener in the opposite manner you removed it.
Test the light to make sure everything works properly
Stuff the wheel well liner back in its original position and secure it with the torx screw.
Reinstall the panel above the lights with its six fasteners.
YOU DID IT! Easy, no?
Release this fastener for step 3 by gently pulling it up and towards you. Release this fastener for step 6 by gently pulling it downwards and over the nipple on that bayonet bit.
That's all I have to contribute for today, now I just wait for it to get dark to go out and enjoy my night breakers adequately.