When you click on links to various merchants on this site and make a purchase, this can result in this site earning a commission. Affiliate programs and affiliations include, but are not limited to, the eBay Partner Network.
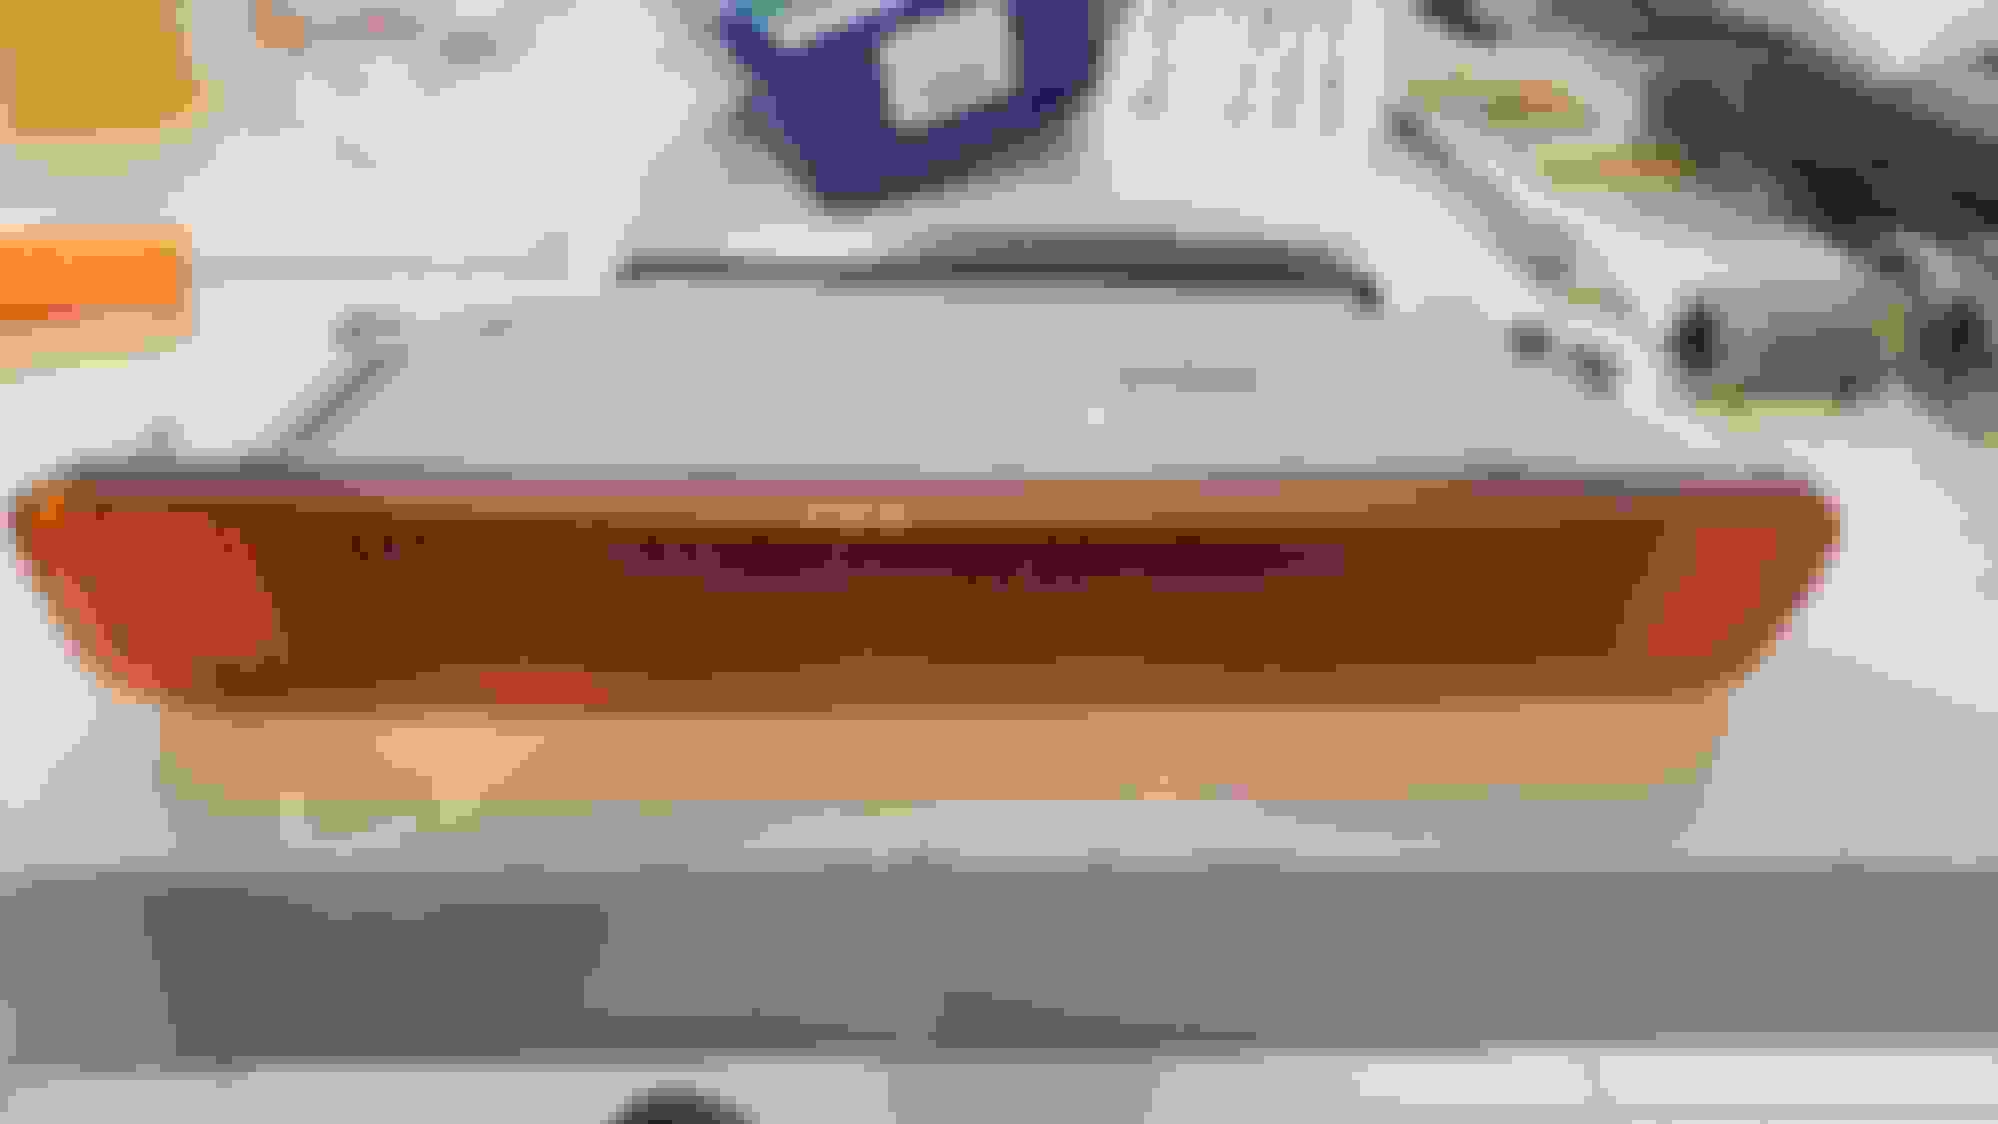
I hope this helps someone...I had a fast blink on my drivers front turn signal. (See attached photos) There are two 1057 bulbs in the housing. Use a flat screwdriver to pry out the assembly on the side of the orange lens.
Use a Phillips screwdriver to remove the black bulb holder from the housing, then twist out the bulbs. Examine the bulbs AND the contacts!!!
Thought it would be a dead bulb, but it turned out it was corrosion on one of the the bulb contacts inside the housing. I qrinded off the corrosion with a Dremel bit inserted into my Milwaukee drill.
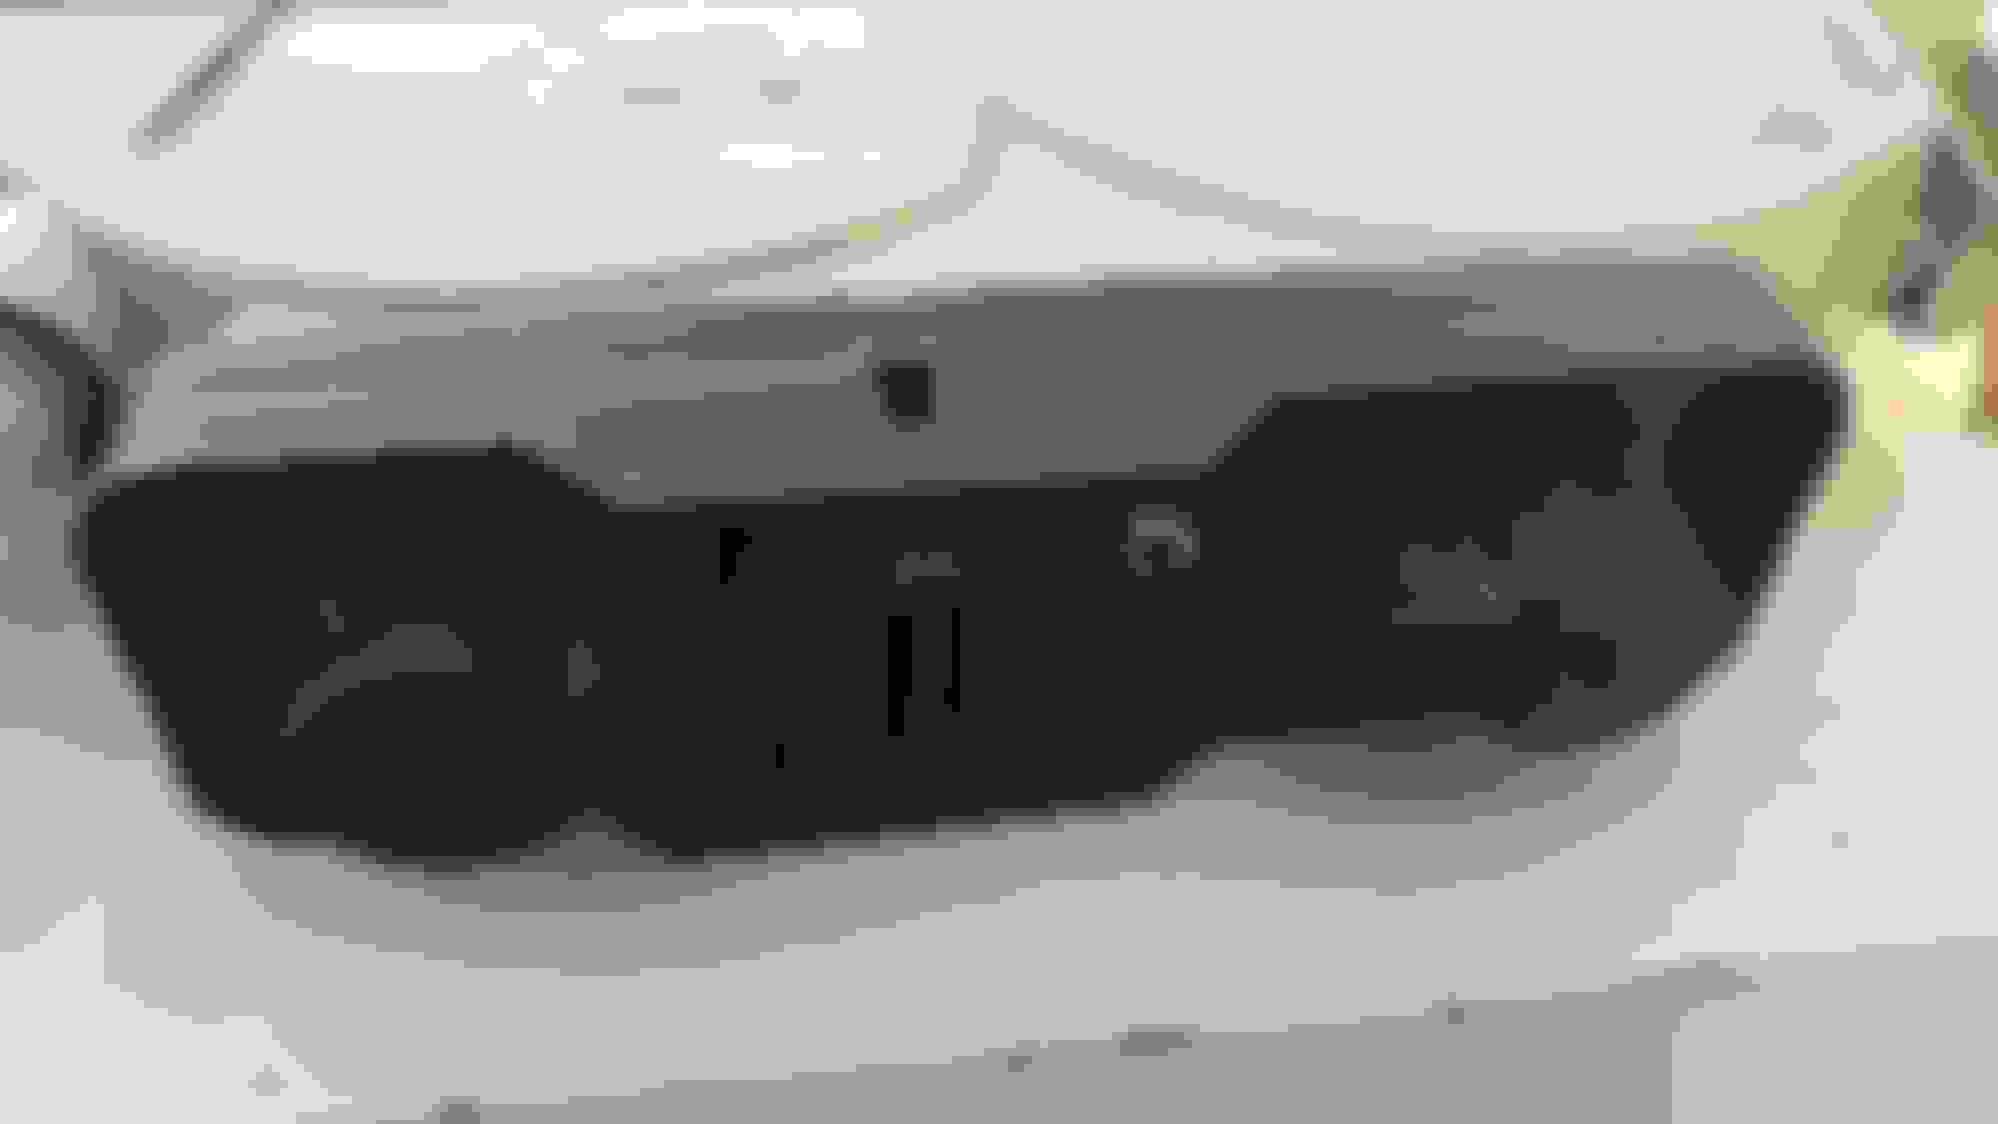
When putting everything back together, I noticed 3 blade-style contacts for the harness. See photos. Where do the three contacts go to?
Can anyone supply a fuse diagram for my 97 xj6?
Front driver lens turn signal. Two-bulb housing. Three blade contacts for harness in the middle. What are the blades connected to?
3 wires for the globes.
1 common ground.
1 positive for one bulb.
1 positive for the other bulb.
each bulb gets its own signal from the lamp control module.
I believe it is done this way for one of 2 reasons. (possibly both)
1 - distribute the power load to avoid potentially overpowering 1 bulb if the other blows
2 - this enables the bulb out detection to function correctly as it can tell accurately if just one bulb is out.
Last edited by Spud Maat; Feb 12, 2024 at 02:22 AM.
1057 bulb Entire orange lens part label Good contact, bad contact. Corrosion on contact
Thanks again, Parker and Spud. I am adding these four new photos to the record with descriptions. Hope it helps someone.
[size=18px]REMOVAL (updated)[/size]
[size=18px]Pry out orange lens with small flathead from the vertical side closest to the center of the car. Use cloth to protect the paint. After the turn signal assembly is removed, disconnect the wiring harness from the black bulb holder. Use a Phillips head screwdriver to detach the black bulb holder from the orange lens. You now have access to the bulbs. Twist them out gently.[/size]
[size=18px] I removed the bulbs. [/size]
[size=18px]Upon examining deep in the socket, I noticed corrosion on the bulb contact. See photos.[/size]
[size=18px]I grinded off most of the corrosion on the left side of the Jaguar driver turn signal bulb contact with a dremel grinder bit in the Milwaukee drill.[/size]
You may have to pull on the center contact out to make better contact with the bulb
Take a paper clip and pound one wire end flat , concrete floor works
Then bent the end of the flattened end 90 degrees
On installation you want to slather the contact with light bulb grease ( dielectric ) found at the auto parts store right by the register in small packets
The connector on the back of the assembly is of the form of a 3 wire EV - 1 as a 2 wire EV - 1 is used on the turn signals aft of the front tires
@ wire EV - 1 is also used for the trunk dome light and fuel injectors
Last edited by Parker 7; Feb 12, 2024 at 07:41 AM.
PARKER,
Good advice, especially if the contact tab sits too low in the black bulb housing.
Will do your grease method next time a bulb acts up.
I got by with a 90° dentist's pick to pull up the tab from underneath, while simultaneously holding down the metal strip with a small flat screwdriver. (Didn't want to rip up anything in the black bulb housing.)
For all of you following this thread, one other thing I highly recommend, is using a multimeter to check for voltage and ground.
Now, if I can only figure out why my drivers seat won't move with working motors. LoL.



 1997 xj6 driver front turn signal out