
How To Replace Front Shocks ( AfterMarket)

Front Passenger Side
Tools Needed will be.
17mm wrench , deep socket , quick wrench
18mm deep socket
16mm short socket
tire iron
2x jack stand and Jacks
pry bar and screw driver flat head and Phillips
breaker bars
vice grips
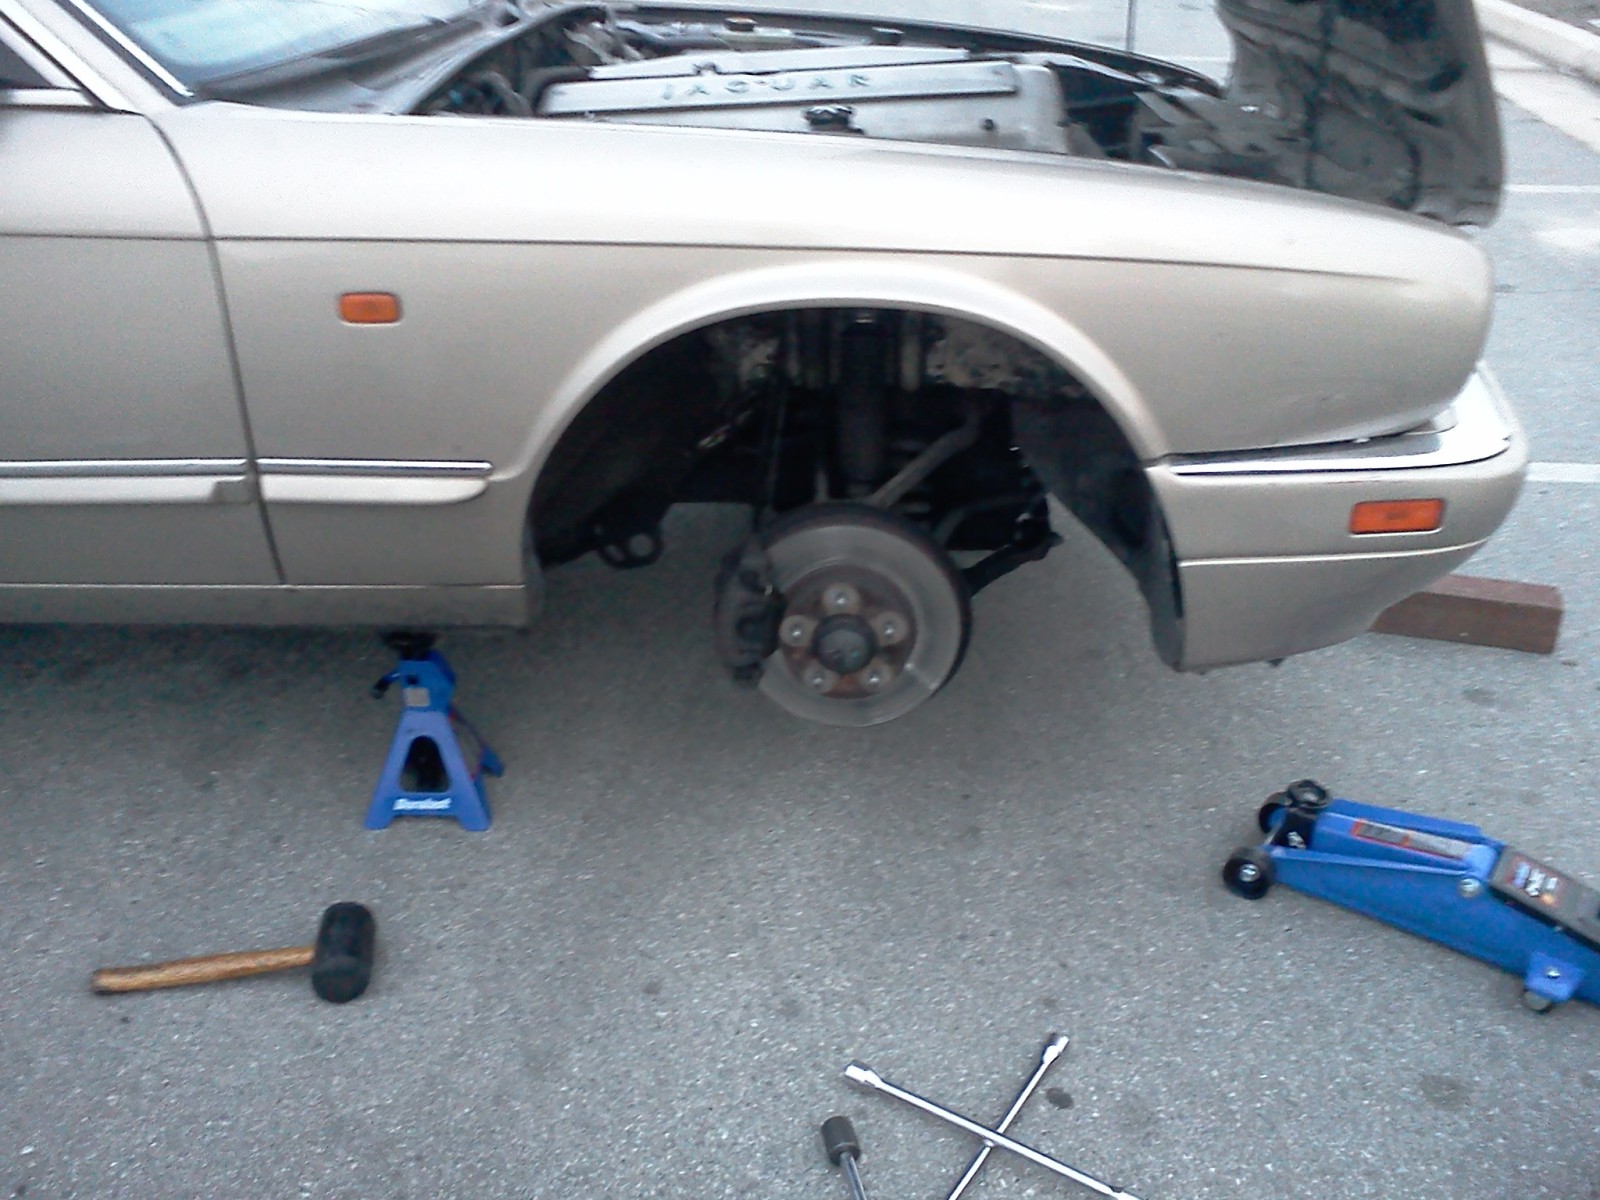
Jack car up and place on stands
Loosen the lug nuts before lifting tire in air.
jack up under the spring pan
place jack stand under jack
remove tire


Option to Move Power Steering Reservoir For Clearance
if you choose to do this you will remove the 3 screws for the
plastic over window washer reservoir and the 2 screws for the
plastic that hold extra fuses.

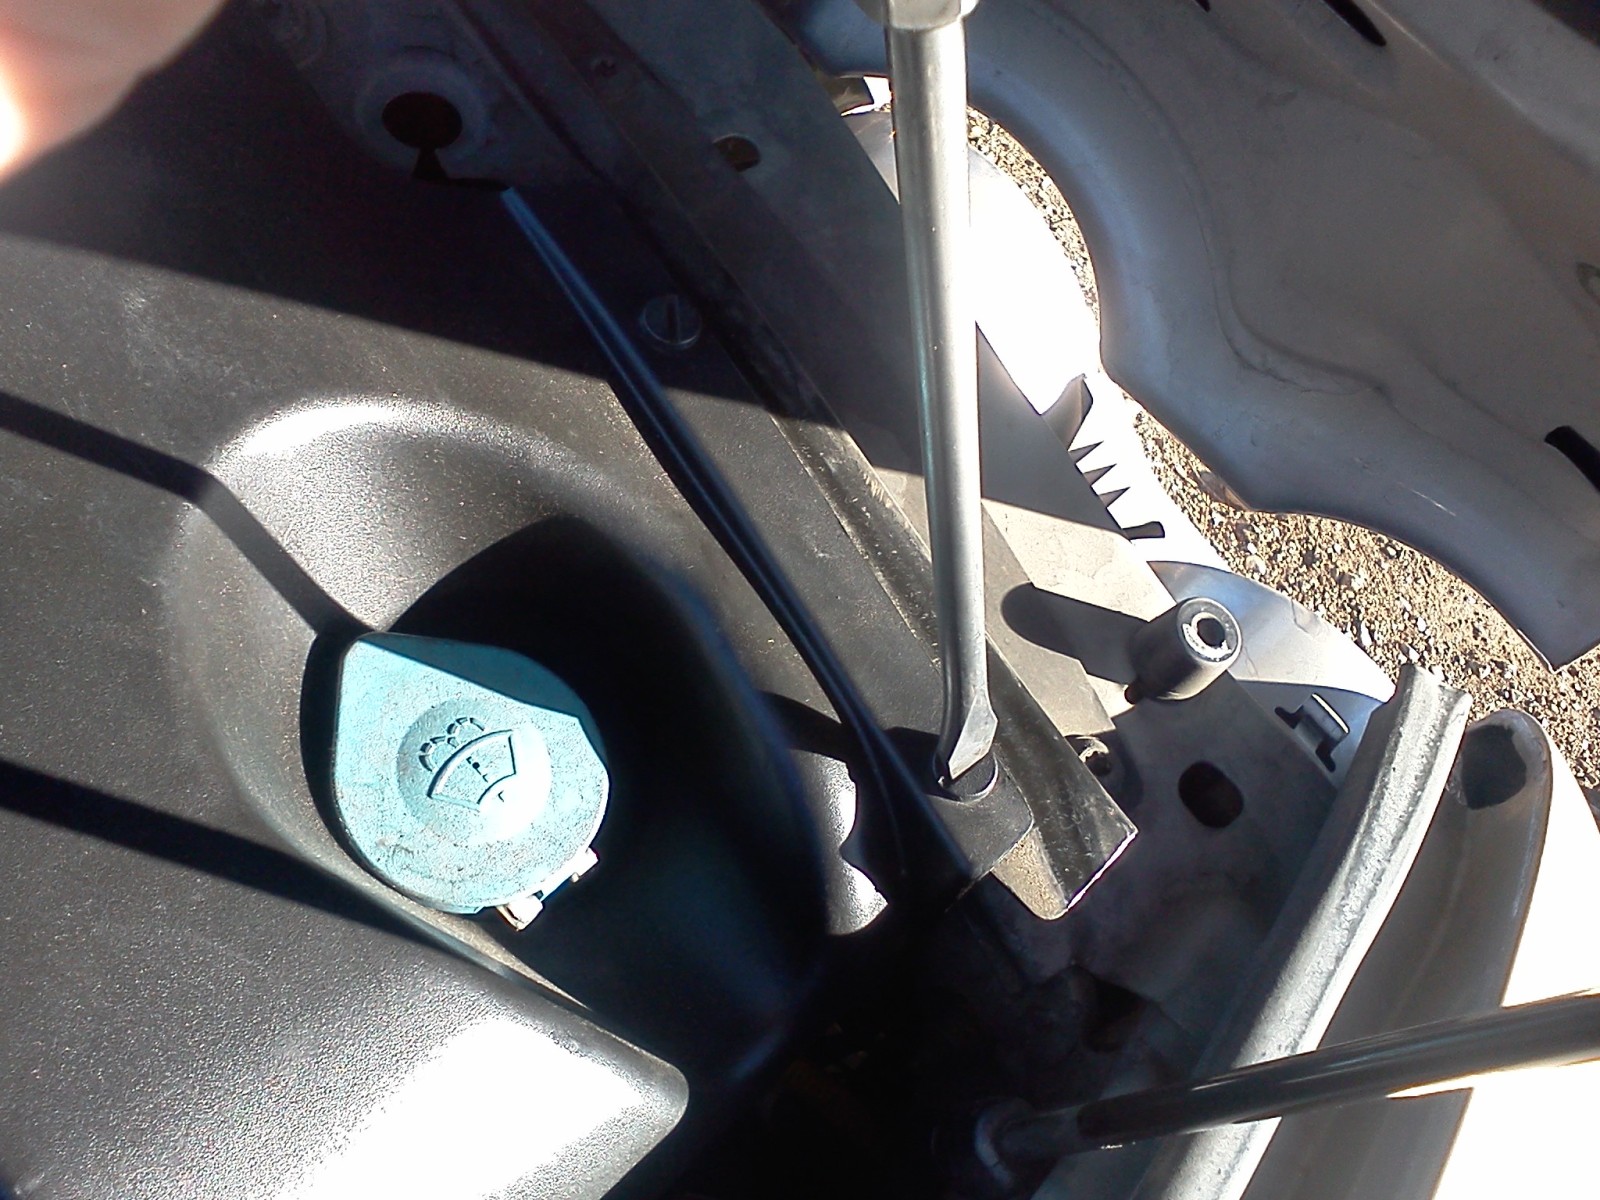


DO NOT UN SCREW LINES TO THE POWER STEERING RESERVOIR , JUST SET OUT OF WAY
now remove the the nut in the band around reservoir
and the 3 screws under the res


Now if you did this clean the res and other parts

Now Loosen the Top Not
BUT DO NOT REMOVE JUST BREAK NUT LOOSE
I first use a long wrench to get better leverage
then i use a fast ratchet for fast removal ( when we remove)
I also try to use a ratchet + socket for fastest removal (when we Remove)


Remove Lower Stabilizer Link Bolt


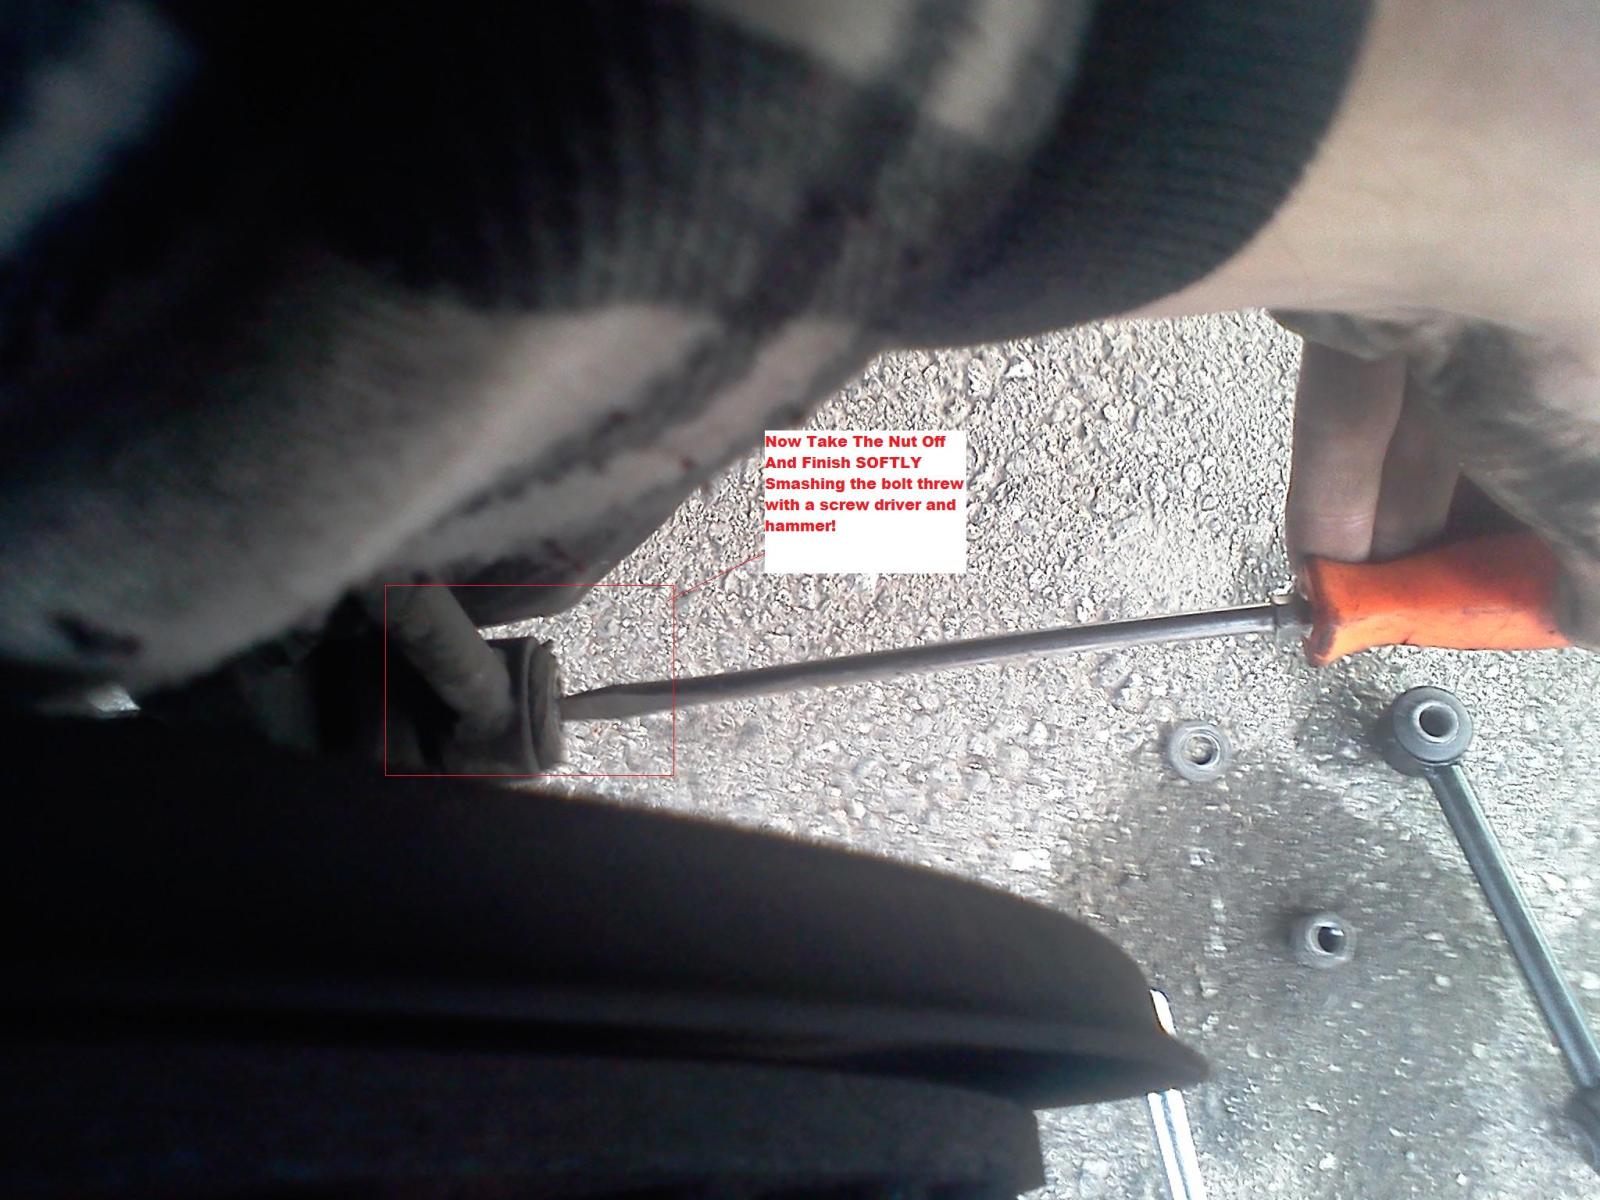
Remove Lower Shock Bolt & Then Top Bolt
MAKE SURE THE JACK IN UNDER THE SPRING
MAKE SURE THE JACK IS HOLDING THE SPRING PRESSURE
JUST JACK THE CAR UP ON THE SPRING ALITTLE

now that the top and lower bolts are remove
compress the shock down and pull up and out

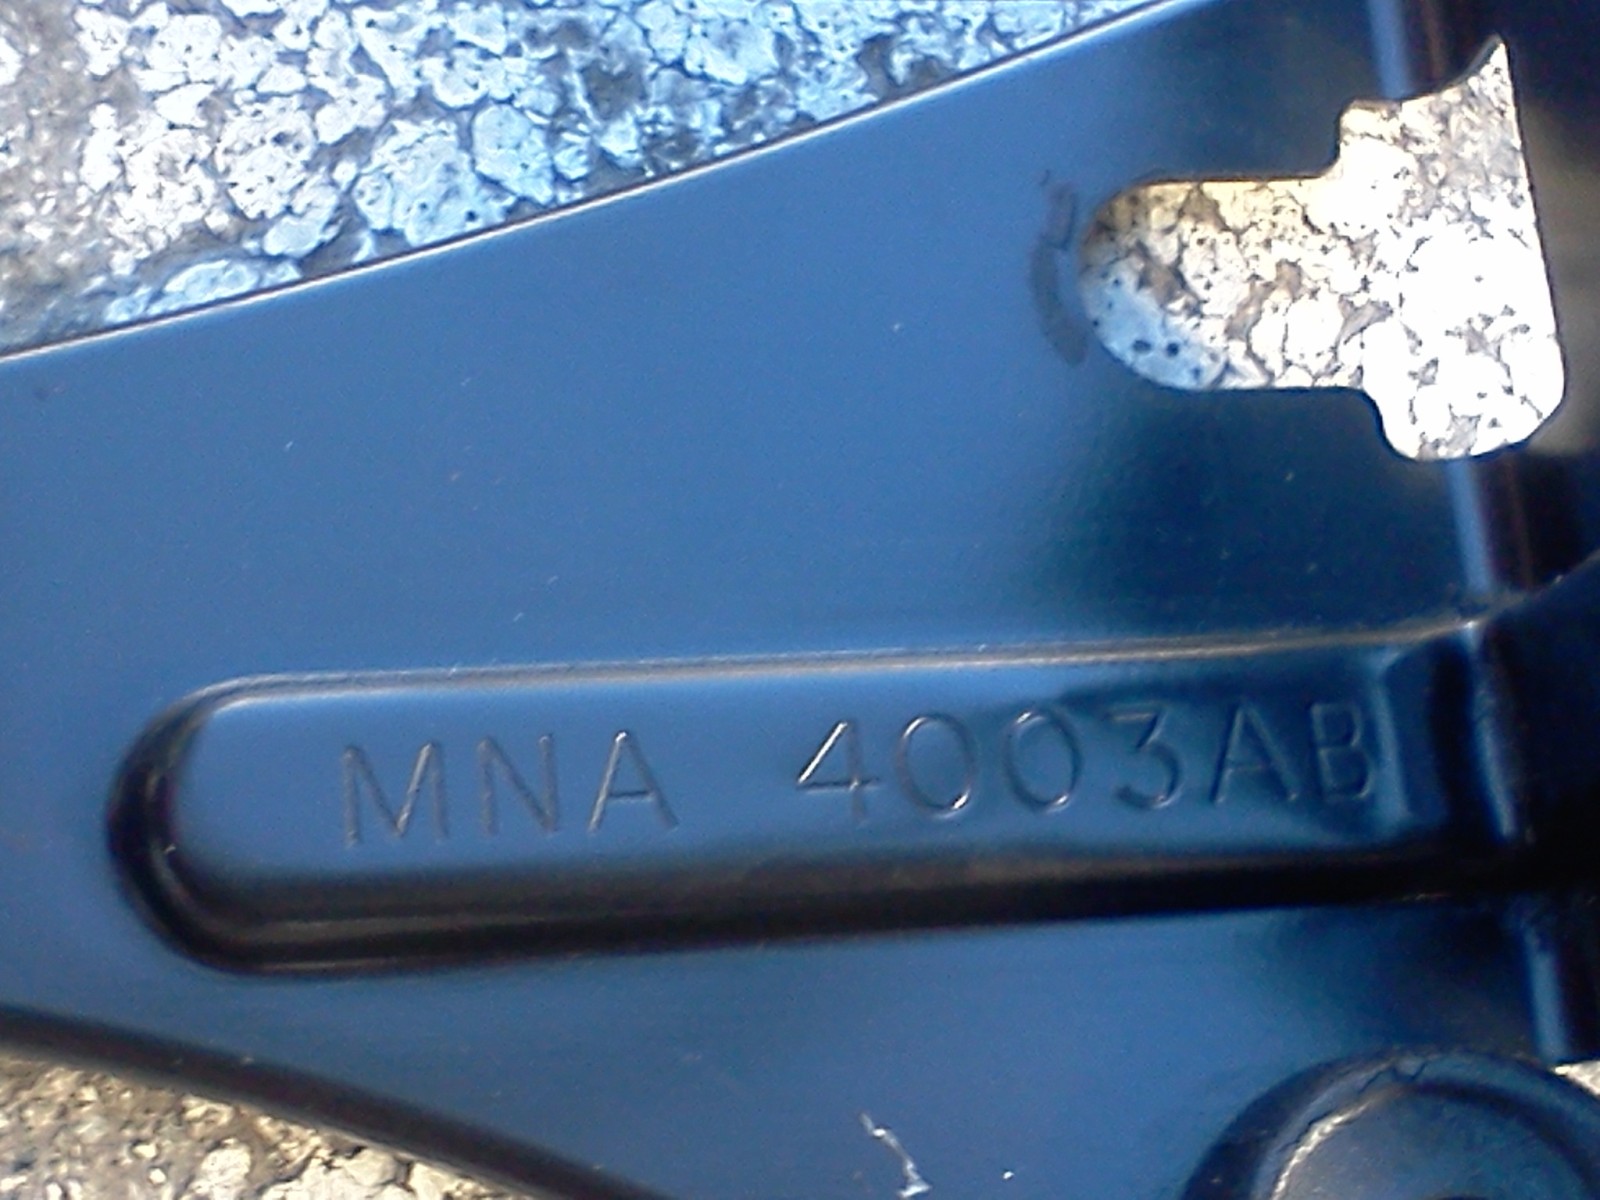
Prep New Shock for Install and Install
There are 2 TOP BUSHING PER SHOCK AND 1 LOWER
place the metal piece then bushing then metal on top like in pic

slide the shock back in the way it came out

make sure there is 2 top shock bushing!!!

now that we got the shock in place
screw in the bottom shock bolt but do not torque yet
Now take the last top shock bushing and get it started on the threads


now torque the top bolt and bottom bolts
torque down the stabilizer bar link
install power steering reservoir
install the wheel and lower
Driver Side
Remove the Trim so you can Move coolant reservoir
DO NOT DISCONNECT COOLANT HOSES
Unplug the connector


do same to this side to remove shock as the other
PLEASE LEAVE ME THANKS
AND STICKY IN FAQ
Tools Needed will be.
17mm wrench , deep socket , quick wrench
18mm deep socket
16mm short socket
tire iron
2x jack stand and Jacks
pry bar and screw driver flat head and Phillips
breaker bars
vice grips
Jack car up and place on stands
Loosen the lug nuts before lifting tire in air.
jack up under the spring pan
place jack stand under jack
remove tire
Option to Move Power Steering Reservoir For Clearance
if you choose to do this you will remove the 3 screws for the
plastic over window washer reservoir and the 2 screws for the
plastic that hold extra fuses.
DO NOT UN SCREW LINES TO THE POWER STEERING RESERVOIR , JUST SET OUT OF WAY
now remove the the nut in the band around reservoir
and the 3 screws under the res
Now if you did this clean the res and other parts
Now Loosen the Top Not
BUT DO NOT REMOVE JUST BREAK NUT LOOSE
I first use a long wrench to get better leverage
then i use a fast ratchet for fast removal ( when we remove)
I also try to use a ratchet + socket for fastest removal (when we Remove)
Remove Lower Stabilizer Link Bolt
Remove Lower Shock Bolt & Then Top Bolt
MAKE SURE THE JACK IN UNDER THE SPRING
MAKE SURE THE JACK IS HOLDING THE SPRING PRESSURE
JUST JACK THE CAR UP ON THE SPRING ALITTLE
now that the top and lower bolts are remove
compress the shock down and pull up and out
Prep New Shock for Install and Install
There are 2 TOP BUSHING PER SHOCK AND 1 LOWER
place the metal piece then bushing then metal on top like in pic
slide the shock back in the way it came out
make sure there is 2 top shock bushing!!!
now that we got the shock in place
screw in the bottom shock bolt but do not torque yet
Now take the last top shock bushing and get it started on the threads
now torque the top bolt and bottom bolts
torque down the stabilizer bar link
install power steering reservoir
install the wheel and lower
Driver Side
Remove the Trim so you can Move coolant reservoir
DO NOT DISCONNECT COOLANT HOSES
Unplug the connector
do same to this side to remove shock as the other
PLEASE LEAVE ME THANKS
AND STICKY IN FAQ


i will be getting my shocks with the sports mode when i choose to do the rear ones
they improved my car so much so they are well worth the price
i paid $45 for the PAIR
Senior Member
Joined: Jun 2012
Posts: 481
Likes: 119
From: Moreno Valley, CA
I got all 4 shocks for $120 off of their APX website. For the price, they're great. Even if they only last 10k or 20k miles it's still worth the price. I like how they're a little stiffer than oem also.
Member
Joined: May 2013
Posts: 80
Likes: 10
From: Georgia, Tbilisi
Trending Topics
Senior Member
Joined: Apr 2012
Posts: 722
Likes: 92
From: Pittsburgh, PA
$45 a pair? Where? How? 

Senior Member
Joined: Feb 2014
Posts: 480
Likes: 43
From: Dallas, TX
Hi
A good question... check this post out by JTsmks
 JTsmks
Senior Member
Garage is empty, add now
Just two weeks ago I replaced my stock Jaguar front shocks on my 97 XJ6L with these from Rock Auto...the price was $48 a pop + I googled a discount code for RockAuto and saved an additional 5%. These came with all bushings and hardware (yes the yellow foam ones) and while I don't judge ride/handling like a cigar taste tester like some here seem to do, I really like the way the car drives, turns, handles road bumps with these on. My factory Jaguar shocks had 73K on them and one wouldn't extend once compressed and was making a racket even after new top bushings were installed. I'm happy, my wallet isn't too much lighter and while they don't have hints of leather or orange peel they do seem to provide the ride/handling Jaguar intended for my car. YMMV
More Information for MONROE 39016
I hope that helps
BigBossRadio Dallas TX
A good question... check this post out by JTsmks
Senior Member
Garage is empty, add now
Just two weeks ago I replaced my stock Jaguar front shocks on my 97 XJ6L with these from Rock Auto...the price was $48 a pop + I googled a discount code for RockAuto and saved an additional 5%. These came with all bushings and hardware (yes the yellow foam ones) and while I don't judge ride/handling like a cigar taste tester like some here seem to do, I really like the way the car drives, turns, handles road bumps with these on. My factory Jaguar shocks had 73K on them and one wouldn't extend once compressed and was making a racket even after new top bushings were installed. I'm happy, my wallet isn't too much lighter and while they don't have hints of leather or orange peel they do seem to provide the ride/handling Jaguar intended for my car. YMMV
More Information for MONROE 39016
I hope that helps
BigBossRadio Dallas TX
Senior Member
Joined: Feb 2014
Posts: 480
Likes: 43
From: Dallas, TX
Hi Mgb4Tim
I tried replacing my front shock today but ran into a problem after following all the procedures laid out by Vandenplas408......... I simply could not compress my front shock to remove it........... Any ideas? Am I doing something wrong? I noticed that my replacement shock takes significant effort to compress......... How did you manage to do it?
BigBoss in Dallas TX
Senior Member
Joined: Feb 2014
Posts: 480
Likes: 43
From: Dallas, TX
Hi a quick update
On Sunday I tried again and succeeded using some advice from AllenG. I undid all the nuts top and bottom... Then I tapped out the lower bolt and then slid short screwdriver into the lower bolt. With every thing jacked up correctly including a jack to compress the coil spring, I then set about fashioning a tool to compress the shock downwards from the top.
I took a small diameter socket and attached it to an extension bar. Then took a 6" length of 2X4" of wood and drilled a hole on the center about 1/2" deep with 3/4" drill bit. This allowed for the top of the extension bar to sit in snugly. I then took the top shock nut turned it upside down and screwed it back in just enough to allow it to catch under the wheel arch, I took a chair and stood on top and placed the tool at the top of the shock and pressed downwards slowly as the shock compressed and allowed the nut to pass through the opening till I could get the top nut to catch under the wheel arch.. Once that was done I was able to grab the shock and pry it outwards. I removed the screwdriver at the lower fork allowing me to remove the whole shock. I have posted a couple pictures here of the tool I put together to do the job.
I hope this helps someone else faced with this task. Installing the new shock was simple.
BigBoss in Dallas TX
Senior Member
Joined: Apr 2012
Posts: 722
Likes: 92
From: Pittsburgh, PA
Just ordered my own "lifetime warranty" Sensen shocks - $52, shipped, for the pair on Amazon.
Now, let's get a rear shock tutorial
Now, let's get a rear shock tutorial
Senior Member
Joined: Feb 2014
Posts: 480
Likes: 43
From: Dallas, TX
MGB4tim
sounds like you have a busy weekend coming up. I believe Jim Butterworth posted a tutorial on the jaglovers forum some time back.
good luck with the work keep us posted
Bigboss in Dallas
sounds like you have a busy weekend coming up. I believe Jim Butterworth posted a tutorial on the jaglovers forum some time back.
good luck with the work keep us posted
Bigboss in Dallas