
Interior Door Handle and Check Rod


Thread Starter
|
Senior Member
Joined: Sep 2010
Posts: 167
Likes: 9
From: LA
Hey guys, a few weeks ago the Driver's side door check rod that holds the door open broke. I haven't looked into it yet, but I'm assuming some sort of clip broke.
Also, this morning the interior door handle stopped functioning. I assume the cable came detached from whatever cable stop is used.
Any tips for getting the door panel off? Anything I should be careful not to break?
Saw that the cable for the door only comes with the handle... $150 OUCH!
Also, this morning the interior door handle stopped functioning. I assume the cable came detached from whatever cable stop is used.
Any tips for getting the door panel off? Anything I should be careful not to break?
Saw that the cable for the door only comes with the handle... $150 OUCH!
Thread Starter
|
Senior Member
Joined: Sep 2010
Posts: 167
Likes: 9
From: LA
ok... got the upper trim off... Can't get the lower trim off. There seems to be a hidden screw or clip towards the back side of the door about halfway down. I can't see it when I pull the trim back
stuck!
stuck!
Last edited by imagineaudio; Jul 18, 2011 at 07:12 PM.
Thread Starter
|
Senior Member
Joined: Sep 2010
Posts: 167
Likes: 9
From: LA
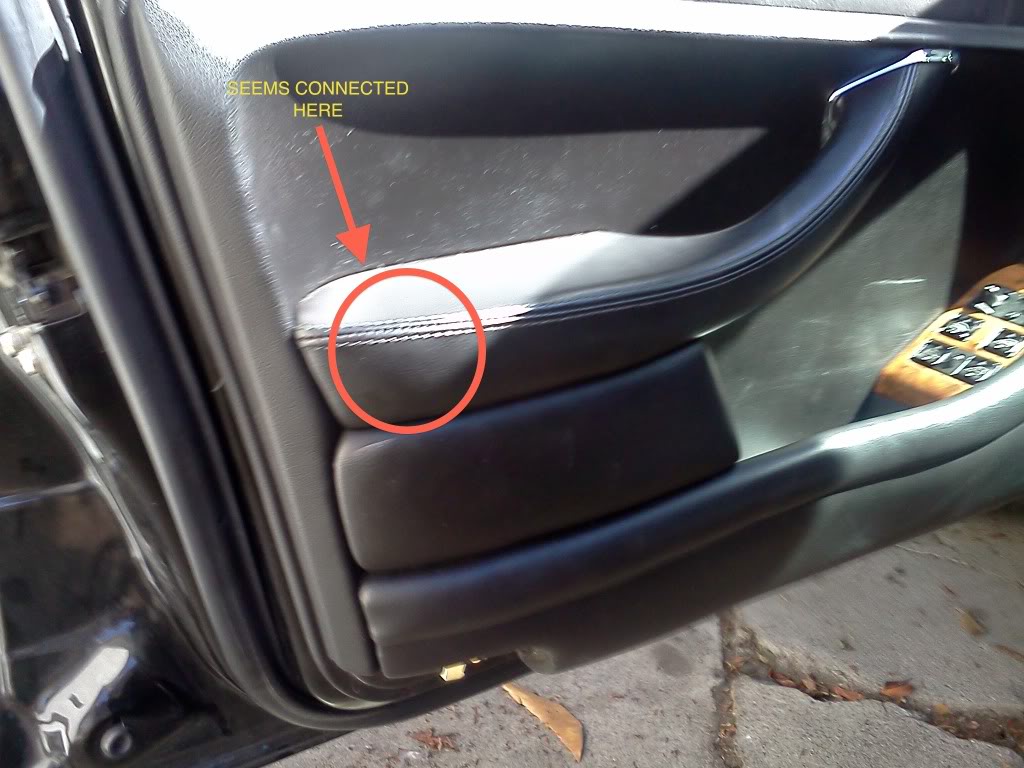
ok, got all the retaining clips loose, still seems to be connected near the back end of the armrest...
after 2 hours fiddling with this thing, I'm about to loose it. What am I missing?

after 2 hours fiddling with this thing, I'm about to loose it. What am I missing?
Last edited by imagineaudio; Jul 18, 2011 at 07:14 PM.
Thread Starter
|
Senior Member
Joined: Sep 2010
Posts: 167
Likes: 9
From: LA
Well, let my temper get the best of me and started thrashing the panel around violently and got it loose.
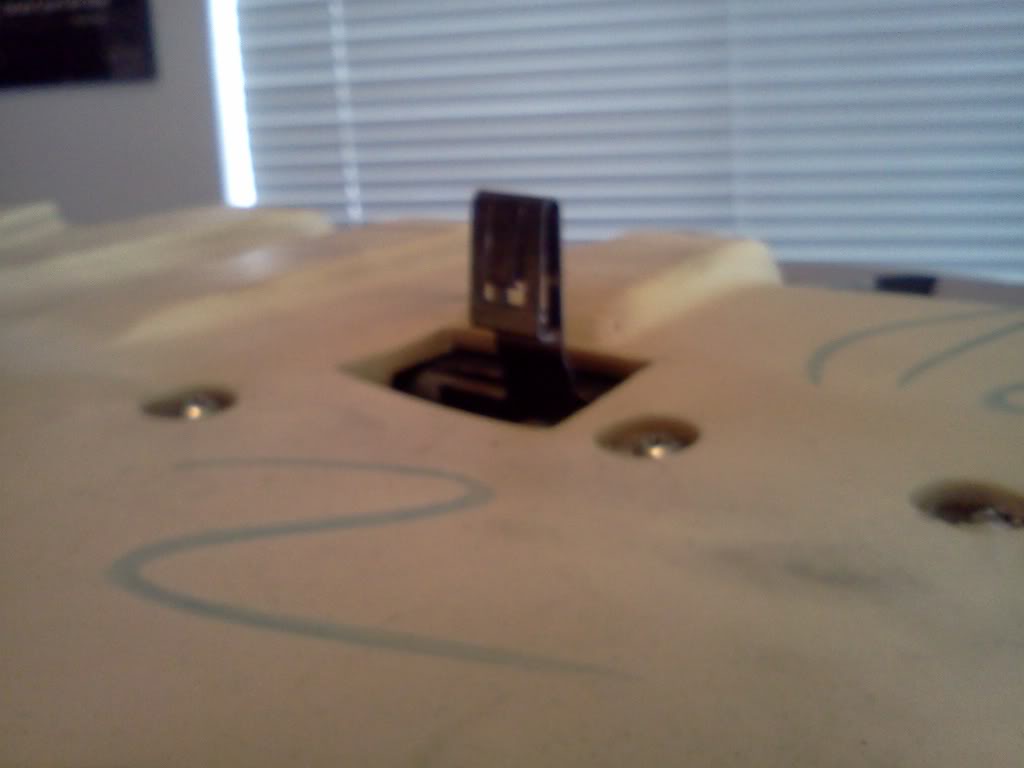
There is a clip near the base of the armrest, and it's a big sombi'ch.
it fits into a plastic retainer that clips to the door on three sides. I guess in my violent rage, I lifted the panel up enough for the retainer to come out. With the panel off, I slide the retainer off the clip and re-seated it in the door frame.
I've included a picture because I think it will be useful for other first-timers
Also thanks to Doug for his detailed posts on the subject.
Senior Member
Joined: May 2010
Posts: 948
Likes: 317
From: Ireland
I posted a pretty detailed step by step instruction on removing the door panel not too long ago, it should come up in a search. regarding the check strap, mine is broken also and its not too uncommon. The actual weld/metal seems to give up and a bit of remedial fabricating/welding will be needed on mine. In the meantime I just make sure not to swing the door too wide open as I dont want to put a ripple in it!
Trending Topics
I posted a pretty detailed step by step instruction on removing the door panel not too long ago, it should come up in a search. regarding the check strap, mine is broken also and its not too uncommon. The actual weld/metal seems to give up and a bit of remedial fabricating/welding will be needed on mine. In the meantime I just make sure not to swing the door too wide open as I dont want to put a ripple in it!
I was surprised at the damage I found to my check-strap. The top fixing area was completely sheared off while the door metal where the lower fixing passes through was badly damaged. Who knows which went first but I suspect a strong wind coupled with careless handling was to blame. Heavier guage metal and/or a redesign of the check-strap fixing points further away from the edge is probably called for.
I put up with this problem for more than a year but finally ran out of patience. I remember feeling and hearing a loud click when I opened the door normally but that was it finally giving up whatever struggle was going on. As a result, all I would say to anybody reading this, don't put off dealing with the issue. It won't get better and you will almost certainly do more damage.

 )
)
I didn't mention my fix as I wasn't sure how effective it would prove to be in the long run but your comments give me confidence.
Veteran Member
Joined: Feb 2011
Posts: 9,733
Likes: 2,203
From: on-the-edge
Up to 1.25 inches will fit. A 1/4" hole is a bit too large, but a 3/16" is definitely too small.
A thin coat of jbweld on the washer face mating to the sheetmetal might be a helpful reinforcement. Just don't get any on the threaded bits.
Loop some common sewing thread through the washer hole in case the washer drops if doing this without removing the door trim. Just snap it off after the nut is started.
Use a deep 10mm socket to avoid dropping the socket into the well, and put a bit of masking tape over the nut or socket opening to jam it into the socket to avoid dropping the nut.
As shown in another thread, use a mirror for visibililty.
This is all based on doing the job on a X308. Some of it may be wrong for a X300.
see this thread- https://www.jaguarforums.com/forum/x...Bfaq%5D-36075/
I ended up stealing the left rear mechanism to get me by.
I ended up stealing the left rear mechanism to get me by.
In a word, Yes. But they are not that expensive. I bought new in the UK for about gbp25 but I am sure you can do better.

Thread
Thread Starter
Forum
Replies
Last Post
FS[Western US]: XJS Lock Set with Keys- Doors, trunk, glove, gas, and ignition
XJsc-guy
PRIVATE For Sale / Trade or Buy Classifieds
6
Nov 23, 2015 01:56 PM
Chet Ramnarain (bozzner)
XJ6 & XJ12 Series I, II & III
5
Sep 3, 2015 12:21 PM
Currently Active Users Viewing This Thread: 1 (0 members and 1 guests)