When you click on links to various merchants on this site and make a purchase, this can result in this site earning a commission. Affiliate programs and affiliations include, but are not limited to, the eBay Partner Network.
Hi Guys
Following the complete self destruction of my 3.2 on it's maiden voyage - see thread https://www.jaguarforums.com/forum/x...roblem-143421/ I have opted to acquire a replacement lump and swap it out - upgrading the timing gear on the way. This thread is partly to document the process, partly to discuss any problems I may encounter and partly to appeal to the forum members to help me overcome these problems.
The unit has arived so lets begin :-)
Let's open it up and see what we have
It was not possible to determine exactly the age and specification on the delivered engine as it was a Jaguar gold seal warranty replacement unit so the serial number was not much help. The 1st thing I noticed was that there was an additional vacuum servo on top of the throttle assembly. I hoped this was not going to be an issue as I was planning to use my original induction components.
Extra vacuum servo - won't be using this
OK so let's start stripping it down ready to upgrade all the timing stuff
Stage 1
Remove inlet manifold and cam covers
Stage 2
Rotate engine to service position and install crank positioning tool
Stage 3
Remove front pulley and front timing cover
Stage 4
Lock down cams with cam locking tools
Stage 5
Loosen cam sprocket bolts
Stage 6
Remove primary tensioner, guides and chains
Bank B requires inlet cam sprocket removing as not enough clearence between sprocket and head casing to get chain off sprocket
Stage 7
Remove exhaust cam sprockets, secondary tensioner and chains.
OK quite easy so far with no obvious nasty bits.
Now for re-assembly
Stage 1
Starting with Bank B
Fit secondary tensioner then position secondary chain on both exhaust and Inlet sprockets leaving this very loose on it's bolt
Stage 2
Position primary chain over still loose inlet sprocket then tighten bolt finger tight. Next fit chain to crankshaft sprocket (index spot facing out) slide sprocket on to crankshaft and engage on key. Finally fit primary tensioner and guides.
Stage 3
Now for bank A
Fit secondary tensioner then fit secondary chain on both exhaust and Inlet sprockets - leaving both sprocket bolts finger tight
Stage 4
Hang primary chain over inlet sprocket then fit chain to crankshaft sprocket (index spot facing in) slide sprocket on to crankshaft and engage on key. Visually inspect crankshaft sprockets to ensure they are 1/2 a tooth out of phase. Finally fit primary tensioner and guides.
Stage 5
Insert wedges between primary tensioners and guides (I used thick washers) then relase the locking pins on all 4 tensioners and allow all the chains to assume their natural tension.
Stage 6
Tighten all four cam sprockets to the specified torque - ie very tight.
Don't forget to remove the wedges
Your engine should now look like this
Everything in place and tensioned
Bank A tensioners
Improvised primary tensioner wedge
Bank B Secondary Tensioner
At this point all that is normally required is to remove locking tools clean all the mating faces, install new front oil seal fit new gasketset and re-assemble using a blob of sealant at the critical head/block/sump joints.
However it was at this point that I noticed that my original engine had a crank position sensor on both bank A and bank B but my new engine only had a sensor on Bank B. On closer inspection bank A had a blanking plate covering the sensor hole. The sensor rotor was also missing from the end of the inlet camshaft on bank A. OK lets stop and think. OK here's the plan, lets swap the inlet cam from my old engine and fit the pickup sensor to match.
OK so we undo the last 3 stages, swap the inlet cams, check and adjust the valve clearances, and re-do stages 4 to 7 no big deal ;-)
Well that's all for know folks
Next installment will be getting this motor back into the car where it belongs
Last edited by stuartwaite; Jun 21, 2015 at 03:42 PM.
Reason: spelling
Hi Guys
OK now for phase two of the engine transplant. In phase one I upgraded the timing gear on my replacement engine next I detail cleaned all the bits proir to re-assembly.
During the cleaning process I noticed another slight difference between the two engines. My old engine had two sensors on the oil filter housing and the replacement only had one. Simple problem equals simple solution - I had already removed the oil pan and lower engine housing (complete with two sensors) during my diagnostic strip down of the old engine so it seemed the obvious choice to retro fit this onto my new motor. It also gave me the opportunity to thoroughly clean the bottom end of the motor internals together with the oil pick up filter etc.
OK new engine cleaned and re-assembled ready to hoist back in.
Fairly straightforward process. The only real problem I had was trying to re-attatch the catalyst headers back onto the exhaust manifolds - best hint is to remove the studs completely and re-insert from above once the flanges are aligned.
Clean inside and out
Now time to replenish vital fluids and charge the battery ready for lift off.
OK gentlemen - START YOUR ENGINES
I Repeat...........OK gentlemen - START YOUR ENGINES
Mmmmmm that doesn't sound right, no ignition, engine spins freely but not a hint of fire in the hole.
No problem indicated on dash, engine turns over, smell of fuel but not a hint of firing. Try all usual tricks but still no start :-(
Right I'm off to my cave to sulk, and to do some more research
I'm going to re-trace my steps and see what I could have screwed up
If the engine spins freely and you smell fuel, you probably have bore wash.
Several methods for curing, from holding pedal to the floor and use short bursts on the starter to clear excess fuel from rings, then easing up on pedal to removing plugs from at least one bank and adding a tsp. oil to each cylinder, then crank a few times to disperse oil with plugs removed.
But neither of those will work if you don't have spark or timing is somehow off.
This is an important question- did you compare the flex plates to make sure the were identical or did you swap them out? If you swapped an AJ26 with an AJ27 they are different. I don't want to send you off on a goose chase, but when I did my AJ26/AJ27 swap I had to switch them as they were different.
And what about the camshaft timing ring/sensor? The AJ26 engine has these fitted on one cylinder head while the AJ27 has them fitted on both heads. The rings are different, you need to use them from the AJ27 engine.
From your info the original engine is an AJ27 (with a different flex plate to the replacement 26), this will not start so it's engine back out I'm afraid.
Fit the original 27 throttle body with a new gasket.
Fit the original 27 flex plate for correct firing signal to the crank sensor.
The 27 head sensors what exactly have you done with regards to head work?
Weigh out pulling the trans and replacing the flex plate vs removing the engine- it might be more time-effective. Also, I hade to "open" the hole for the alignment pin on the flex plate in orderfor it to fit. I have a picture of both flex plate side by side in my garage photos.
If you pull the trans, it will give you a chance to look at the A-drum and inspect for cracks as well.
OK Guys I've slept on it and had a brainwave, when I noticed that there was no cam position sensor on bank A or rotor on the camshaft I simply fitted the camshaft and sensor from my original engine. Stupidly I only swapped the Inlet cam on bank A because bank B already had one so it didn't need changing. I had absolutely no idea that there was two different designs of rotor! On a whim I inspected the other heads lying around in my workshop and was horrified to find rotors with one lobe and rotors with 3 lobes. My original bank B head was the 3 lobe variant. I sheepishly removed the cam cover on bank B on my lovely new engine and this is what I found
Only 1 lobe on my rotor
OK now I understand why she won't start. Right where did I put those spanners. 1st plan is to try to swap the inlet camshaft insitu, 1st problem is have already returned the Jaguar toolkit I hired during the transplant. I've seen how they work so I'll just make my own. Turned a little boss and machined some flats for the crankshaft locking peg and made the camshaft lockdown tool from thickwalled 1" square tube with crossholes for the mounting bolts.
Home made cam lock tool
No matter how I tried I could not get the camshaft out, really, really close but not possible
Some things just can't be done!
Nothing else for it but to whip the front cover off again to release the primary chain to allow me to swap the camshaft. Ah that means time for more tool making, this time a front pulley exctractor.....more 1" square with a M12 HT nut welded to it.
Front pulley tool - crude but effective
Not too bad of a job, I reckon I could do a full primary & secondary tensioner change in under four hours now and that includes making the tools :-)
Refitted all the chains and sealed it all back up again.
OK gentlemen - START YOUR ENGINES
I Repeat...........OK gentlemen - START YOUR ENGINES
Mmmmmm that STILL doesn't sound right, engine spins freely and this time she is trying to fire but still not quite right :-(
So what is all this about different flexplates on the AJ26 and AJ27?????
You have got to be kidding me
D's right removing the trans is faster but looking at your pics I'd have pulled the lot and sorted engine then box.
I admire your efforts, Stuart the flexplates are different in the timing slots or spacings for the crank sensor to pick up, it's critical to swap these over but don't worry as you're certainly not the first to find this out the hard way.
There's a few threads of exactly the same problem (engine supplier not asking if 26/27 required is usually the issue)
Once you give the engine the correct starter ring gear/flex plate it should run.
Hi Guys
On the adivice of Sean B and other forum members I've spent the last two afternoons swapping out the flex plate. Very hard work and not at all enjoyable. I opted to partially remove the engine rather than drop the transmission.
Engine moved just enough to remove flexplate
The AJ27 flexplate needed the dowel location hole easing out to 11mm to fit the AJ26 crank boss.
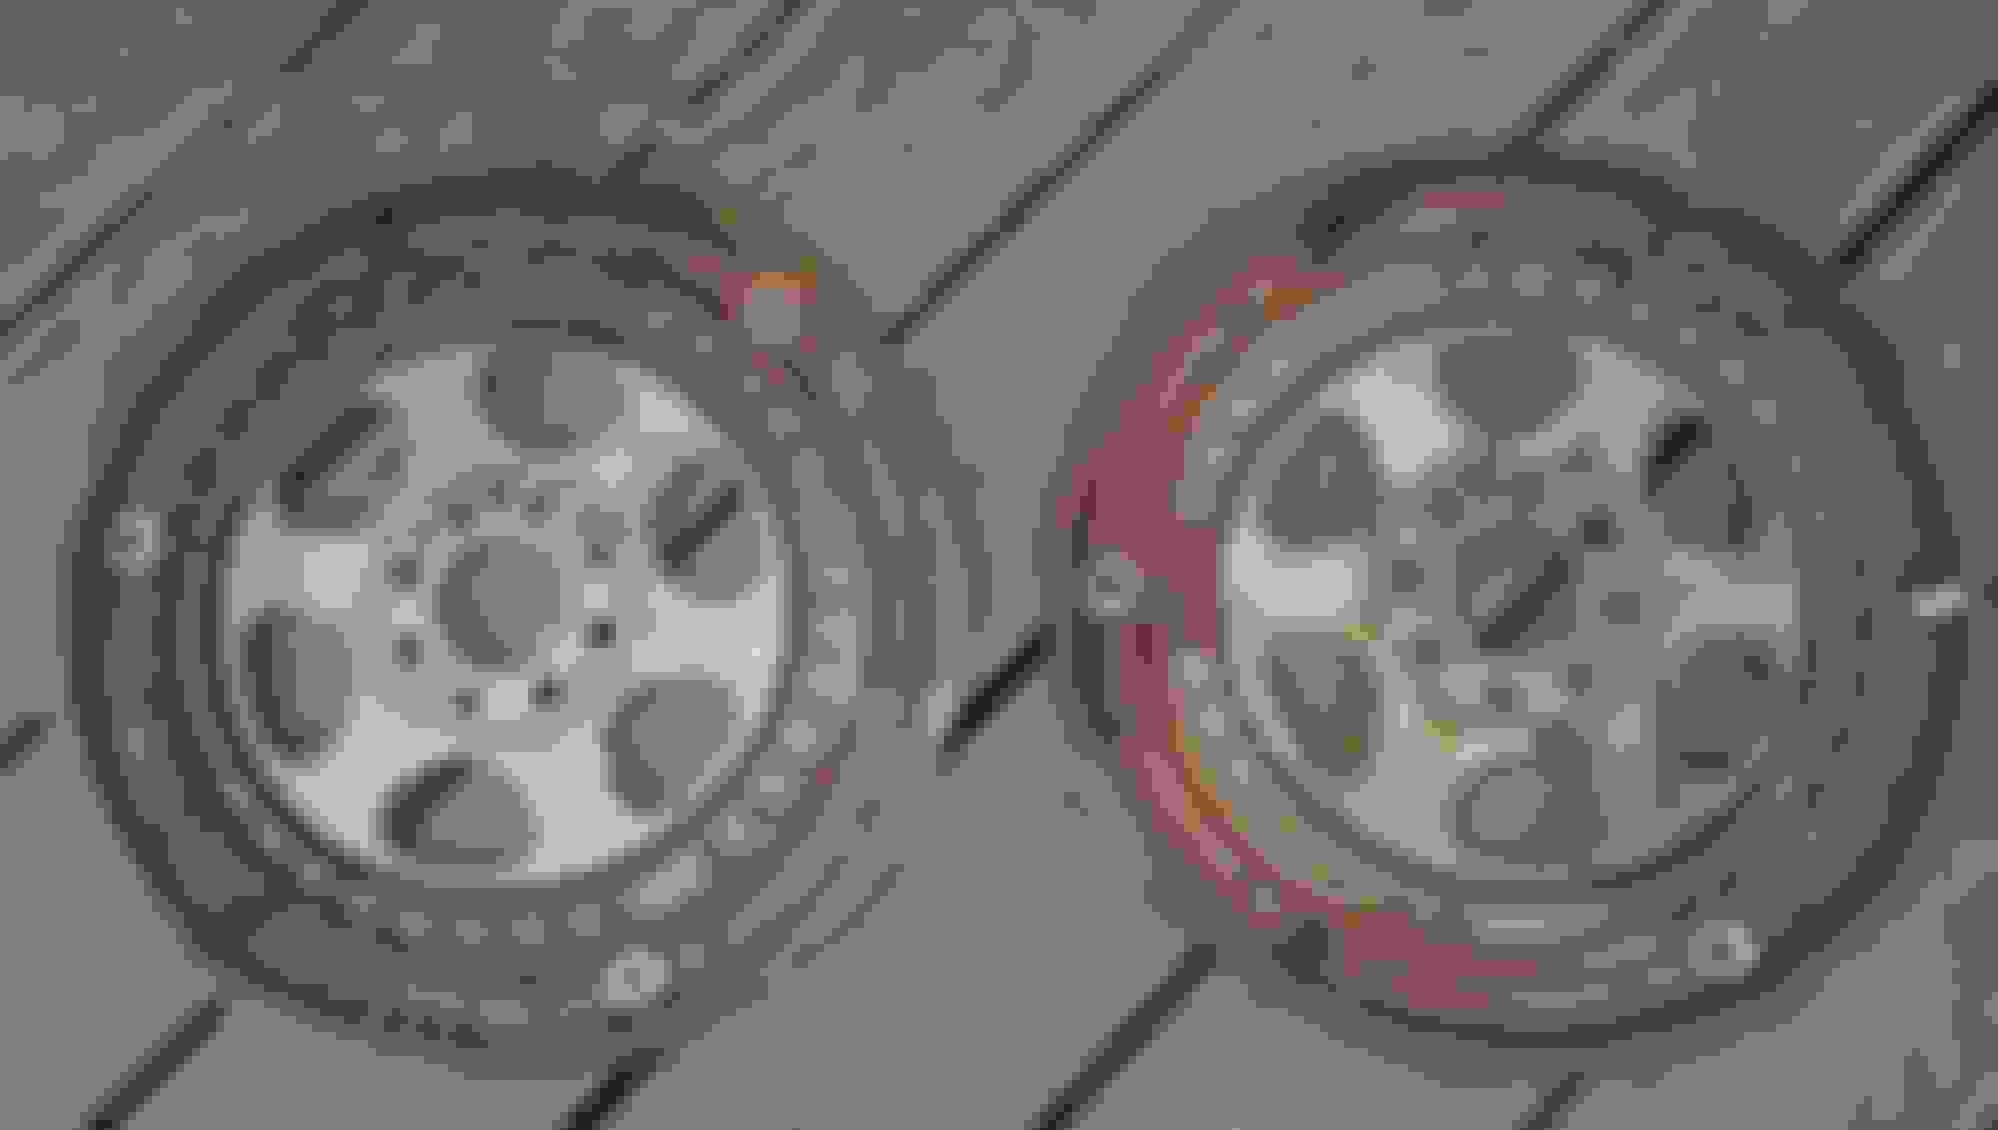
Here are some pics of the two flex plates showing both sides. In my defense the two plates look identical when fitted to the engine you can only see the difference once you remove it and inspect the CPS cutouts on the other, hidden, engine side.
Spot the difference ?
AJ27 on left, stiffer construction and different timing cutouts
So for those that have not been following closely I now have a AJ26 block and heads retro fitted with the following AJ27 parts:-
Inlet camshafts & sprockets (4 lobe rotors)
Cam position sensors on both heads
Upgraded Mk4 chains & tensioners
Inlet manifold c/w injector rail
Throttle body
Sump with 2 oil senders
Front timing case
The disappointing thing is that after all this hard work the engine will still not start. It is now not even firing. I also now have warnings for stability control and reduced performance mode.
Any more advice anyone can offer would be greatly appreciated
Yep, recharge the battery and then go for engine start, this does 2 things
1. gets the voltage back over 12.5V - without this voltage these cars are notoriously sensitive to V-drop and you'll get all sorts of trac/stability warnings, I suspect the prolonged cranking without recharge has drained the battery sufficiently to trigger these warnings,
2. The removal of the battery also gives the cars modules a re-set going back to base settings - I'd bet you'd be a bit groggy after a heart transplant!
Also go over all your connections and double check they're fully connected, a blast of WD helps.
It may also be petrol washed, a drop of oil in the bores can bring a start, albeit smokey
Hopefully this should get it running (the mech side sorted, the elec can break hearts without experience)
Ok, Sean B. has some sage advice here- charge the battery all the way up.
Next step is: check compression- there is a VERY good chance that the cylinders are dry after shipping and sitting for a long period plus you have been cranking without a start, both which lead to oil being stripped from the cylinder walls.
If they are low (15-90 PSI), put a teaspoon of oil in each clyinder and crank it with the fuel pump or relay removed for about 10 seconds 3 or 4 times, plugs out. Then replace the plugs and see if you get it to fire. It might buck and cough for a bit, but should show signs of coming to life. (search the forum for "bore wash" and you will see what I am talking about.
FYI I bought a car Wednesday that the (original) owner said broke a timing chain. He assured me that a Jaguar "expert" had come by and confirmed the diagnosis. It cranked slowly and seemed a bit listless. After getting it home removing the cam covers and finding the tensioners in great shape, I did this procedure and viola! Perfect running 72K motor. They never even removed the cam covers to check. tsk tsk tsk.
Have no fear- if there is compression, we will help you get this thing running!
After a day's R&R to give the battery time to charge to max it's time to try again
So following dsnyder586's advice on starting I have now performed the following ritual
a) Charged the battery
b) Injected oil into bores to eliminate possible bore wash with a syringe
c) Cleaned and re-gapped the plugs
d) Reset the computer by grounding the +ve lead
e) added a secondary battery in parallel for good measure
Still no start or even attempt to fire!
The vdu still reports both stability control and engine failsafe modes after startup tests even before cranking. Please note the reference to reduced performance mode in my last post was incorrect it was actualy failsafe mode.
Can anybody please advise on FAILSAFE MODE causes.
As it is showing this before cranking then it can't be mis-timed crank or cam position sensor signals at fault - can it?
Time for more research and logical thinking
The trac/stability and failsafe mode errors occured after the last engine lift to change the flexplate. Reading through previous forum posts on these errors suggests one of three main causes.
1 Brake pedal switch -I can hear the shift lock solenoid clicking in and I can move the selector so I reasoned this was not the cause
2 Throttle Position Sensor - as nothing had been done in this area I eliminated this from my enquiries
3 CAN Bus connections - I had disconnected the main engine harness when moving the engine. This comprises two connectors on the bulkhead - the main bolted big connecor and a secondary, smaller, plug and socket.
Inspection revealed the second connector was not clicked fully home. Once correctly fitted both the trac/stability and failsafe mode errors disappeared :-)
This time as soon as I turned the key the engine burst into life but unfortunately only for a few seconds. The engine stopped and has not started since - It cranks fine with no errors, it is trying to fire but just won't start and run. When it was running there was a lot of fumes emitting from the open primary breather stub on the bank A cam cover.
I am thinking that my cam timing may be off as I have has the cams and chains off several times now. The AJ27 flexplate now fitted does not have the timing indicator arrow mark stamped on it and my homemade crank position locator will fit into any of the slots on the flexplate not just the intended one. Because any minor error in positioning the camshaft is doubled at the crankshaft I am wondering if I might have re-assembled my timing chain, cams etc with the crankshaft one hole out. I'm going to check the camshaft flats while looking through the crank position sensor hole to see if the correct hole on the flexplate is where it should be.
"lot of fumes emitting from the open primary breather stub on the bank A cam cover"
Is EVERYTHING connected, including the breather hoses? Won't run without everything connected...
Although you DO need to make sure that the valve timing is correct..... If you didn't change anything from one flexplate to the next it should be fine tho.