When you click on links to various merchants on this site and make a purchase, this can result in this site earning a commission. Affiliate programs and affiliations include, but are not limited to, the eBay Partner Network.
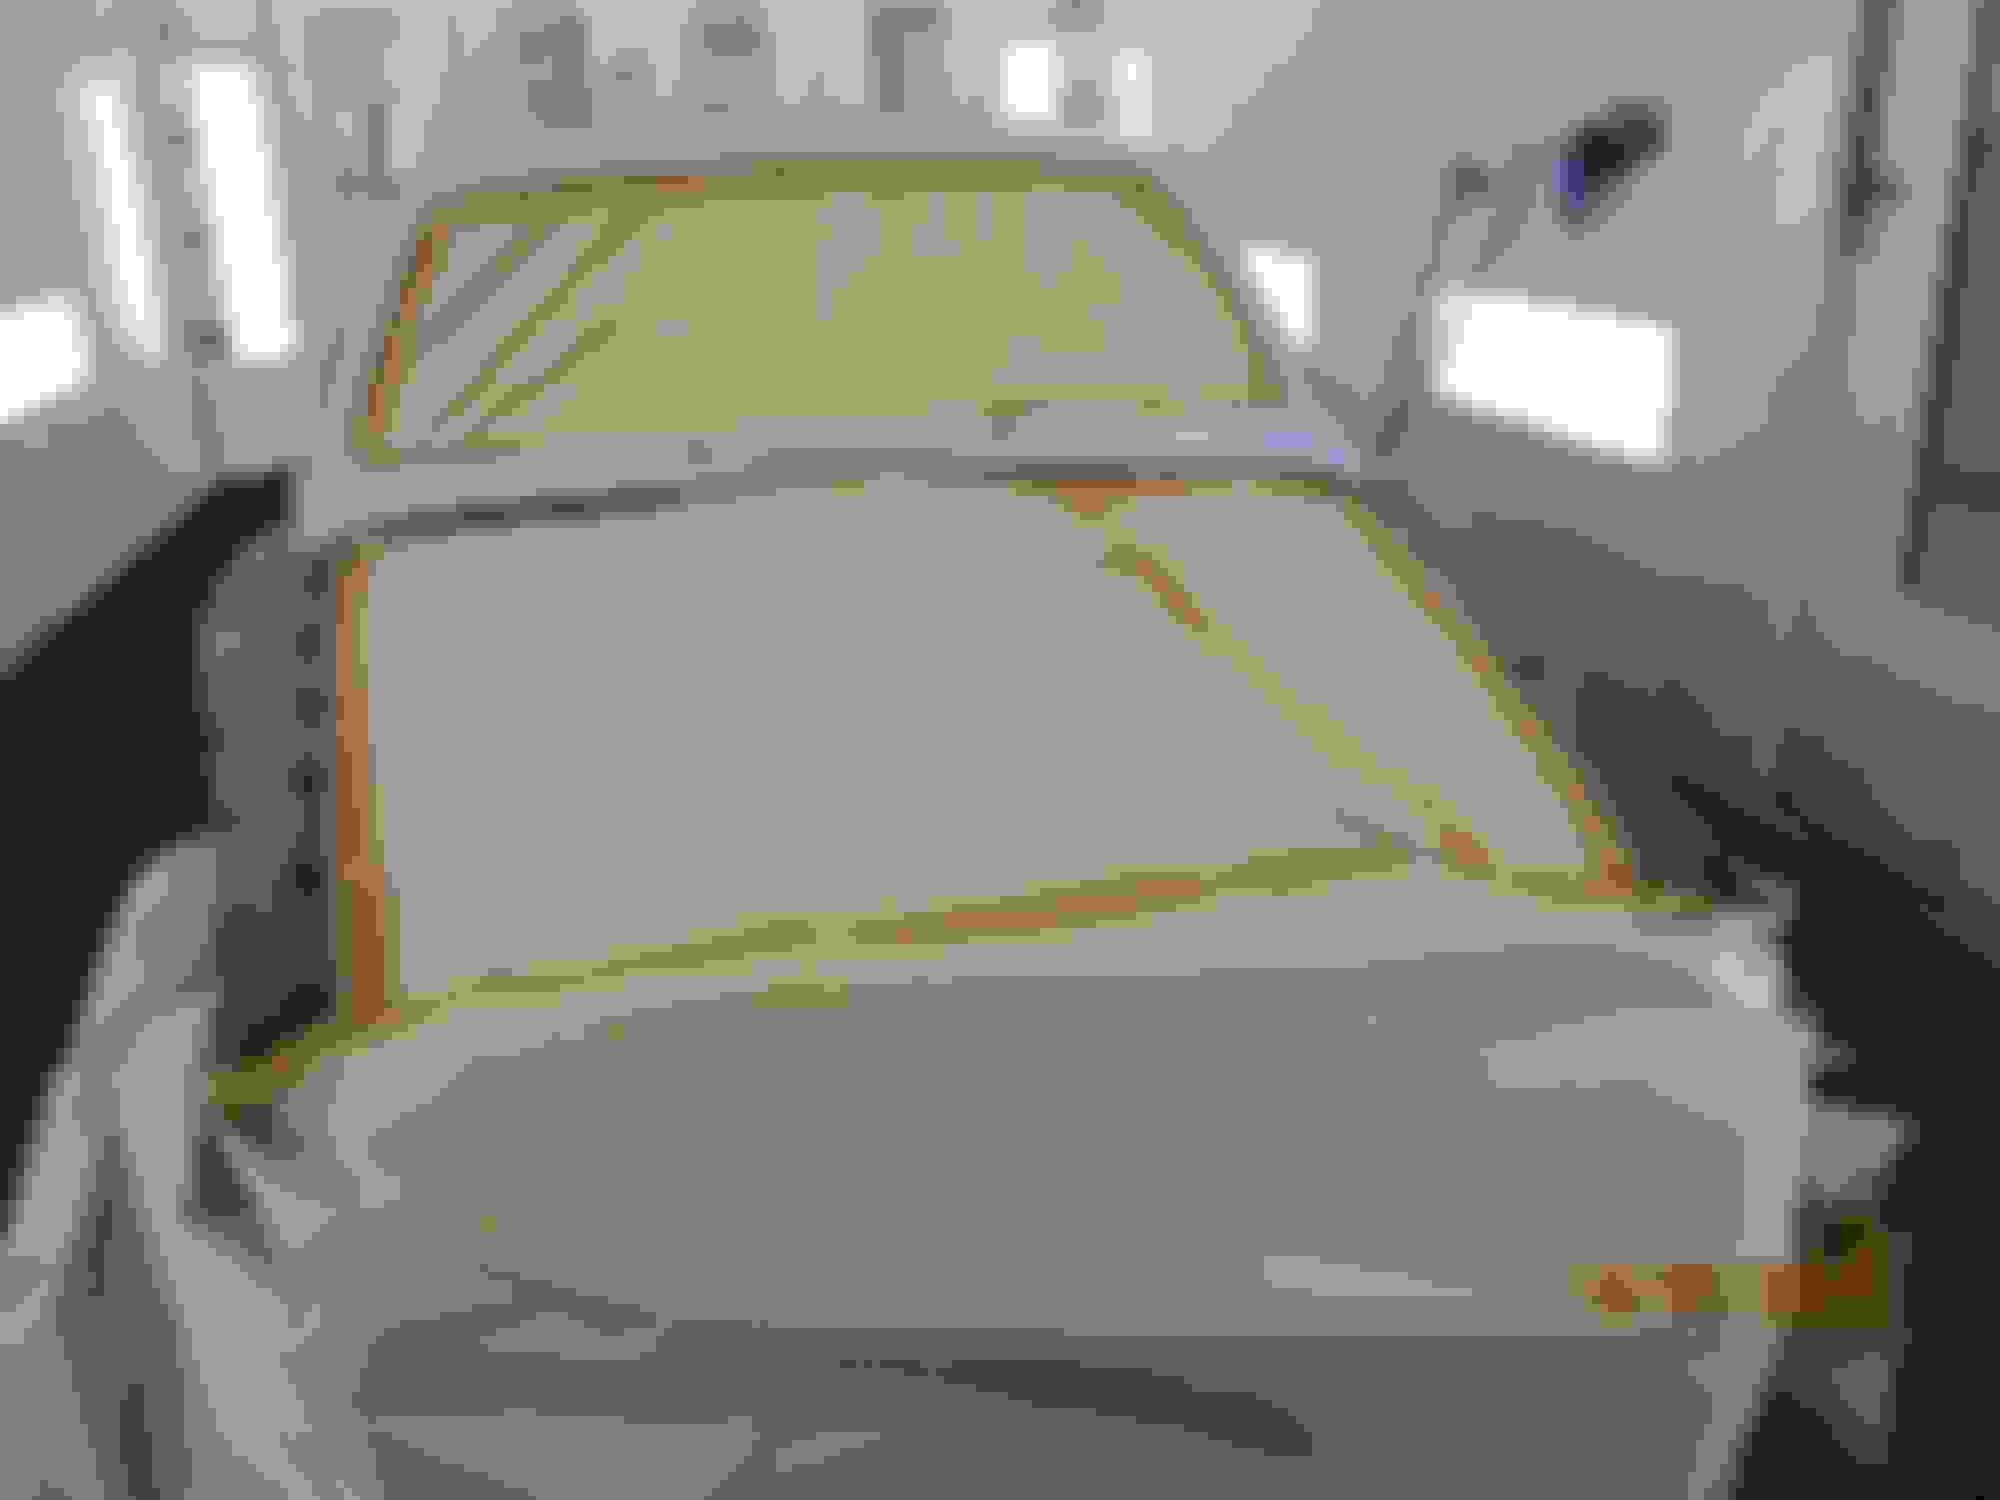
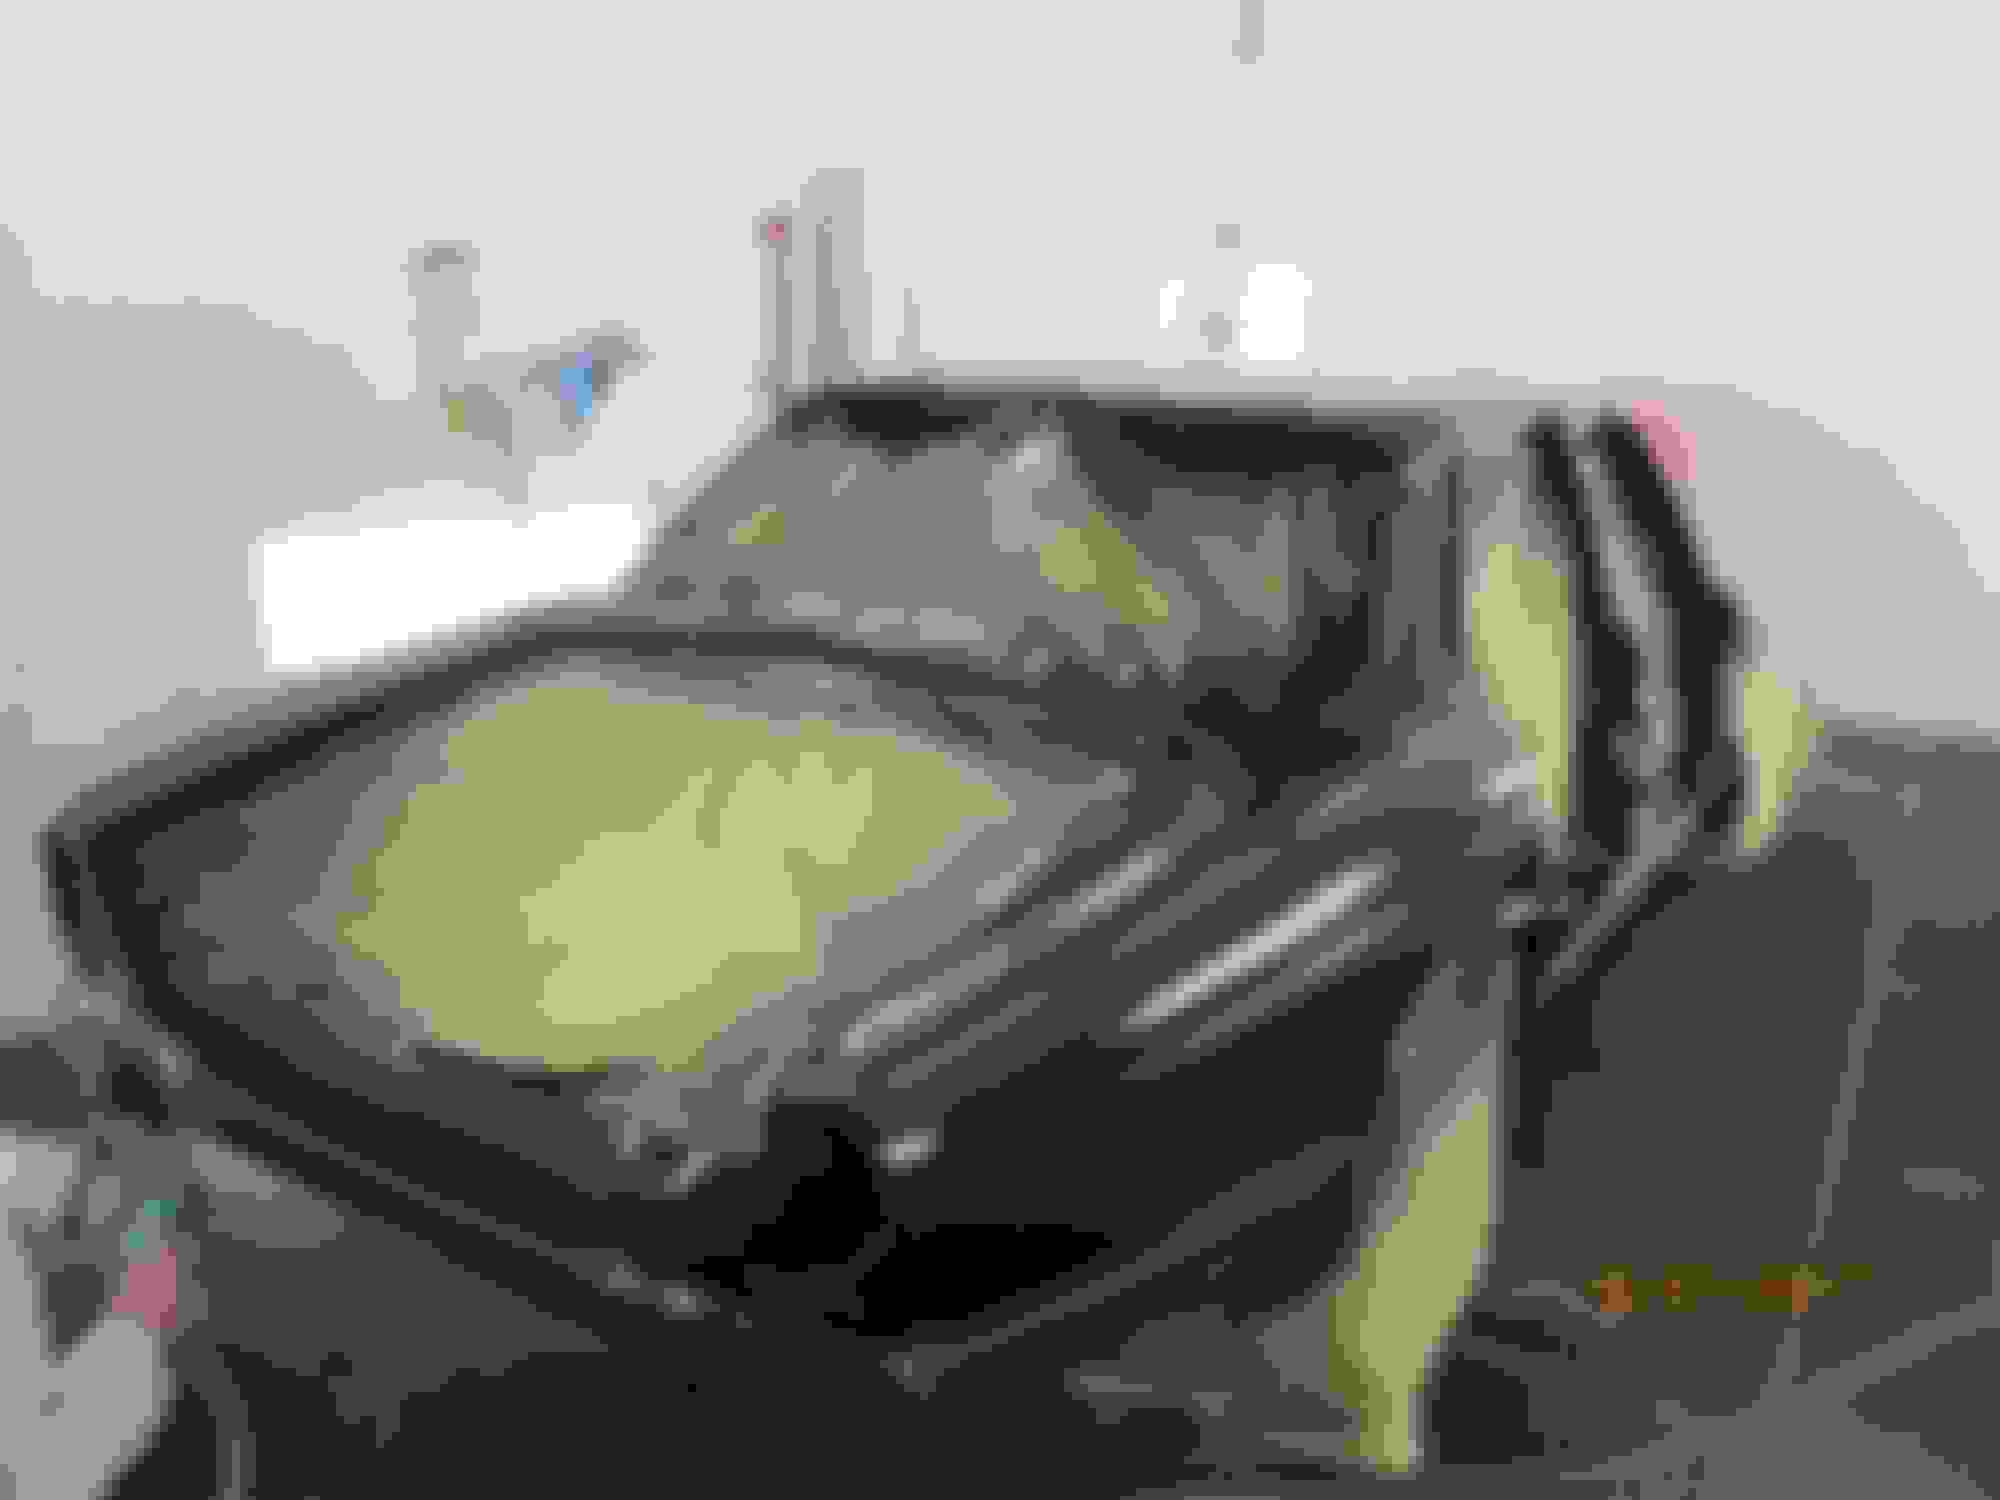
And the bonnet has been sprayed first in wash primer, then filler and then two layers of clear coat. This shows all the imperfections (there weren't any), before the clear coat will be lightly sanded and the colour coating will be applied.
This picture shows the bonnet in wash primer, filler and clear: (all detachable parts will be treated like this from the in- and outside, as will the body. Then all parts will be reattached to the car and the whole car will be sprayed in its final colour, being Audi LC9X "Orca Black Metallic". ) 1 layer of anti corrosive wash primer
2 layers of body filler
2 layers of Cromax Clear Coat
Last edited by Dutch-Cat; Apr 18, 2017 at 12:41 PM.
Orca, the "killer" whale belonging to the Dolphin family. Gorgeous black with white creatures. Very descriptive name.
A few month ago, a fellow with his brand spanking new VW Passat parked alongside.
About the deepest black I've ever seen. Same or similar I suspect, same family....
interesting you put the clear over just primer, no actual color coat?
NICE
On the bare metal, we applied a thin layer of wash primer (anti corrosive) and then 2 layers of body filler.
Then we applied two coats of clear coat.
By doing this, any imperfections (dents etc.) will show and can be corrected before the base coat is applied. If all is well and the filler has had some time (about a week or two) to set in and dry out completely, the clear just needs to be sanded lightly and then the base coat can be applied, followed by again a few layers of clear...
This procedure is a lot more paintwork, but guarantees a mirror like finish...
I kept mine !! It does it's job from time to time. the primary latches release, one or both, from time to time??? Bumpy roads seem to do it. And, although, my Efan and electric water pump and big four row core brass radiator have cooled my LT1 just fine.
It is a back up. Pop the latches in an extreme heat situation, allow more hot air to exit the crowded engine bay.
I did remove the "monkey motion" device at the front right. Bonnett opens more. Better to mess around in. I have two dedicated "off board" struts to prop it up as a safe guard for my noggin.
And, indeed, pulling the plugs from it's former 4.2 was simplicity to the max. Tough, I only did it once. Found 0 compression in all holes. The end of that engine....
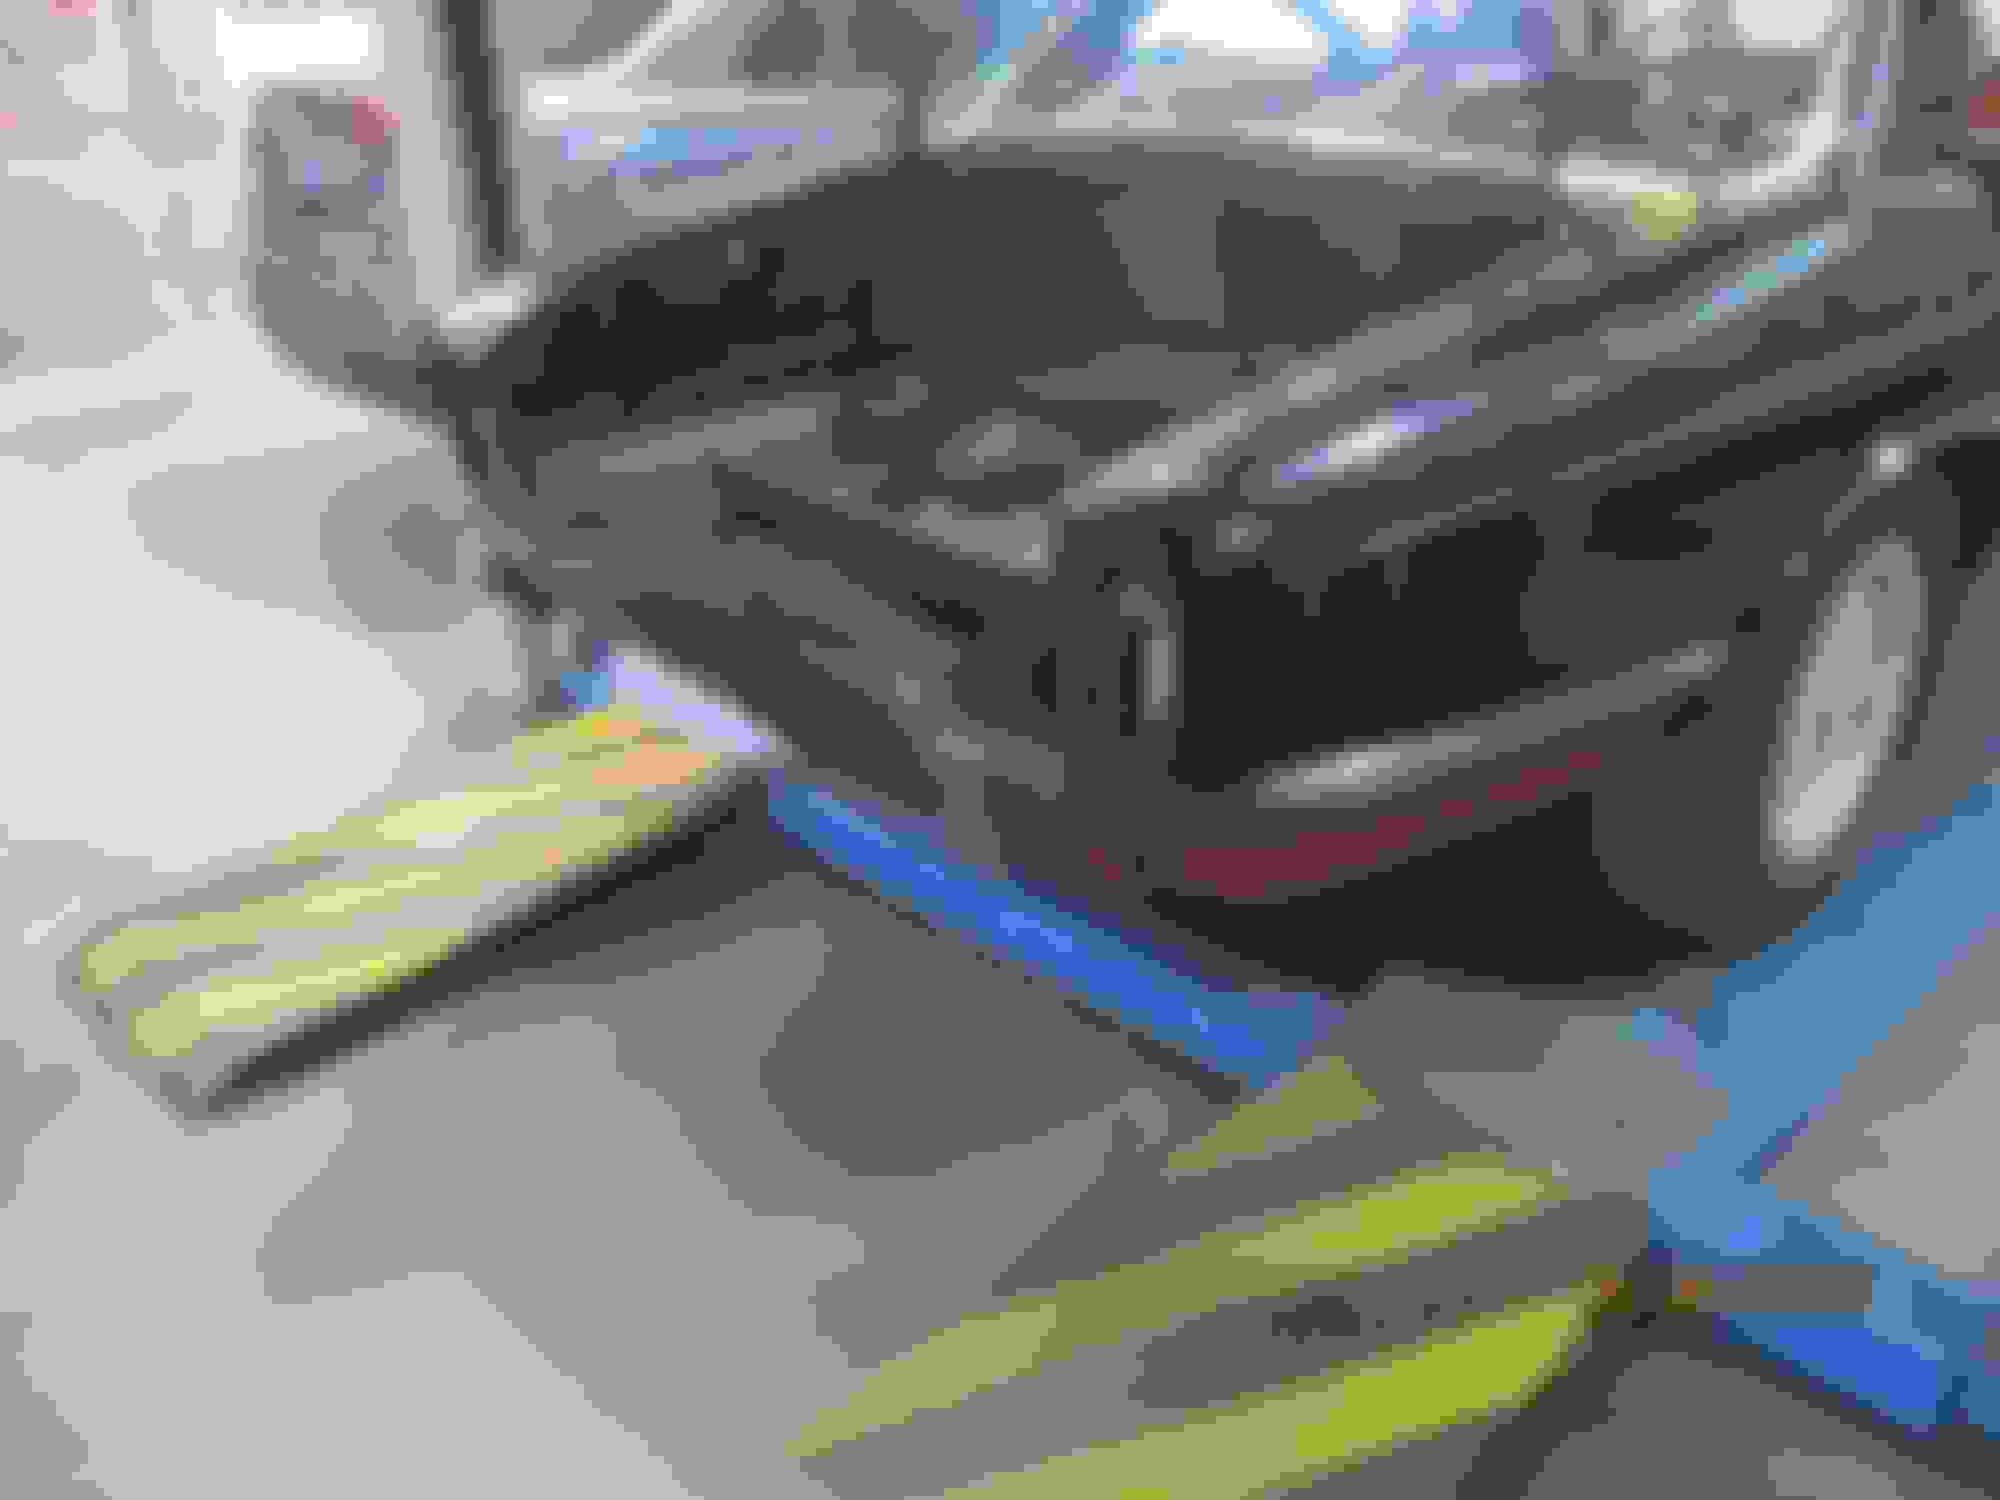
My poor Cat after our apprentice ran an electric car into the back....
That same apprentice panel beater now has to undo the damage he caused: Poor old cat with p.i.t.a.
Yet some more p.i.t.a. Reconstructive surgery New rear valance, made to fit the original..
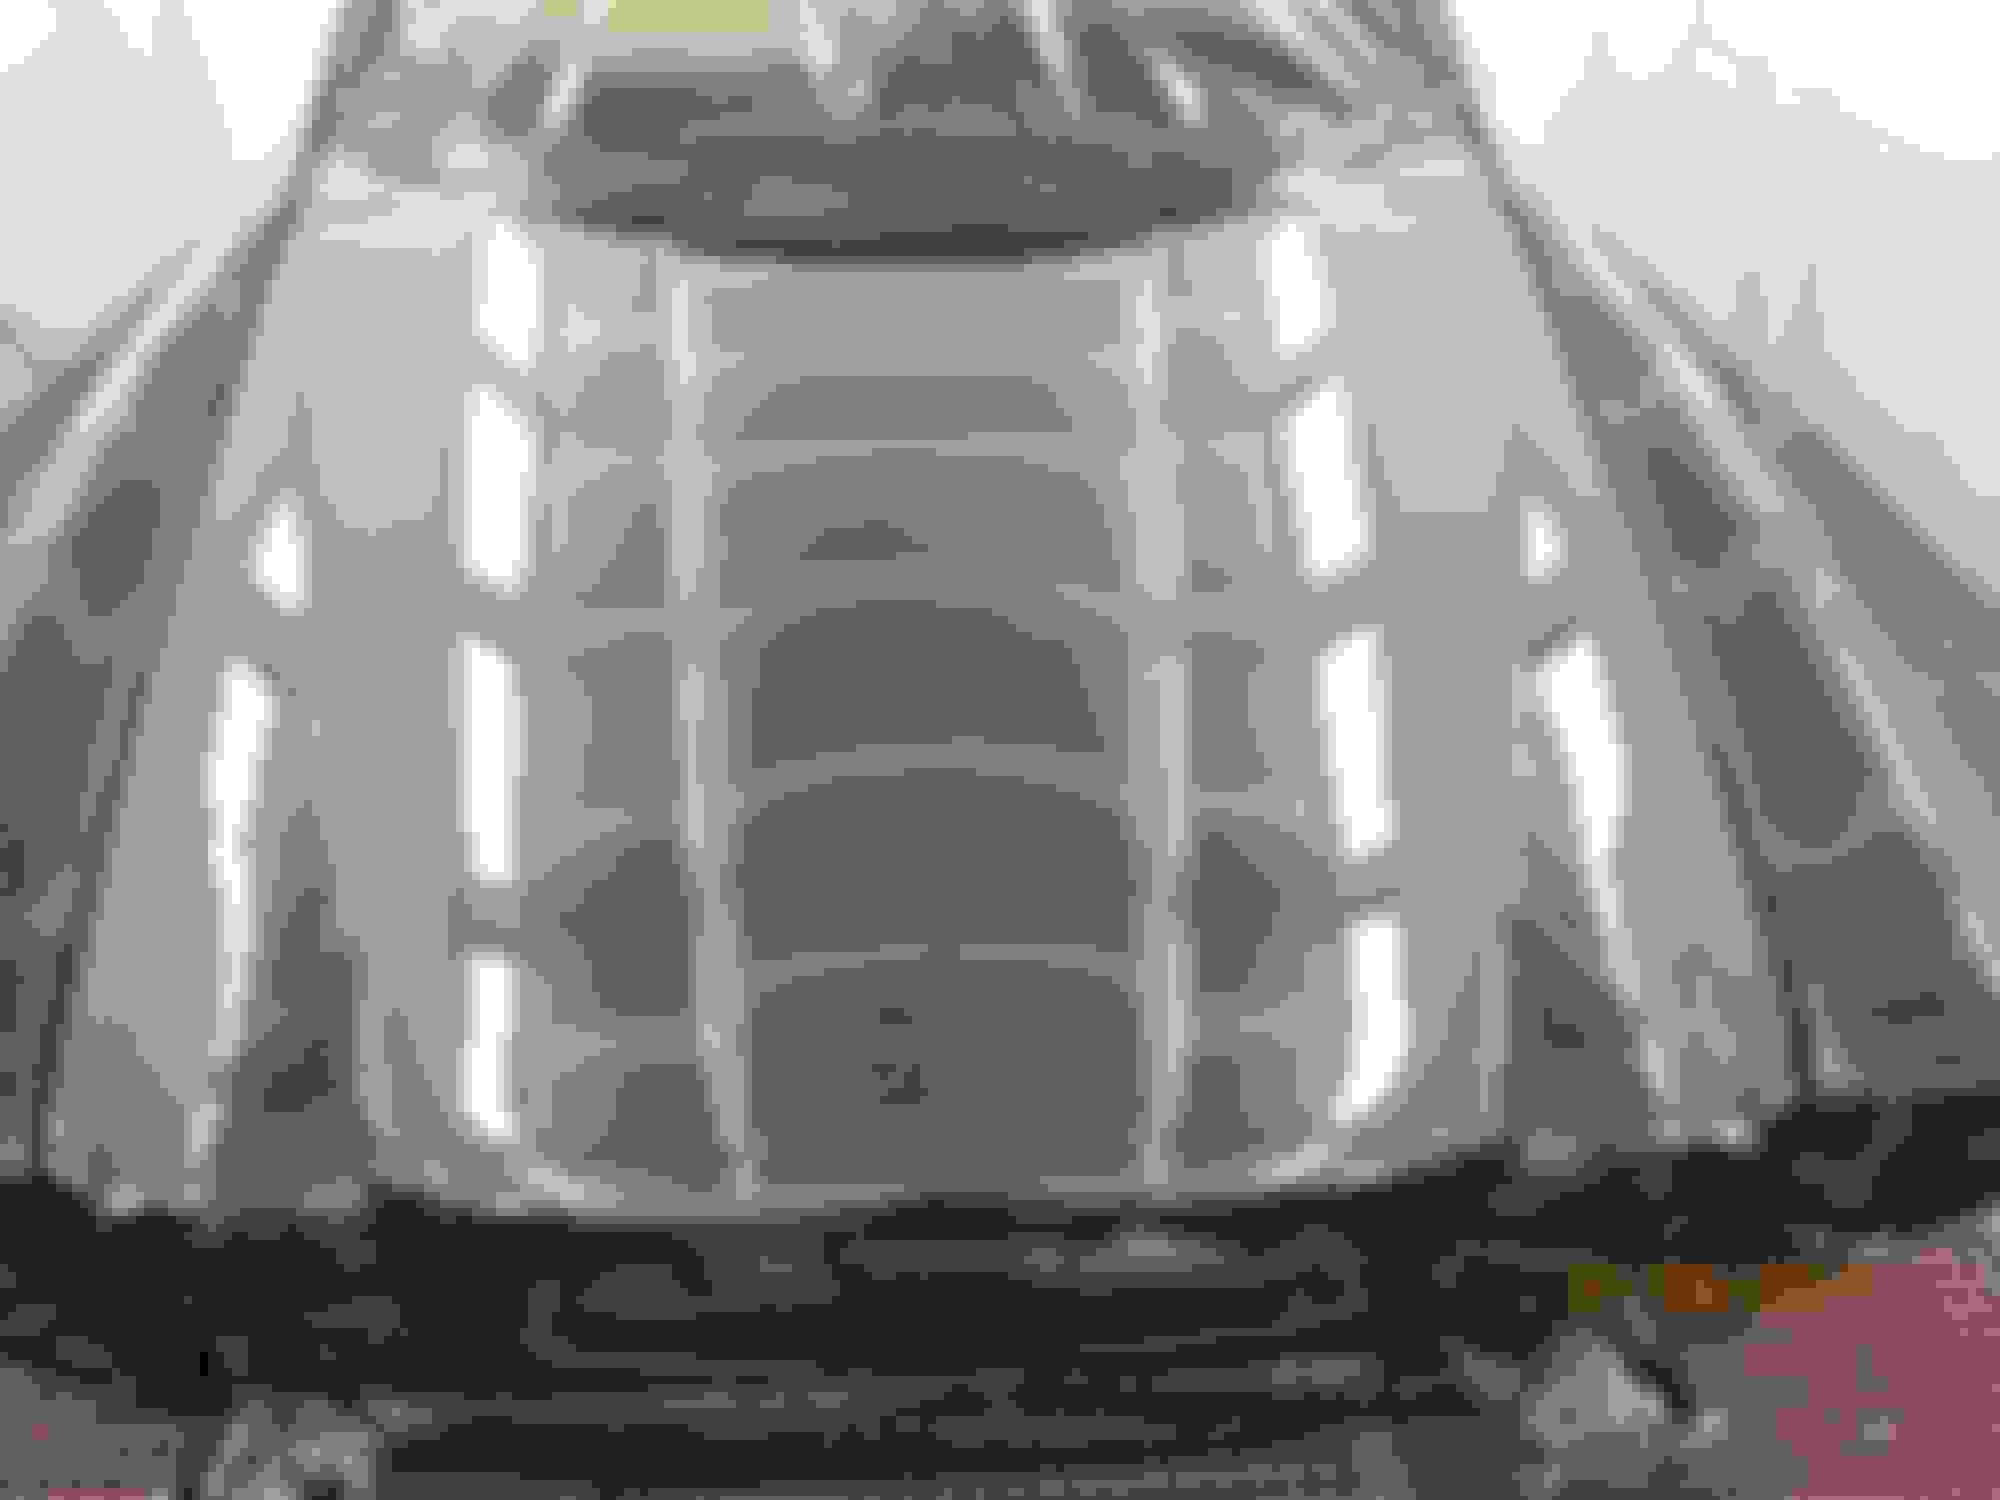
And the normal work in sanding to the bare metal continues: Just sanding every layer of 80's British thermoplast gunk off to the bare metal
Notice all the old rust damage in the window frame and on the waterbox panel. All the rust brushed out with a rotating brass brush. Next step is anti-corrodant and filler.. right hand lower corner: the culprit for the wet interior....but: not every piece of metal was corroded....
Everything is coming together nicely now.
Next week the body will be painted (Audi LC9X, Brilliant Black Metallic), then all the doors will be built back into the chassis and the whole thing will be painted one more time...:
Everything in the filler now... No more holes, no more rust...just bare metal covered in anti-corrodant and primer... dito... Maybe I should leave the roof white? :-)
Man i wish i had the bodyworking skills you have. My car is in need of all of this too
I can't wait for pictures to come.
It's no rocket science really.
You just need to give it a try.
The really difficult things like swapping panels etc I don't do myself.
Luckily I'm a partner in a damage repair shop and can rely on my staff of excellent panel beaters and painters to do those things for me.
The guys really enjoy working on something hand made every now and then.
Also the sheet metal used back in the days (though very prone to rust), was a lot thicker than on the modern cars. That means that even if you see rust, it doesn't necessarily mean that the metal is lost beyond repair.
Our painter is delighted to be able to do this job, because he can practice all his skills and craftsmanship on this baby. For example: any regular modern day car, you would just sand down the clear coat and repaint the car. On these old babies, all the old paint and primer needs to come off because it is incompatible with the new paint systems.
Would one try to spraypaint such a car in the normal modern day way, all the old paint would liquefy underneath the new paint coat, wreaking all kinds of havoc on the paint job.
The only way to do the job properly is to sand it completely down to the bare metal.
We chose to go that extra bit (the car will become a show case for our business) and first apply an anti-corrosive primer, then two layers of clear coat and let it sit for about two weeks.
Doing this, lets the primer harden and settle. The clear coat will uncover all the imperfections like dents or other to the naked eye.
This allows us to repair those imperfections before the color coat is applied.
When everything is up to standards, the car will be sprayed in two full layers of color coat (Audi LC9X) and two or more coats of Ultra brilliant Old-timer spec clear coat. This should result in a mirror like finish.
More pictures to follow along the way.....
Last edited by Dutch-Cat; Jul 1, 2017 at 05:07 AM.
Reason: grammar
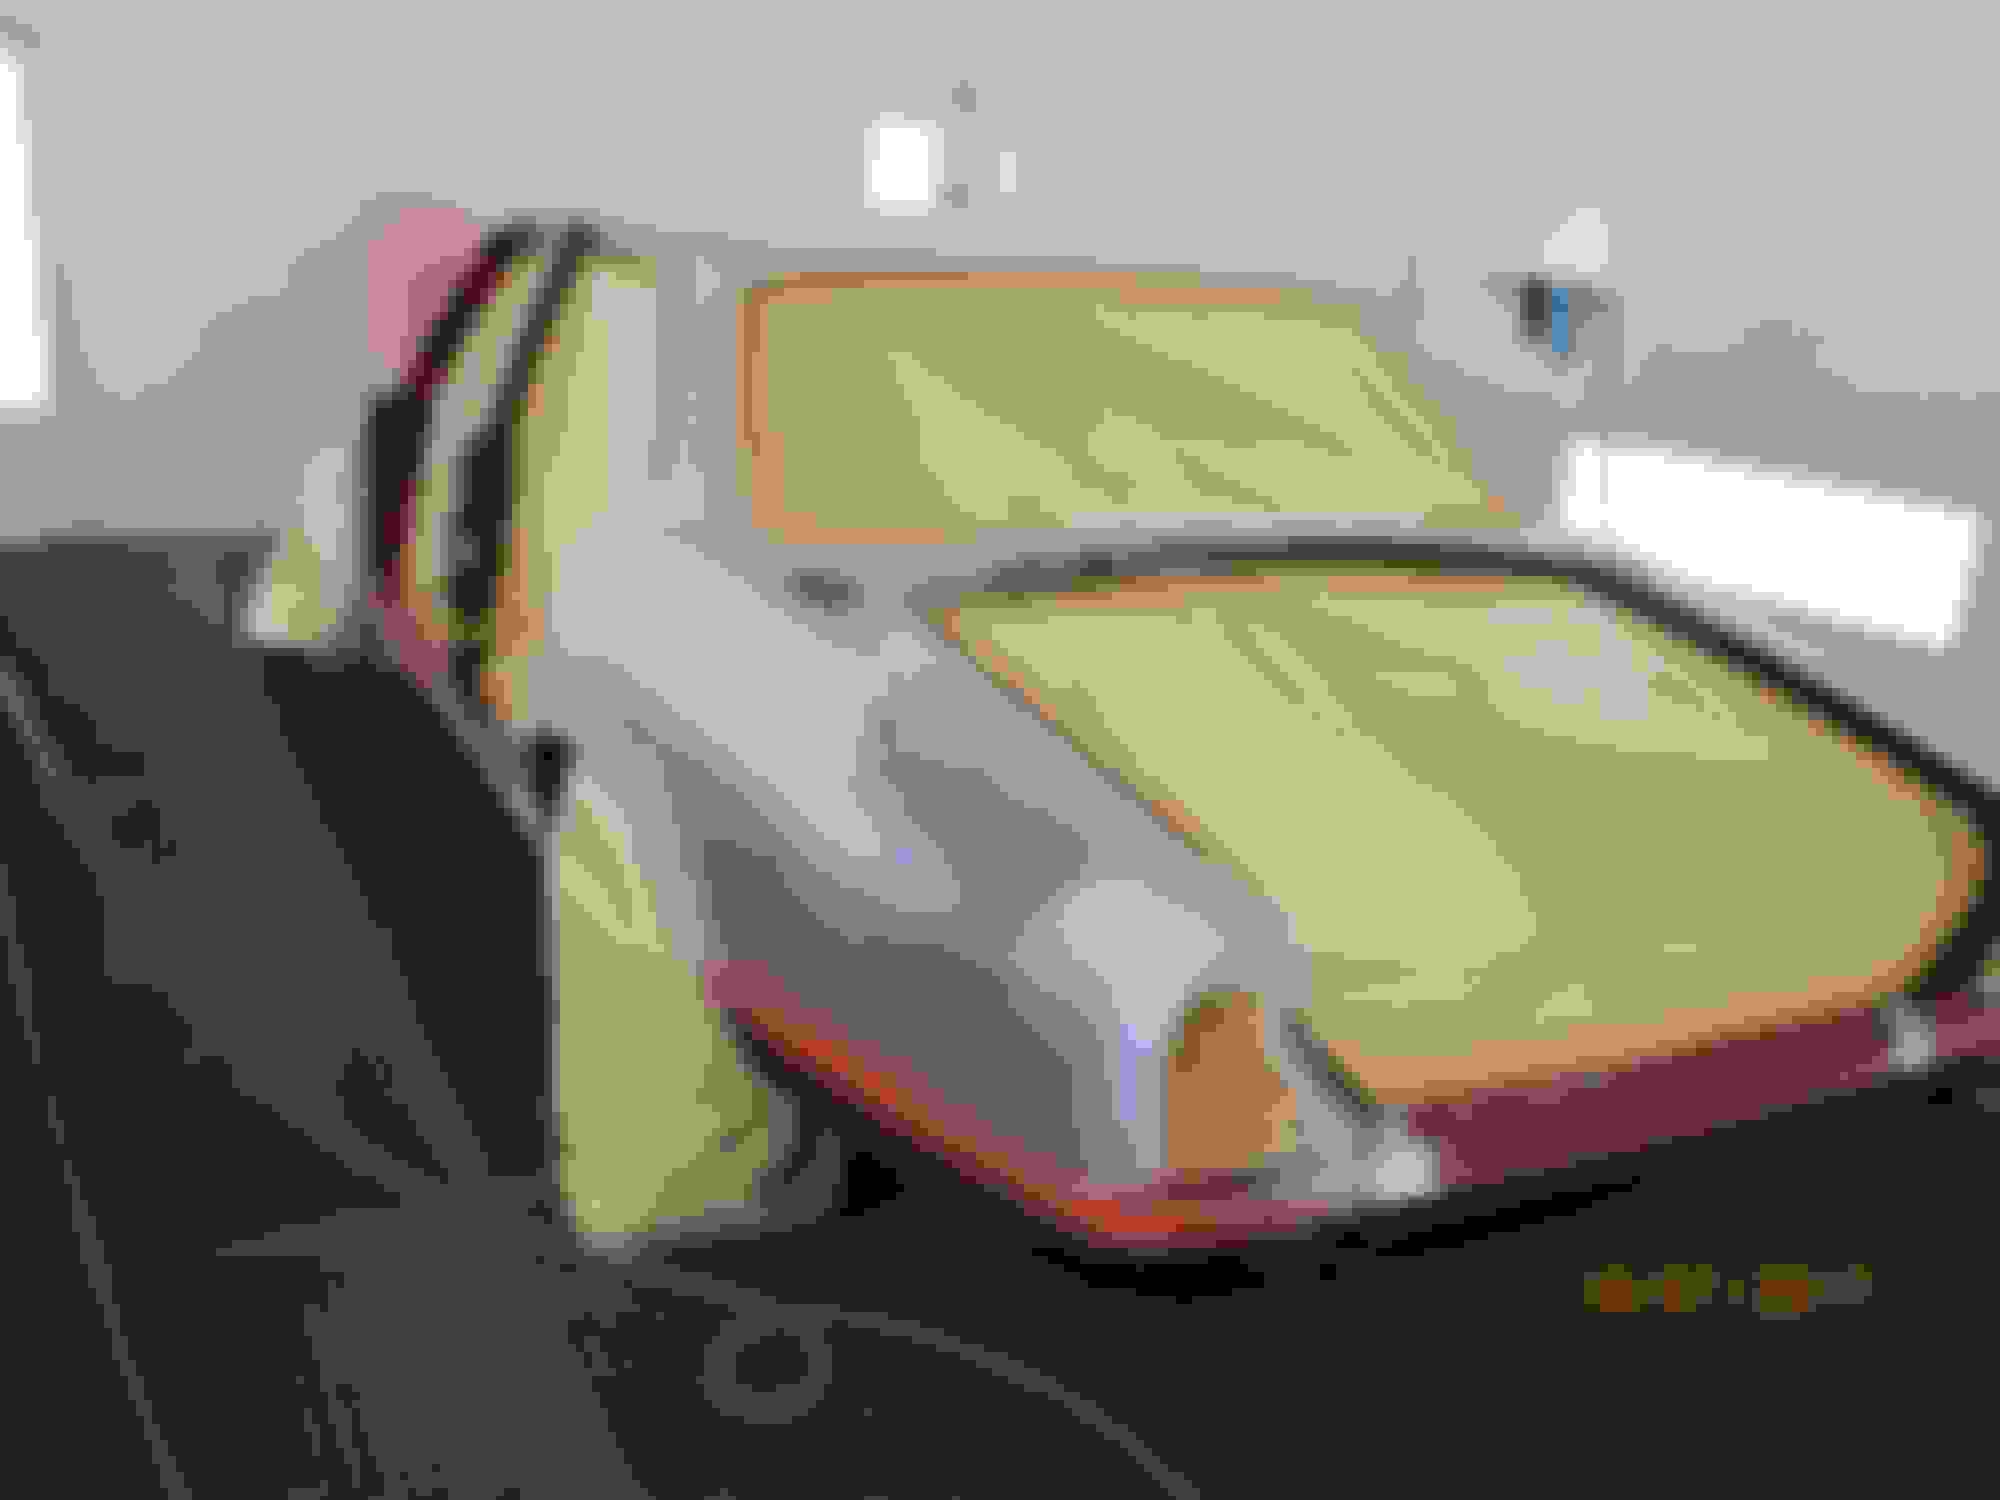
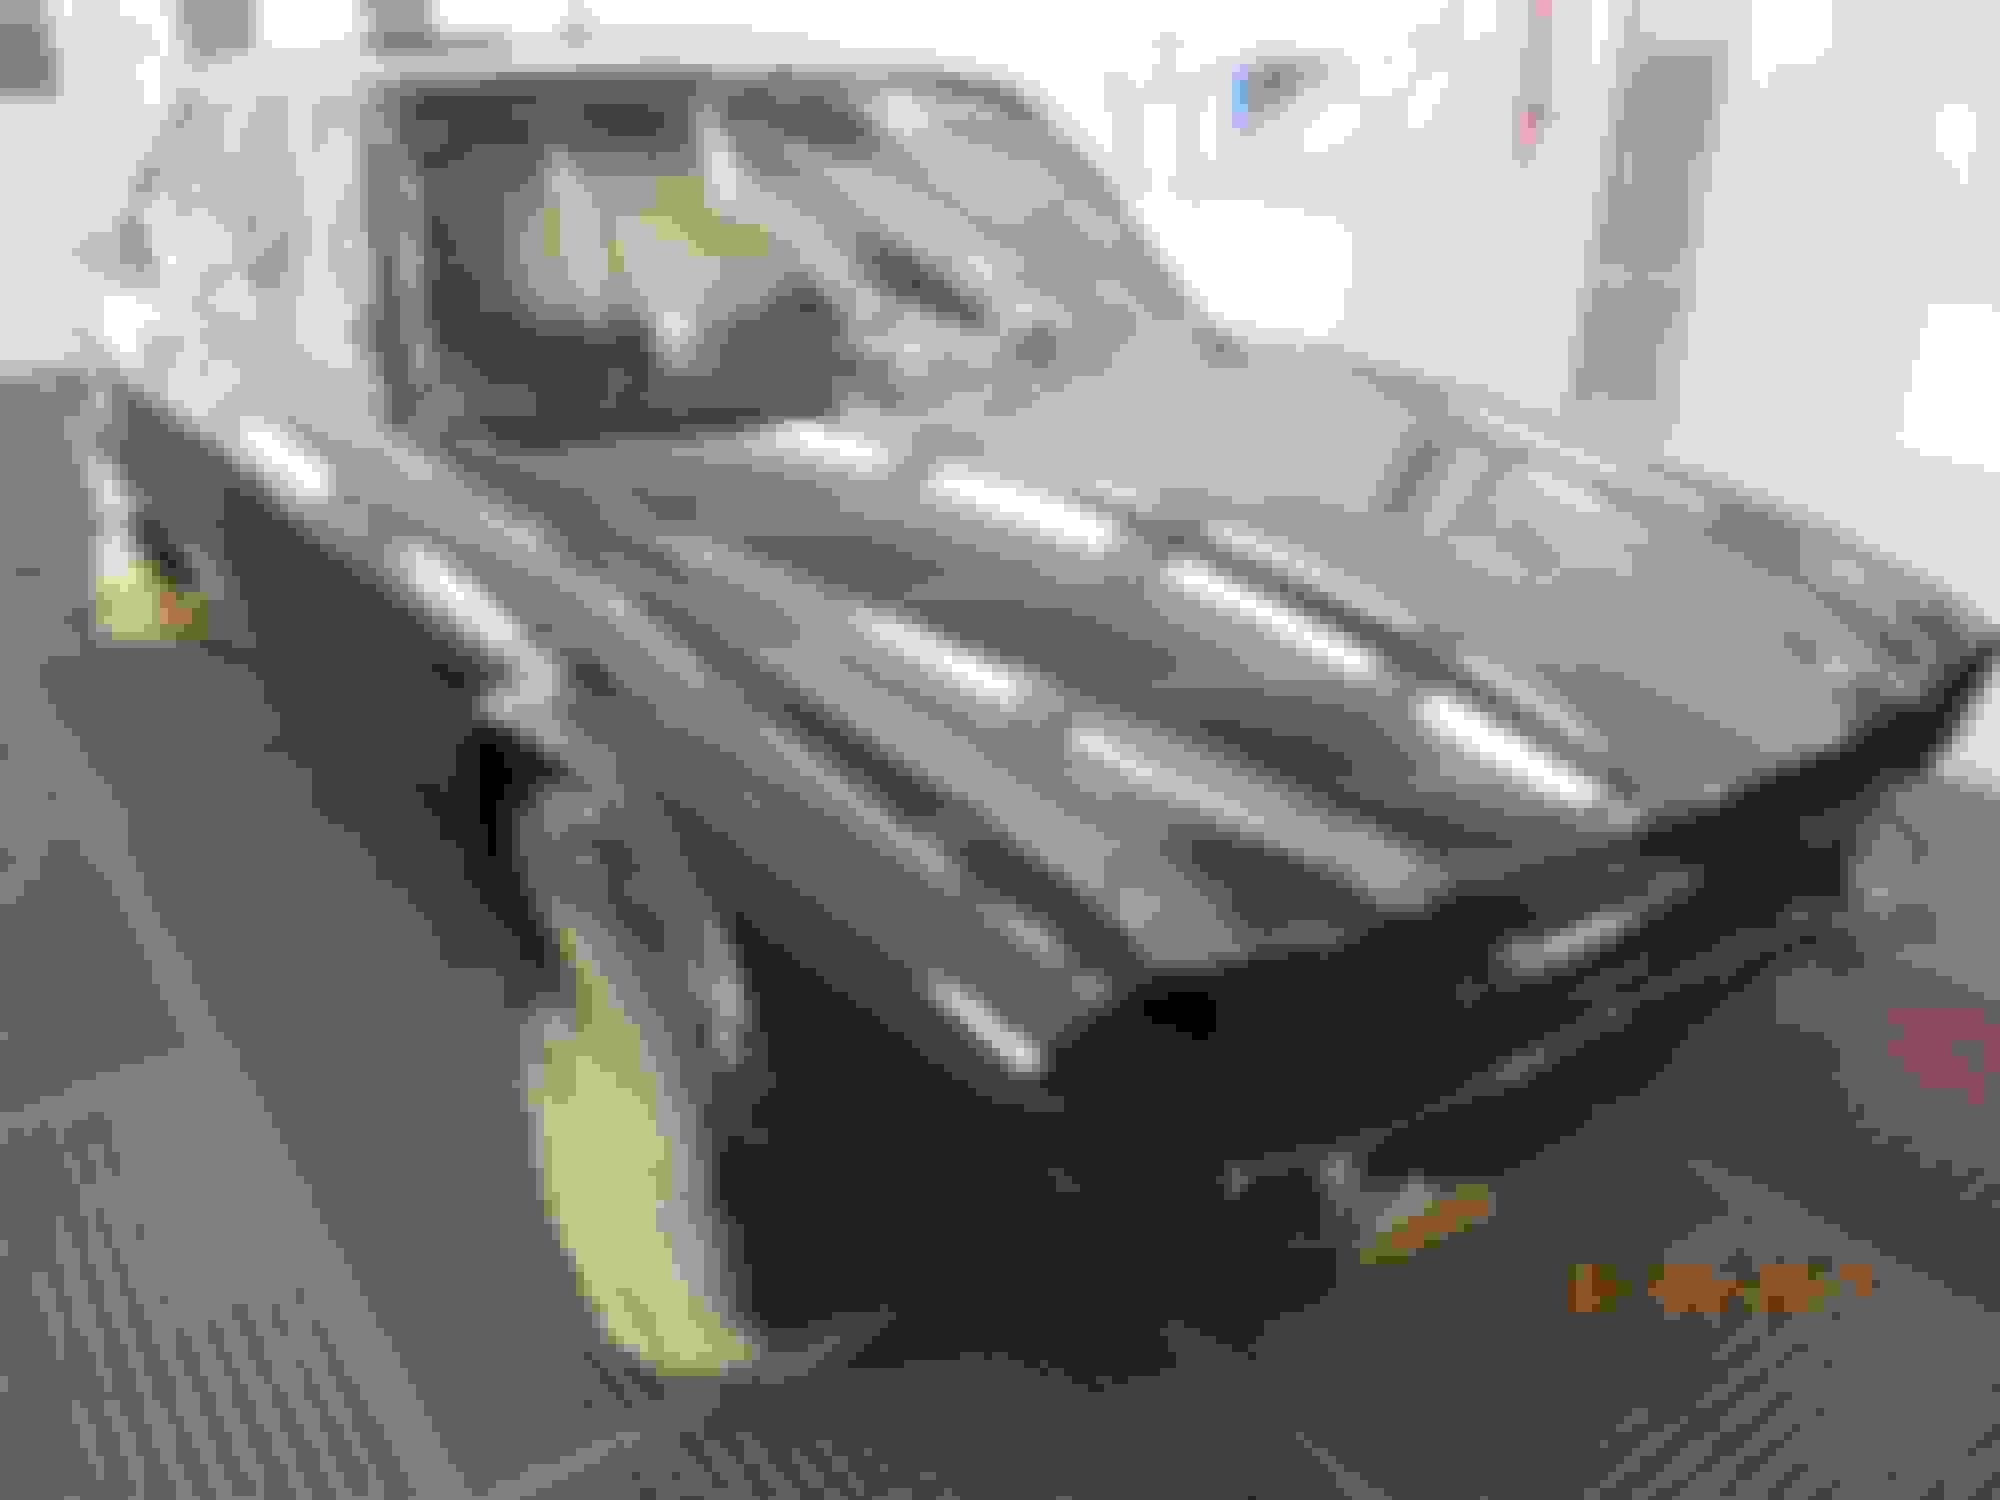
First session in the paint booth for the body today:
After this, the doors, roofpanel, bonnet and rear cover will be mounted to the body. Then everything will be lightly sanded once more, one more fresh coat of base will be applied and several coats of clear....
prepping for primer... prep work Base coat complete, first layer of clear coat being applied. Finally some fresh paint!!
The entire car was spray painted with conventional thinner based paint....no waterbase **** on this baby....the clear coat is specially for oldtimer vehicles, giving it a perfect deep shine, without being to smooth. The cars weren't smooth from the factory too.
I have seen cars and bikes getting demerits on shows because of the overly smooth paintwork...
She drives like a dream:
- No rattling noises what so ever.
- Throttle response is great, the afterburner still works
- braking is quite reasonable for a 31 year old car with brakes designed in the 1960's
- fuel consumption is quite moderate for a 5.3 litre V12. I burn 1 tank of fuel in 250 - 300 kms (highway use. city use is a different story)
- some small things that didn't work (like the indicator lights in the dashboard) all started to work when I starting using her on a daily basis.
Hope to have her in this condition for many years to come... (that's what I hoped for with my wife too and to be honest....I seem to be quite lucky in picking quality.... )