When you click on links to various merchants on this site and make a purchase, this can result in this site earning a commission. Affiliate programs and affiliations include, but are not limited to, the eBay Partner Network.
I have started the job of replacing the fans but I am stuck.
Hoping for some advice please.
I have removed the top radiator support, no trouble there.
Slide some cardboard in from the top to protect the radiator.
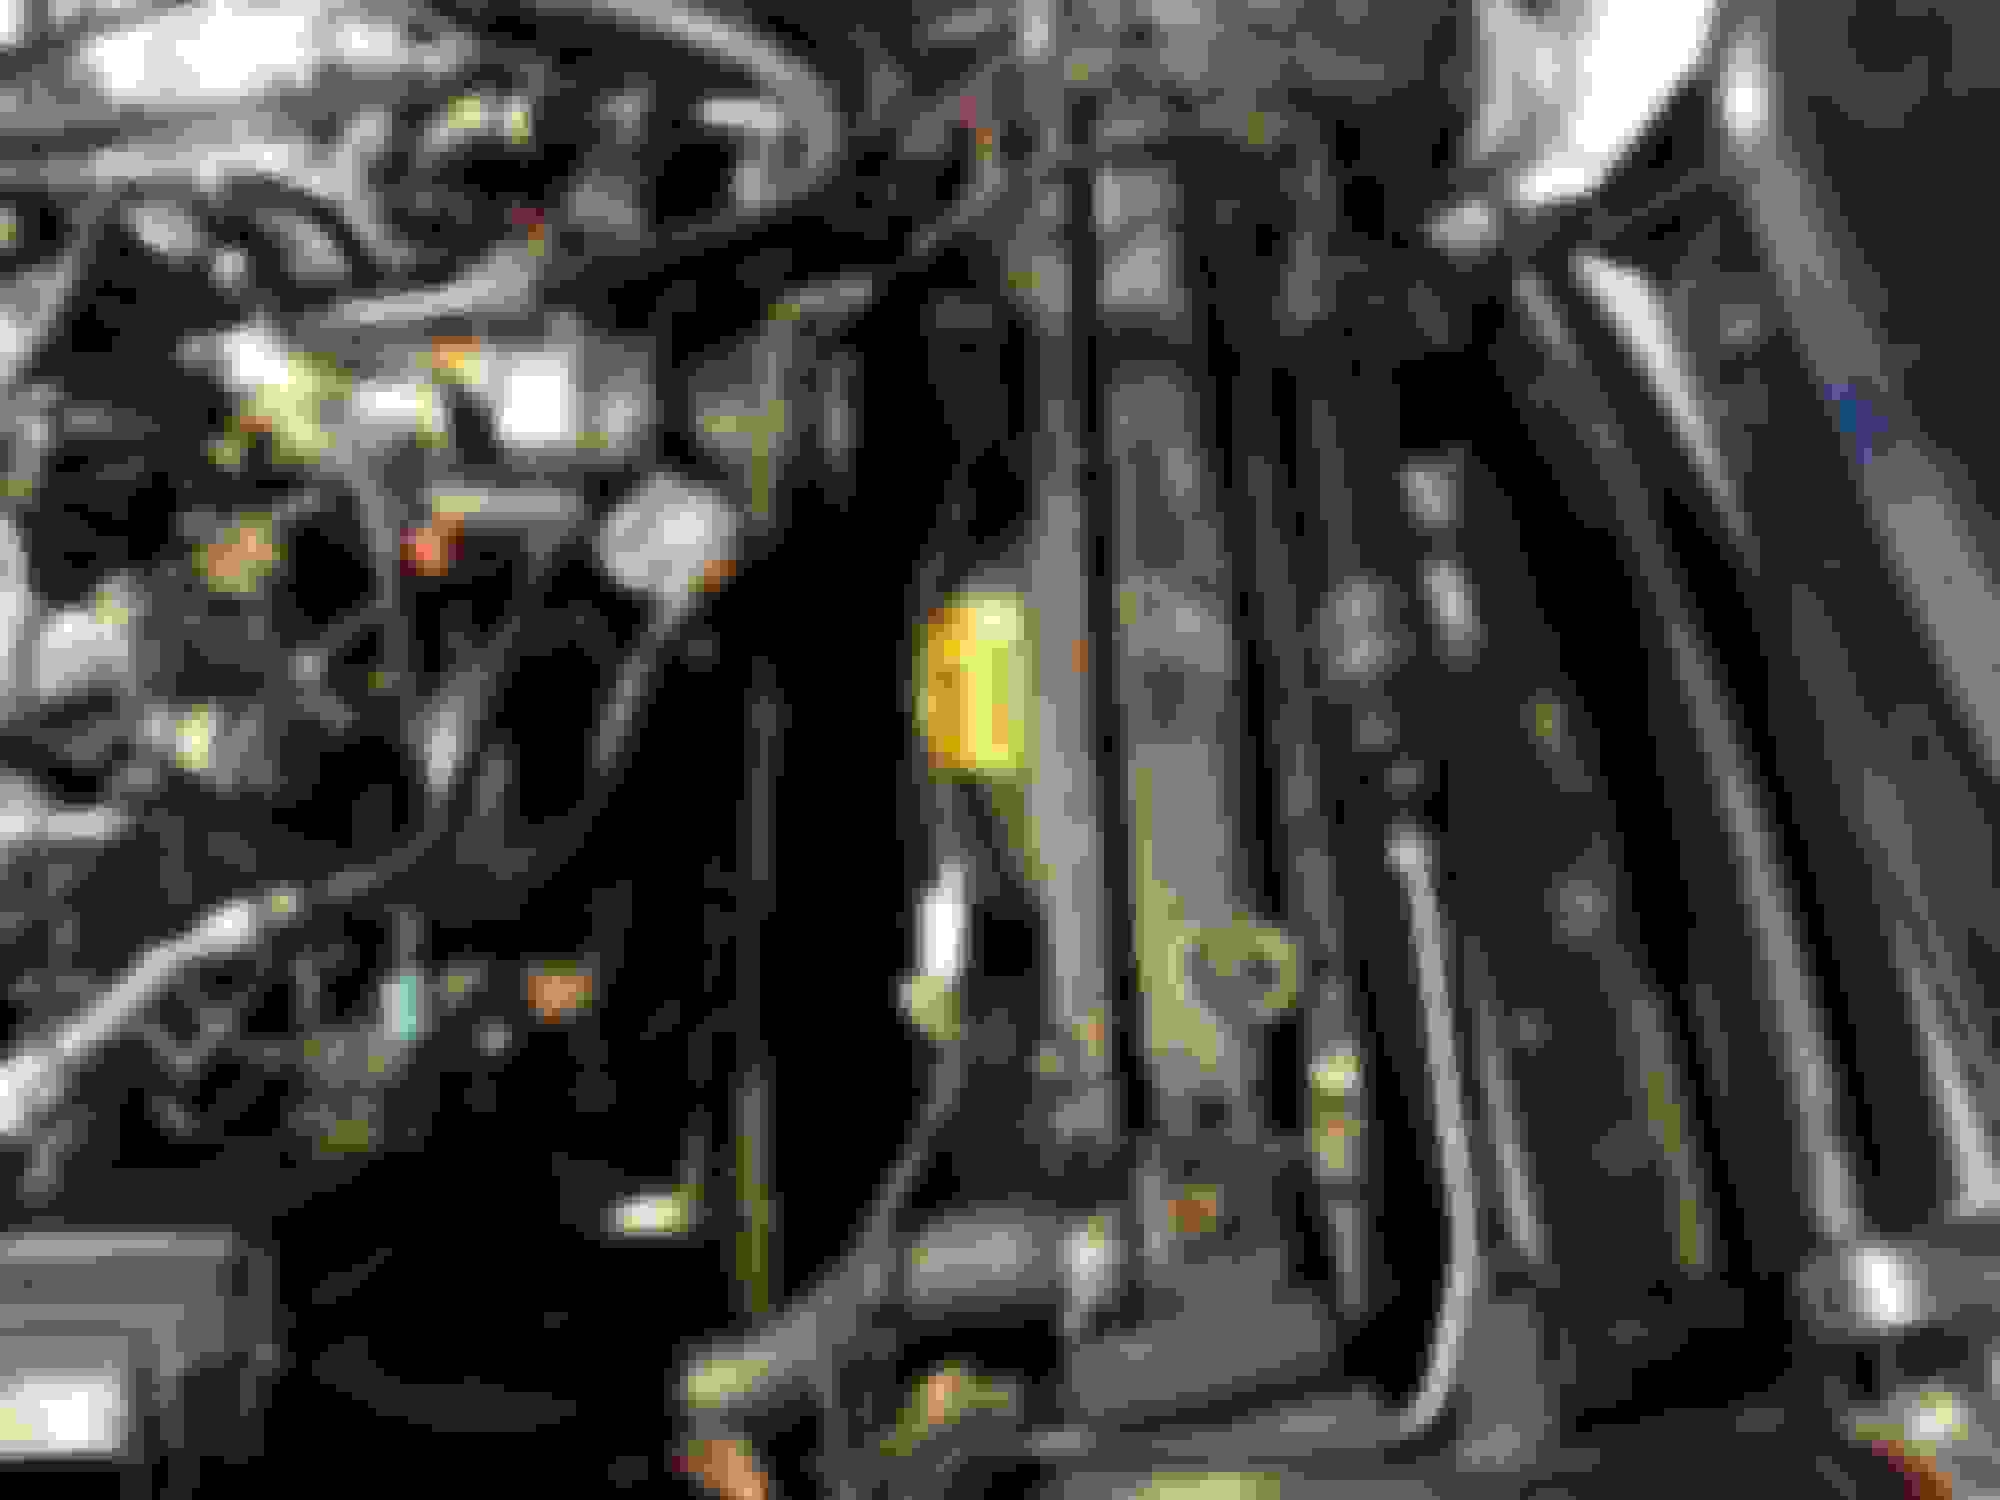
The Yellow Fan of death nuts have been undone to push the yellow fan against the cardboard and allow me to undo the RH bottom shroud nut. This is where it all stopped.
I can�t reach the LH bottom shroud nut unless I get in to the engine bay with an angle grinder to clear a path. The only way I can see of reaching this troublesome nut it to get under the car.
If I jack up the front of the car I COULD MAYBE reach it from underneath looking back from the plastic bottom cover, No idea what to call it� under scoop?
Or I could undo the under scoop thingy looks like it would be a ******* of a job to line it up again, but looks like the best option.
Any ideas here?
Once done the shroud and fans look like they will come out, the right side is as loose as a goose it�s the left side that�s pissing me off.
Next issue is the radiator top bracket rubbers� where the top radiator bracket goes.
One of the rubbers is stuffed, are they still available?
I have looked and look on the SNG site expanded pictures but bugger me if I can find them, can�t fine the top plate anywhere.
Yep. LH shroud nut/bolt from under the car, and still a mongrel.
Memory, HAHAHA, is I think???? I undid the nut from under the car that attache that stupid 90deg bracket to the lower rad panel, and left it attached to the shroud. I ditch the lot for Efans in 1995, so a lot of JD has cleansed the brain since then.
Exactly the same thing happened to me, which was very frustrating as I wanted to use the Car but the Brackets for the base of the Shroud were totally 'shot away'
And so I ended up by removing the Undertray as well as the Spoiler, where the Self Tapping Screws were so rusty that I had to grind them off
Where having done that I then modded some heavy duty brackets from a Hardware Store and rebuilt the whole thing from scratch using Stainless Steel Screws
Which in the end turned out to be extremely satisfying, unlike replacing the In-Tank Fuel Pump in 'Carmen'
But if you are intending to replace the Aux Fan on yours, then it could be easier to take the Shroud right out
This is how I modded the Shroud fitting brackets on 'Cherry Blossom' my 1990 V12 XJS together with photos and here is the Link which also shows how I replaced the Fan Shroud Brackets
OB - I took all your advise and ended jacking the front of the car up 200mm and reached the bottom shroud nuts no problem and all, no need to remove the bottom spoiler.
Pleased for that!
New 12inch fan that a previous poster said would fit was bigger than the what the poster had used, his was 12 inch total, mine was 12 inch fan plus fan shroud... no fit.
So back it will go!
To big. So new fan 10inch purchased that will fit inside the 280mm shroud.
I will document when it fits!
Old fan removed.
Now in bits... off to be acid dipped, then plated for anti rust, the powder coated black.
Nuts and bolts will also be plated and will look like new.
Notice the good old Kiwi jandel! ... standard foot wear all year round.
Time to order some New Copper Washers for when you put the Water Rail back, or you could have the most annoying leak and as such it could take a Week to find out where that Waters coming from
Mr Greg,
That is yep to keeping the standard belt fan at this point, and for good reason.
I got hold of a new genuine black fan and clutch hub for a couple of hundred, plus the new Aux fan should do the job nicely.
Have to say the radiator looks mint, obviously had work done, and looks new.
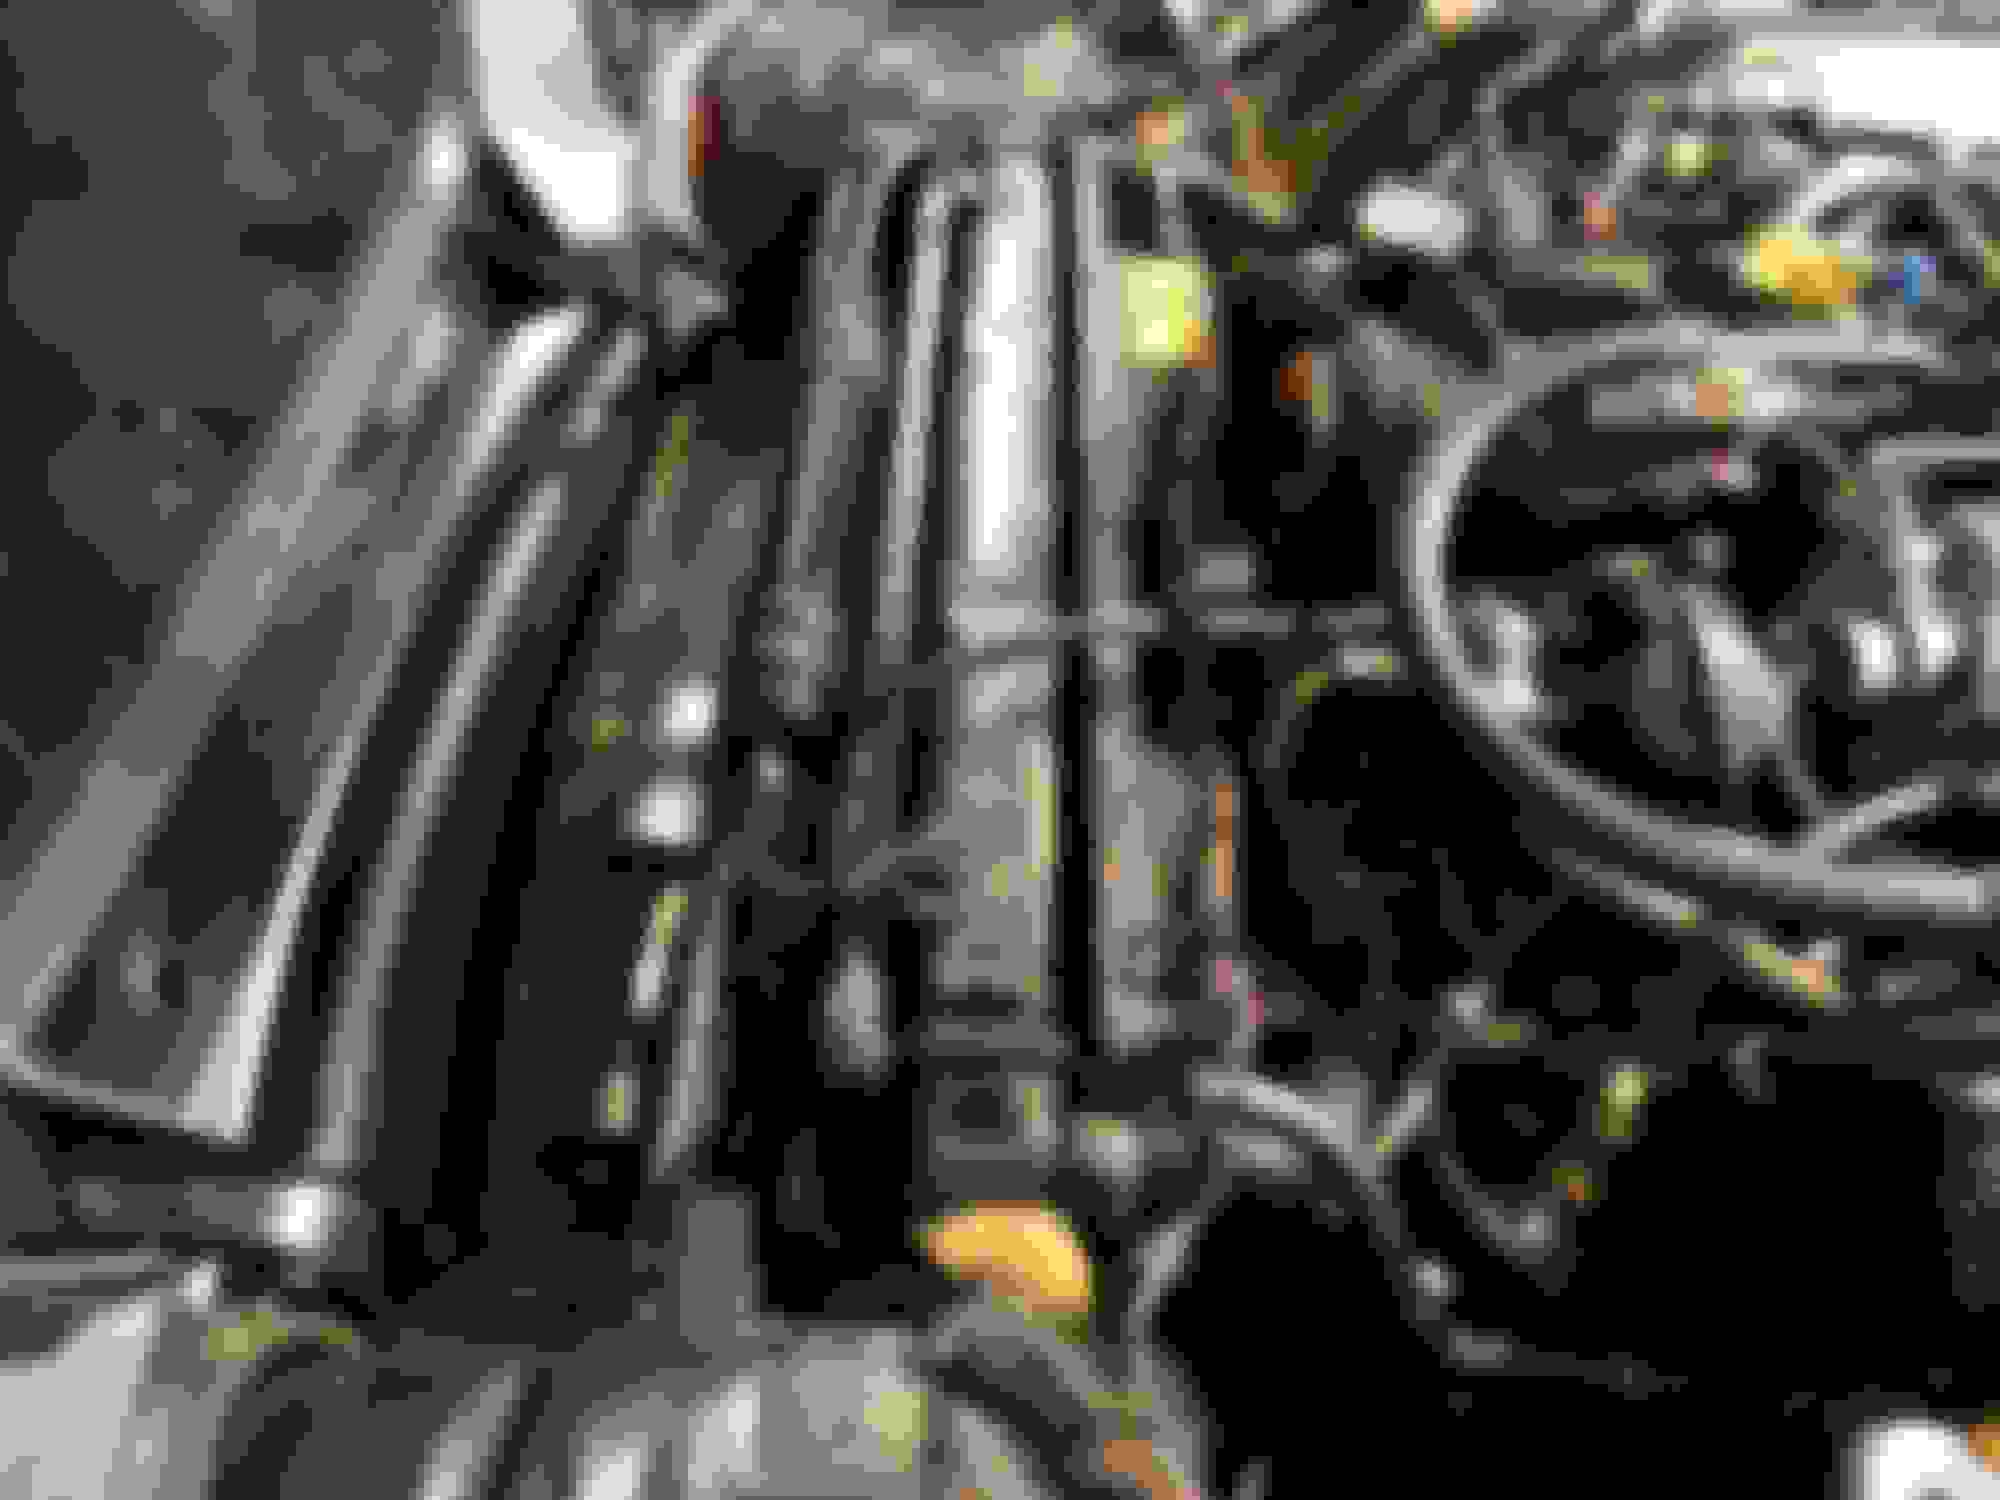
Front of the engine is dirty with obvious oil leaks – nothing going drip drip but grime everywhere down there.
Summer is here and I want to drive the car so NO major surgery until winter. That’s why no complicated fixes.
I want to get it going asap..
WINTER- I will look to doing all hoses, belts, plugs, leads and cap….oh and clean that engine.
I have to say it’s nice just doing some little jobs at this point so I get to know what things look like.
The V12 tends to be a bit intimidating, so it’s been good just doing this little job.
So many parts – which I have no idea what the do.
I might start a new V12 - WHAT is this tread…..? does not seem to be one.
Mr Greg,
That is yep to keeping the standard belt fan at this point, and for good reason.
I got hold of a new genuine black fan and clutch hub for a couple of hundred, plus the new Aux fan should do the job nicely.
Once you have things this far apart, take a look between the radiator and AC condenser. Usually there is a lot of twigs, leaves etc in there that blocks the airflow. Now is a good time to clean it. Ideally remove the radiator to do this, but that is a messy job.
Whatever you do DO NOT WASH THE ENGINE (not even a little bit!) or you will have more Problems than you know what to do with and you might never get her Started for a Very Long while!
Ask me how I know! or better Still Watch the Video, though best not to Watch it alone! (Bring your own Popcorn)
Also while you are waiting for all the bits and pieces to arrive, free off all the Adjusters for the Belts, as when you put on the New Fan and Clutch, you will need to turn the Pulley that the Fan bolts on to
So you can get to the Bolts at the bottom of the Pulley, which can then all be done from under the Bonnet/Hood
Just make sure that you don't accidentally Turn the Engine the Wrong Way or you could easily Break the Timing Chain Tensioner and have a potential disaster on your hands
Last edited by orangeblossom; Nov 7, 2018 at 06:42 PM.
OB- great post, thanks to your post I lifted and moved forward the radiator and saw a birds nest, I kid you not, only thing missing were the birds and there eggs. They had obviously been there as there was the nest... lots of leaves and pine needles. Must been small birds not the obese pizza eating versions I see often in tight pants running around here. I was shocked at what I found, used a length of hose connected to my air compressor and blow it all out. So thanks for that!
After a good clean.
Now back to the fan removal, having read about the DO TURN THE ENGINE BACKWARDS... I did not know what backwards was... yep. So when undoing the fan stud nuts I held the fan tight, it did move a little clockwise on one nut but that was my assumption which direction the engine turned.. it spun on the belt..I actually think and now hope it was the fan that moved not the engine. (90% sure) and only a little.
When it came to rotating the fan to undo the remaining nut, I hit the starter and to my surprise it seemed the fan run anti clock wise. I am still sure the engine did not move backwards.. I was thinking about it at the time....90%
The hit the starter made sense to me, no loosing belts.
New radiator rubber mounts for top and copper washers on order, parts getting the new treatment, just waiting for new 10inch fan.
Here is what I would love to clean...
and again..
Just for something different, Greg - F, Jaybo..and OB thanks for your invaluable input.
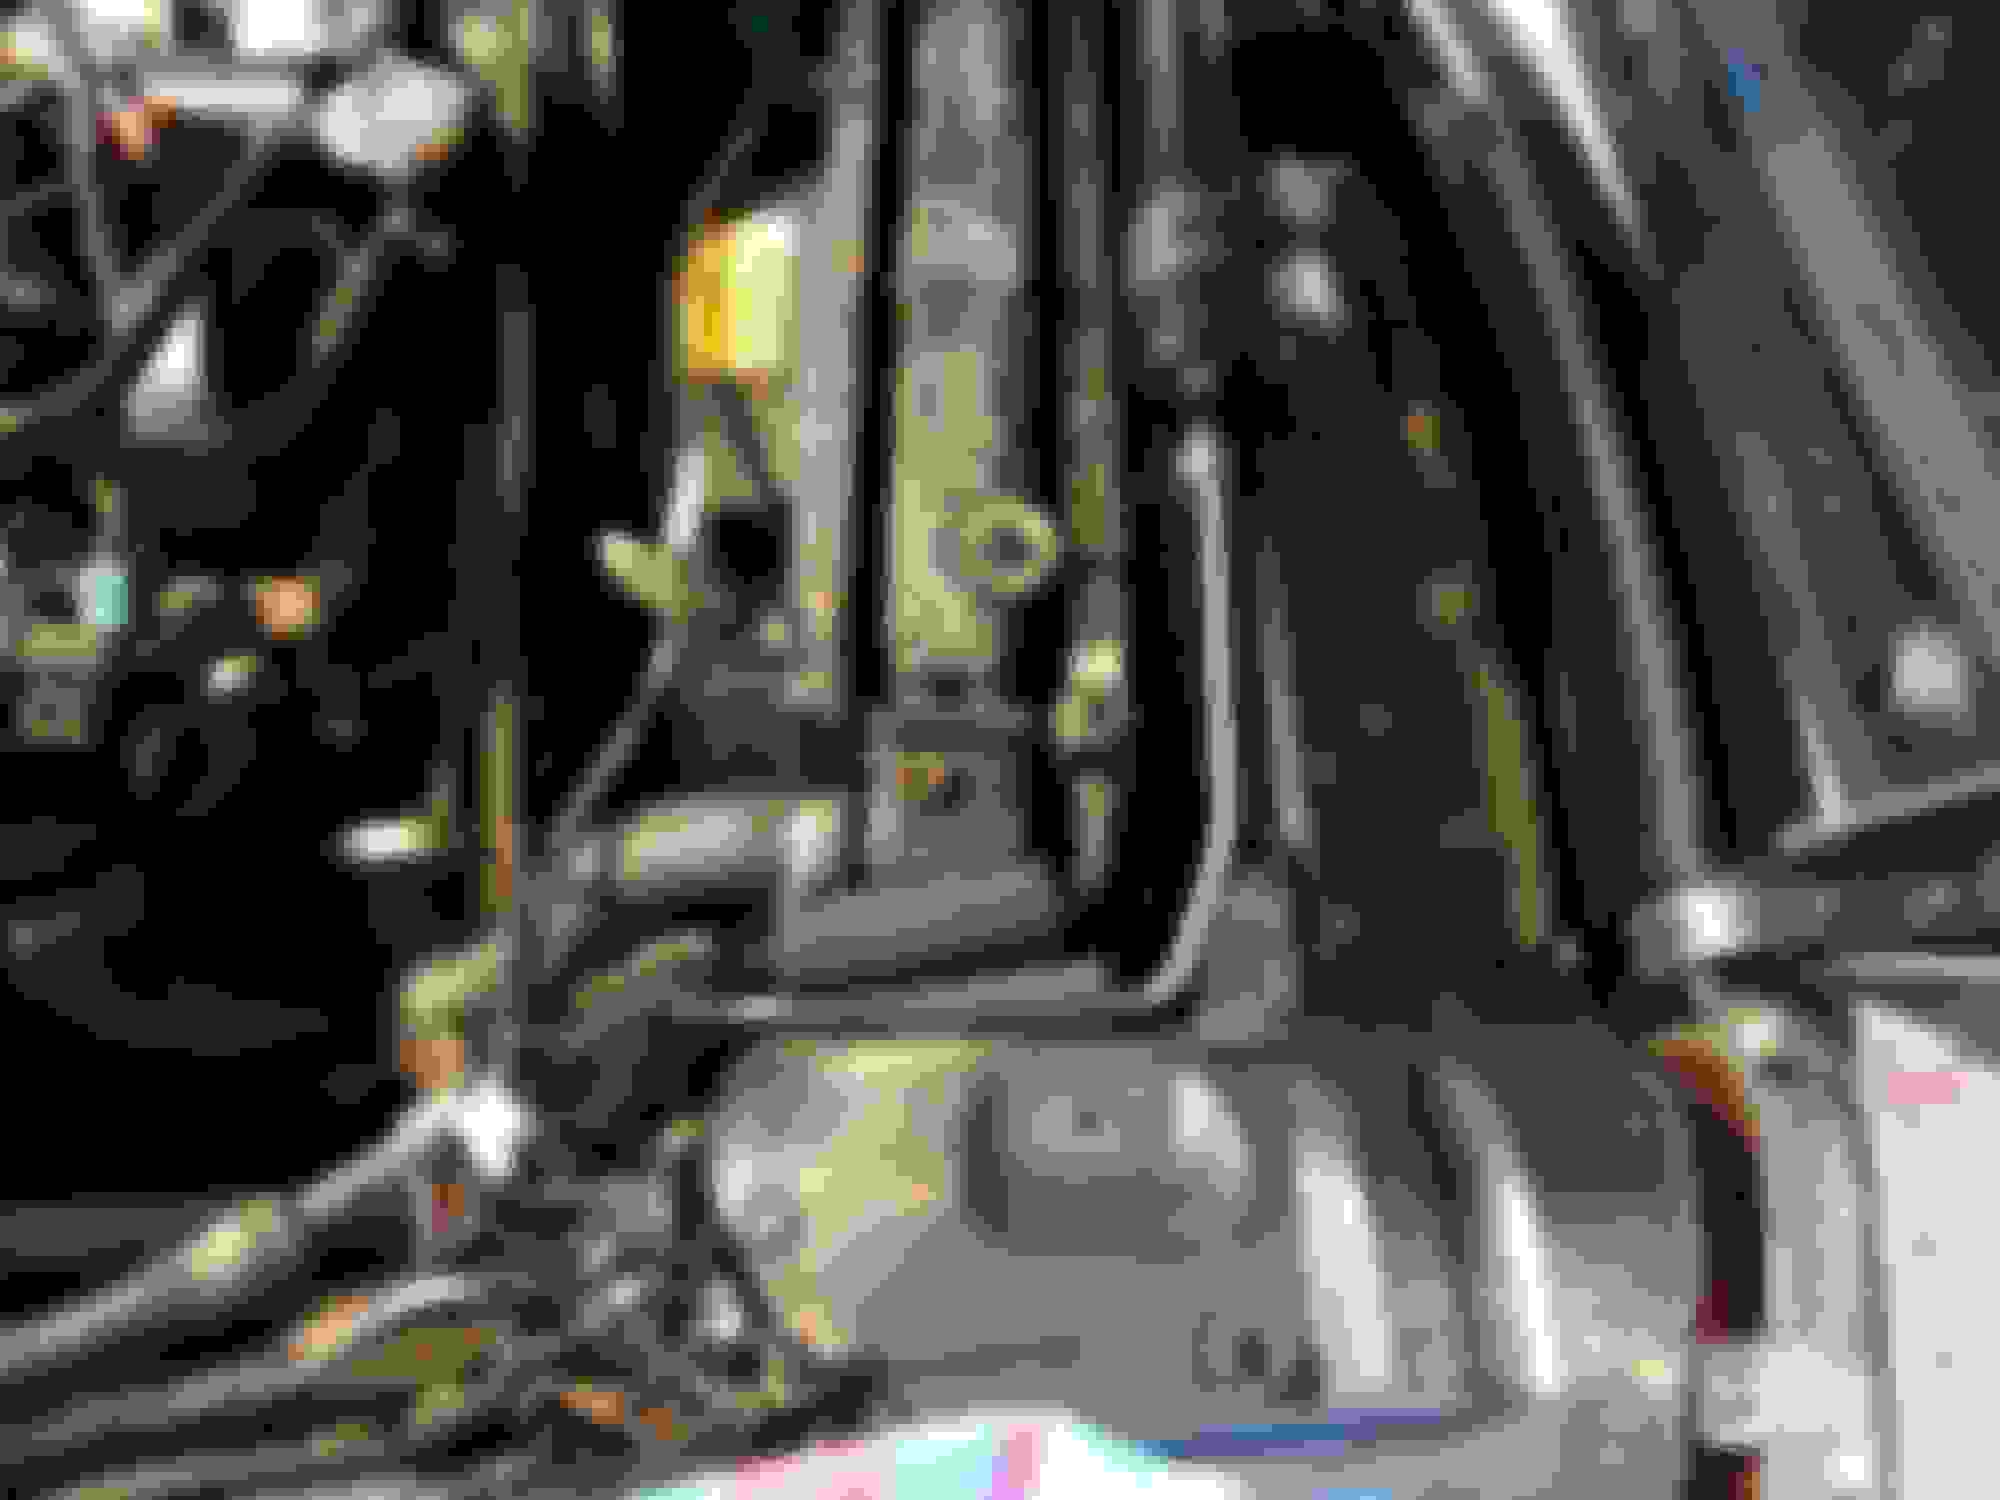
WTF is this tube to no where...it the one in the back ground.
And another WTF is it... picture and why? Dont tell my that is a Jag bolt...
Oh and what is that thing?
That large bolt on the aluminium casting is the slow running adjustment screw. The entire thing is the Auxiliary Air Valve (AAV) which automatically adjusts the air intake to the engine at cold startups.
I cannot follow what you are referring to in the other two photos.
But I can see you're a Guy who likes to live life on the edge, as I did exactly the same as you and 'nudged' the engine in the Wrong direction when Changing the Fan Clutch
By such a very small extent that I didn't realize I'd even moved it at all, that was until it was time to Start her up when all hell seemed to break loose! and the Engine started to make ticking noises
At which point I was thinking that I may have dropped a Valve or broken the Timing Chain Tensioner, hence the Videos and 'Cry for Help' though after a few Start ups and letting her run for a while, the 'Ticking Noise' eventually went away
I think I was quite lucky to have dodged another Bullet, as it seemed that the 'Jaguar Gods' were on my side
So when you are doing the Fan/Clutch, I think it is much Safer to Slacken off the Adjusters and Slip the Pulley in the Belt, so you can avoid any Nightmares, when trying to Sleep at Night!
As for cleaning that Grease off, you could use an old Toothbrush (not yours obvs!) and a drop of White Spirit and then wipe it off immediately with a piece of Towelling or a rag
I use Egyptian Cotton ones that I got from Harrods but if you don't want to go that far you could use Kitchen Paper, Secure in the knowledge that your Secrets safe with me
But letting Water anywhere near that Engine, is a bit like leaving a Suicide note!
Also when its time to put the Top Panel back, you are going to need some Thermal Paste to go underneath the Ignition Modules, like you would for mounting a CPU inside a Computer, so that they do not overheat
And while they may not look like much, I paid less for a pair of those when I bought my first Car!
As for the Photos I'm with 'Greg' can't tell from the angle you took them, though the one with the Wires could be the Air Temperature Sensor (maybe!)
Ignition Modules need mounting on some Thermal Paste
Thermal Paste for mounting Ignition Modules
Looking all good so far Duke keep going!
Last edited by orangeblossom; Nov 9, 2018 at 05:35 AM.
Forgive me if this isn't a good idea either, but would brake cleaner or carb cleaner spray be alright to clean the engine with? I know brake cleaner is safer, but carb cleaner is a little stronger, both are effective and evaporate somewhat quickly. This is what I plan to do with my engine (AJ16) at some point because engine degreaser requires being washed away with water, which is always a big risk with an older car burdened with a heavy amount of electronics.
Duke, Supercheap brake clean would be a good choice to clean the grime off the front of the engine or simple green.
if you are not busy this Sunday make your way to the waterfront shed 10, its the clubs annual car show down there. Should be a nice array of cars with possibly the XKSS
Duke
FYI, as you face the engine from the front of the car, the engine turns clockwise. The pitch on the fan blades shows this, as the fan must PULL air through the rads. The new fan you need for the electric fan replacement, must be a puller (ie pull air through the rads) too.
DukeJag I also have that "tube to nowhere" and have never been able to figure out where it goes looking at it from either the top or bottom of the car. I could only assume that it had something to do with the air injection system for certain markets that was removed from my car at some point. Is your car fitted with the air injection system? Hopefully someone can shed some light on this..