When you click on links to various merchants on this site and make a purchase, this can result in this site earning a commission. Affiliate programs and affiliations include, but are not limited to, the eBay Partner Network.
Well complete hell on earth! The worst part of this is that I don't have a garage where I can take apart some stuff and leave it for another day. I'm not sure how it is in Europe etc but as soon as I saw that steering column pinch bolt I knew I was in for it. I could get a socket on the bolt but I could not get an open ended or anything on the other side because of zero space! Then I started thinking ok even if I get it off how can I get it back on. I can't even fit my fat hand up there to start the bolt in. So I turned to the lower bushings... started wondering if I could just do them with some rack twisting... well after many many hours of twisting upside down and making presses etc. I did the passenger side bushing. I was able to drop that side enough to get it out and back it. The worst part about it. The car feels 75% better! If I can get the other 2 done it will be like new. If I had my own garage where I could leave it and come back to it I'd like to think I could do it. Wrenching on your back is just the worst thing possible though. I'm going to see how much a "pro" will charge to do the last 2. I don't want to but it's just a nightmare
lol,,, oh and. As important as anything I just said, stop, lay on you back, hands on chest, under her, breath and ponder the beating,,, and the task. Look at what ya got above ya.... Breathing and stopping helps. Smoke the pipe a lil and contemplate... Hardest thing to do when you thinking about the clock and limited time. I can totally relate.
cheers!
Thanks everyone, when I go back in... I'll try to heed all the advice. Filter removal, loosening everything up etc. I think I'm going to online search for the shallowest socket wrench available and longest handled at that! Putting that bolt right above where the racks rounded top meets the joint made in impossible to get an open ended on it.
What matters when tightening the rack at the mounts and the steering knuckle are the spaces in the wheel well. With an extension you can run it through the little spaces in there... let me think ---- for the rack, the bolt, especially on the upper mount bushing, you want to put the wrench on the nut,,, the nut should be on the inboard side. The bolt should be pushed in on the outboard side, if that makes any sense. Then, take a like 6inch extension and put it on the bolt side and do your turning in, there. String the extension thru an open space up around the manifold, steering rack tower and all that. There you will have room to turn it in. Hope some of this stuff helps. Your knuckles are giving me flashbacks, lol...
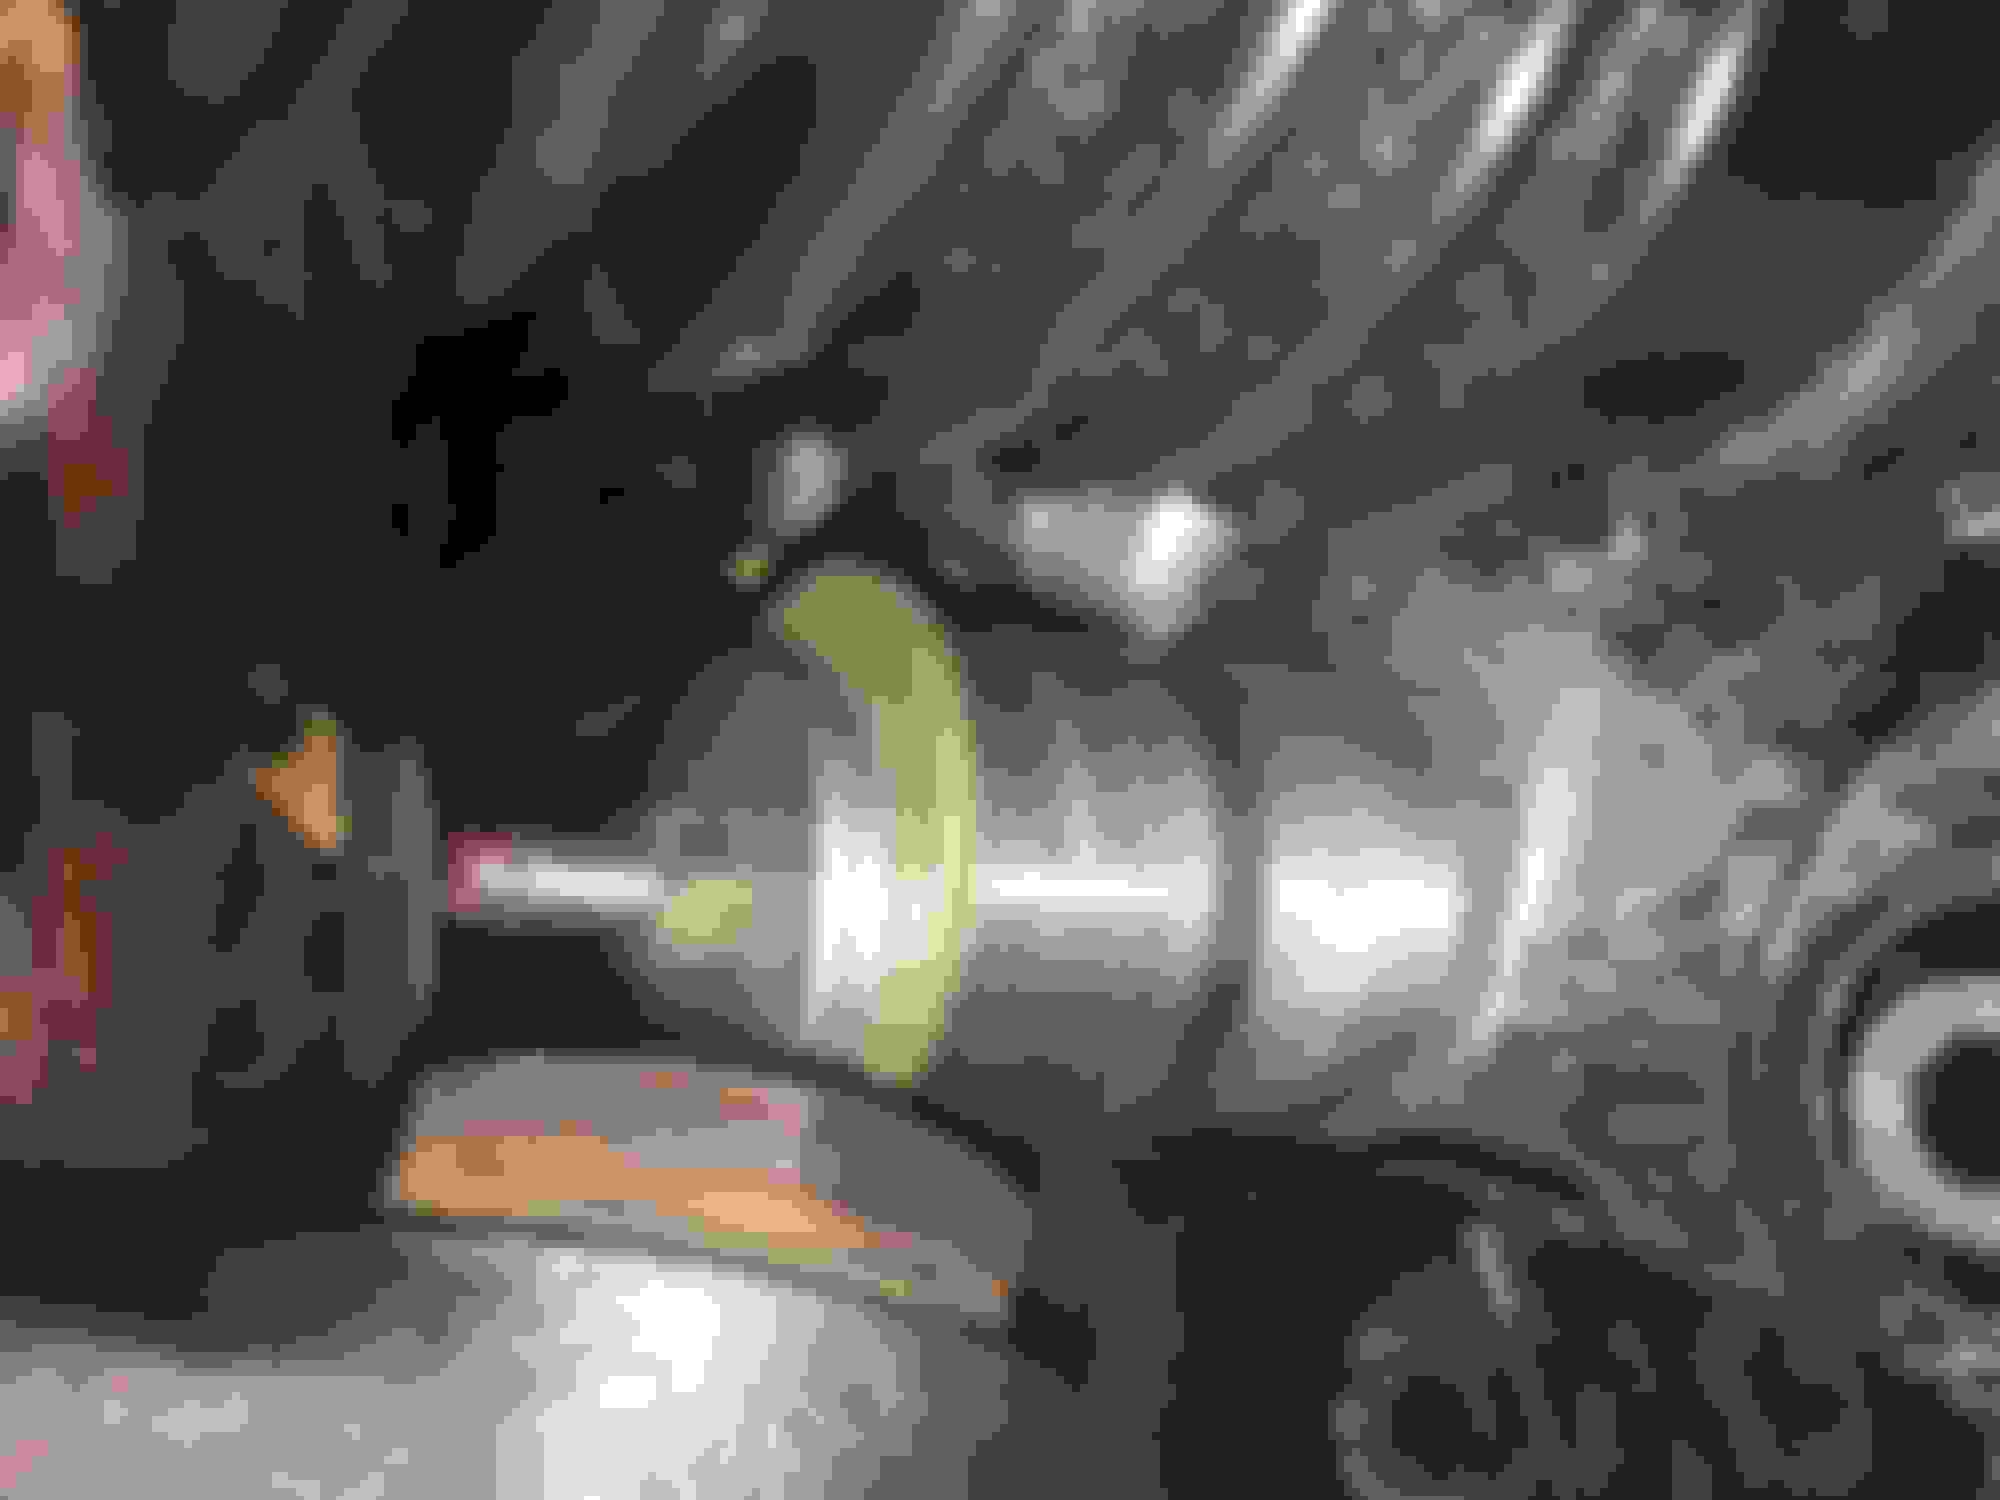
This was me today. It's not and wasn't nearly as bad as it looks 🙃😊🌞🌞🌞 Put 2 slices in the bushing ring and easily pried them out. I need a sawzall.... Popped cone... easy pezzy today!!! Once i had trailing bolt undone, luckily i could just rip the bushing off the cone. From there, the cones just popped. Nice!!! I think the enginnering in the cars is stellar!!! Well, most of it...
What matters when tightening the rack at the mounts and the steering knuckle are the spaces in the wheel well. With an extension you can run it through the little spaces in there... let me think ---- for the rack, the bolt, especially on the upper mount bushing, you want to put the wrench on the nut,,, the nut should be on the inboard side. The bolt should be pushed in on the outboard side, if that makes any sense. Then, take a like 6inch extension and put it on the bolt side and do your turning in, there. String the extension thru an open space up around the manifold, steering rack tower and all that. There you will have room to turn it in. Hope some of this stuff helps. Your knuckles are giving me flashbacks, lol...
This was me today. It's not and wasn't nearly as bad as it looks 🙃😊🌞🌞🌞 Put 2 slices in the bushing ring and easily pried them out. I need a sawzall.... Popped cone... easy pezzy today!!! Once i had trailing bolt undone, luckily i could just rip the bushing off the cone. From there, the cones just popped. Nice!!! I think the enginnering in the cars is stellar!!! Well, most of it...
yeah like I said I understand the logistics it's the actual going through with it that's tough. I'm thinking one of these will do nicely for the Ujoint nut.
Nice and skinny and just the depth of the socket head
I'm a bit confused by references to a pinch bolt. Surely you're not referring to the one on the u joint? There's no need to mess with this. Just remove the three rack mounting bolts, and then maneuver the rack to get enough clearance to get a removal tool in. You do not need to disconnect the u joint unless you plan to take the rack out.
I'm a bit confused by references to a pinch bolt. Surely you're not referring to the one on the u joint? There's no need to mess with this. Just remove the three rack mounting bolts, and then maneuver the rack to get enough clearance to get a removal tool in. You do not need to disconnect the u joint unless you plan to take the rack out.
is this possible? Everyone always says the u joint bolt needs to come out... I'm just doing the bushings, I don't need the rack out.
I'm a bit confused by references to a pinch bolt. Surely you're not referring to the one on the u joint? There's no need to mess with this. Just remove the three rack mounting bolts, and then maneuver the rack to get enough clearance to get a removal tool in. You do not need to disconnect the u joint unless you plan to take the rack out.
The hard lines on the rack make contact first, if they are removed then the steering column is all that restrains the rack from dropping down completely. I tried to get to the upper mount before deciding that I had to undo the column-to-rack pinch bolt. Could it be done without it? Probably, but it�s easy ( ish ) when dropped and it�s one bolt.
Turning the column to put the bolt where you want it, stubby wrenches and monkey arms worked for me.
is this possible? Everyone always says the u joint bolt needs to come out... I'm just doing the bushings, I don't need the rack out
Not everyone, I say it doesn't. Also, K. Palm's "The Book" says you don't. I read that first. I'm constantly surprised how many people here don't read that fantastic and definitive reference.
Again, all I did was remove the 3 mounting bolts, and take all 3 bushings out in situ.
In my experience the rack needs to come down. At least with the inner and outer tie rods and ends still attached. In fact they carried the weight for me and made it easier to get in and out, maneuver and etc.....
But then again,,, I didn't have fancy tools. I would like to know WHAT the tool (none press?) looks like so I can git me one-ah-dem. I think if you plan to put any kind of a press on the bushing to push it out - the U shaped press/clamp with cups ) it would be tough to get that thing up there.
A picture speaks a thousand words. Would love to see it.
Yes, it worked fine. I believe you can buy or rent a similar tool too from one of the Jaguar specialists. It came up on a recent thread here, on the same subject. Try a search.
Not everyone, I say it doesn't. Also, K. Palm's "The Book" says you don't. I read that first. I'm constantly surprised how many people here don't read that fantastic and definitive reference.
Again, all I did was remove the 3 mounting bolts, and take all 3 bushings out in situ.
well im willing to give it a try! No pressure lines getting in the way? Did it kinda just swing back or down? As long as it moves out of position of the brackets I'll hacksaw and punch the sons a guns out!
I'm a bit confused by references to a pinch bolt. Surely you're not referring to the one on the u joint? There's no need to mess with this. Just remove the three rack mounting bolts, and then maneuver the rack to get enough clearance to get a removal tool in. You do not need to disconnect the u joint unless you plan to take the rack out.
thank you, sir! Still not simple for the upper bushing but atleast it can be done.
I tried this weekend to press just the single bushing out using the tool from XKS, it broke. I then used sockets and my own fashioned tool like above, no luck there either they just won't budge. I had a lot of old oil on my rack so I didn't want to try heat which I would normally do. I guess I don't know where to go next, maybe a rebuilt rack I guess, they are pretty inexpensive.
my puller socket setup isn't working so I used the old (everyone's favorite) hack saw and punch. Let me tell you even that is being a pain. I'm halfway done but had to stop for the day. Should be done in the morning. I'm being very careful to not cut into the rack which is really why it's taking so long
I'm going out on a limb and calling this the worst job I've ever done! I could not get my damn puller setup to work. I sat there hacking and trying to punch it out for hours and hours! Finally I noticed the spark plug socket seemed to be the right size to push the sleeve out. And put in backwards is tapered so it would line itself up and push the ******* out!! Never again! Not for love or money.
Looks worse than it is... I never made it all the way through with the hacksaw.
 05-01-2018, 07:31 AM