When you click on links to various merchants on this site and make a purchase, this can result in this site earning a commission. Affiliate programs and affiliations include, but are not limited to, the eBay Partner Network.
Good news to report! I took the XJS to the Star smog station yesterday and it passed with flying colors. I've had several dealings with this shop and have established a friendly relationship with the service people. I told the tech that I was concerned about how well the car would do in future tests and he told me that the car had passed by wide margins and that the car should be good for years to come. I also told him that I was worried if a problem developed with the converters since the car had four of them, two built into the exhaust manifolds. Chances of finding good used converters seemed kind of slim. During my conversation with the technician I learned that pre 1996 vehicles were allowed to use aftermarket catalytic converters as long as the replacements were of a equivalent set up and capacity. That is reassuring. On the way home I stopped at the local AAA and picked up the new registration stickers. 135.00. The fees have gone up in the least year, but that's still not too bad. I can imagine paying the fees for a new 80,000 dollar XJ!
My '96 Mustang passed the same Star test a couple of weeks ago, so that's another worry taken care of. My XJ6 needs some work to pass, but now I can concentrate on that.
That's great news - now get in and enjoy drive her.
We are lucky where I live no MOT's/Roadworthy while you own the car. Although I am going to put my XJS on historic rego so I will need a roadworthy for the initial rego but it will drop the cost from $700 to $200 per year.
The smog tests resulted in quite a bit of apprehension. Glad that is behind me. I've been terribly busy with some projects on my property as well as with the my regular job. I have finally gotten started on the job of replacing the front suspension arm bushings. As expected the front lower bushings were pretty much toast. The rear lower was bad also. The upper arm bushings looked to be okay. I decided to just replace the lower bushings. I want to replace them without dismantling the entire front suspension or removing the springs. The plan is to remove the pivot bolt, drop the ends down enough to access them with a bushing removal tool. Then I'll replace the bushings and re-install the pivot bolt. I dropped the steering rack down and I think that there will be enough room to remove the pivot bolt. The lower bushings are so chewed up that I probably won't even need a tool to drive them out. I'm detailing my project on my blog.
The design of the XJS bushings isn't one that is very long lived, and these can be thought of as a wear item, just like brake pads. But they are a hassle to replace. I'm hoping that my approach will make it a much easier task. The upper arm bushings can be replaced by unbolting the arm from the spindle upright then the arms can be split. Again, no need to remove the springs. At least that's the plan. We'll see how it works out.
I have the factory repair manual and the recommended procedure is to remove the front subframe, flip it over, and proceed from there! I just ordered the new bushings and will provide updates.
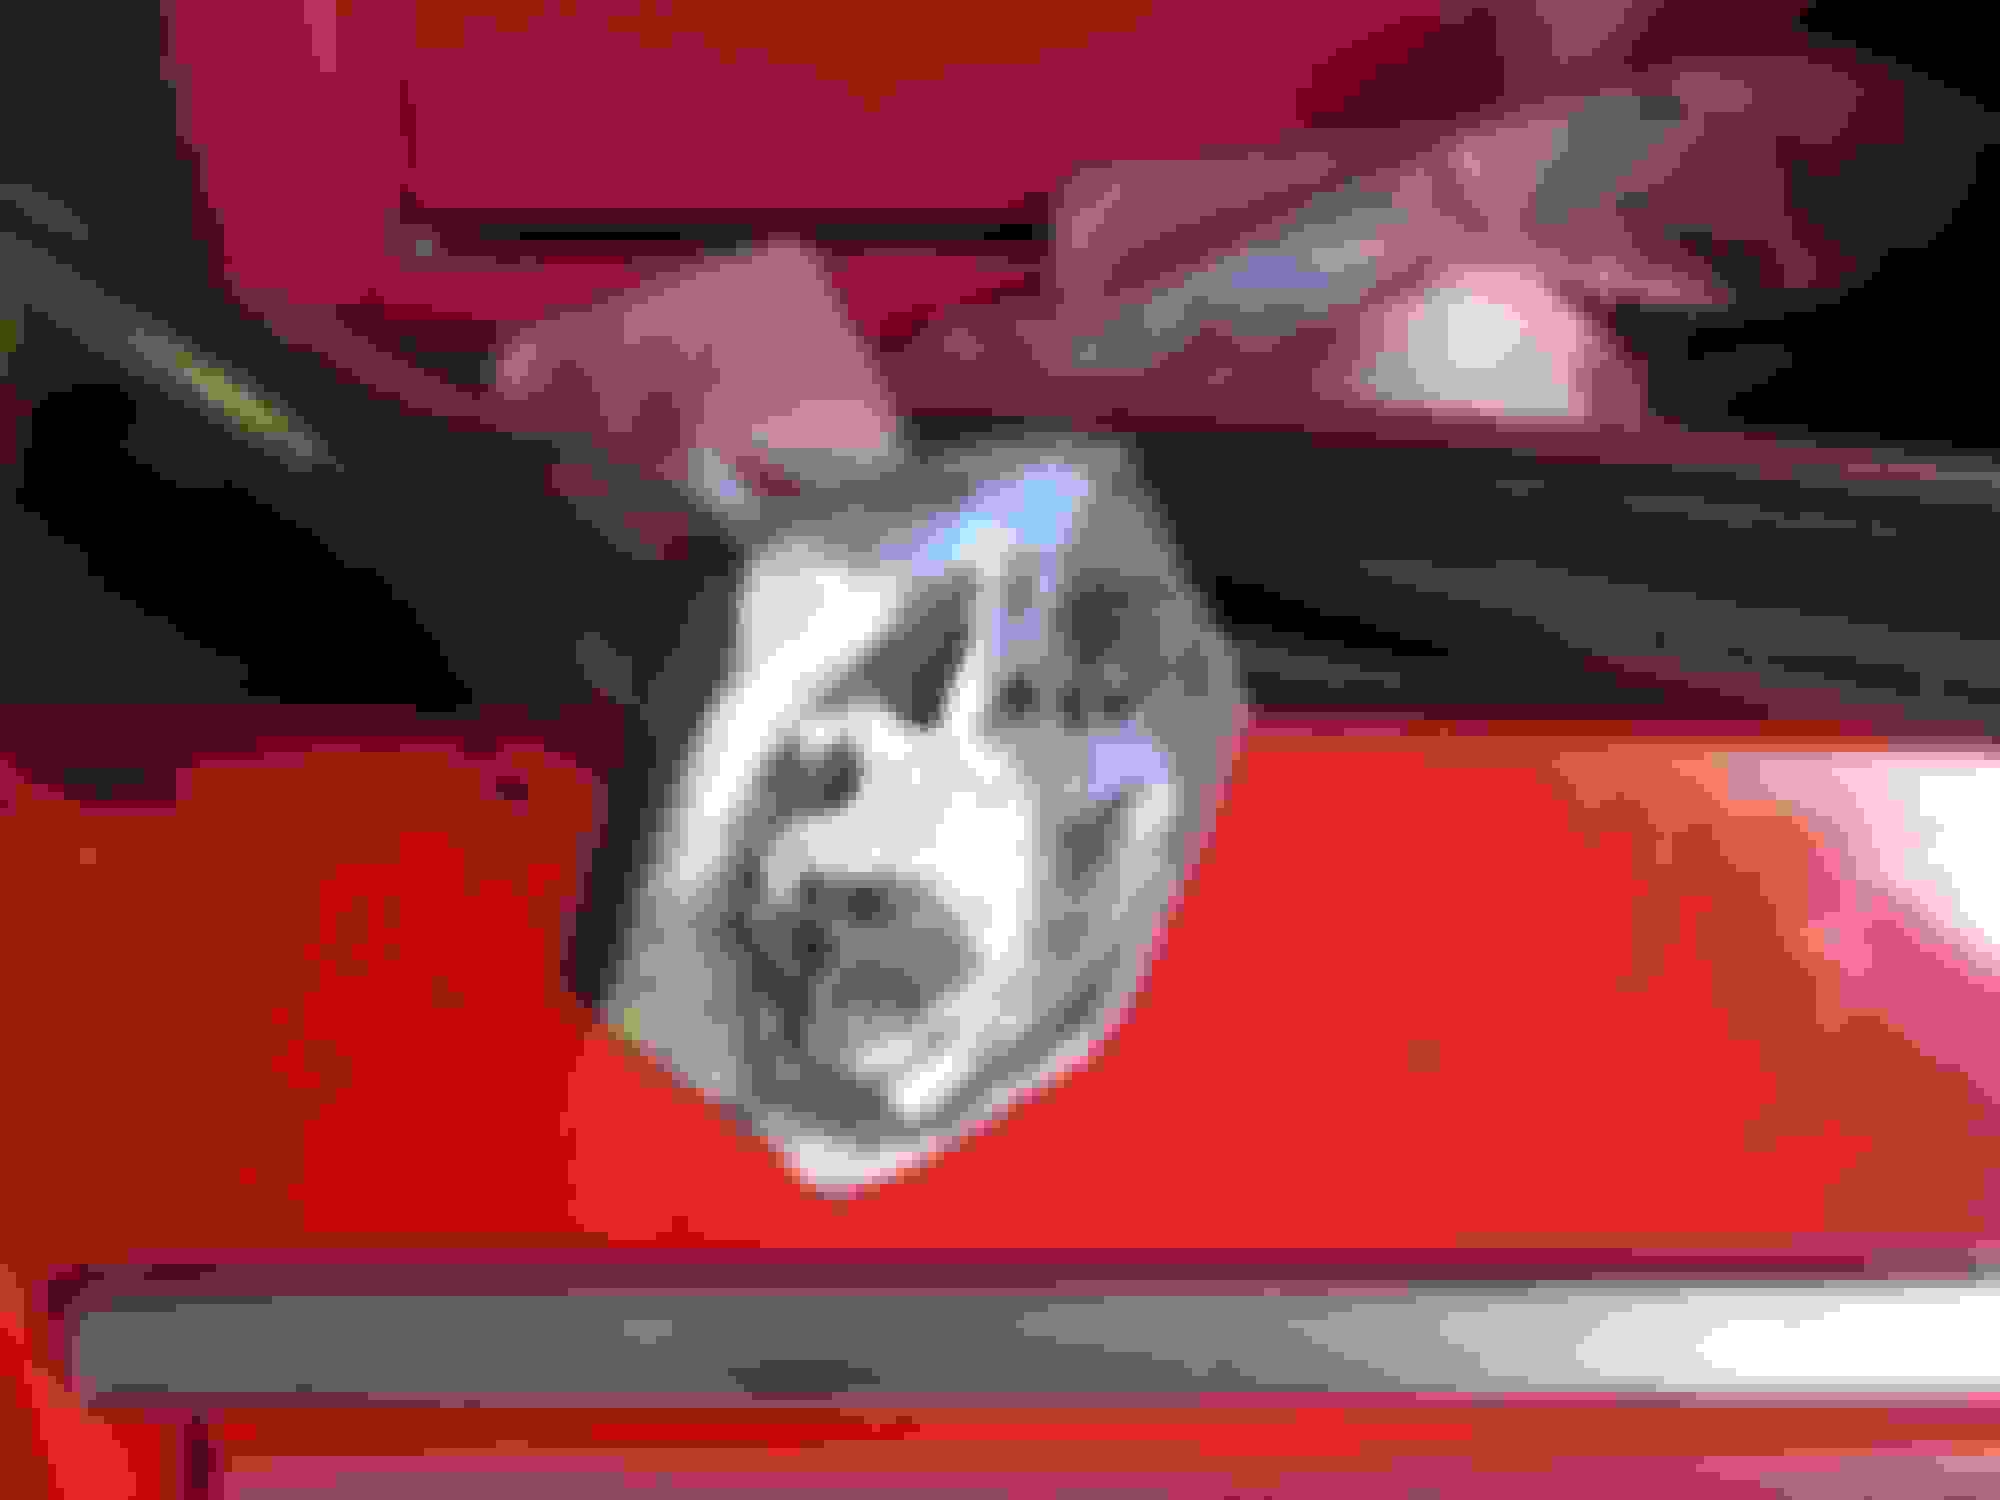
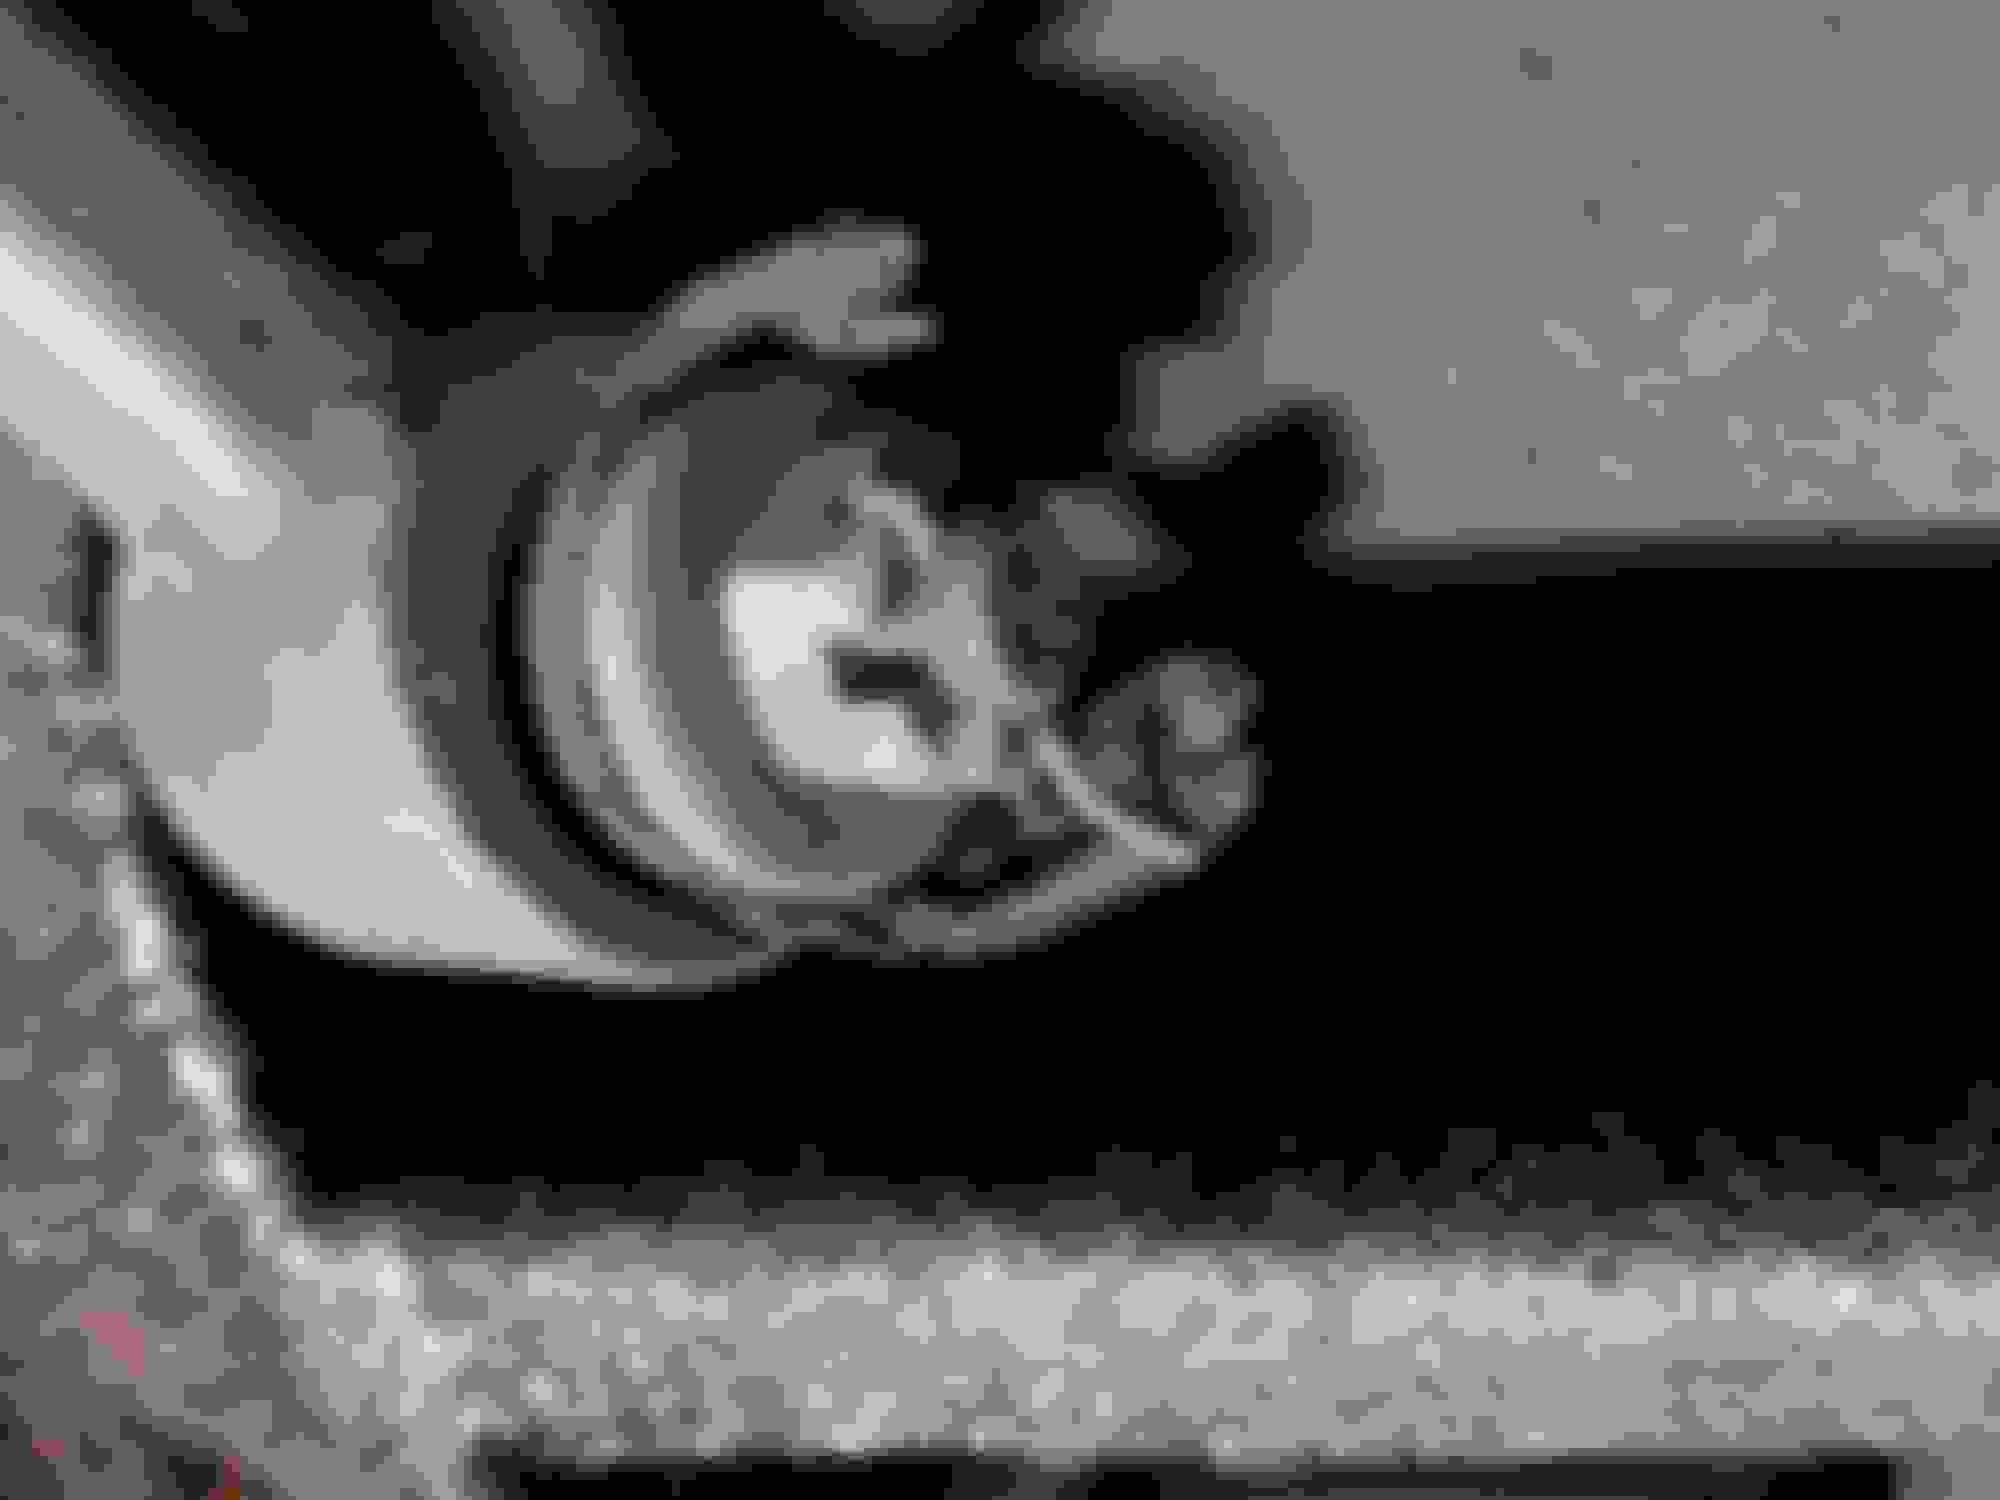
Look at how bad those bushings are worn, no wonder that the steering was so poor and the tires ground down on the inside.
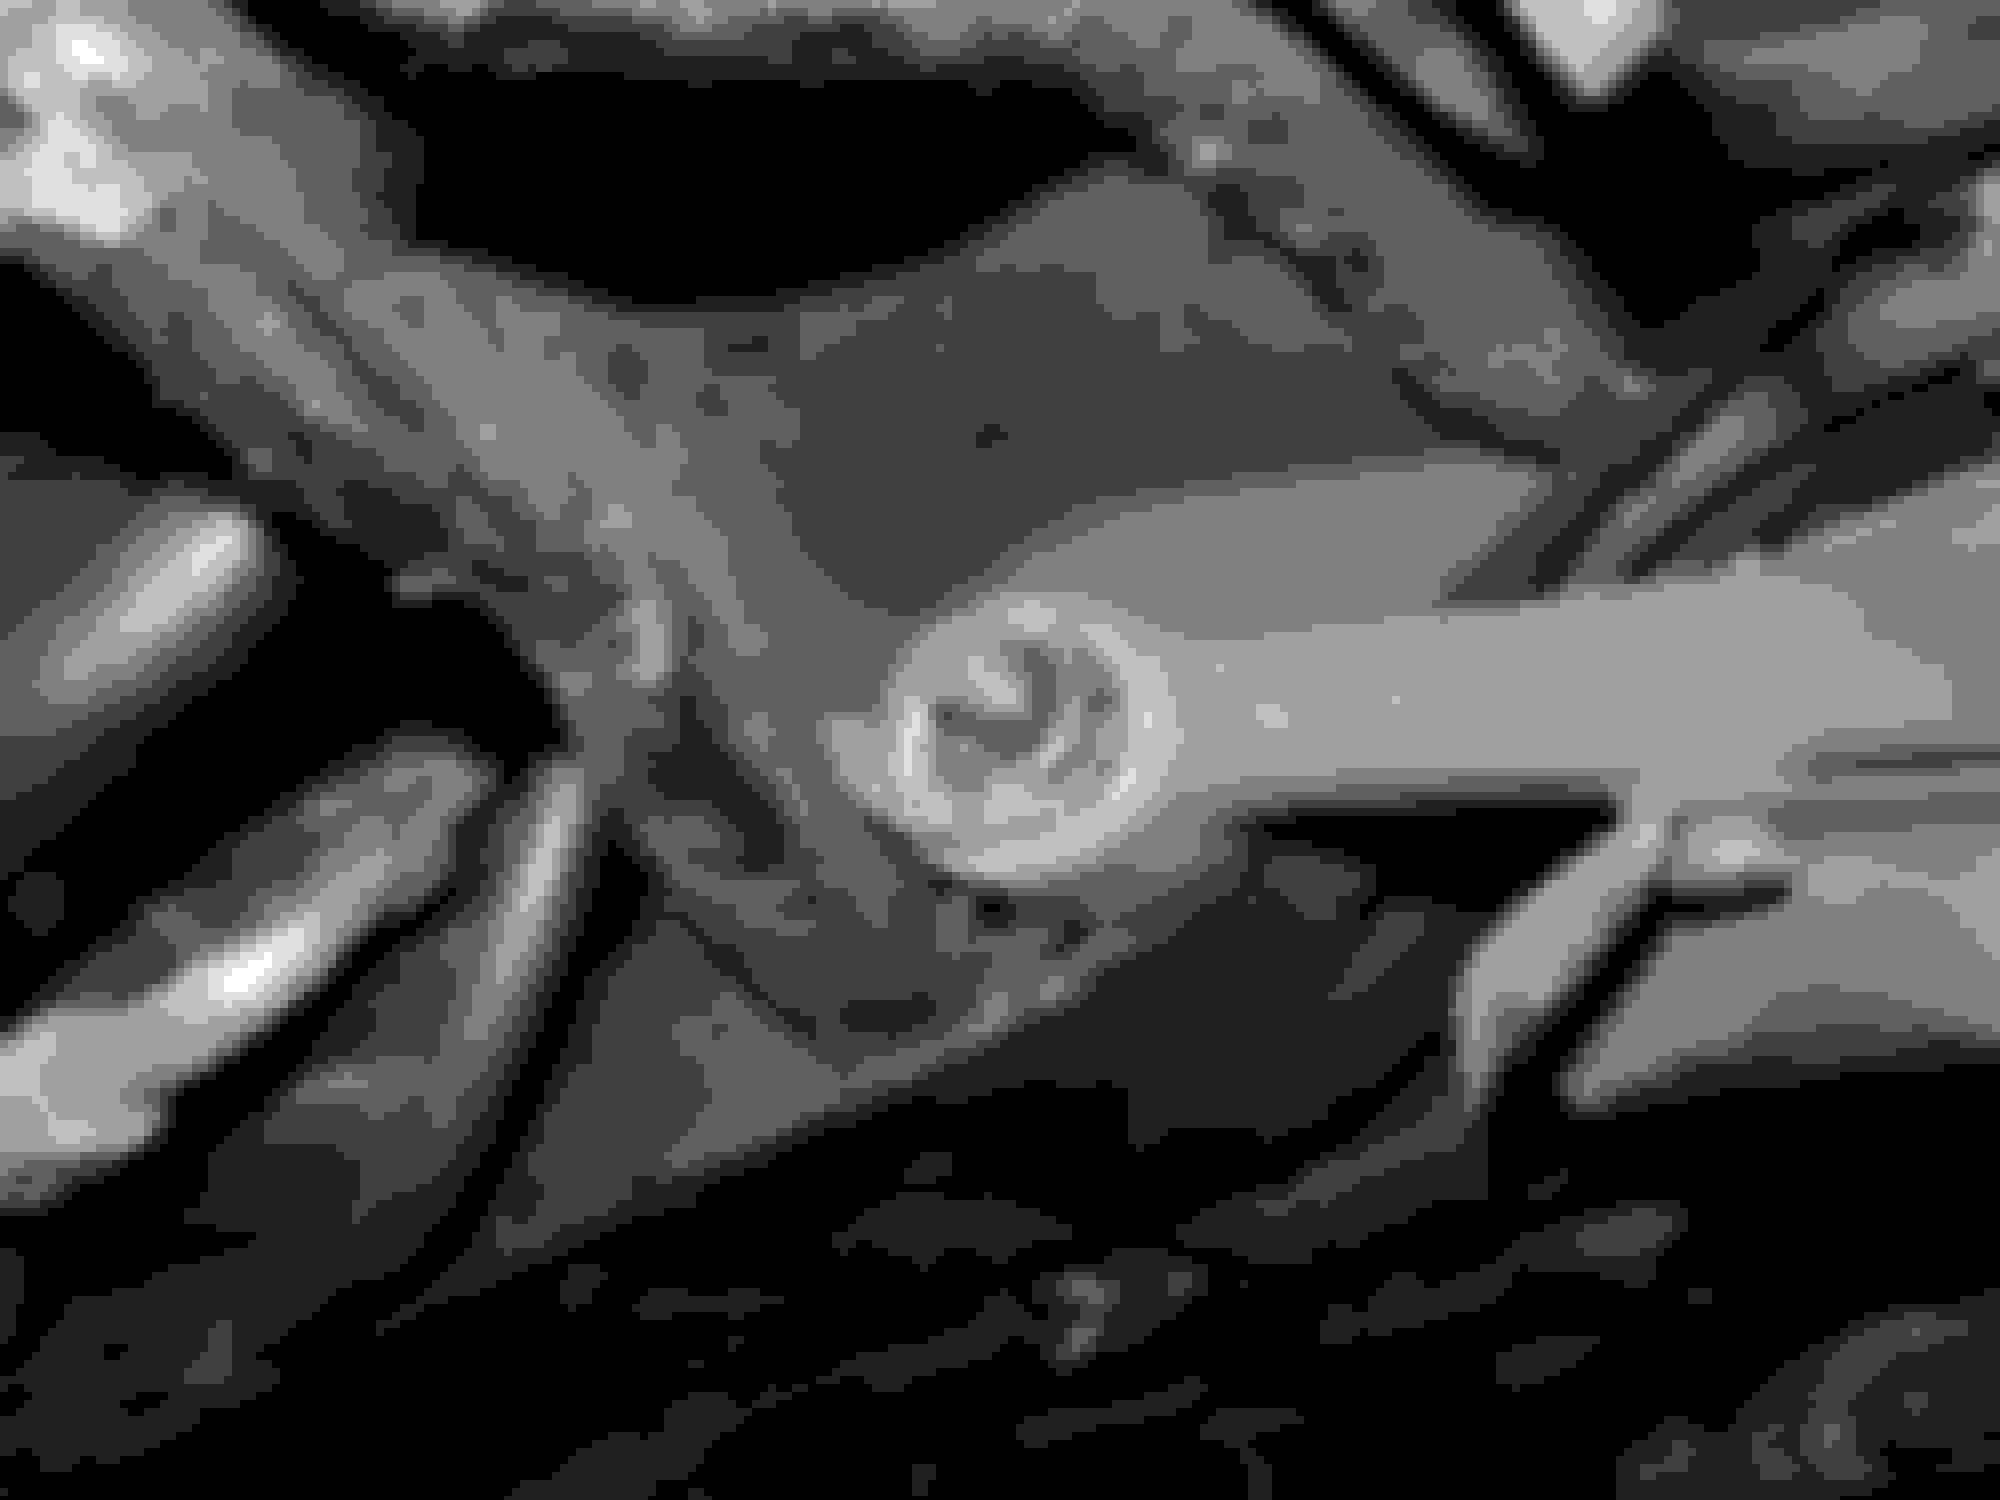
Here's a shot of the steering rack hanging down. Just had to remove three bolts. Upon inspection the rack bushings were all in good shape so those are going to stay put for now.
Rivguy
Good luck with the project; but a word of caution: The lower wishbone (control arm) pin cannot be driven out of the subframe unless the subframe is at least swung downwards on its front mountings. This is because the pins foul against the engine when partially driven out, and they have to be driven out rearwards.
I also mention that as far as I know, or have ever found personally, the springs must be removed before attempting this work, as their expanding force is against the lower wishbone. This being so any removal of the control arm's fixing points will immediately release the compressed spring with very dangerous results! Even if the weight of the car is on the spring, as far as the lower wishbone is concerned removing the pin will immediately allow the spring to dangerously escape.
The top wishbones bushes can be changed without removing the springs, as long as the weight of the car is on the hub such as the hub is supported sufficiently to keep the suspension off its bump stop, and there is no possibility of the car rolling or moving while the work is being done.
Finally, as long as genuine metalastic lower bushes are used, all the special washers inserted correctly, and as long as they are tightened up with the car on its wheels and therefore the suspension at its normal midpoint, new lower bushes will last a very long time.
Greg, thanks for the advice. Did you take a look at my blog? I go into much more detail there in my strategy.
I agree that the force of the compressed spring is very dangerous. I have replaced springs and suspension arms on several cars before. I got to thinking in this direction when I read an article in a fairly recent Hot Rod magazine where they discussed replacing several sets of springs to make a comparison of their effects on the suspension. The springs were removed by removing the pivot pins and rotating the arm down. The ball joints were not disconnected and neither was the wheel. The arm was retrained by a fixture that they devised to do the job. In my plan there will be a large floor jack supporting the lower arm and the ball joints, shock absorber, tie rods, and wheel will be in place. The weight of the car will be supported by the wheels on a set of ramps. Additional jacks and stands will be deployed under the chassis to keep the body at a set height. Whether or not the pin can be removed is a real sticking point. I might have to raise the engine a few inches and hold it with an engine support beam, like I used when I replaced the transmission.It does look like the pins could foul on the catalyst mounted to the exhaust manifold. I have read several threads on the forum about rebuilding XJ6 suspensions and they never mentioned the need to drop the subframe. I know that the XJS is derived from the XJ6 but there are of course some differences. Don't worry I am proceeding slowly.
I have just replaced my lower bushes for the 2nd time. I did it less than 20000km ago. I used aftermarket bushes and they did not last. This time I have genuine bushes.
I removed the subframe to do mine because I had a few other things I wanted to tidy up.
A G clamp and socket was used to remove the old bushes and to installing the new ones use soapy water and you can push them in by hand, making it easy to centre them in the wishbone.
Make sure you follow the ROM and tighten the fulcrum shaft with FULL weight on the car, my Jaguar mechanic mate takes them for a quick drive (a couple hundred meters) with the shaft loose, then tightens the shaft.
Sounds like you are making more work for yourself with the method you are aiming to use, with the wheels on, car on ramps you are going to be very crowded for room to manoeuvre.
If the lower fulcrum pin is seized/slightly rusty you are going to have to get in there with a BFH.
IMHO a better approach would be to do both top and bottom bushes at the same time and get the wheels aligned, job done.
Thanks to all for all your responses. Warrjon, where did you buy he genuine bushings and how much did they cost? I've already found that the left shaft was moving with only minor hammering. I've read several threads that stated that the cheap bushings don't last at all. I shouldn't be such a cheapskate! The work involved is worse than the cost, I'd bet! Is there room to drive the fulcrum shaft out with the subframe in place? I just checked Kirby's book and there was no mention of subframe removal. Michael McLaughlin and Jan Wikstrom both relate removing springs using jacks. Similar concept.
Is there room to drive the fulcrum shaft out with the subframe in place?.
No
Originally Posted by Rivguy
I just checked Kirby's book and there was no mention of subframe removal. Michael McLaughlin and Jan Wikstrom both relate removing springs using jacks. Similar concept.
This is possible but risky: you jack up the front of the car and place jackstands under the front jacking points. Then remove the front wheels. Then jack under the spring pan to raise the suspension off its bump stops. Then undo the top wishbones from the balljoint. Then lower the spring pan jack and the bottom wishbone pivots down. If the spring does not catapault out and hit you, it may be possible to remove the spring; but equally it might not come out and stay jammed. Risk can be mitigated to an extent by strapping the spring and also tethering it to the subframe somehow. Even having done this the fulcrum pin cannot be removed without swinging down the subframe on its front mountings.
I have just replaced my lower bushes for the 2nd time. I did it less than 20000km ago. I used aftermarket bushes and they did not last. This time I have genuine bushes.
Happened to me too. Metalastic only since!
Originally Posted by warrjon
Make sure you follow the ROM and tighten the fulcrum shaft with FULL weight on the car, my Jaguar mechanic mate takes them for a quick drive (a couple hundred meters) with the shaft loose, then tightens the shaft.
Absolutely true. Also worth mentioning something else rather important for those doing this job:
On the replacement pins I bought, the fixed end of the pin turned out not to be very fixed, and I found that when the assembly was tightened up using the castellated nut on the forward end, the fixed end of the pin gave way in use. I had to remove the whole shooting match and redo it and I welded the pin end. I would recommend this as a precaution, even on new pins.
Secondly, I also found that during the tightening up procedure, once everything was replaced correctly, I ran out of thread. In other words the assembly could not be tightened sufficiently to clamp the bushes' steel inners in place against the special washers, as the nut and final washer bottomed out on the pin thread before the assembly was tight. This is important as the bushes and their steel inners must not rotate with suspension movement; only the rubber part must flex but not turn, or the bushes will fail very fast.
The special washers have a wider diameter hole for those that must slide down the pin, and one with a smaller diameter for the final one that goes down the threaded part of the pin.
I fixed the tightening problem by adding a second larger diameter washer before the final smaller one, so that it could slide down the wider part of the pin and grip the bush properly. Followed by the smaller final special washer, this extra "spacer" gave sufficient thread room to tighten the assembly properly. In the bottom photo the added washer is not fitted, but if it is needed, it goes on before the final washer and nut.
Thanks to all for all your responses. Warrjon, where did you buy he genuine bushings and how much did they cost? I've already found that the left shaft was moving with only minor hammering. I've read several threads that stated that the cheap bushings don't last at all. I shouldn't be such a cheapskate! The work involved is worse than the cost, I'd bet! Is there room to drive the fulcrum shaft out with the subframe in place? I just checked Kirby's book and there was no mention of subframe removal. Michael McLaughlin and Jan Wikstrom both relate removing springs using jacks. Similar concept.
I did not use aftermarket because of cost, I did it on recommendation from the Jaguar parts supplier. Any way I got the OEM bushes from JagDaim in Melbourne. IIRC they were about $25AUD each So about $70USD a set
I finished replacing only the front lower arm bushings and tried to start the car after sitting for several months. I ran into a bunch of problems that I addressed in another thread. After solving those problems I can now move forward. Pun intended! I did notice an improvement in the suspension action. Even though my repair plan could be characterized as "half assed" I don't think that it was a totally bad idea. Replacing those worn bushings removed a tremendous amount of slop from the suspension. My last posts on this thread are from February, even though I was still working on the car last week. I'm going to add updates to this thread as often as possible. Anything would have to better that these!
One of my worn out old front tires sustained a tread separation. I replaced it with the spare tire which looks unused, but might be even older than the Cooper tires that are on it currently! I've thought about buying some used tires but they aren't quite the bargain they used to be. One major problem is that the wheels are 15 inch. There aren't many well priced performance tires available in that size. I don't want to make a big investment in replacing them with Pirelli replacements. I'd like to eventually upgrade to a 16 or 17 inch tire. Probably something from a later face lift model. I would actually like to use the same dimpled alloy wheels that I have on my XJ6.
Back to he fifteen inchers. There was a thread entitled "A budget tire journal" where the poster described his experience with some Ohtsu tires that he won in a raffle. He seemed to think that they were satisfactory under his conditions of use. There is a 225/60 R15 touring rated tire available at a good price. A new set wouldn't set me back much. They might not be the best tires but they look to be better than the Cooper Cobras i'm also considering. Ohtsu is a part of the Sumitomo tire group. These were previously marketed as Falken Ziem tires. I've got Falken Z rated tires on both of my Mustangs and have used them on my Datsun 280Zs. I will let everyone know how it goes.
What wheels are those on your coupe? They look great.
They're Asteroids - factory wheels from a 2001 XJR. There are about 1/2" thick wheel spacers needed to make them fit. Be a little conservative with the tire size and there shouldn't be a problem with fender rubbing. The look of those wheels on this car was what sold me on it. The seller was a talented photog - he gets credit for the pics, not I. Here's another: