When you click on links to various merchants on this site and make a purchase, this can result in this site earning a commission. Affiliate programs and affiliations include, but are not limited to, the eBay Partner Network.
Plus 1000000 on the speed bleeders. If you doubt how grateful you'll be now,,, your mind will be CHANGED before you wrap up the awesome job you're doing. Jus say'n. Best $100-150 bucks spent...
I've re-bled my system 3times in the last month (due to strange but expected pop up leaks on getting her back on the road after 12yrs) and without a jack,,, took 10-15 min... Not a drop of brake fluid on me.
Do yourself a favor in and just skip ahead and upgrade to xj40 x300 or late XJS outboard brakes. The benefits are myriad. The inboards are terrible, ineffective, difficlt to service, they heat up the diff and oil that blows back or out of the diff ends up contaminating the pads. The supposed benefit of lower unsprung mass is difficult to appreciate in real world conditions.
While I absolutely agree with your sentiment. That may not be the proper answer for everyone. Restoration purists will never approveIve. I�ve even had heated discussions with fellow Vintage racers. From a Practical standpoint it�s a well justified upgrade. When rebuilding the whole rear end assembly is called for after every event the temptation to go outboard is overwhelming.
Cook the rear rotors, overheat the seals on the differentials and gaskets. Even with the factory recommended ducting in place and supplemental duct work both in and out
One other thing to consider doing if modification is going to happen. Replace the needle bearings. Only one or two take the total load and because the travel arc is so short none of the others do any work.
Just make simple brass bushings. And keep them greased. Takes a lot of the slop out of the rear end.
part time rebuild is coming along ..... happy with the way the calipers came up with the heat proof paint .... the caliper bolts ....3/8 unf .... have not seen the markings before ... assuming its 8.8 ... i intend to reuse them as they are in good condition......?
other stuff is back from the blasters ... paint is drying.
should have the consolidated order of to Jagdaim next week ... they have been very helpful.
Yes - they look great.
I often / always send a group of bolts off to be electroplated, blue / silver once i have everything apart. They come back super clean looking like new and will not rust for some time like..... when new!
I'm lucky to have a shop handy that does small lots for cash. But always rewarding to assemble parts that and clean and like new.
Great job. I like your paint option, good idea.
WHAT, and miss out on ALL that fun of a brake fluid bath, jacking the car up, squirming around under there, trying to get the spanner past the exhaust.
Then throwing the clothes in the trash afterwards (that stink will NOT come out), and the wife will NOT allow them in the washing machine.
Mate, you are getting soft.
I never had them, 6 Inboad brake cars in the fleet, and had many a quiet snooze under them,, wife knew exactly where I was, and never questione the time I spent with the cars.
OK ... the guru has spoken ...... there is time to reconsider ...... looking at a slightly revised design from local suppliers here in west stralia....!
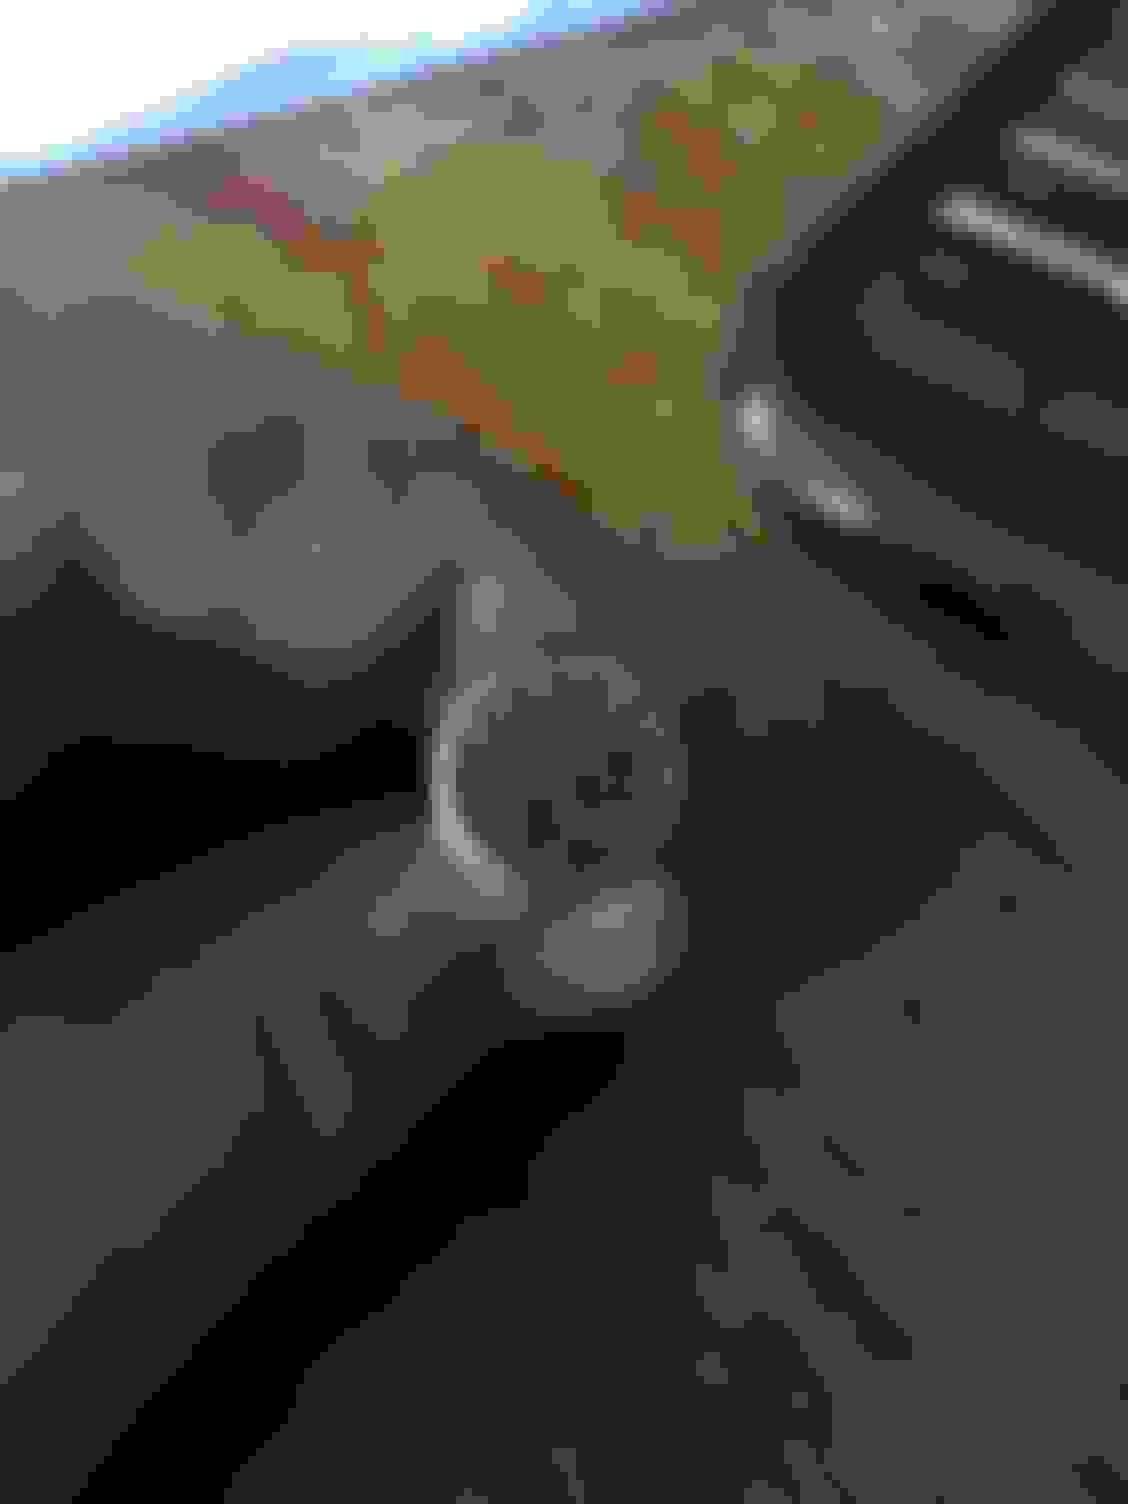
attached is a pic of the handbrake caliper ... looks like someone has got heavy handed with both of these at some stage or is there something else going on with the handbrake calipers causing this damage .....? .... i have cleaned the other one up and got the pivot section moving freely.
Otherwise the clean up is comming along ... allbeit slowly ..... . time permiting.
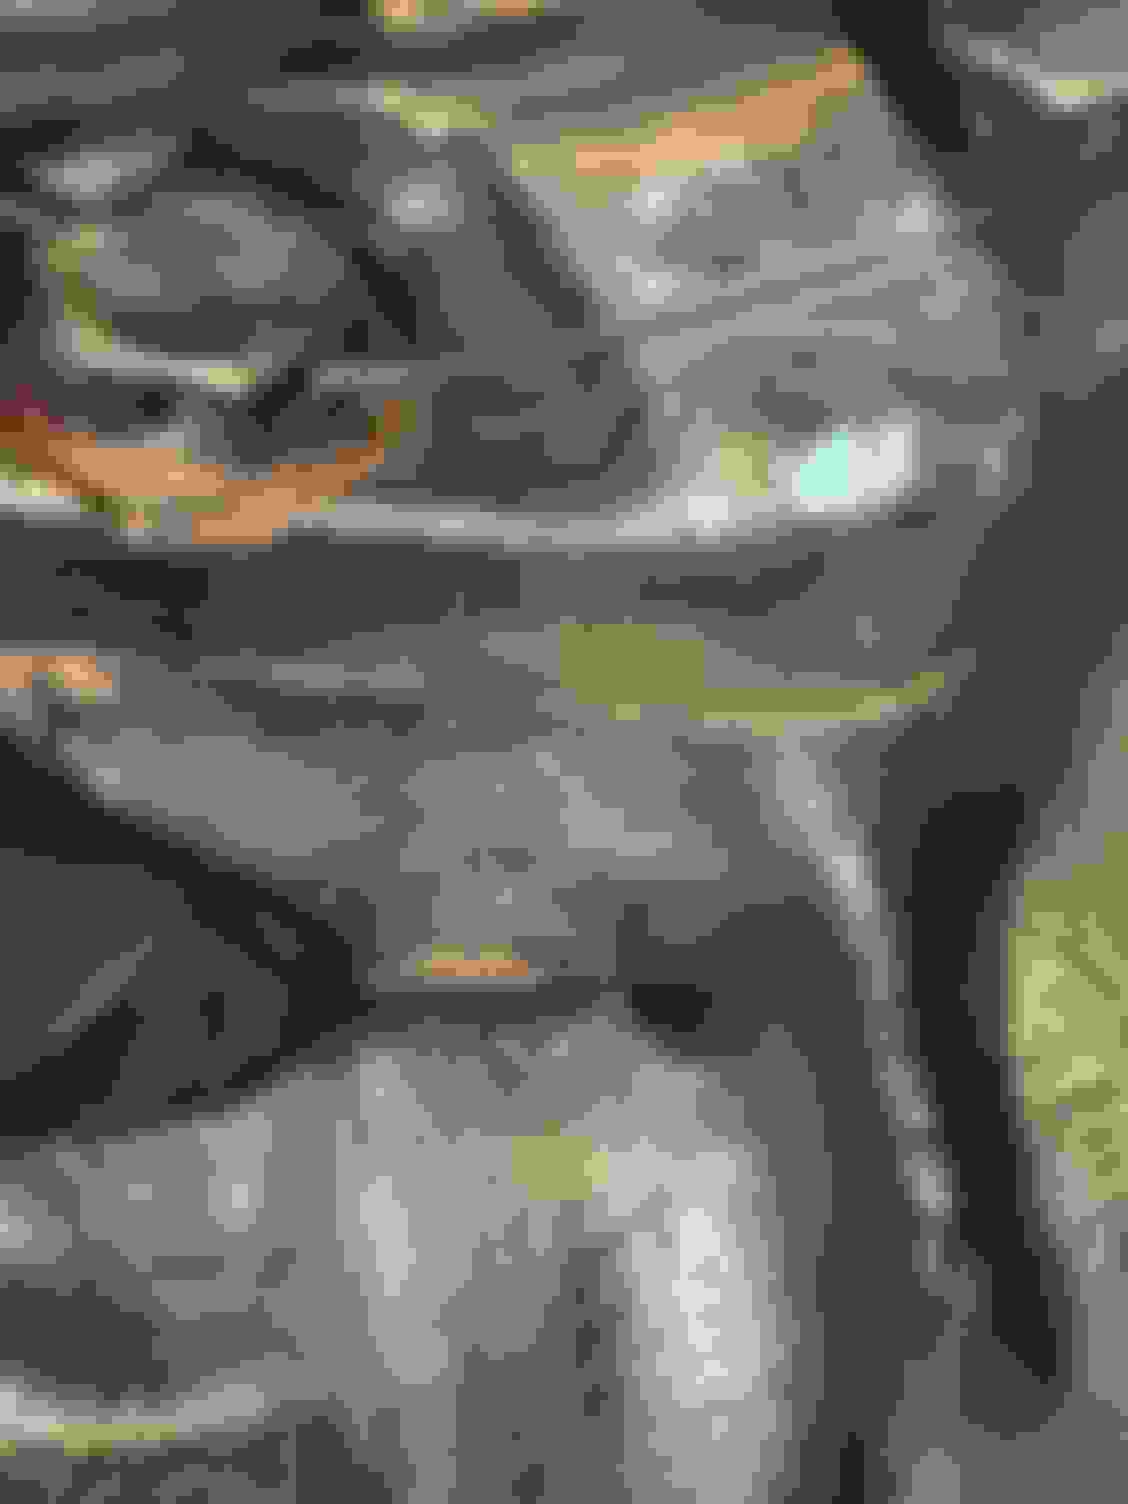
Was cleaning the diff up �Salisbury � when I found a machined hole on each side of the housing (underside) where the output shafts are �. some help on what these are for please �? �attached is a photo (happy snap).
Well the diff housing clean up went ok �. did not plan on opening up the diff as all was good and the main reason for the removal of the rear end was for the fitting of the sway bar �. doing the brakes (hand and foot) outer fulcrums (they weren�t taking grease) and noisy uni joint on right hand bends � and a good clean up � diff was not leaking and working fine so a good external clean up and paint and oil change was all that was intended �.. until.
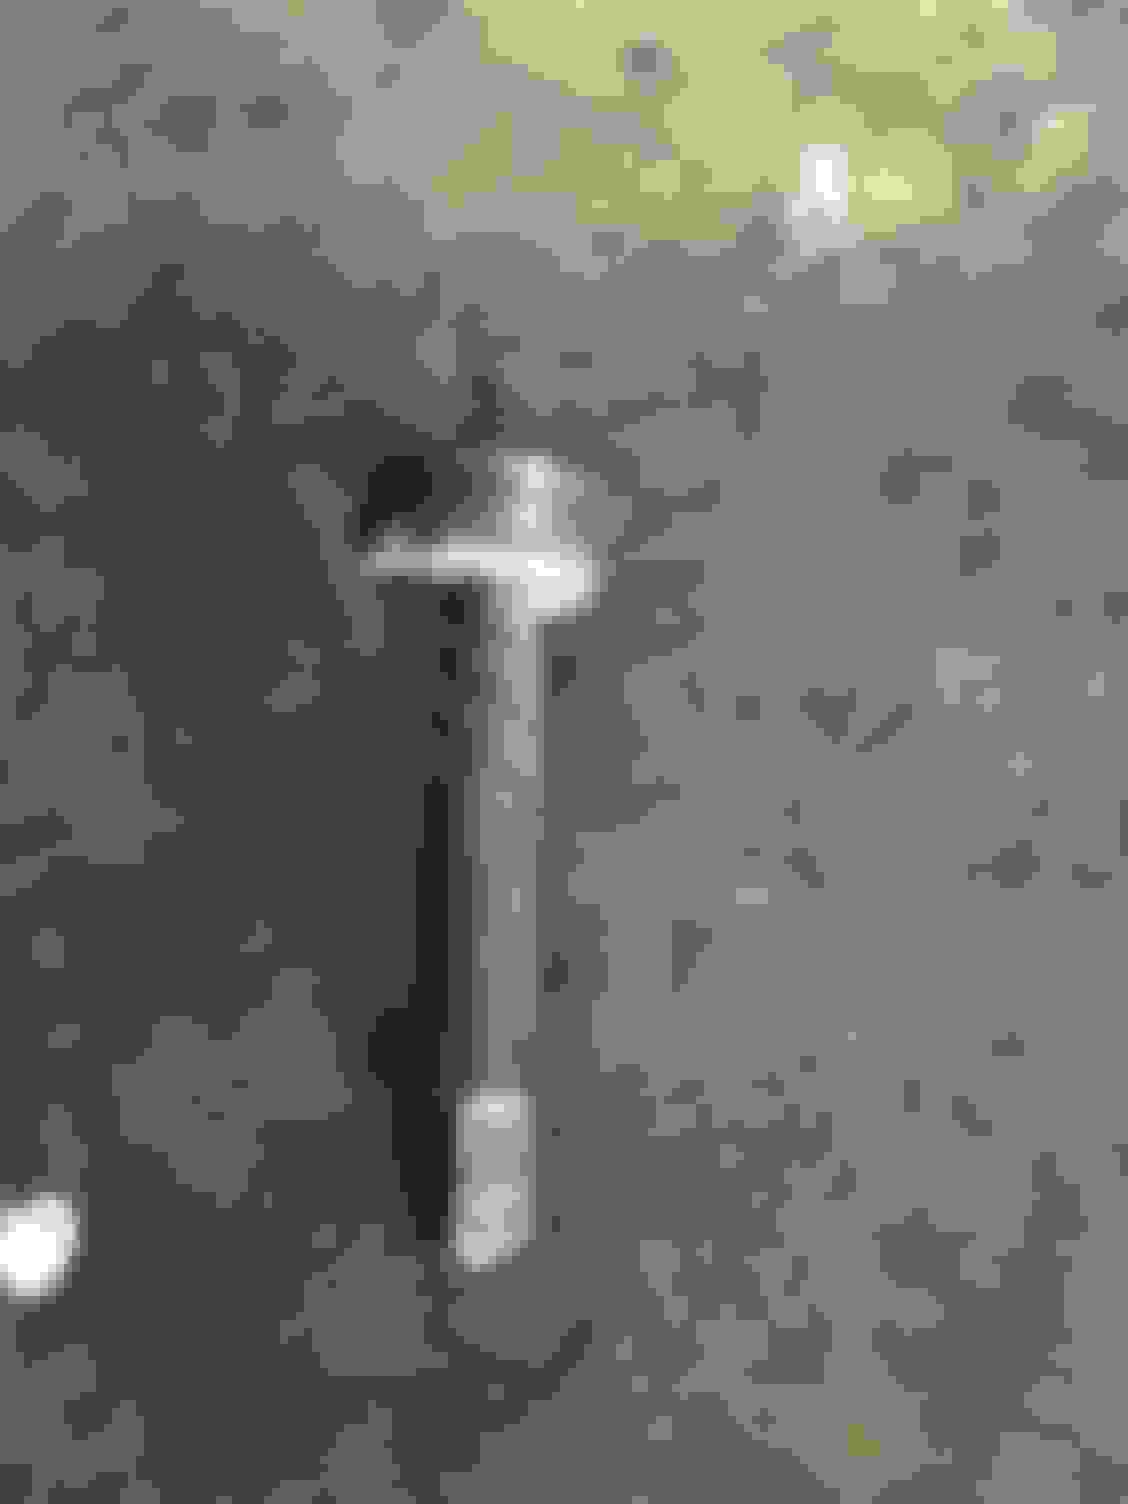
Yes that�s right � �until� �. see the attached �happy snap� of an easy out poking through the drain plug � any way these things are sent to try us and generally do�..diff oil came out very clean�! � the filler plug is OK.
So I will be pulling the inspection cover and giving things a careful and good solvent clean making sure I get any of the drill swarf out.
All things ended well though as SHIRAZ was on hand � third happy snap.
Please �. any and all comments welcome � this forum has assured the good relationship the mistress and I share.
thanks for the "outer pivot arm info " an exrcise well worth doing .... i also note your comments about anti sieze .... or total laxk there of ... this stuff gets use on pratically every thread and anywhre else i can think of using it ..... encountered at least 6 sized bolts thus far on the back end ....totaly avoidable with the use of anti sieze.
still curious what the holes are in the diff housing under the out put shafts...
a question on the re - assembly please ....!... can you get the diff back into the cage with the discs and calipers mounted onto the diff....?
Honestly, because the discs will not be fixed, just on their studs, I think it is better to attach the diff to the cage and the bottom wishbone inner fulcrums to the diff "dog bone" brackets first. Once they are done, adding the calipers and the discs, axle out of the car upside down, is dead easy. If you do the calipers and the discs first, it makes it all a bit more cumbersome, though doable.
Greg & Grant ... mthanks for your comments on the assembly sequence .......!
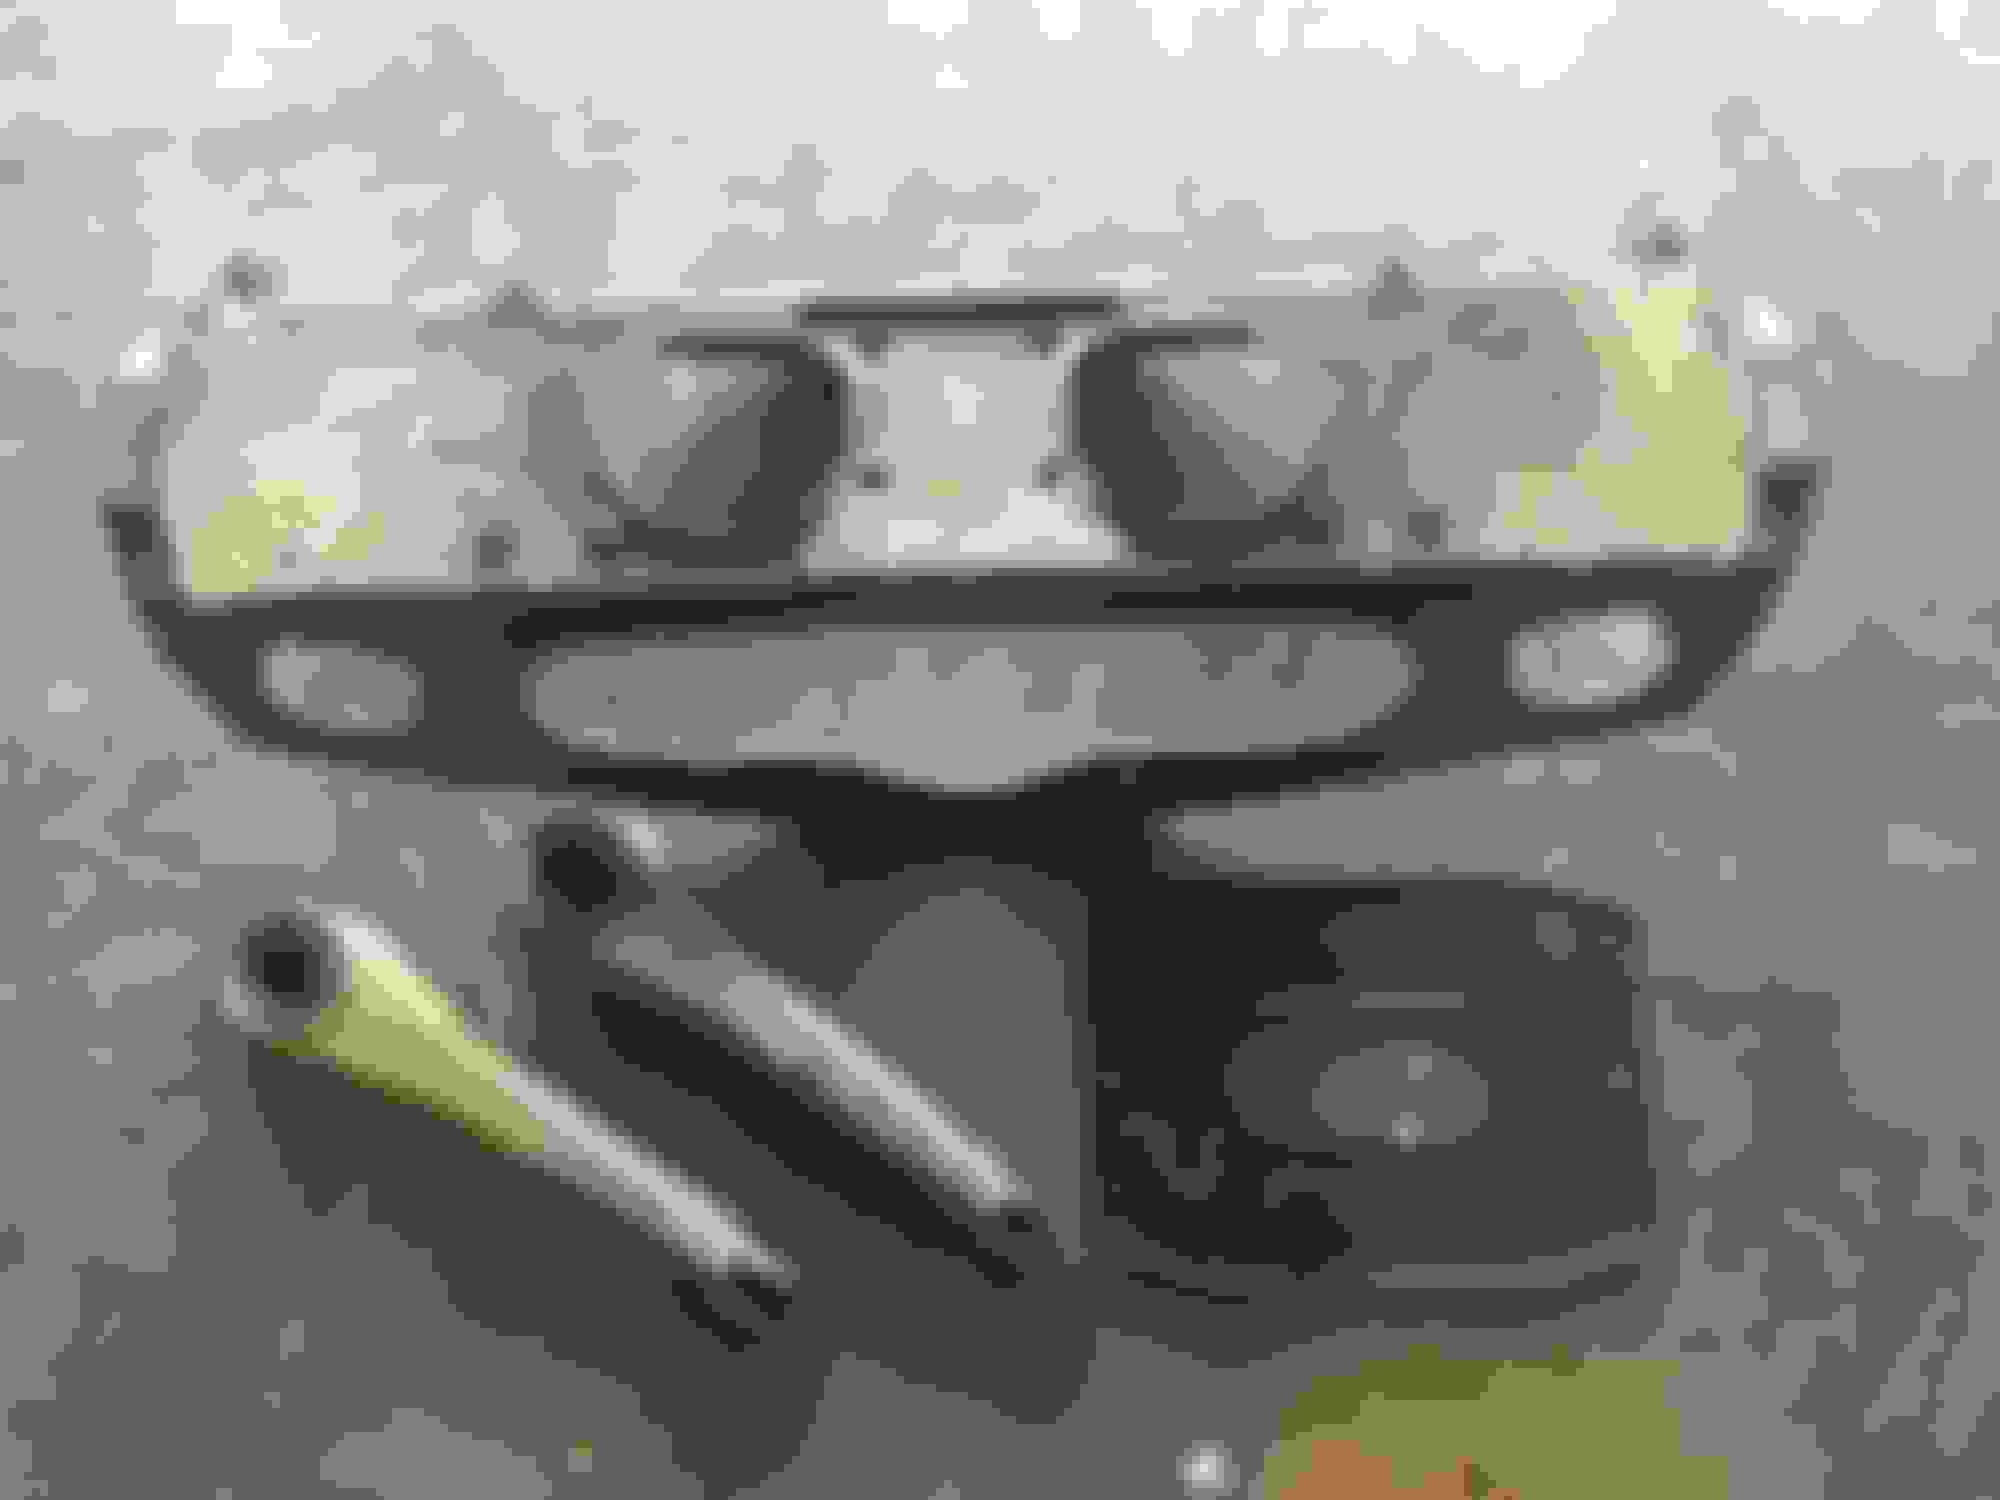
before and after shots of the cage ....diff calipers and radiuss arms ....radiuss arms are getting the bushes changed ......order went into jag daim yesterday ... assembly should start next week.