When you click on links to various merchants on this site and make a purchase, this can result in this site earning a commission. Affiliate programs and affiliations include, but are not limited to, the eBay Partner Network.
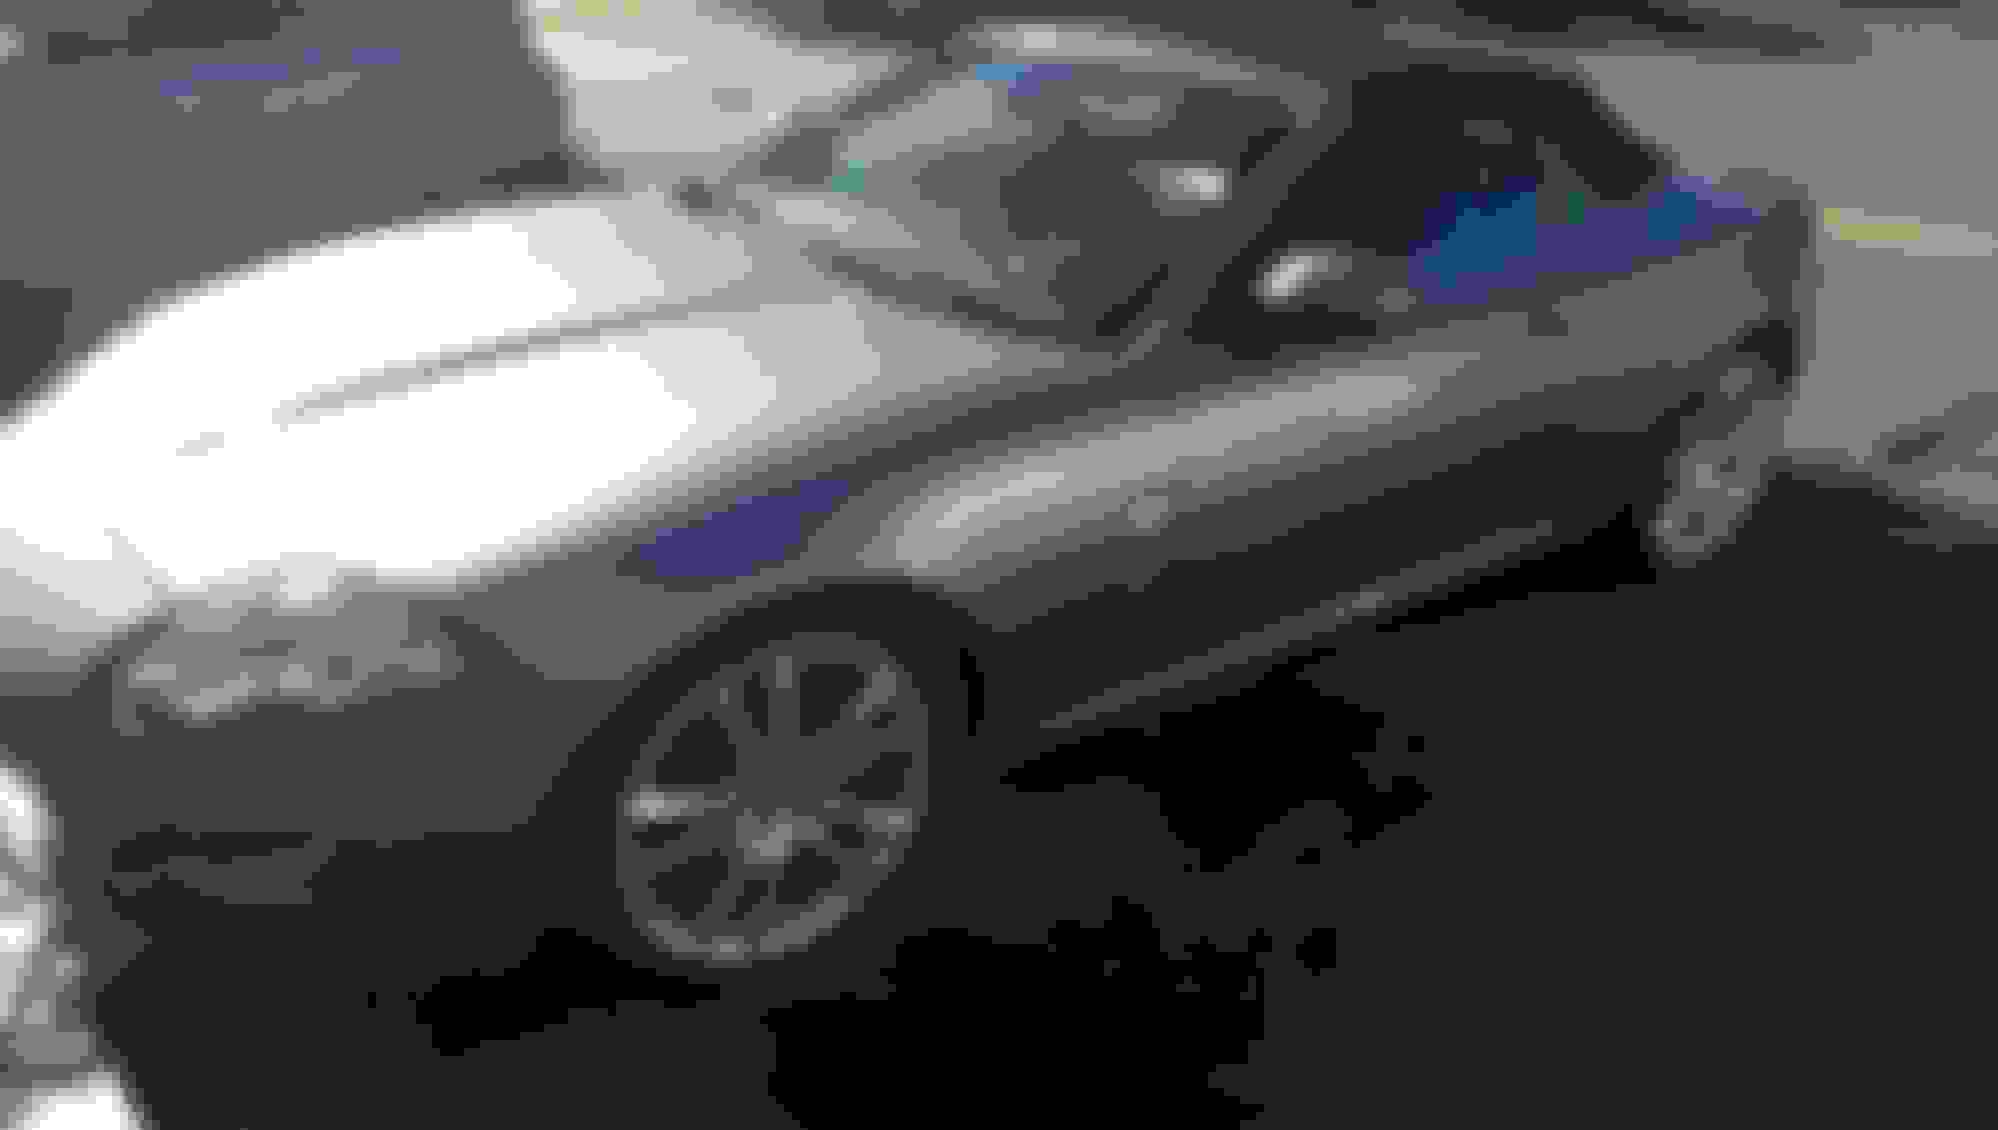
After searching since Feb I found, bought, and got my girl home. 2007 XK Lunar gray with Charcoal. She was a single owner car in Detroit not driven on foul weather or winters, 35K miles. Flew to Det Dec 9 drove
3 800+ mile days to get her home Saturday eve... where I hit a skunk at my son's place so there's still a little "scent" left. Hit a terrible snow storm near Flagstaff where the roads iced up badly thankfully it has new Dunlops on it so enough traction to turn around when others were sliding off the road. Had to clean her up and get make-up (wax) on her before showing her off. Over the last couple days I painted the calipers red (I'll start another thread on that) and began doing "contrast stitching" (another thread on that shortly).
Congrats! Looks great with the 20" Sentas! Perfect for the gorgeous weather in San Diego, but since it's always sunny there, be sure to get a reflective sun shade to prevent the leather dash from shrinking. Also consider getting (1) a battery maintainer (2) a rear wind blocker and (3) White XKR's kit to operate the top from your key fob and raise the rear windows when the top is down. Since you've been on the forum for a while, I'm sure you're familiar with all of those threads. Enjoy your new ride!
Thanks Rich. It made the 2500 road trip home without an issue. It did blow a brake light bulb.
By this time next week I should have it the way I want and the perma-smile wwill be there!
This Sunday I'll put the tiop down, bun warmers on, and take my lady out to check out christmas light displays locally while cranking some nice christmas music!
After searching since Feb I found, bought, and got my girl home. 2007 XK Lunar gray with Charcoal. She was a single owner car in Detroit not driven on foul weather or winters, 35K miles. Flew to Det Dec 9 drove
3 800+ mile days to get her home Saturday eve... where I hit a skunk at my son's place so there's still a little "scent" left. Hit a terrible snow storm near Flagstaff where the roads iced up badly thankfully it has new Dunlops on it so enough traction to turn around when others were sliding off the road. Had to clean her up and get make-up (wax) on her before showing her off. Over the last couple days I painted the calipers red (I'll start another thread on that) and began doing "contrast stitching" (another thread on that shortly).
Leeper congrats on the purchase I didn't realise you just bought her !
Almost done - just ordered some 303 protectant for the top and some SL.6 brake fluid to do a flush/change the end of the week then just finish that stitching! I hope to be done on/before Saturday taking on one run at a time now
When the stitching is absolutely in a straight line it doesn't really matter which direction you stitch in with the exception of keeping it consistent should there be a run right next to it however what I meant when I redid the door panel was that when the stitching is slightly "offset" meaning not in a constant line but rather sort of like this /////////// rather than this ------------then I found it looks much better to actually stitch it where you're going the longest way versus the thread going the shortest route (which then look more like it is just being run trough the existing threads versus being stitched into the seats). When going around the curved area on the door panel I chose the wrong direction and didn't notice until I got nearly 3/4 done then removed it. I've also been experimenting with two different sized needles and found the larger one to actually work better with going under the existing thread and far easier to hold/work with.
There's certain areas that get fairly tough - like starting the threading at the bottom of the seat back as access there sucks! Even with it moved forward and the back kicked back all the way you still have to contort yourself to start at the bottom of it.
I have 1 1/2 headrests, a small piece in the back of the center console, a little on the back seats, and maybe half the front seats to go! The seats take time, some stitches are easy and some are tight even right next to each other. Tomorrow I'll likely put in a couple hours and try to finish one seat then I'll have @ 2/3 of the other seat to do.
Also make sure you pull your thread tight and untwist it every 5th stitch or so it'll make everything look more consistent and help with the thread not wanting to knot up.
I think when done I'll take a little super glue and tack down the edges and trim everything a bit closer... we'll see when I do my final stitches
If that doesn't answer your question I can perhaps take more detailed photos to explain it better.
Leeper
If you could send me some pics of exactly what you me by the longest way that would be great ! I've started the middle stitching off my seat and I can barely see the new stitching
Here's a terrible drawing to describe what I was talking about in "taking the longer way" in stitching. In example #1 it doesn't matter if you start going in the "up" or "down" direction as long as you stay consistent (or if the run goes vertical then starting from the right of left side). The door panel started off pretty flat with all stitching being in a line but then as it curved down towards the front of the car the stitching became "offset" if you will and I was stitching from the wrong side so pulled it out. Remember that if you go in one direction you'll need to try to keep going in that same direction if there's another row right next to it or when the thread line follows from the bottom of the seat to the back. I also paid attention that that when doing the center console to make sure all the stitching was done in the same direction so it looks right.
If that doesn't help let me know and I'll take some more detailed photos for you
Well the good news is that exactly how I've been doing it , I pretty paid attention to your first 2 pics and analysed where the needle was placed .
The bad news is I've completed half my seat only to realise the thread isn't thick enough to cause that visual impact I have m20 (tex 135) which was fine on the dash I might need to get pick the thread out and use m15 on the seats
I started by buying some size 90 red thread, tried it on my office car, and found it was wrong color and way too small. After going back and forth with Superior thread I opted for going up several sizes now using #207 which I'm very happy with.
Doing the seats I've found using a small flashlight can be very handy especially at the bottom and when I angle the light it can make it pretty easy to see the existing thread but also make sure I get under all the strands. At times I'll also use a magnifying glass a few times. I'll post more pics tomorrow evening hopefully have one seat done


 I like what you did with the calipers. I will checkout your other thread on that.


