
Fan removal without draininng the engine?


Thread Starter
|
Veteran Member


Joined: Apr 2012
Posts: 1,854
Likes: 987
From: UK
I'm having trouble with the serpentine belt tensioner bolt, its rounded off so I will need to take out the fans to get better access.
The workshop manual says drain the coolant and remove hoses, however I thought I would check here first to see if anyone had done this without draining the coolant?
The workshop manual says drain the coolant and remove hoses, however I thought I would check here first to see if anyone had done this without draining the coolant?
Thread Starter
|
Veteran Member
Joined: Apr 2012
Posts: 1,854
Likes: 987
From: UK
Well this job just gets worse, the right hand side fan retaining nut is just spinning so I will need to remove the upper hose to get access to cut it off.
So next question on the fan housing, I can see two nuts retaining the housing, one at each side at the top. Is there just the two?
So next question on the fan housing, I can see two nuts retaining the housing, one at each side at the top. Is there just the two?

Veteran Member
Joined: Apr 2014
Posts: 5,457
Likes: 1,816
From: New Jersey USA
Agreed. 2 nuts, like Gus said watch the bolts sticking out. They are not secure once you remove the nuts (I lost one once).
You need to put hood in service position. disconnect the upper radiator hose. Remove nuts. Disconnect the two fan electric connections from the motor and the wire clips on fan body. Tilt fan forward. Lift upwards and out.
John
You need to put hood in service position. disconnect the upper radiator hose. Remove nuts. Disconnect the two fan electric connections from the motor and the wire clips on fan body. Tilt fan forward. Lift upwards and out.
John

Veteran Member
Joined: Mar 2008
Posts: 5,390
Likes: 1,116
From: Ellijay
It appears that only the upper hose is in the way of removing the fans. If you have a small hand pump you could suck the coolant below the thermostat and not have to drain the entire system.
Multi-Use Transfer Pump
Multi-Use Transfer Pump
Last edited by test point; Sep 25, 2016 at 11:18 AM.
Veteran Member
Joined: Apr 2014
Posts: 5,457
Likes: 1,816
From: New Jersey USA
Good idea about pump. Don't forget you are only going to lose a small amount of coolant if the hose is just disconnected from the radiator side and pushed vertical while you are working.
Probably enough to concern you if you have a dog though. I'll never forget how poisonous it is yet they say it takes great (being serious not funny subject).
John
Probably enough to concern you if you have a dog though. I'll never forget how poisonous it is yet they say it takes great (being serious not funny subject).
John
Thread Starter
|
Veteran Member
Joined: Apr 2012
Posts: 1,854
Likes: 987
From: UK
Trending Topics
Veteran Member
Joined: Apr 2014
Posts: 5,457
Likes: 1,816
From: New Jersey USA
RD, sounds good. It will take about 5 minutes over all. Hey, an idea for you. After I lost one of those screws, I decided to squirt some Goop brand glue into the slot that holds the screw. Now it can't fall out and the Goop is like silicon - you can remove the screw if you want to someday.
remember that the top of the fan is flush, no gap, with top of radiator. Easy to miss align on reinstall.
Good luck with it.
John
remember that the top of the fan is flush, no gap, with top of radiator. Easy to miss align on reinstall.
Good luck with it.
John
Senior Member

Joined: Oct 2010
Posts: 750
Likes: 308
From: Near Charlotte, NC
Howdy Folks:
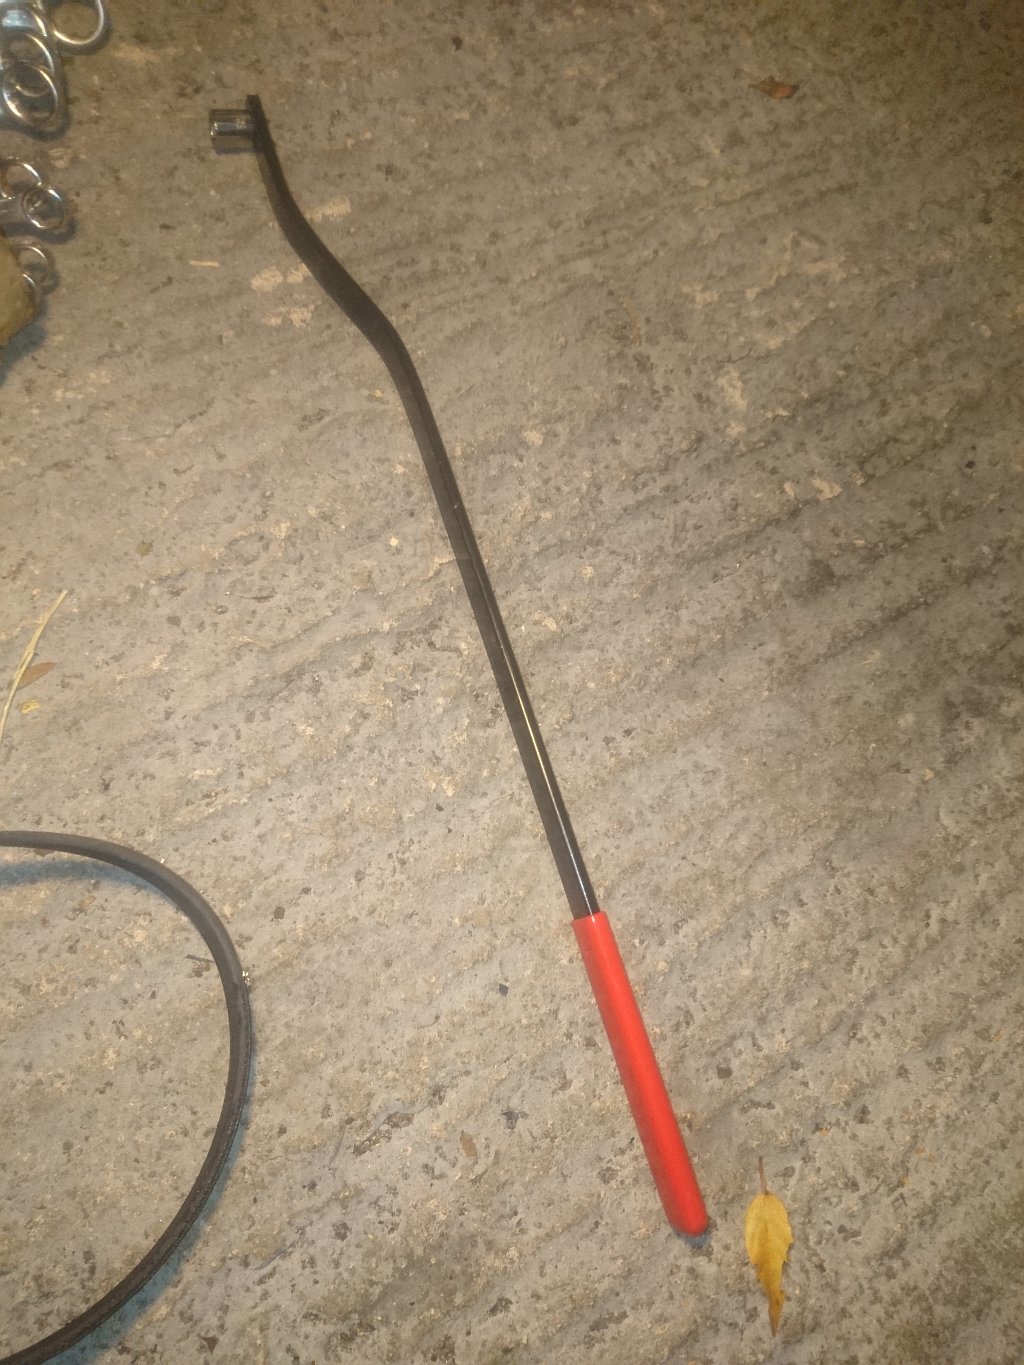
FWIW, I made this double ended tool to remove both belts without undoing the coolant hose connection. (I did have to figure rotation and height of the square before cutting the square hole and welding since there is so little clearance. I used 3/16 X 2 barstock)
FWIW, I made this double ended tool to remove both belts without undoing the coolant hose connection. (I did have to figure rotation and height of the square before cutting the square hole and welding since there is so little clearance. I used 3/16 X 2 barstock)
Last edited by Dr. D; Sep 25, 2016 at 10:09 PM.
Thread Starter
|
Veteran Member
Joined: Apr 2012
Posts: 1,854
Likes: 987
From: UK
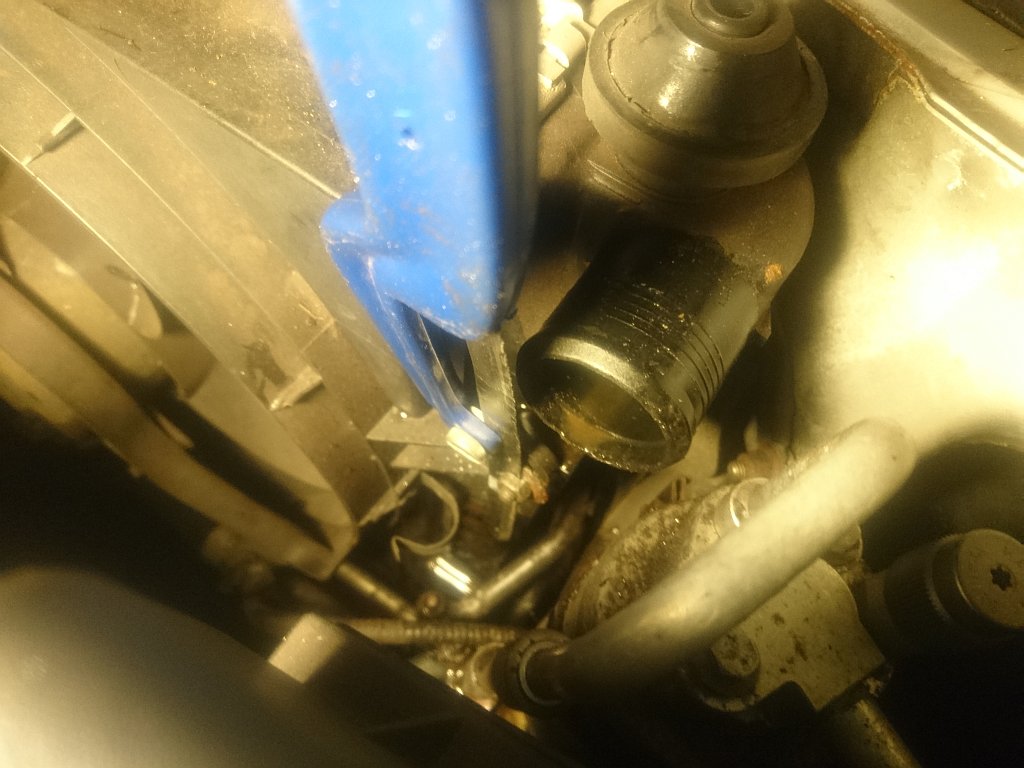
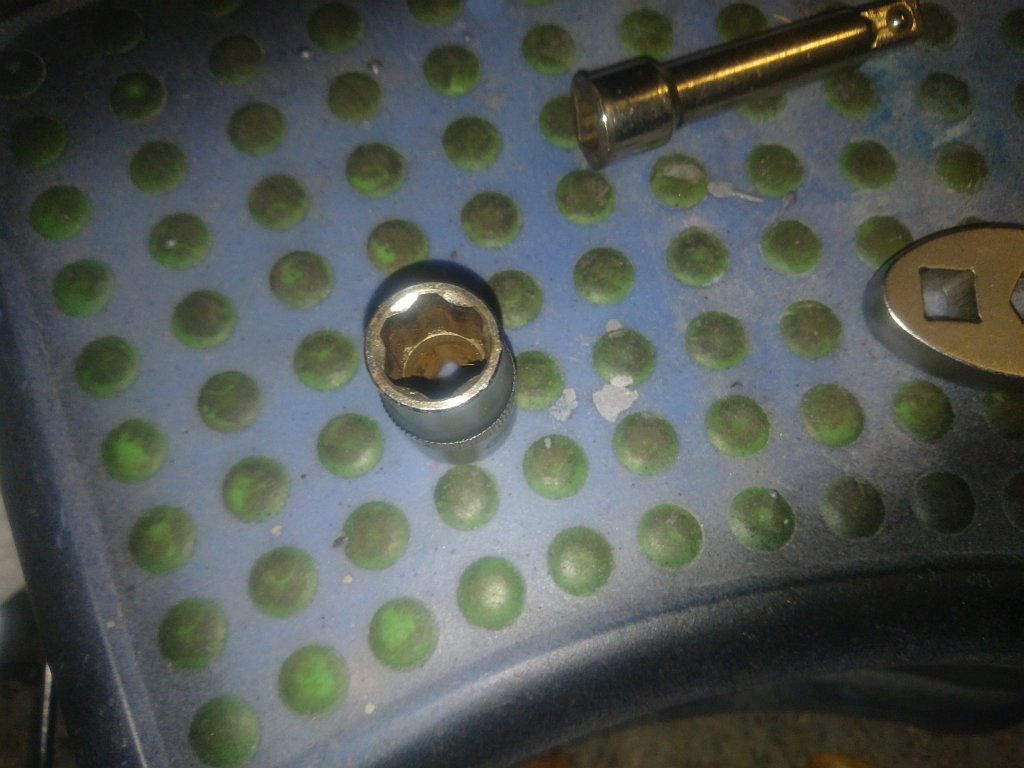
I made up a similar tool to release the tensioner but there wasn't enough space to get it on the bolt without bending the fans even with a special shallow socket.
I managed to get a hack saw blade in to cut off the spinning nut once the top hose was off.
Fans out, the hood was just in the normal open position.
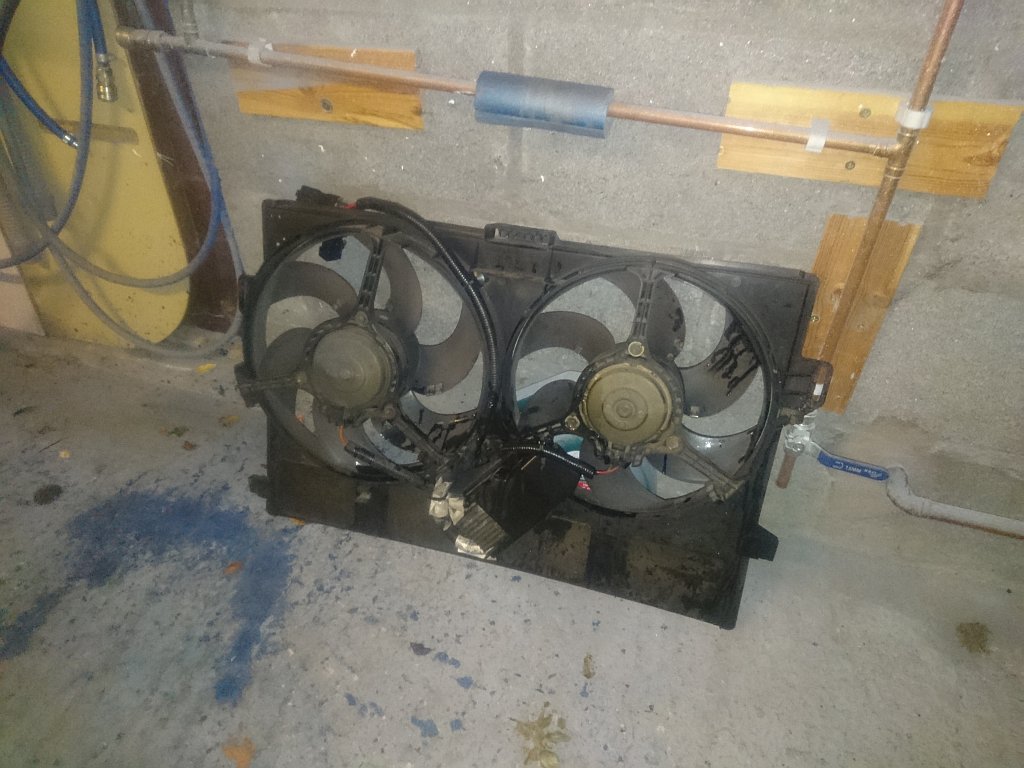
Then there was plenty room.
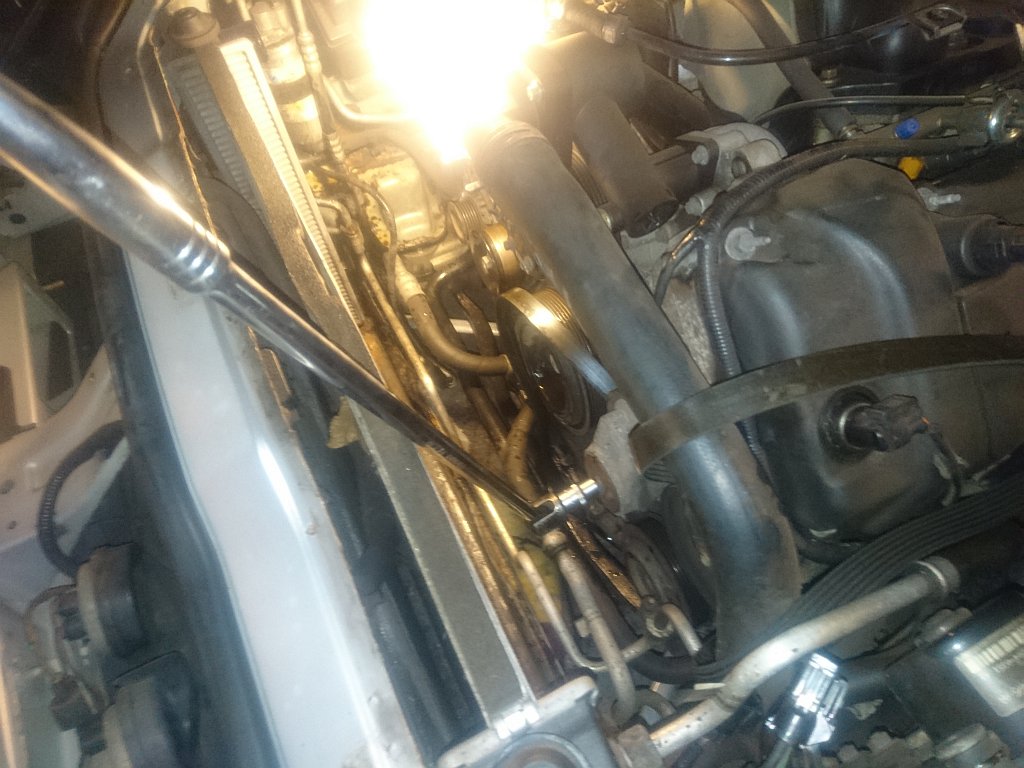
Cracked off no problem in the end with a 6 point OTS.
I managed to get a hack saw blade in to cut off the spinning nut once the top hose was off.
Fans out, the hood was just in the normal open position.
Then there was plenty room.
Cracked off no problem in the end with a 6 point OTS.
Thread Starter
|
Veteran Member
Joined: Apr 2012
Posts: 1,854
Likes: 987
From: UK
I think if I had a long 6 point 13mm spanner I could have done it, but my 12 point rounded off the tensioner bolt and I didn't want to make it any worse so opted to get the space for a 6 point socket.
Always an opportunity!
Thread Starter
|
Veteran Member
Joined: Apr 2012
Posts: 1,854
Likes: 987
From: UK
Well that's it done, the car has been off the road for most of the last 3 months, I have spent at least 80 hours working on repairs, maybe more.
The last job today was to refit the fans and rad top hose.
As one of the captive bolts spun in the plastic housing on removal and had to be cut off, I needed to modify the replacement to allow reassembly.
Here are the original bolts and replacement.
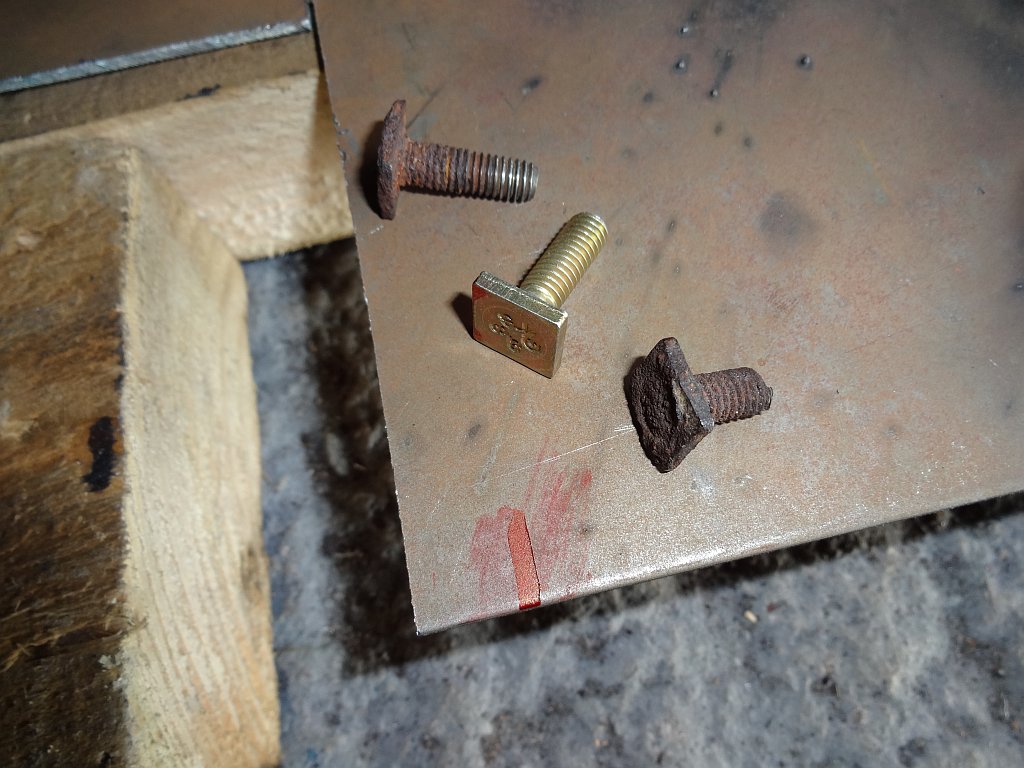
Welded the new bolt to some 2mm plate.
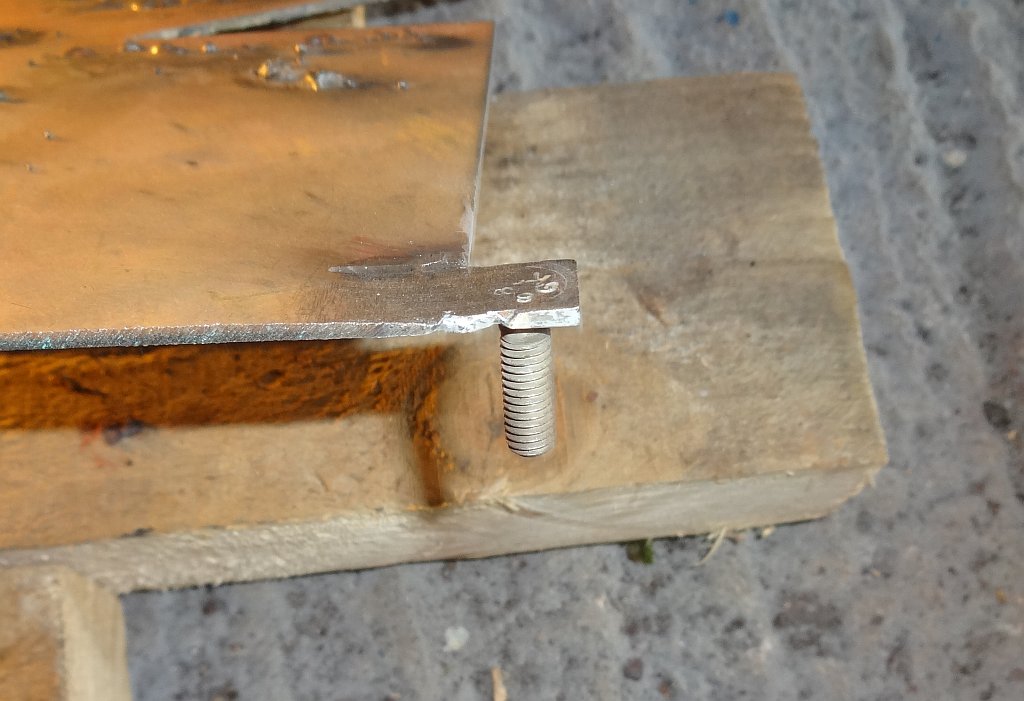
Cut it off and cleaned it up.
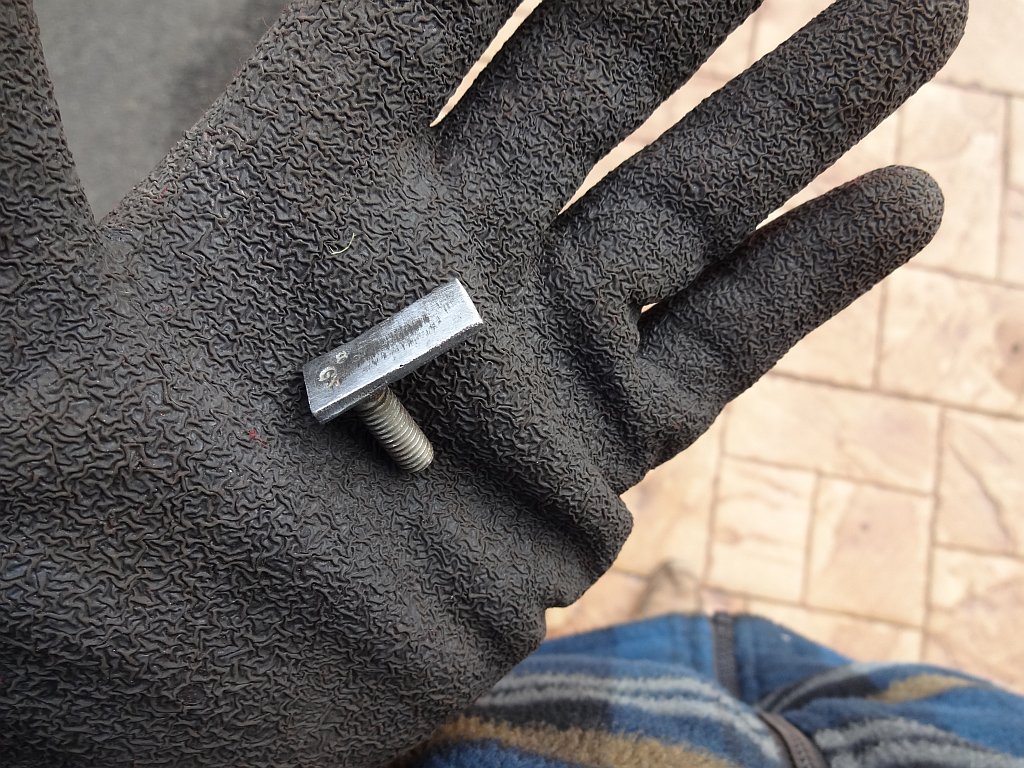
In place ready to accept the fan unit.
Once all buttoned up I started it up and took it for a very short run (MOT and tax has expired) and all was well! Mot booked for next week.
It started off with a quick look underneath to see if any maintenance was needed........
Replaced lower steering column to tighten up steering response.
Replaced both rear suspension sub-frame to body brackets due to rust.
Replaced driver door catch due to cosmetic wear.
Refurbed all four road wheels due to kerbing.
Refurbished both front brake callipers, new pistons and seals, routine maintenance.
Cut out and welded in new front seatbelt anchor plates on both sides due to rust.
RH suspension turret, cut out rust and made good.
RH wing support bracket, cut out rust and made good.
RH wheel arch to floor panel, cut out rust and made good.
Front cross brace, media blasted and painted, routine maintenance.
New front brake pads, LH and RH, routine maintenance.
New rear tyres, routine maintenance.
LH & RH inner sill lip up to floor panel stripped back to bare metal and repainted, routine maintenance.
Manufactured stainless steel washers for the front upper arm poly bush set, improvement.
Stripped out old front upper arm poly bush set and replaced with new improved design, improvement.
Refurbished driver seat bolster due to wear.
Fitted replacement catalytic converter.
Fitted new serpentine belt.
What a marathon!
The last job today was to refit the fans and rad top hose.
As one of the captive bolts spun in the plastic housing on removal and had to be cut off, I needed to modify the replacement to allow reassembly.
Here are the original bolts and replacement.
Welded the new bolt to some 2mm plate.
Cut it off and cleaned it up.
In place ready to accept the fan unit.
Once all buttoned up I started it up and took it for a very short run (MOT and tax has expired) and all was well! Mot booked for next week.
It started off with a quick look underneath to see if any maintenance was needed........
Replaced lower steering column to tighten up steering response.
Replaced both rear suspension sub-frame to body brackets due to rust.
Replaced driver door catch due to cosmetic wear.
Refurbed all four road wheels due to kerbing.
Refurbished both front brake callipers, new pistons and seals, routine maintenance.
Cut out and welded in new front seatbelt anchor plates on both sides due to rust.
RH suspension turret, cut out rust and made good.
RH wing support bracket, cut out rust and made good.
RH wheel arch to floor panel, cut out rust and made good.
Front cross brace, media blasted and painted, routine maintenance.
New front brake pads, LH and RH, routine maintenance.
New rear tyres, routine maintenance.
LH & RH inner sill lip up to floor panel stripped back to bare metal and repainted, routine maintenance.
Manufactured stainless steel washers for the front upper arm poly bush set, improvement.
Stripped out old front upper arm poly bush set and replaced with new improved design, improvement.
Refurbished driver seat bolster due to wear.
Fitted replacement catalytic converter.
Fitted new serpentine belt.
What a marathon!
Last edited by RaceDiagnostics; Oct 1, 2016 at 03:17 PM.

Joined: Jan 2012
Posts: 6,068
Likes: 2,983
From: Newport Beach, California
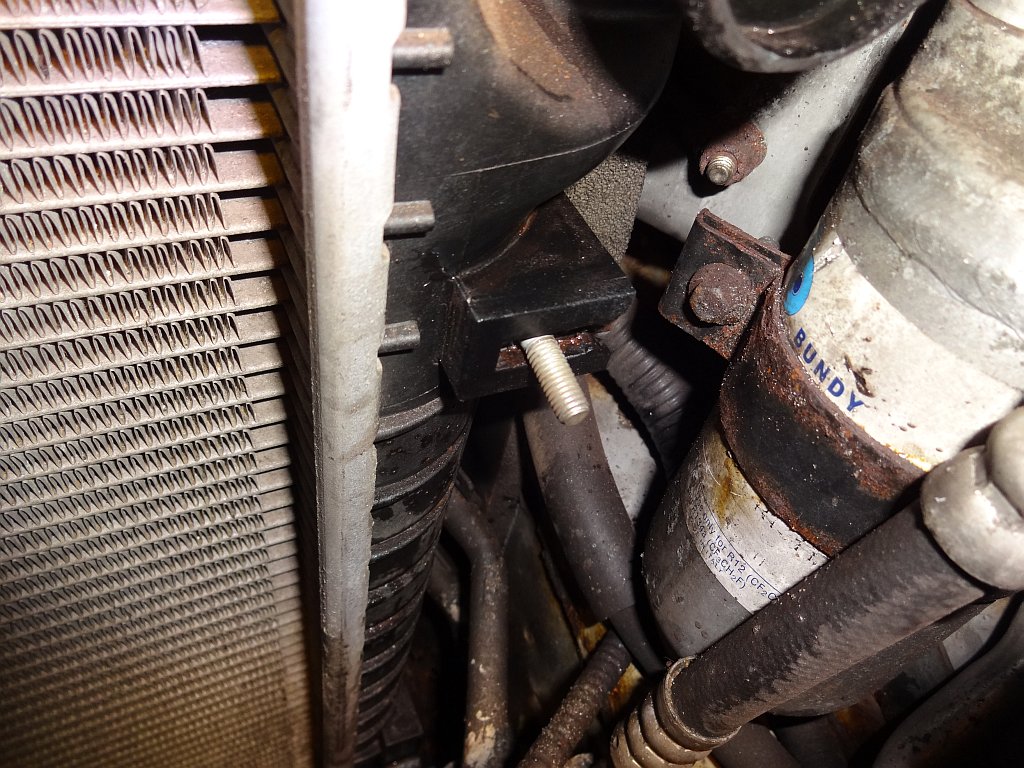
Very good idea with adding the 2mm plate to the captive stud. Anti-seize compound would help so you never need to remove the nut again!
Seems like quite a bit of corrosion on many of the parts nearby. How strict is the MOT inspection with corrosion?
Seems like quite a bit of corrosion on many of the parts nearby. How strict is the MOT inspection with corrosion?
Thread Starter
|
Veteran Member
Joined: Apr 2012
Posts: 1,854
Likes: 987
From: UK
Yes, I smothered it with copper grease before final fitting. Surface rust is no issue at the MOT, any structural member or any member within 30cm of a suspension point that has its strength compromised by corrosion is an automatic fail.

Thread
Thread Starter
Forum
Replies
Last Post
dhvoorhees
XF and XFR ( X250 )
22
May 14, 2018 07:22 PM
Currently Active Users Viewing This Thread: 1 (0 members and 1 guests)