
Fitting new rear springs and shock bushes


Thread Starter
|
Senior Member
Joined: Jan 2013
Posts: 150
Likes: 33
From: Australia
Hi All,
I am replacing the rear lower shock bushes to get rid of an annoying rattle when travelling on rough roads, checked exhaust, brake cables and brackets etc. so cluthing at straws. The rear springs have paint peeling off showing surface rust, so I am replacing those too along with the spring top bush and pigtail.
I keep reading on the forum about removing a couple of bolts and putting in a wooden wedge or socket somewhere to allow the spring to come out easier - can someone explain more about that for me please ?
With the car up off the ground and securely propped up in stands, I was going to fit spring compressors with a jack pushed up under the hub ( no wheel fitted ) and then remove the bottom shock bush bolt and lower the jack leaving the spring in a compressed state and allowing the hub to fall as low as possible. Will that leave enough to get the spring out ? I will remove the shock absorber and do the bush change with my 10 ton press, examining and re-painting the shocker as it seems OK.
Any advice to save me time and effort would be appreciated. I found a thread that mentioned removing the 4 bolts under the diff and inserting a wedge in there, but itI'm not sure I understood the reasoning properly.
I watched Wheeler Dealers doing this job last week, Ed China made it look very easy he but missed lots of detail.
Senior Member
Joined: Nov 2010
Posts: 280
Likes: 28
From: Dallas, tx
You're in luck. Bob Gauff, superstar mechanic (Motorcar Man), changed out my bushings about a year ago and I took a bunch of pics.
PM me with your email, and I'll send pics showing how to do this time-saving maneuver. Bob, made it look way too easy.
You should be aware that there is a sensor on top of the axle that somehow relays
info to your headlights for proper alignment. You may have to have your headlights
adjusted via computer, if you pull a code after reconnecting it.

Veteran Member


Joined: Apr 2012
Posts: 1,854
Likes: 987
From: UK
This is how I did it.
It was a real pain in the ... to do it, and took most of the day to complete the job.
I jack the rear of the car here, betwwen the two bolts at the rear of the diff.
Jack stands here.

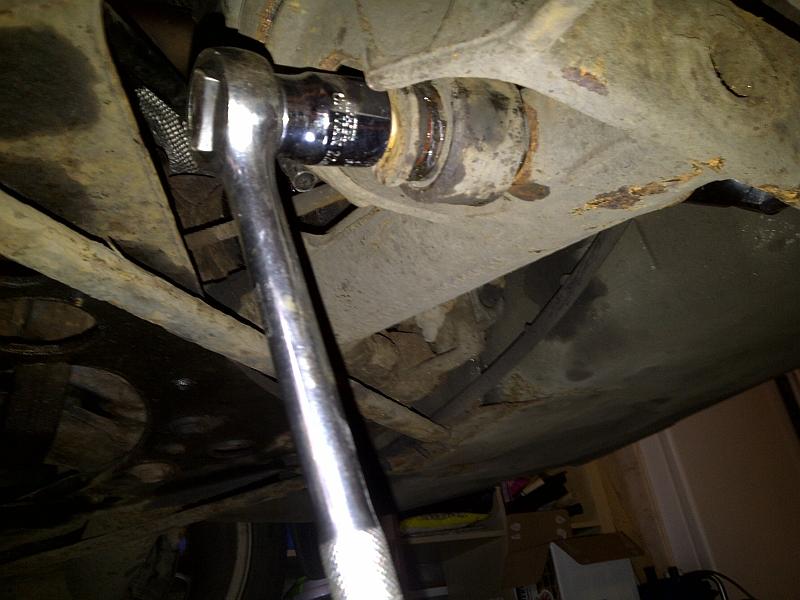
Next I removed the hub bearing bolt to get better access. I needed a breaker bar to get the nut off.

Next I jacked the suspension arm back up before putting on the spring compressors.

I used a pair of these.

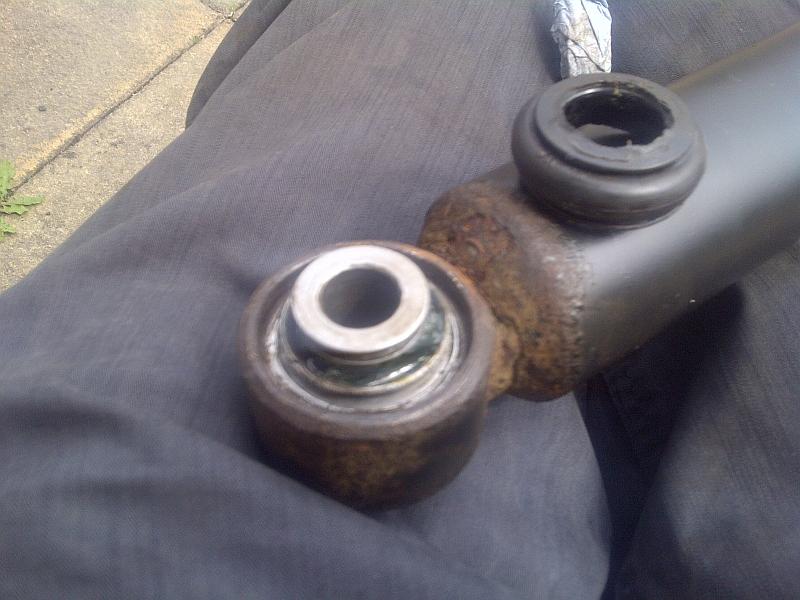
One on the front and one on the back, you can see the split in the bush rubber cover here.
Nex the bolt in the holding the shock bush, again the breaker bar was needed.
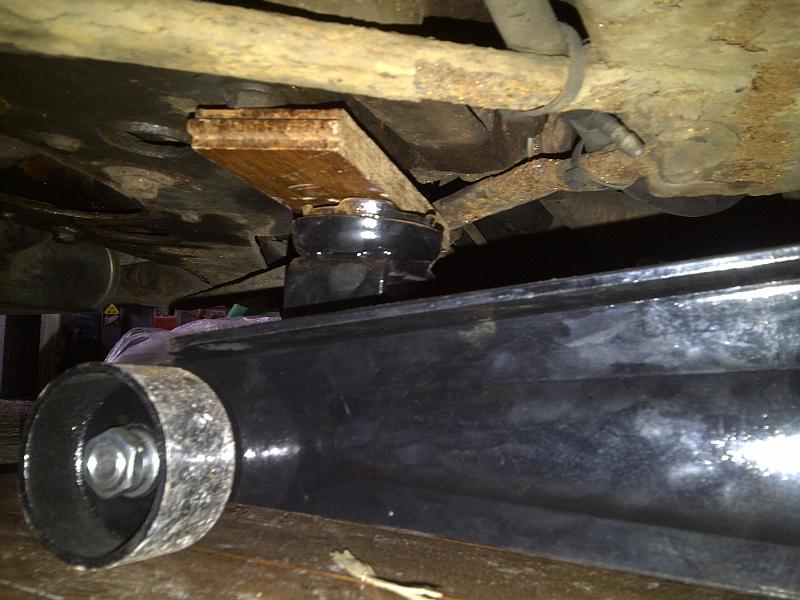
Next I jacked up a bit of wook beneath the shock to compress it the held it in place with a small brass drift.
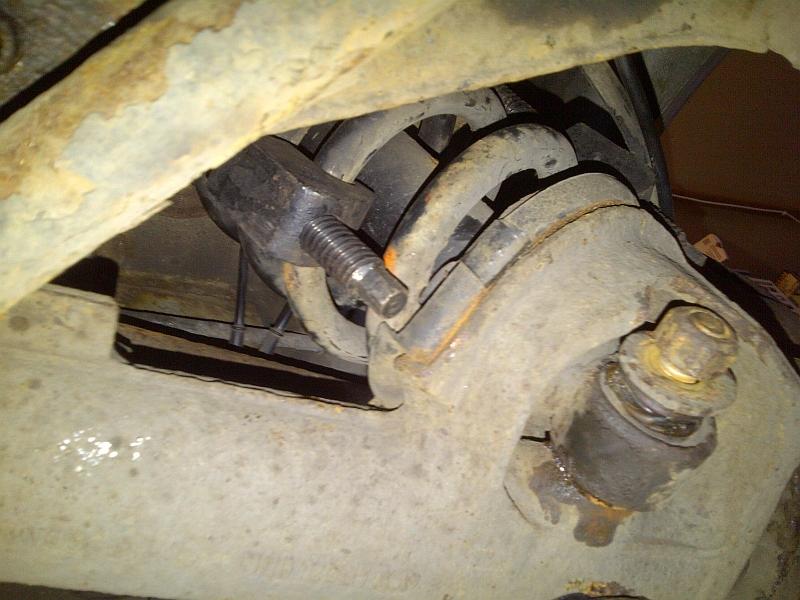
Next there are four nuts like this that need to come out.

Three came out with their studs, one came of clean, at least nothing sheared.

I also removed the outer part of the brake calliper to get more room.

And this cable, I guess its the brake wear sensor.

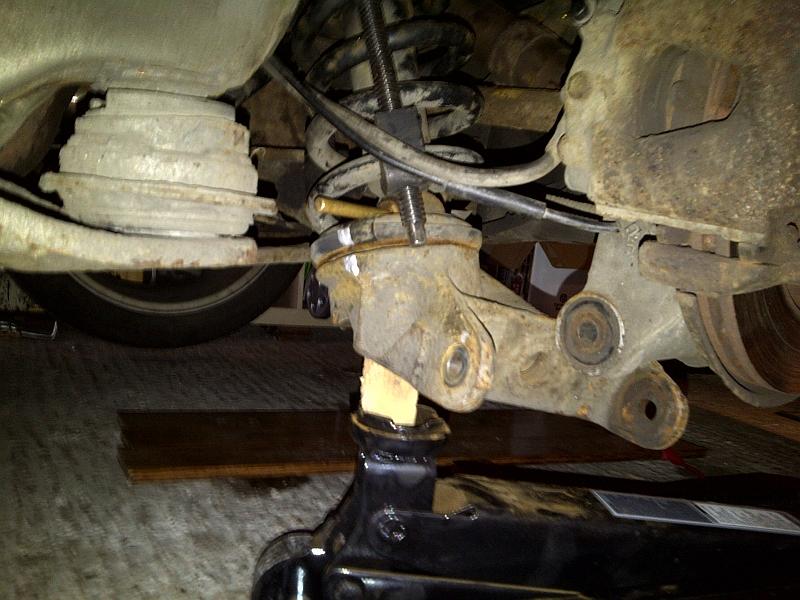
After wriggling the bottom free, I was able to drop ithe assembly by a few inches and then remove the cats connector on the top of the shock.


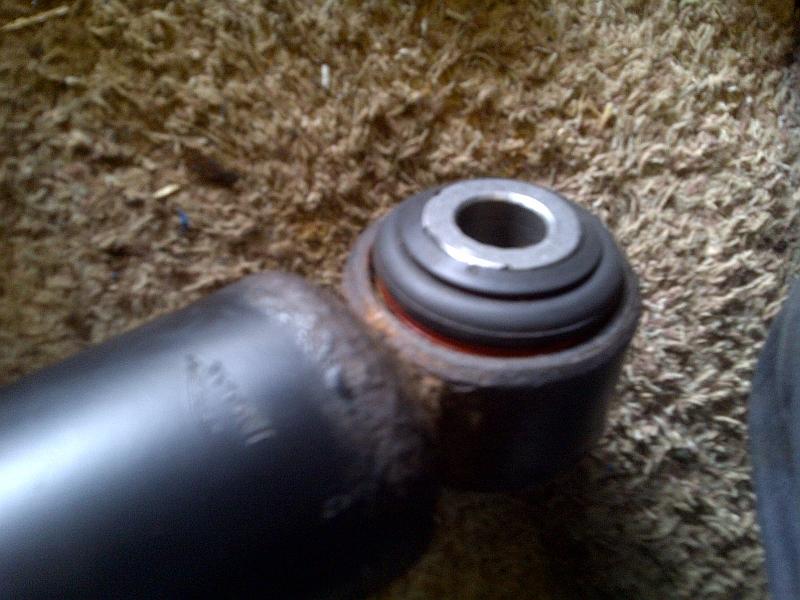
And finally the shock was out.

I removed the top mount like this, there is a recess for an allen key.

Next i set off to my local welder who I know has a press. he was easily able to press it out and press the new one in. We removed the rubber boot before pushing the new one in so as not to damage it. He also refused to take any payment. I told him I would be back to get the floor pans done.
Boot back on, its held in place by a couple of spring wires.
I then reassembled the assembly and reconnected the cats loom.

I kept the shock comressed with a bit of string.

Finally it was all back in place.

Then the rest of the parts were reassembles in reverse order to disassembly.

Finally went for a test drive, fantastic, no more knocking!
It was a real pain in the ... to do it, and took most of the day to complete the job.
I jack the rear of the car here, betwwen the two bolts at the rear of the diff.
Jack stands here.
Next I removed the hub bearing bolt to get better access. I needed a breaker bar to get the nut off.
Next I jacked the suspension arm back up before putting on the spring compressors.
I used a pair of these.
One on the front and one on the back, you can see the split in the bush rubber cover here.
Nex the bolt in the holding the shock bush, again the breaker bar was needed.
Next I jacked up a bit of wook beneath the shock to compress it the held it in place with a small brass drift.
Next there are four nuts like this that need to come out.
Three came out with their studs, one came of clean, at least nothing sheared.
I also removed the outer part of the brake calliper to get more room.
And this cable, I guess its the brake wear sensor.
After wriggling the bottom free, I was able to drop ithe assembly by a few inches and then remove the cats connector on the top of the shock.
And finally the shock was out.
I removed the top mount like this, there is a recess for an allen key.
Next i set off to my local welder who I know has a press. he was easily able to press it out and press the new one in. We removed the rubber boot before pushing the new one in so as not to damage it. He also refused to take any payment. I told him I would be back to get the floor pans done.
Boot back on, its held in place by a couple of spring wires.
I then reassembled the assembly and reconnected the cats loom.
I kept the shock comressed with a bit of string.
Finally it was all back in place.
Then the rest of the parts were reassembles in reverse order to disassembly.
Finally went for a test drive, fantastic, no more knocking!
Thread Starter
|
Senior Member
Joined: Jan 2013
Posts: 150
Likes: 33
From: Australia
Well I replaced rear springs, shock absorber top and bottom bushes, anti roll bar bushes and checked other stuff as I went along. However I still have a rear end rattle on bumpy roads.
I used the method of removing just the bottom shock bolt, antiroll bar nuts and the 4 A-frame diff bolts to allow the hubs to drop an extra few inches and no need for coil compressors. The shocks and springs come out with a bit of jiggling and go back in the same way.
I now know my rear suspension is in good shape, but that annoying rattle !
Last edited by spuddyo; Apr 13, 2013 at 12:40 AM.
Trending Topics


Veteran Member
Joined: Aug 2009
Posts: 1,205
Likes: 434
From: Milwaukee, WI
I had a subdued "Clunking or Rattling" in the rear. It was the Left CATS Shock that had a Internal Rattle inside the Shock. The Jag Dealer replaced both CATS Shocks (In Warranty) and no more Rattle.
I don't know whether this is a common problem with the Standard Shock.
I don't know whether this is a common problem with the Standard Shock.

Member
Joined: Nov 2023
Posts: 68
Likes: 48
From: Phoenix and Forest VA
Cheers, Mike

Thread
Thread Starter
Forum
Replies
Last Post
KarimPA
S-Type / S type R Supercharged V8 ( X200 )
11
Sep 12, 2015 08:15 AM
Currently Active Users Viewing This Thread: 1 (0 members and 1 guests)