Loud clunk from front left when turning, getting worse...
#1
 03-06-2013, 04:28 PM


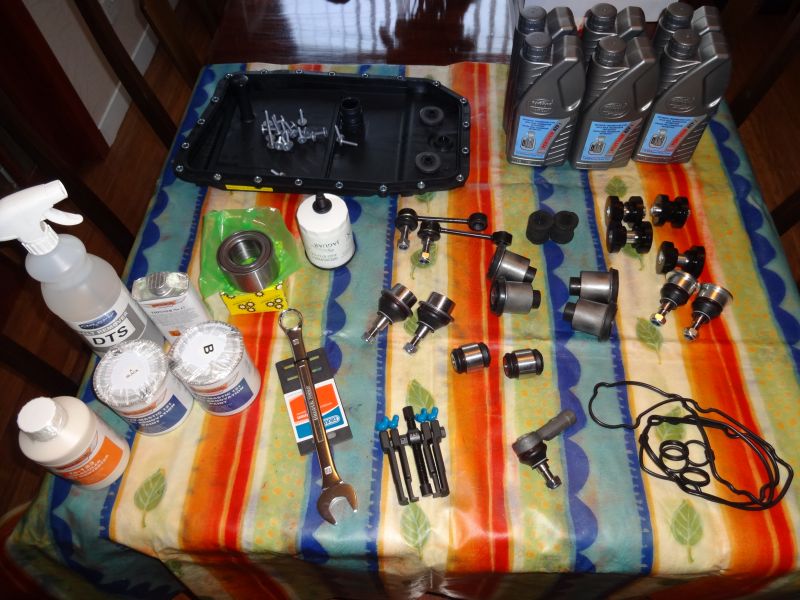
I did a bit of prying, pushing and pulling but was unable to detect any movement, so I'm going to dismantle and rebuild the entire front suspension with this kit.
Xk8 Suspension Kit - XK8KIT1 | Jaguar XK8 - XKR | Jaguar | British Parts UK
and do as much rust proffing as I can when I'm under there.
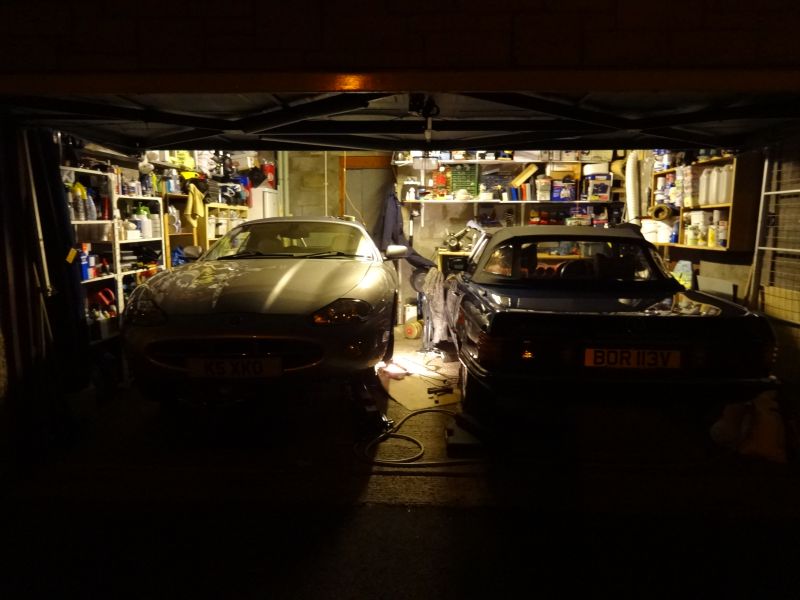
I'm going to do this in my garage over the next few weeks, it will be a tight squeeze.
Nothing obvious in these pics.


Next I took out the arch liners and the mud flap, the stud sheared off, quite a mess inside and a fair amount of rust, including the wheel arch itself.
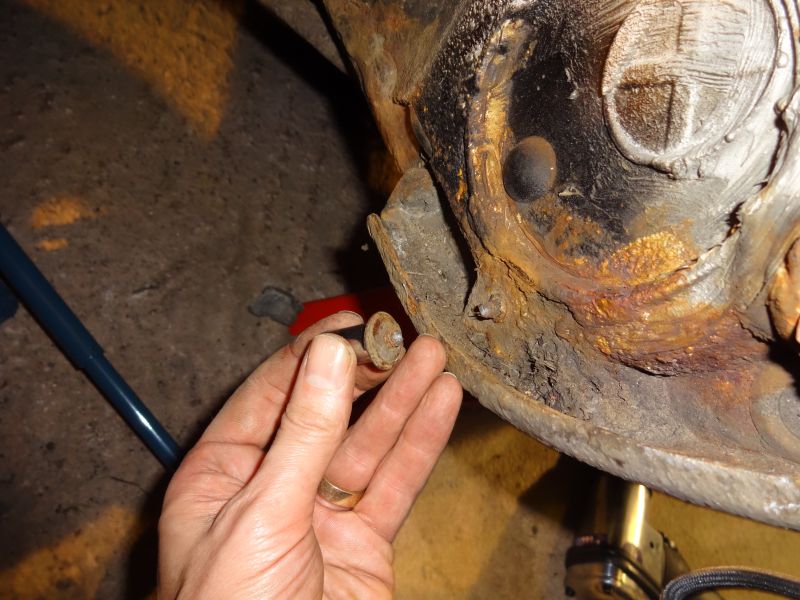
These two bits were lying on the shelf behind my hand.

Is the blackened area normal?
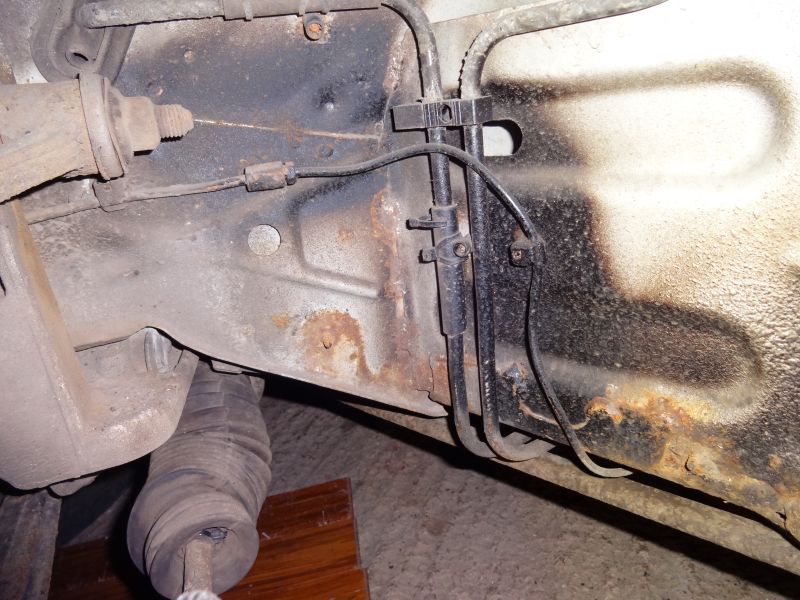
Some rust around the subframe mount that well need to be looked at further.

The anti roll bar drop link top bolt was really tricky to get off, very stiff but eventually came off with a breaker bar.
The nut of the top ball joint was easy in comparison.

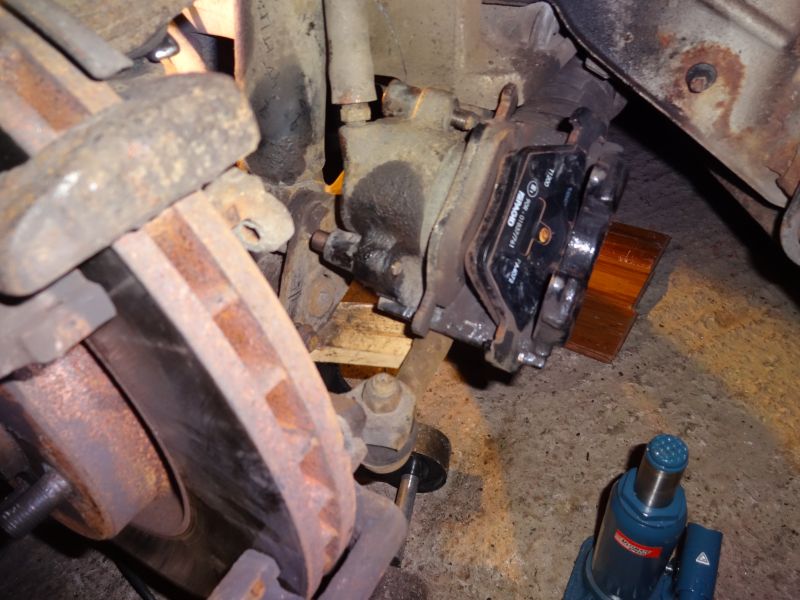
Removed the calliper.
The top ball joint split no problem.

Next on to the track rod end, I tighetened the ball joint splitter up really tight but it wont split, any suggestions?

Xk8 Suspension Kit - XK8KIT1 | Jaguar XK8 - XKR | Jaguar | British Parts UK
and do as much rust proffing as I can when I'm under there.
I'm going to do this in my garage over the next few weeks, it will be a tight squeeze.
Nothing obvious in these pics.
Next I took out the arch liners and the mud flap, the stud sheared off, quite a mess inside and a fair amount of rust, including the wheel arch itself.
These two bits were lying on the shelf behind my hand.
Is the blackened area normal?
Some rust around the subframe mount that well need to be looked at further.
The anti roll bar drop link top bolt was really tricky to get off, very stiff but eventually came off with a breaker bar.
The nut of the top ball joint was easy in comparison.
Removed the calliper.
The top ball joint split no problem.
Next on to the track rod end, I tighetened the ball joint splitter up really tight but it wont split, any suggestions?
Last edited by RaceDiagnostics; 03-06-2013 at 04:35 PM.
#3
03-06-2013, 05:30 PM
Veteran Member
I've done it twice now. If the ball joints are not the source of your clunking, then check out the upper A-arm pivot bolts. (When you pull the bolts out, be sure to watch for two sets of 2 each quarter sized washers before and after the crossmember aluminum. They set caster angle.) Next suspect is sway bar rubber; then lower shock mount bushing. You did the right thing to order the full rebuild kit. Good Luck and keep posting.
#4
03-07-2013, 04:34 AM

#7
03-07-2013, 06:37 AM

Veteran Member
Trending Topics
#8
03-07-2013, 06:52 AM


Join Date: Oct 2007
Location: PHX some of the time
Posts: 116,907
Received 6,275 Likes
on
5,471 Posts
#9
03-07-2013, 07:11 AM

Senior Member
Check out this link. Warning that a clunking sound could be worse than anyone thinks. Not to alarm anyone....just saying
Front Sub Frame Potential Problem Warning to XK8 and XKR Owners
Front Sub Frame Potential Problem Warning to XK8 and XKR Owners
#10
03-07-2013, 07:17 AM
Senior Member
Just in case all else fails, "Clunk" is the description for the sound when the other end of that stabilizer bar in this pic gets loose. (The ones that run diagonal across the corners of the engine compartment). Its usually heard more when hitting small bumps and particularly noticeable at low speeds though. With all you're doing that front end will feel like new. I am sure it will be very satisfying!
#11
03-07-2013, 07:21 AM

Two Club Hammers required. Hit it on opposite sides at the same time. This usually shocks the Ball Joint taper free. When I'm re-using a Balljoint, I prefer to use this technique to avoid damaging the rubber boot with the jaws of an extractor tool.

As you'll be replacing the Upper Ball Joint anyway, some localised heat on the end of the wishbone will help.
Graham

As you'll be replacing the Upper Ball Joint anyway, some localised heat on the end of the wishbone will help.
Graham
#12
03-07-2013, 08:15 AM
Veteran Member
Don't underestimate the value of a good propane torch. The heat expands the metal, breaking the bond between the two surfaces. So first penetrating oil and medium hammer... and you can hammer pretty hard on these things. Then on a truly stubborn tapered suspension joint, I always heat before bringing out the next bigger hammer.
#13
03-07-2013, 09:42 AM
Two Club Hammers required. Hit it on opposite sides at the same time. This usually shocks the Ball Joint taper free. When I'm re-using a Balljoint, I prefer to use this technique to avoid damaging the rubber boot with the jaws of an extractor tool.
Attachment 35586
As you'll be replacing the Upper Ball Joint anyway, some localised heat on the end of the wishbone will help.
Graham
Attachment 35586
As you'll be replacing the Upper Ball Joint anyway, some localised heat on the end of the wishbone will help.
Graham
I have been doing a lot of hammering to the side of the taper as well as the top of the splitter tool when it is tight.
Tonight I will try a bit of heat.
Thanks for all the suggestions everyone.
#15
03-07-2013, 03:03 PM
OK tightened up the splitter a bit more, hit it with a large hammer and still nothing, so I did a bit of heating with a butane torch and hit it again and bingo it finally popped out.
You can see where I had been hammering on the side with no luck.

You can see where I had been hammering on the side with no luck.
Last edited by RaceDiagnostics; 03-07-2013 at 03:16 PM.
#17
03-07-2013, 03:32 PM
OK Day 2.
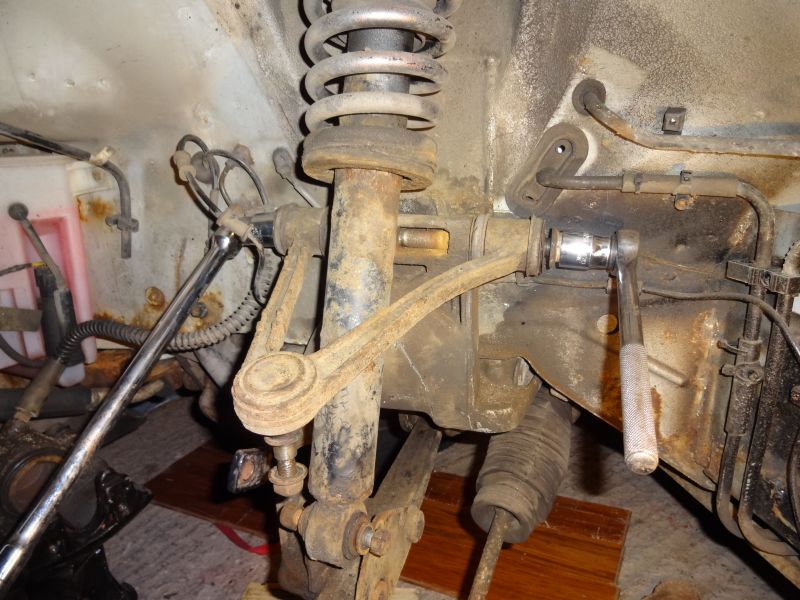
After getting the track rod end out I moved on to the lower damper bush fixing, again very tight but eventually came off with a breaker.

And then on to the lower ball joint, it was even more stuck than the track rod end but at least I now had that experience. I tightened the splitter with a breaker until it started to bend, then got the butane torch on it then hit it with the big hammer about 10 times and then pop, it was off.

I left the ball joints in place and then took off the brake calliper frame, the bottom bolt came out ok, but the to one took both myself and Kim together to break it free.


Next on to the top fulcrum bolt, the nut came off easily by surprise!
Here is a video of what I now have.
http://www.youtube.com/watch?v=VSp01...ature=youtu.be
But I can't get the bolt out, I've been hitting it on the end with a big hammer but it won't budge, anyone else had this problem?
After getting the track rod end out I moved on to the lower damper bush fixing, again very tight but eventually came off with a breaker.
And then on to the lower ball joint, it was even more stuck than the track rod end but at least I now had that experience. I tightened the splitter with a breaker until it started to bend, then got the butane torch on it then hit it with the big hammer about 10 times and then pop, it was off.
I left the ball joints in place and then took off the brake calliper frame, the bottom bolt came out ok, but the to one took both myself and Kim together to break it free.
Next on to the top fulcrum bolt, the nut came off easily by surprise!
Here is a video of what I now have.
http://www.youtube.com/watch?v=VSp01...ature=youtu.be
But I can't get the bolt out, I've been hitting it on the end with a big hammer but it won't budge, anyone else had this problem?
Last edited by RaceDiagnostics; 03-07-2013 at 04:11 PM.
#18
03-07-2013, 03:49 PM
Veteran Member
It is seized. Squirt penetrating oil into the aluminum crossmember where the bolt enters. There are three parts, the bolt, the steel sleeves of the bushings and the crossmember holes. The bolts get seized into the steel sleeves, and the rubber bushings hold everything tight on either end of the A-arm.
Back off the nut, but leave it on the end to protect the threads. Begin turning the bolt head back and forth, while squirting penetrating oil into either side of the A-arm bushing sleeves. Anywhere you see a gap, squirt there. Around the washers is good.
Next, as you turn the bolt, lightly tap on the nut end. You are driving the bolt front to rear. If you get the bolt to move any distance, then start knocking the bolt fore and aft; all the while keep turn the bolt back and forth. Keep this going till it slides out the back. You may need a punch or a 3/8 socket drive extension to knock out the bolt end after it enters the front crossmember hole.
Last edited by GordoCatCar; 03-07-2013 at 03:56 PM.
#19
03-07-2013, 06:06 PM
Senior Member
looks like you're getting close to dropping the steering rack. let her down on a couple peices of wood or something....just needs to be lowered a bit/ no need to disconnect elec or hose connections. Needs enough clearance for the control arm bolt to come out. Why they put that bolt in from behind is beyond me.
Good luck
Bruce
Good luck
Bruce
#20
03-09-2013, 10:14 AM