
Seat belt anchor repair


Thread Starter
|
Veteran Member


Joined: Apr 2012
Posts: 1,854
Likes: 987
From: UK
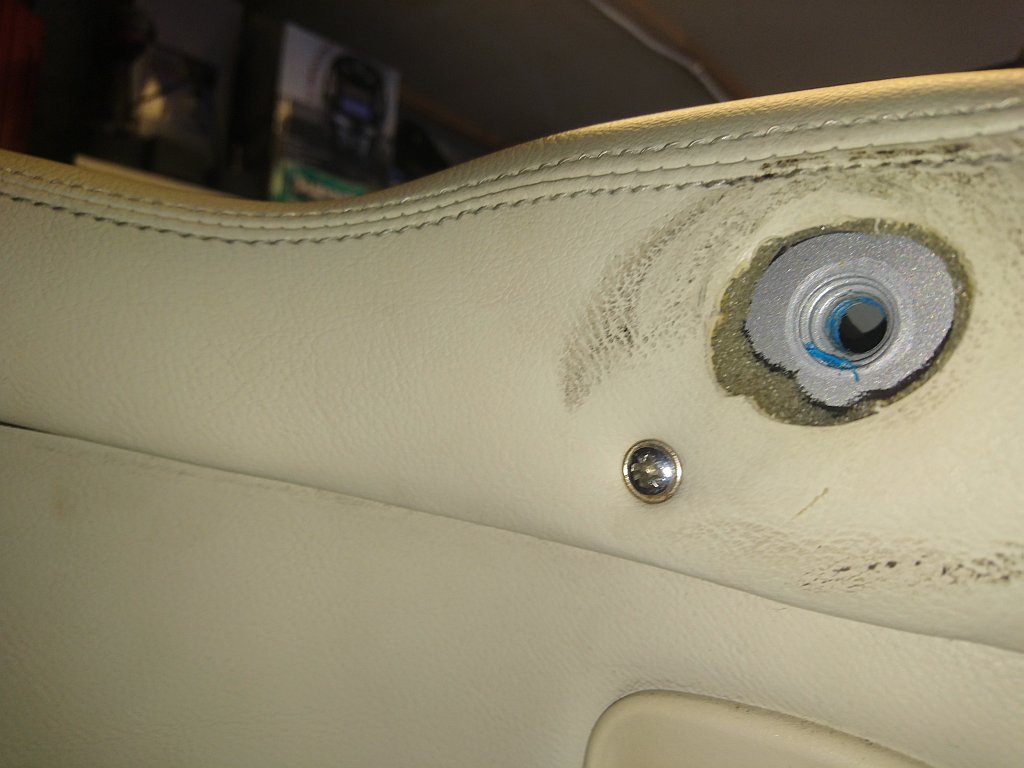
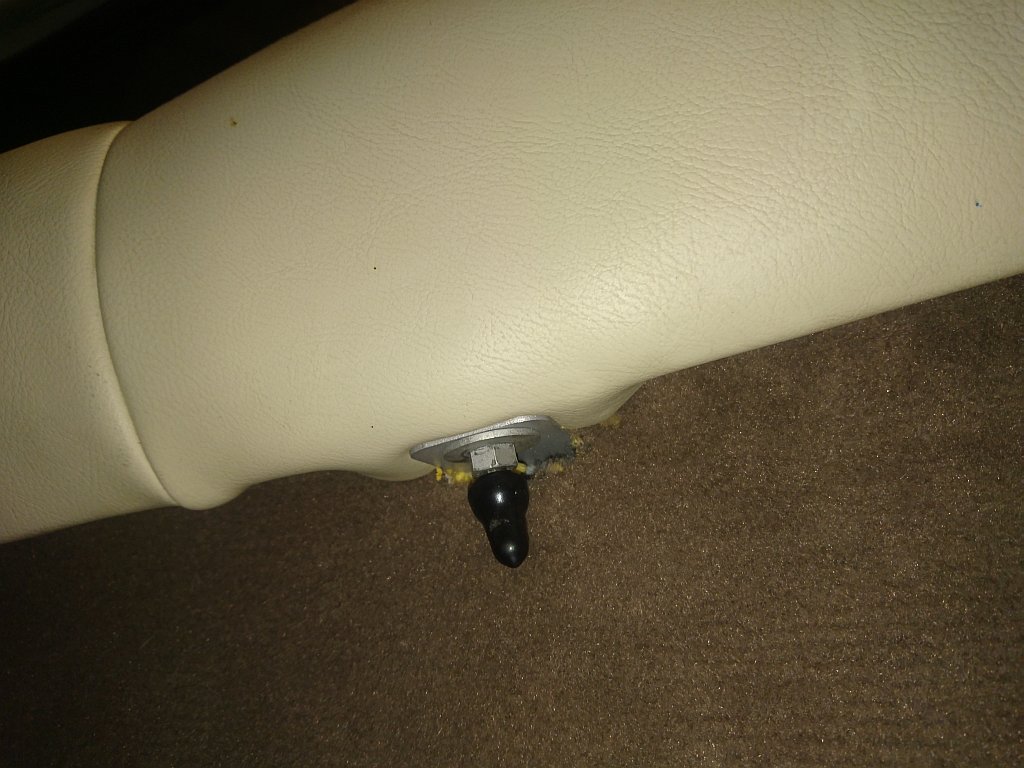
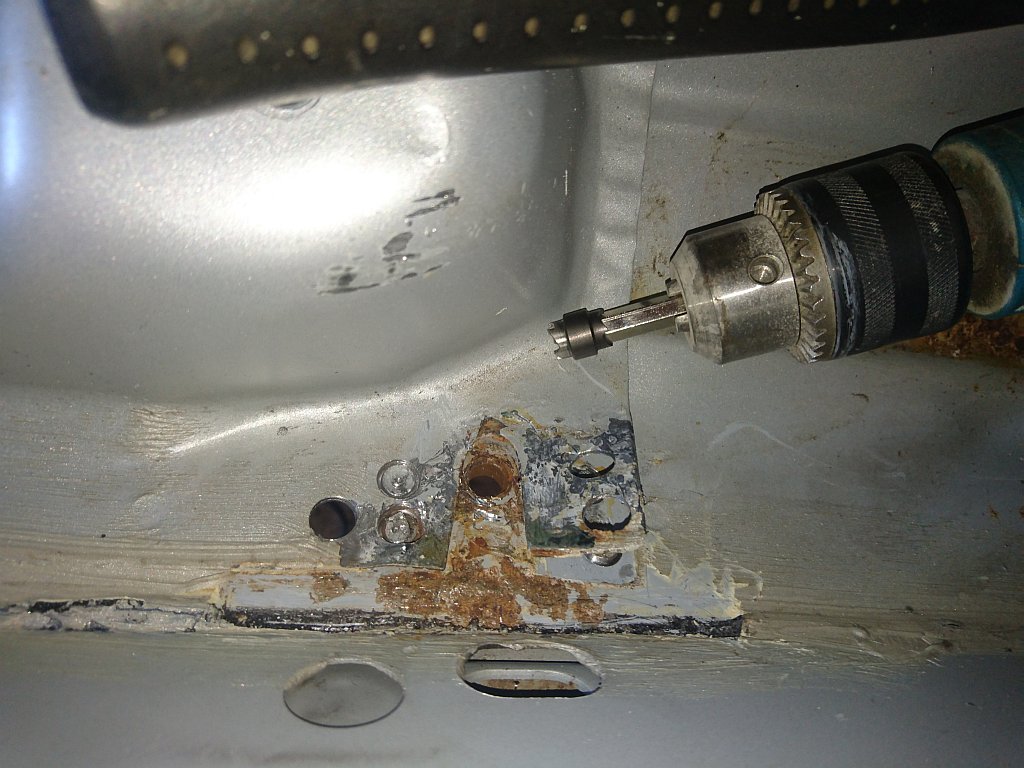
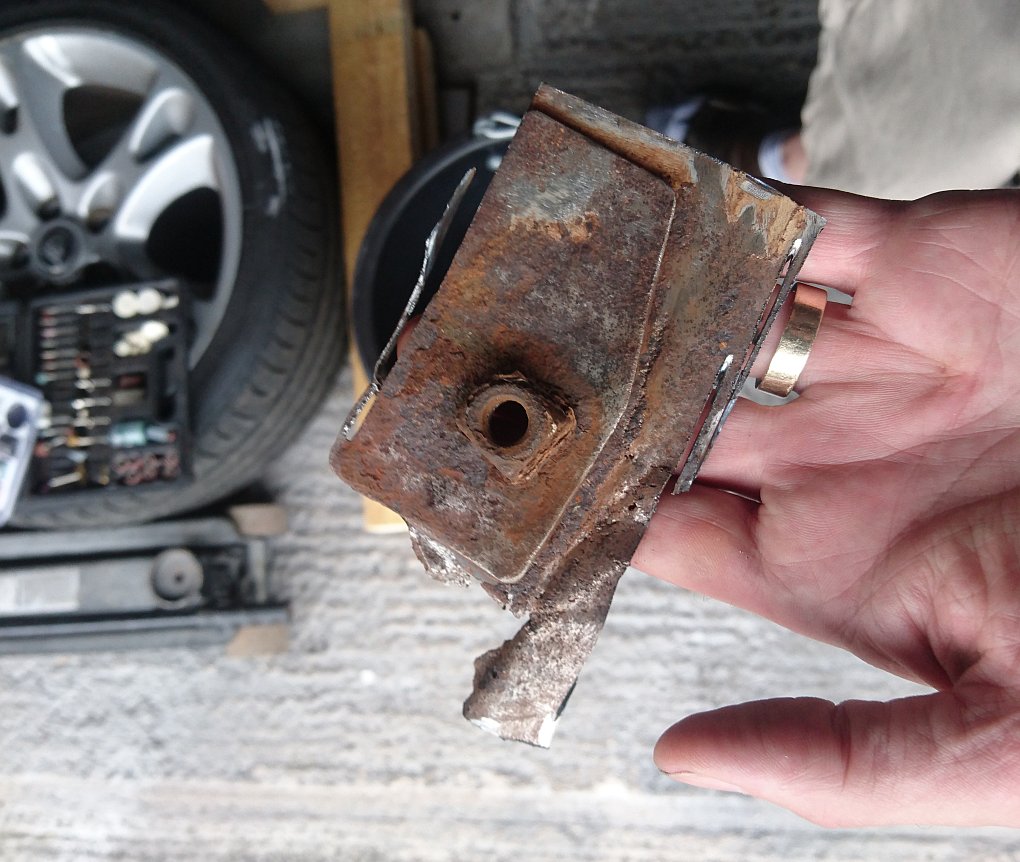
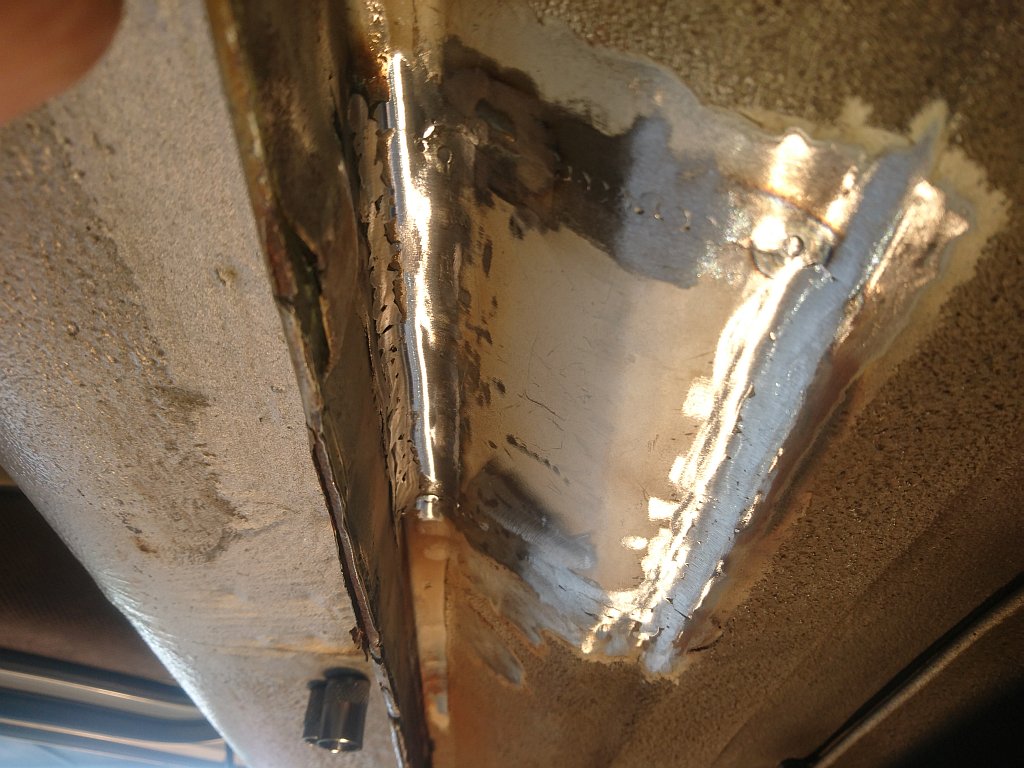
Both sides were looking a bit rusty like this.
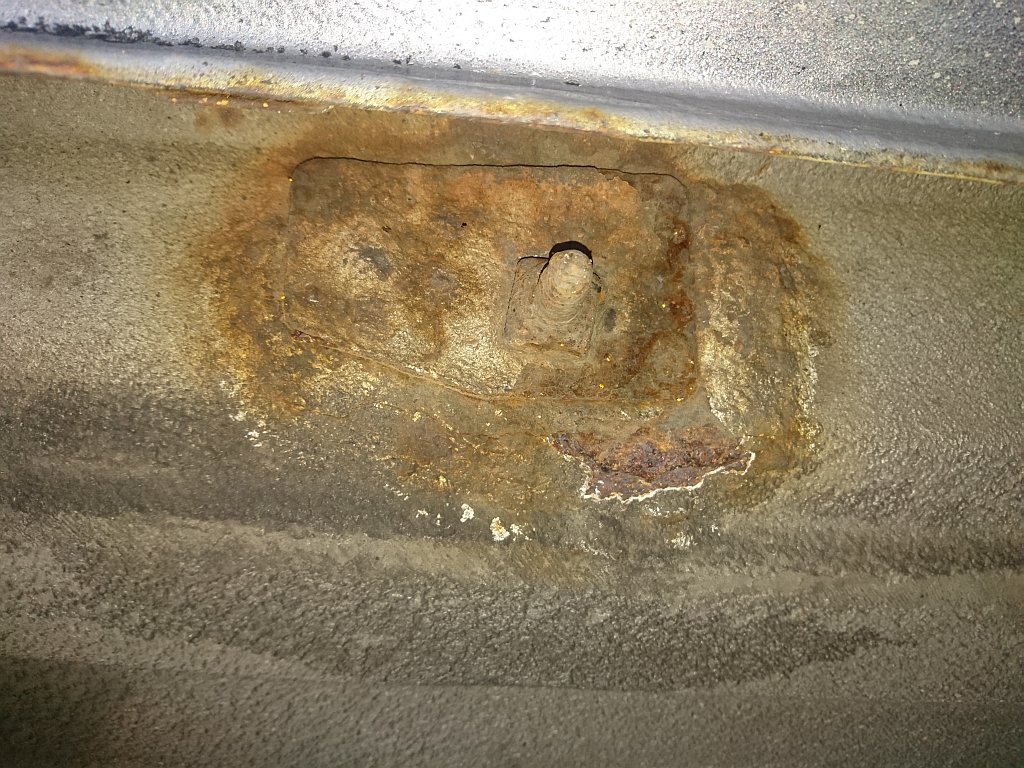
I cleaned them up a bit with a power file with a 40grit belt and found this on one side....
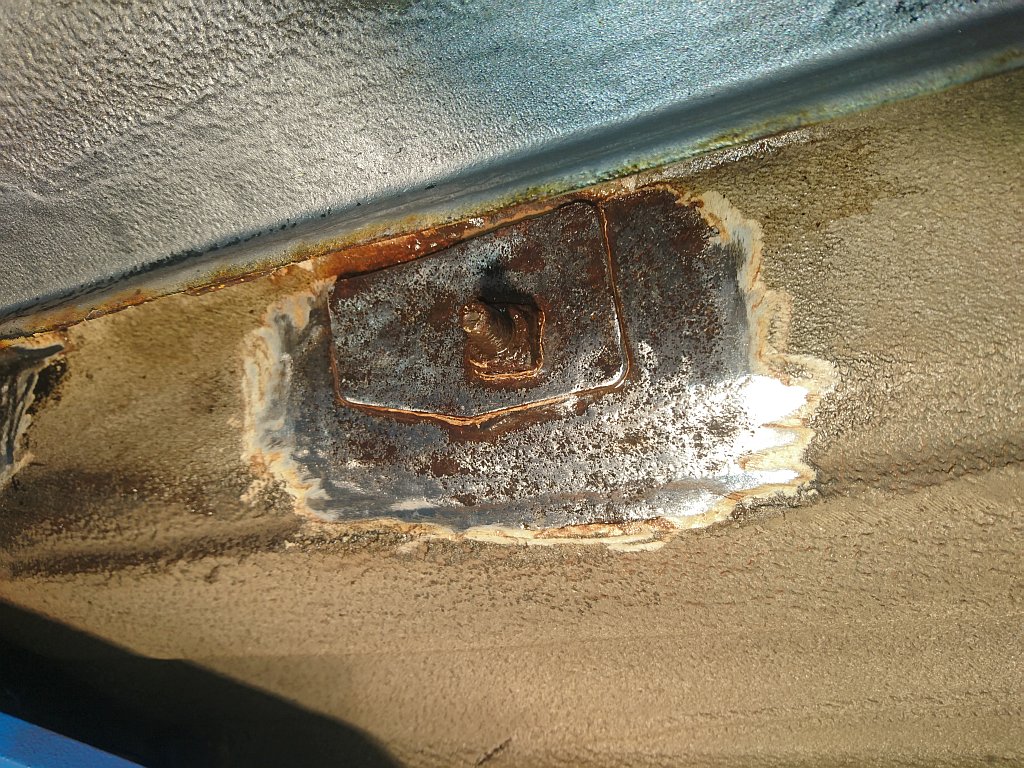
...and perforations all the way through on the other.

So my plan is to cut out the rotted area and weld in a new floor skin patch, then weld on a new oversized "washer" which will extend beyond the patch area, I will seam weld and puddle weld the new "washer".
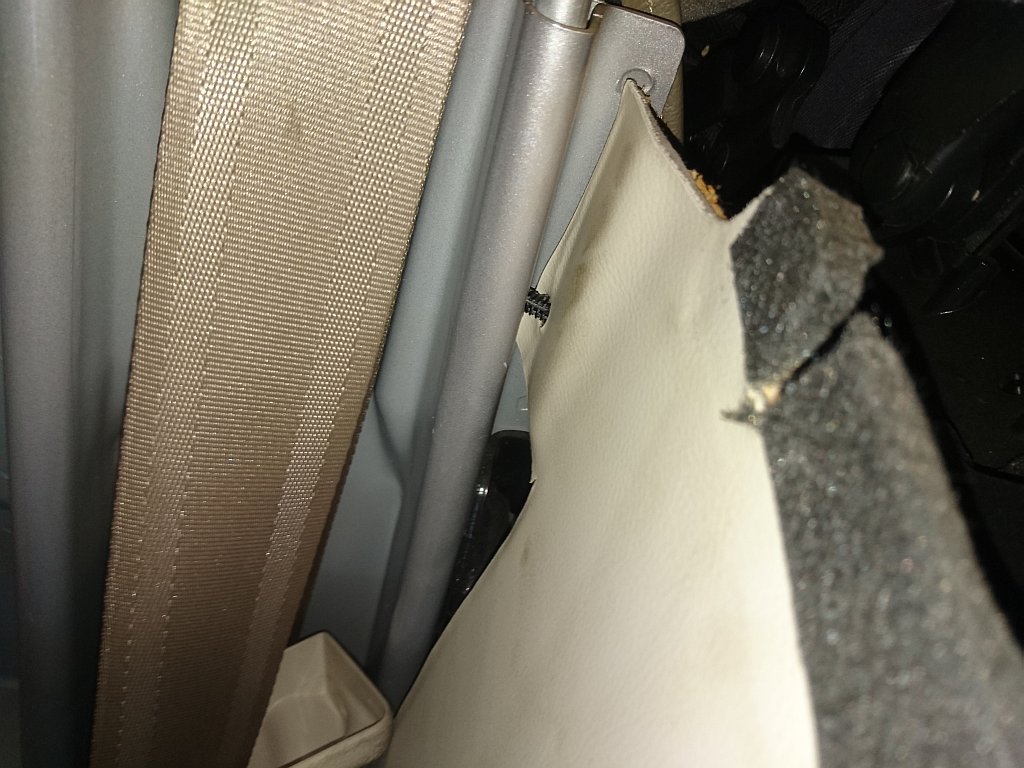
First, removal of the carpet to get access to the area from inside area here. There is a good video on youtube showing how to remove the seats which I have used a couple of times now.
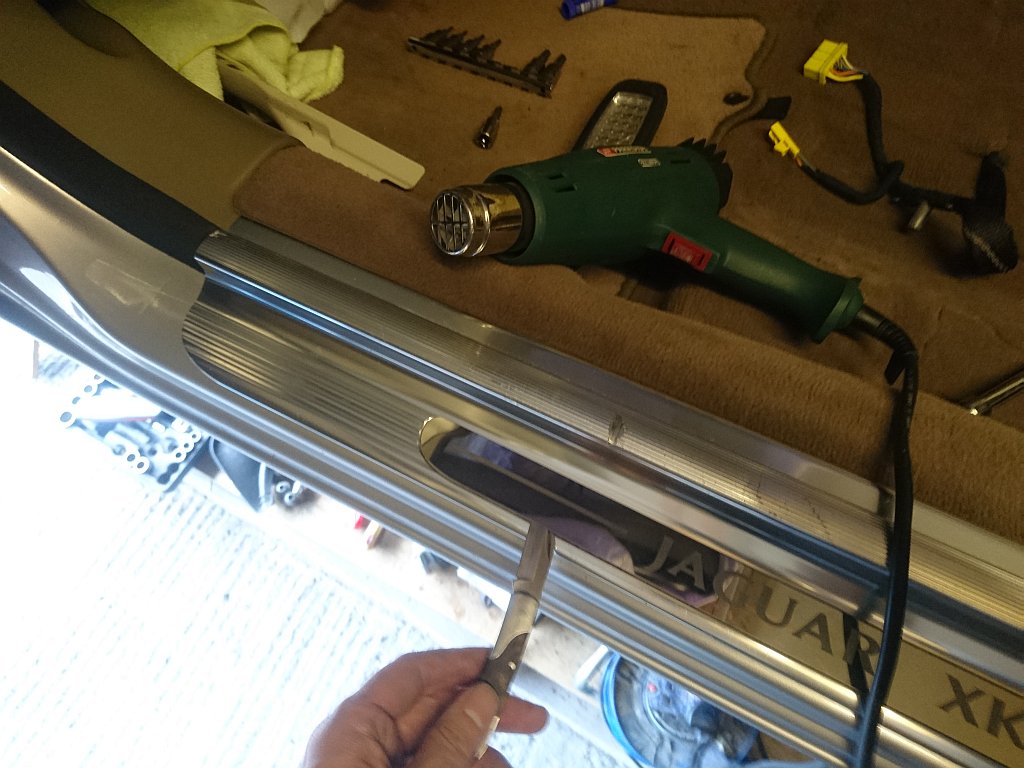
The on to removing the "jag" label on the kick plate with hot air and a pocket knife, nice and slowly so as not to kink the label. Once off the kick plate can be removed when 3 torx bolts are removed.
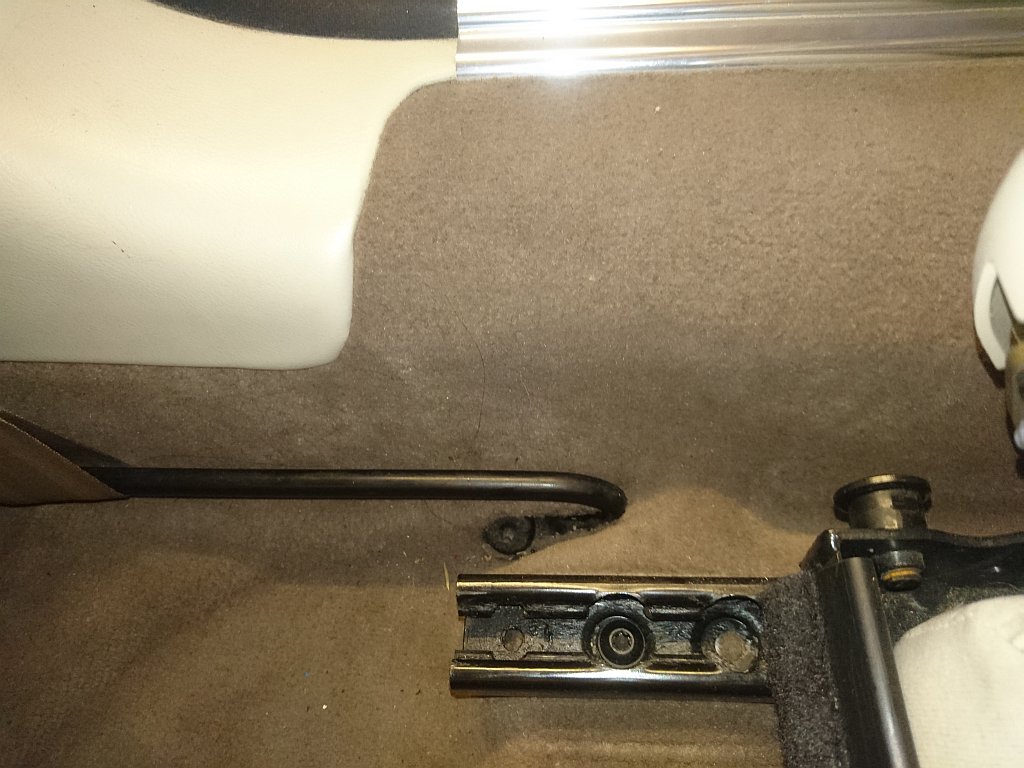
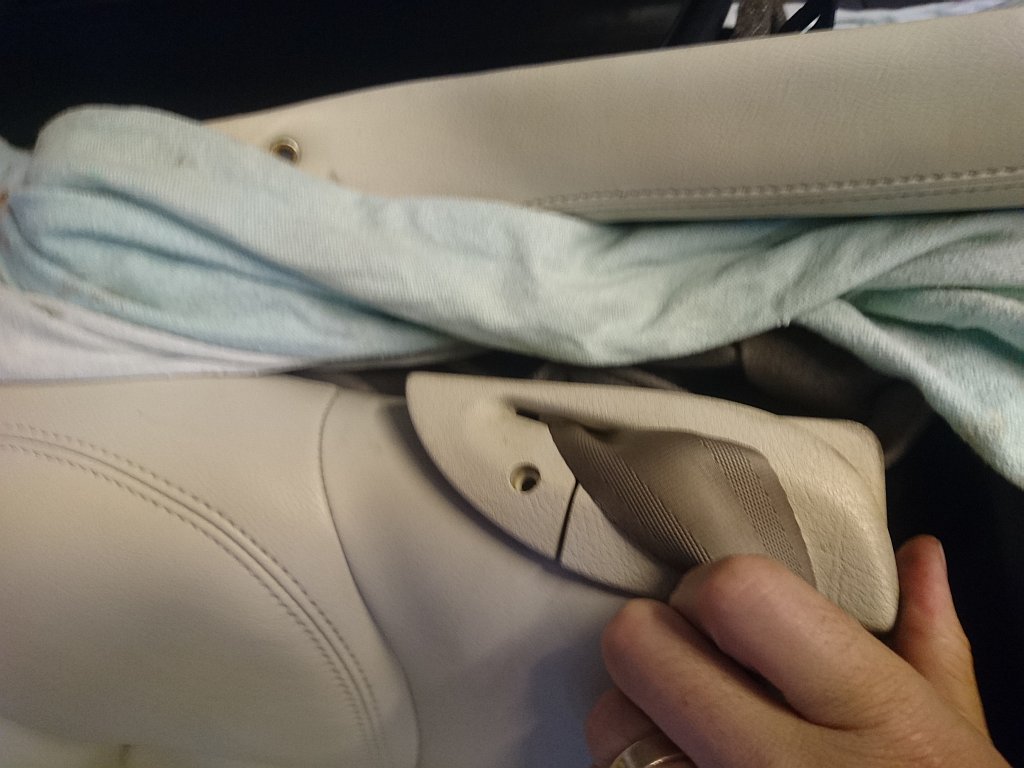
Next I pulled off this rubber strip.
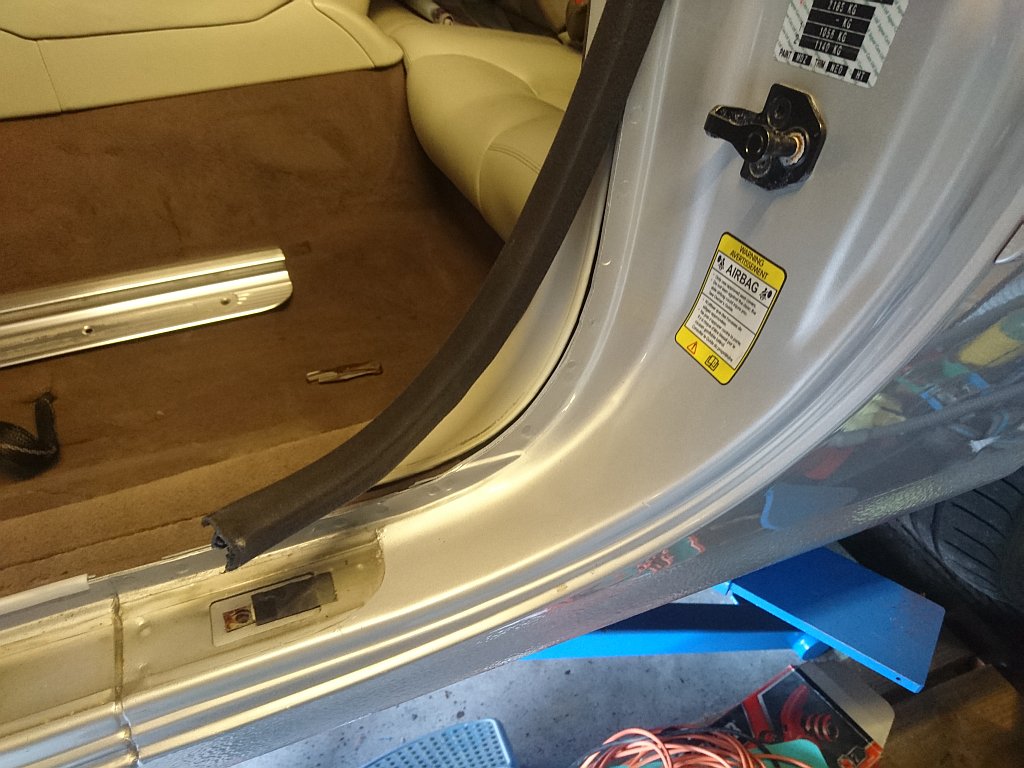
As I did not want to damage any of the car I probably removed more than I needed to, so this piece and the side section probably do not need to come out.
These two fixing came out next.
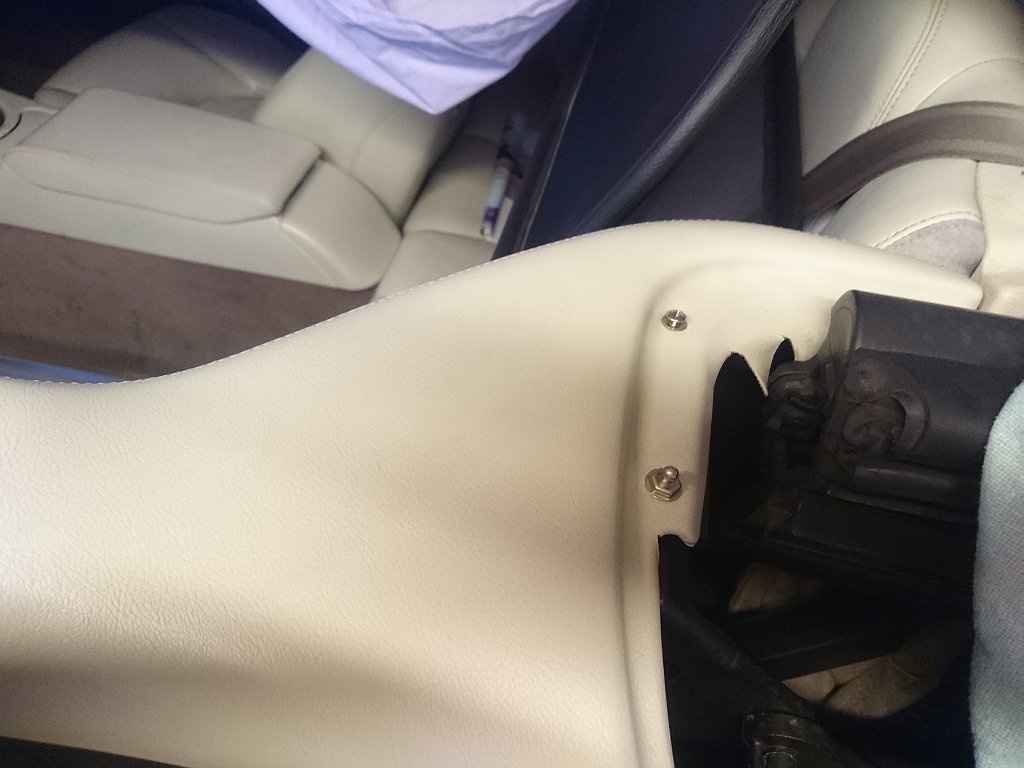
Then this.
And this screw behind.
Next I removed the bracket for my screen.
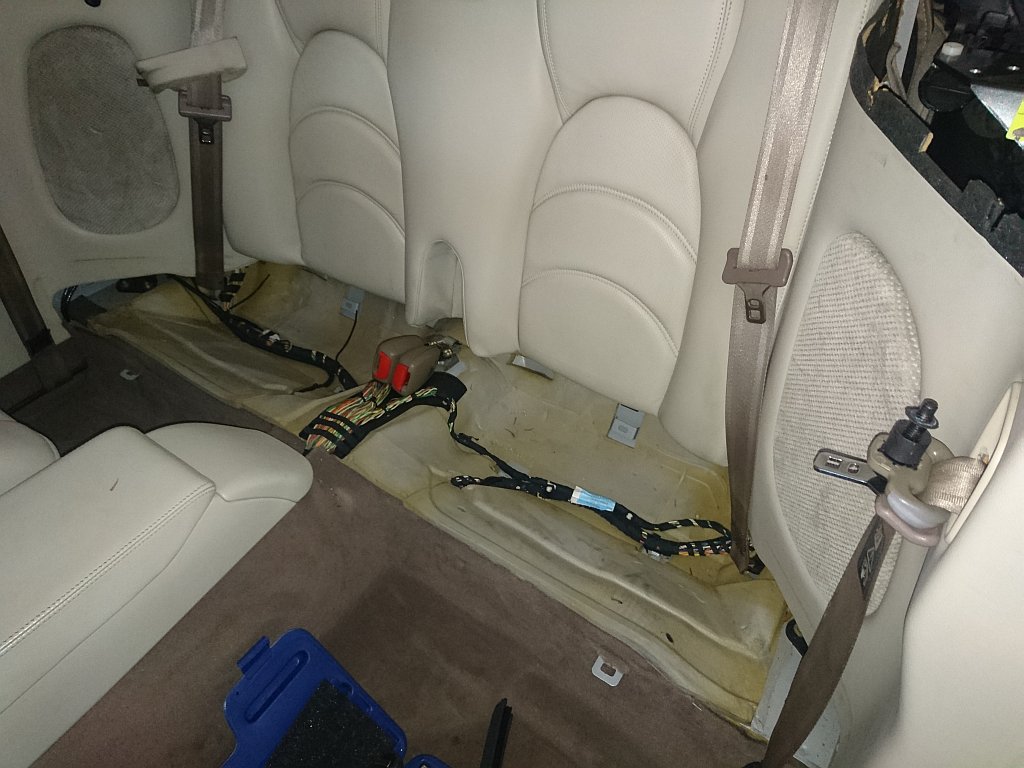
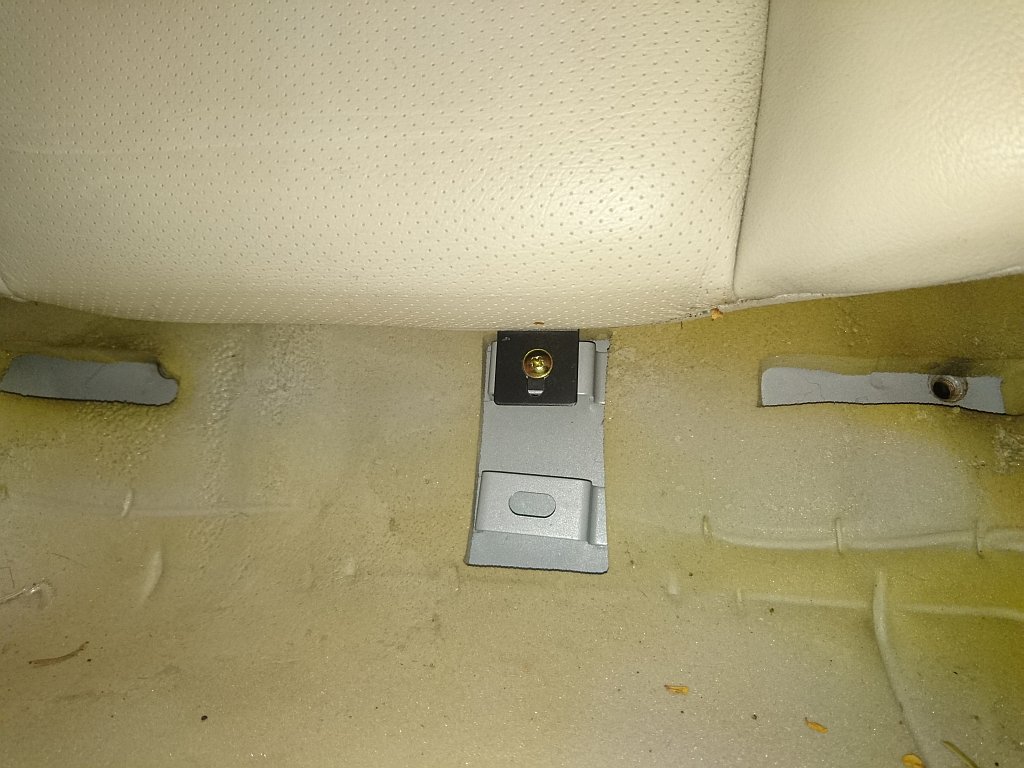
The on to the rear seat, it is held in place with two bolts.
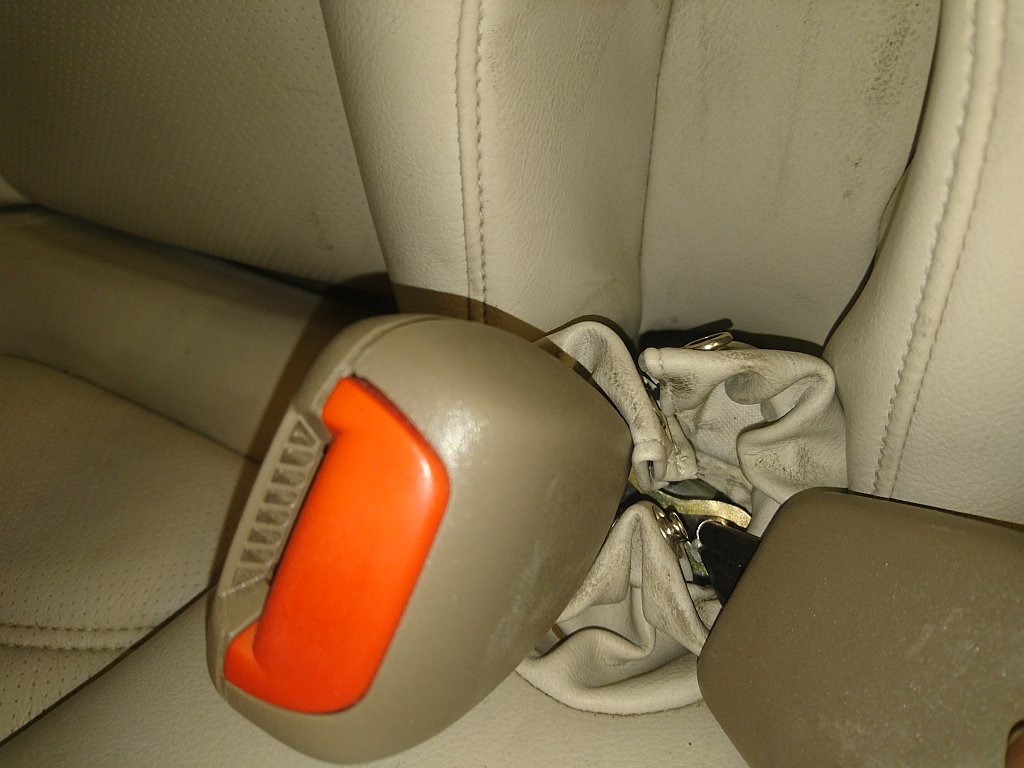
Then I un popped the poppers round the seat belt clips.
The seat bottom could then be lifted out.
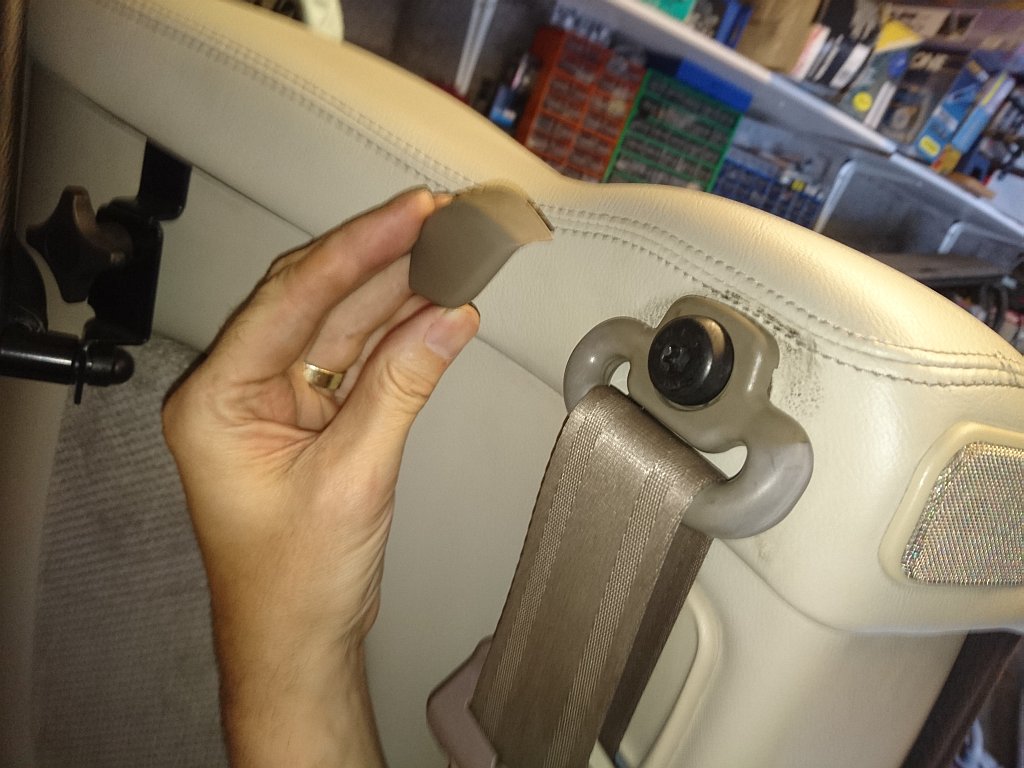
Next I removed the plastic parts at the top of the seat belts.
And removed these screws.
And lifted out the seat back.
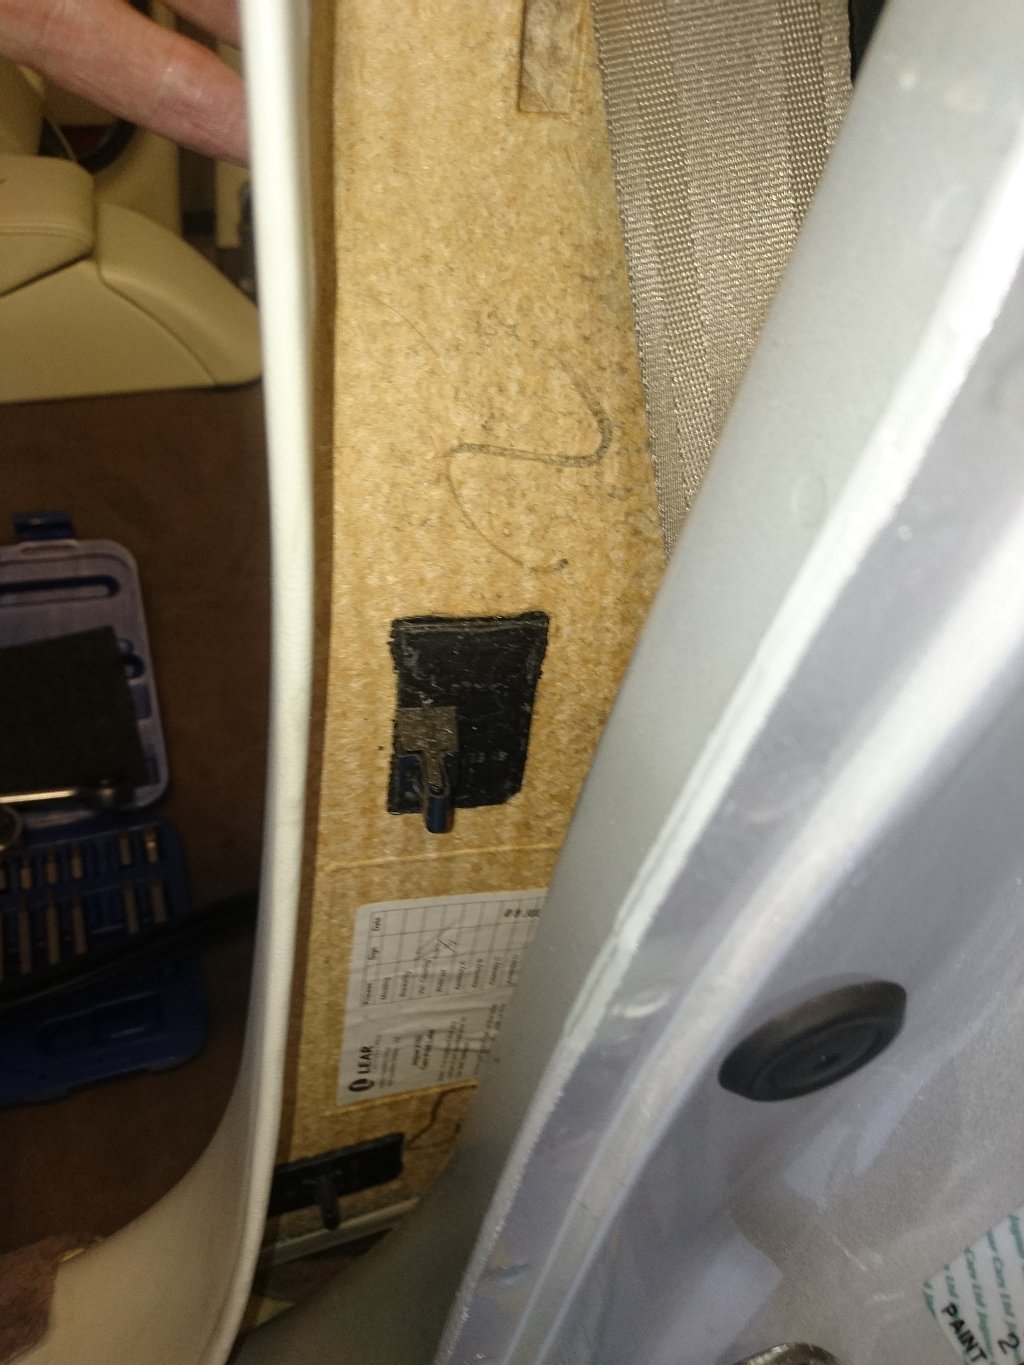
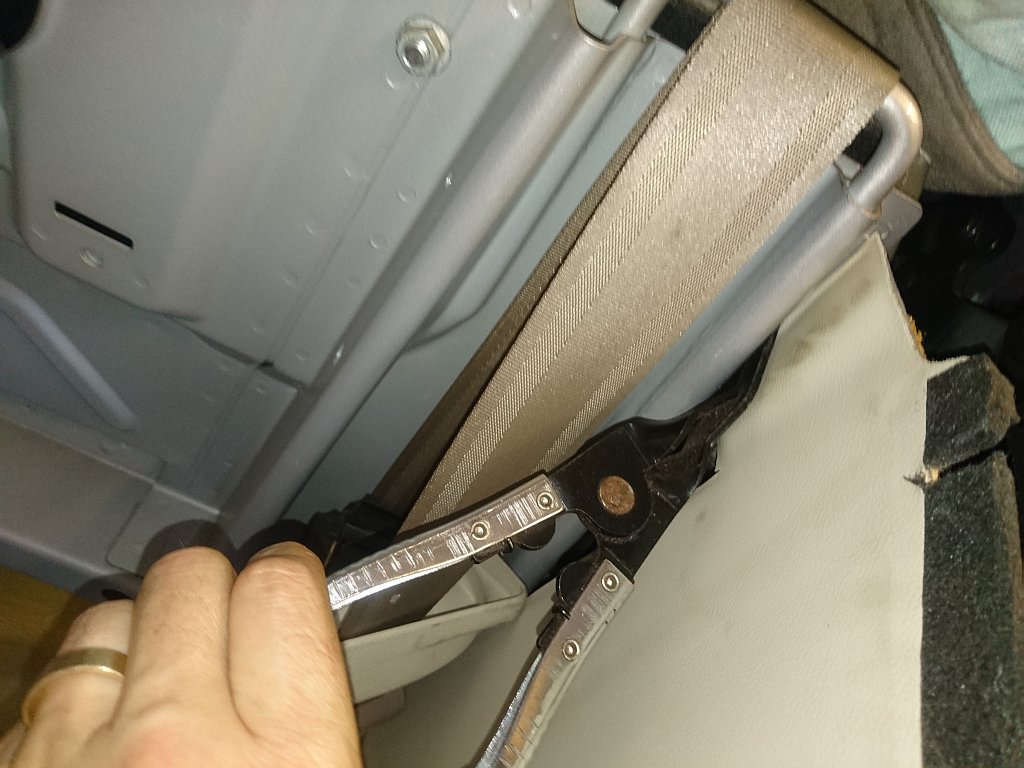
With that out of the way I could remove the side panel, it is held in with four push fit fixings. Two at the side.
And two towards the rear.
I used this tool to release safely. The other fixing towards the back release itself.
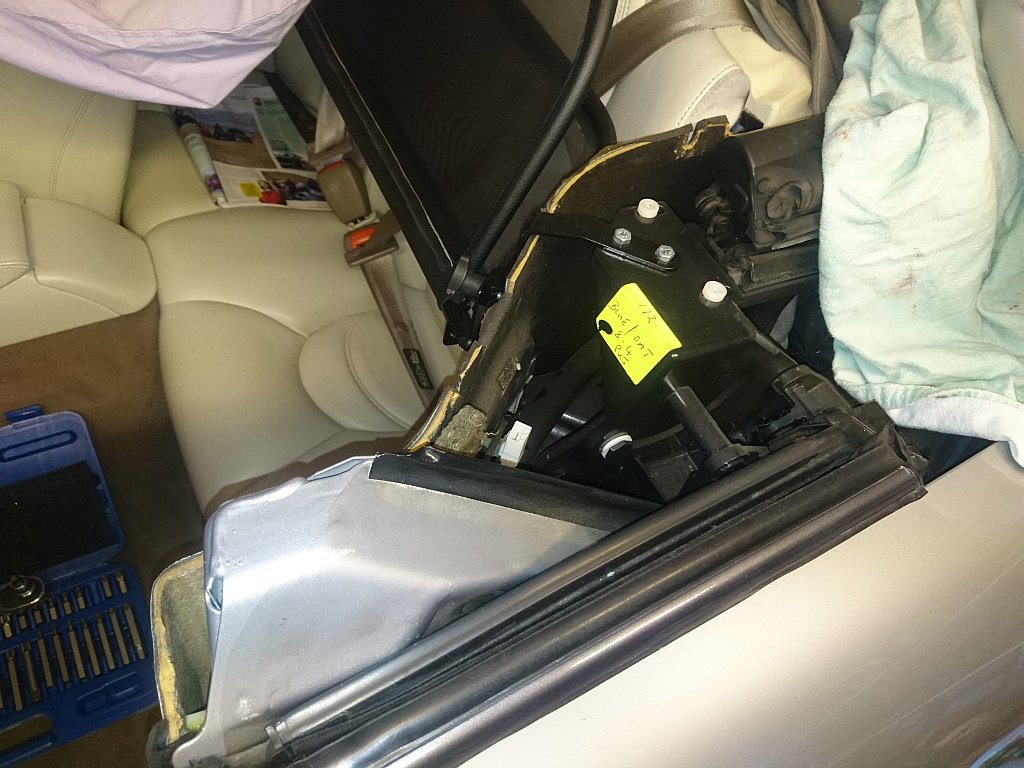
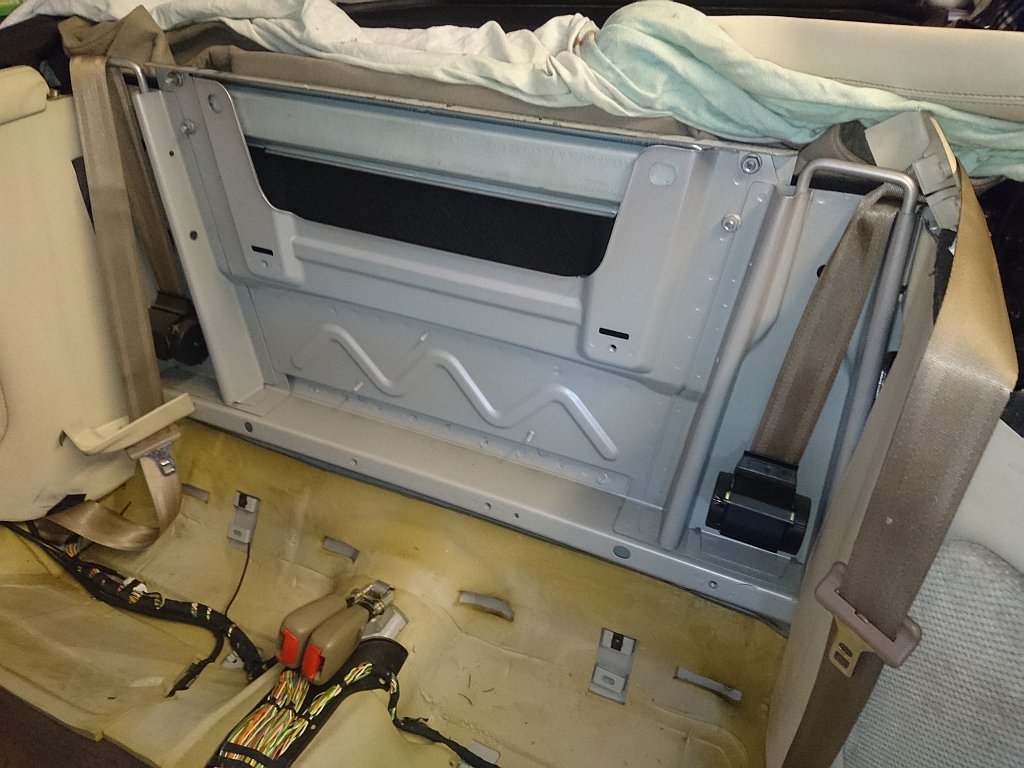
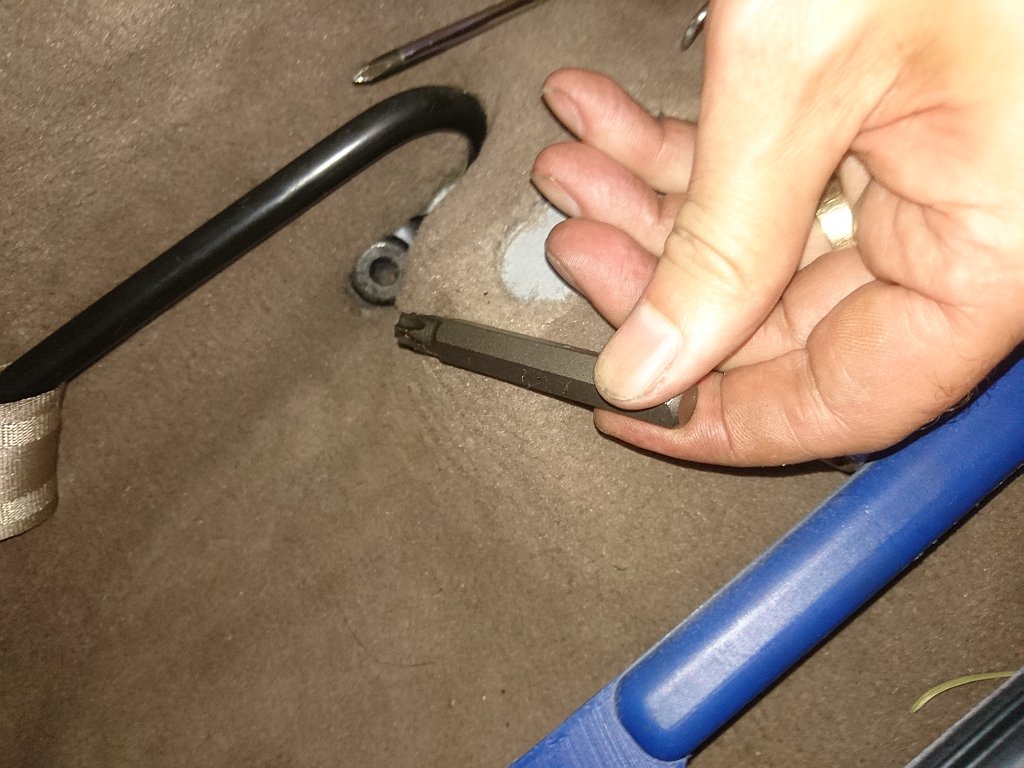
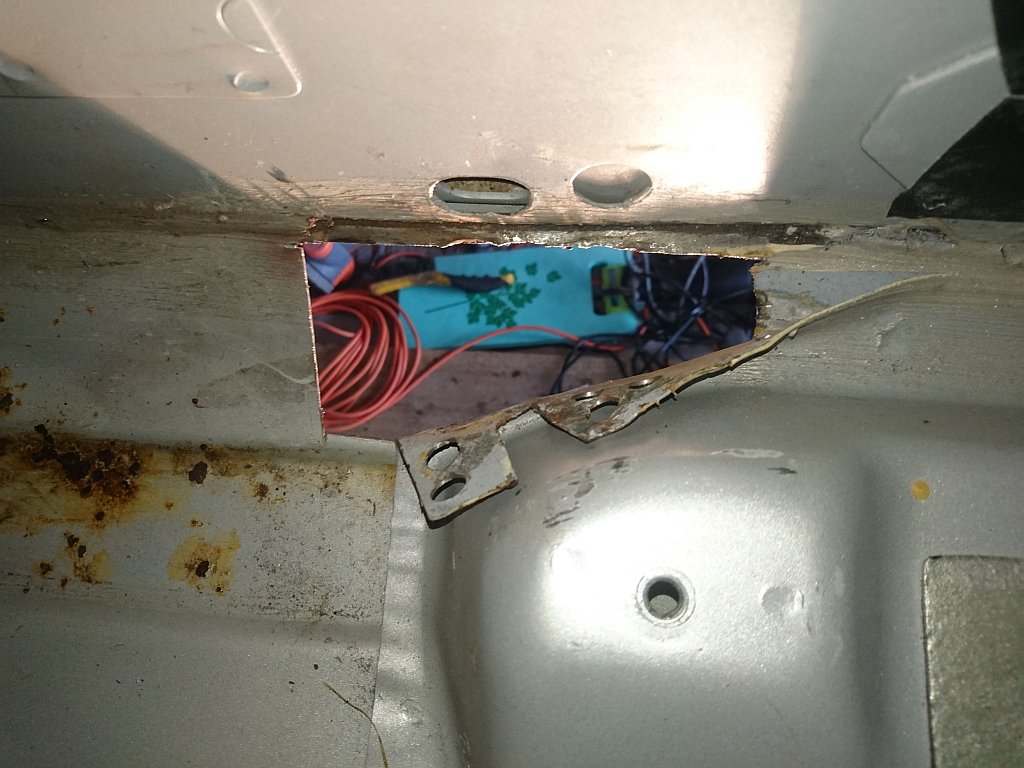
I used this torx bit to release the bolt, there was then complete access to pull the carpet back.
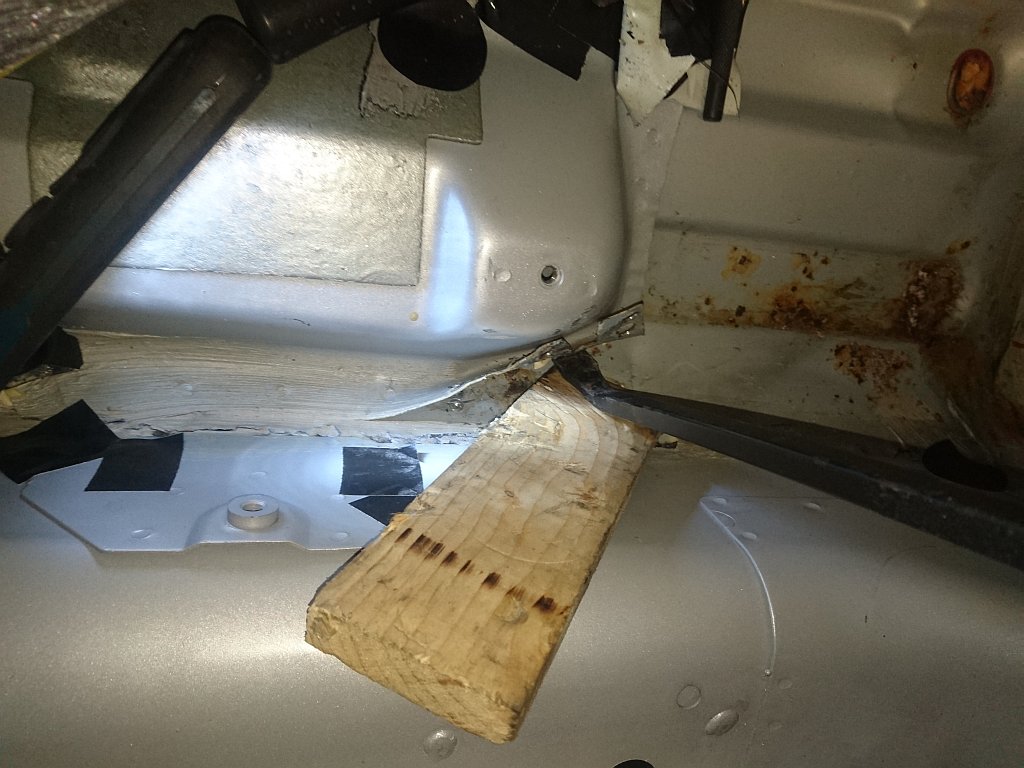
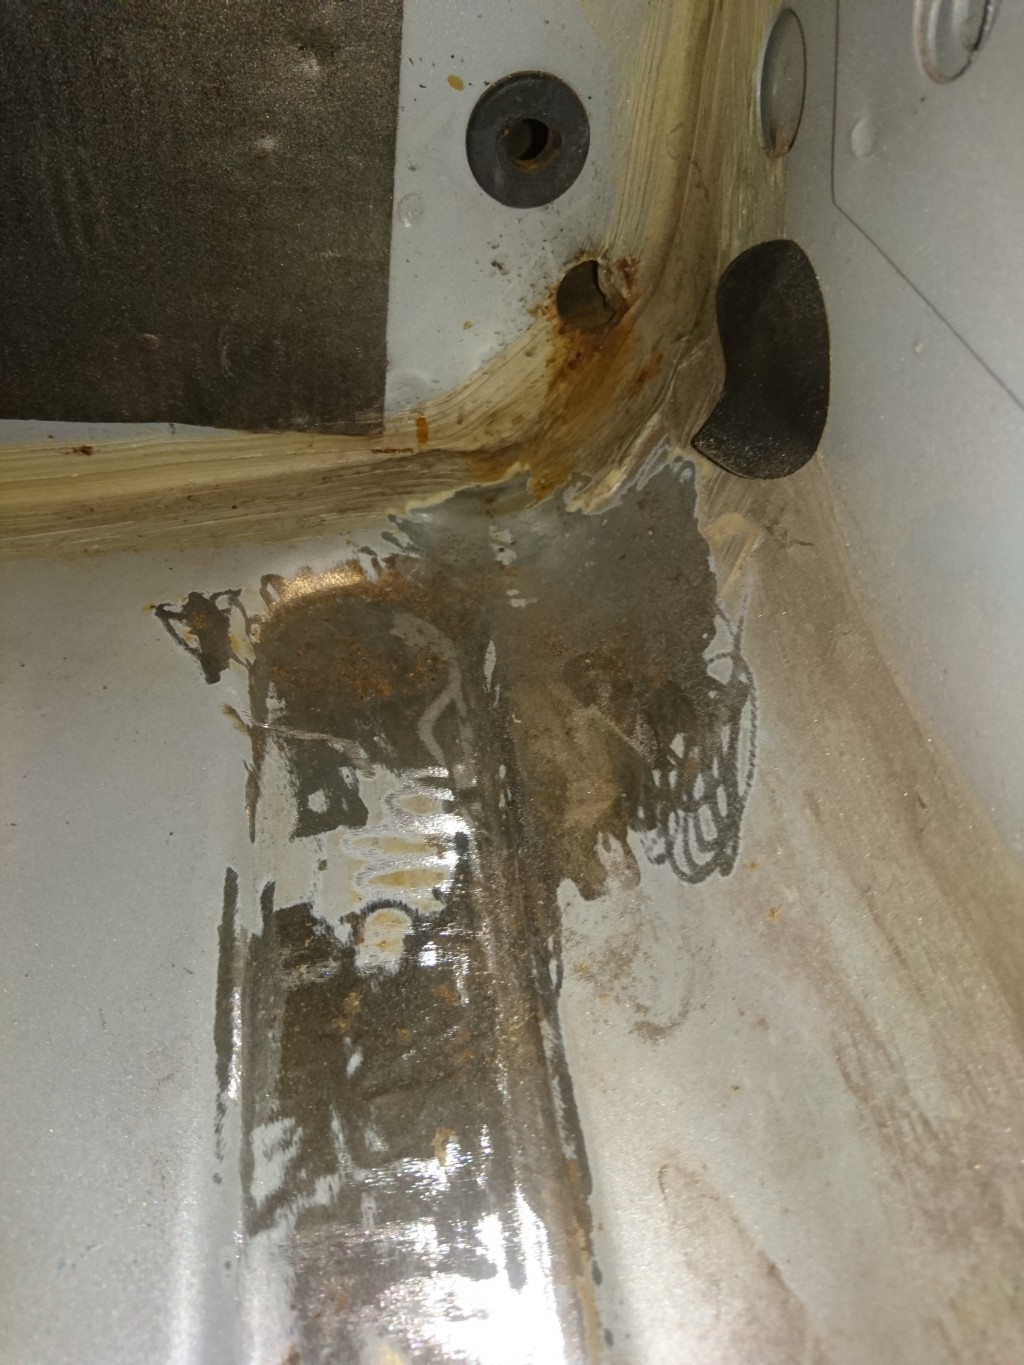
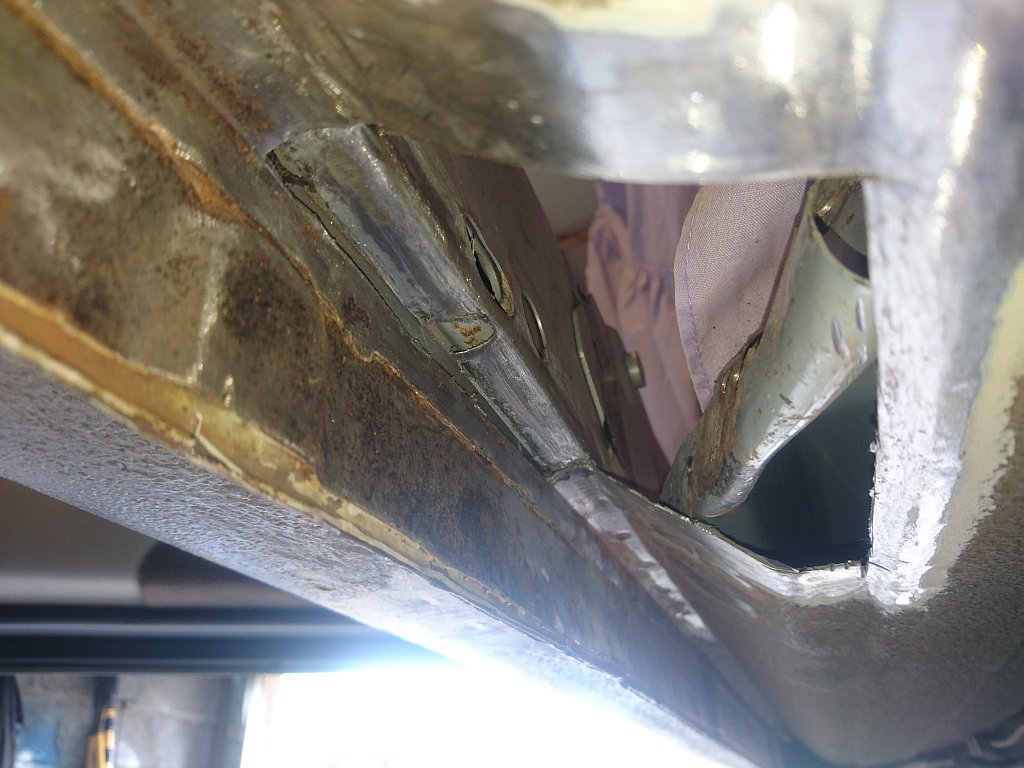
A bit of a mess in there.
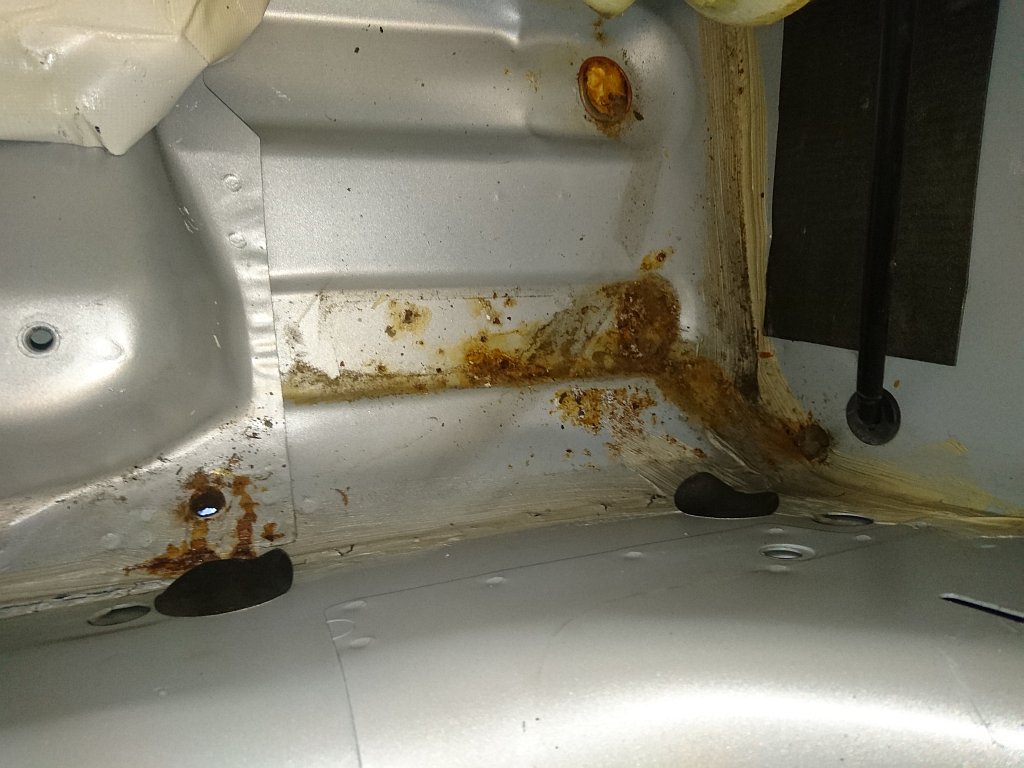
At least part is double skinned which will add to the difficulty of the repair.
The oversized washer used on the underside is spot welded on also.
Lots more to come.....
I cleaned them up a bit with a power file with a 40grit belt and found this on one side....
...and perforations all the way through on the other.
So my plan is to cut out the rotted area and weld in a new floor skin patch, then weld on a new oversized "washer" which will extend beyond the patch area, I will seam weld and puddle weld the new "washer".
First, removal of the carpet to get access to the area from inside area here. There is a good video on youtube showing how to remove the seats which I have used a couple of times now.
The on to removing the "jag" label on the kick plate with hot air and a pocket knife, nice and slowly so as not to kink the label. Once off the kick plate can be removed when 3 torx bolts are removed.
Next I pulled off this rubber strip.
As I did not want to damage any of the car I probably removed more than I needed to, so this piece and the side section probably do not need to come out.
These two fixing came out next.
Then this.
And this screw behind.
Next I removed the bracket for my screen.
The on to the rear seat, it is held in place with two bolts.
Then I un popped the poppers round the seat belt clips.
The seat bottom could then be lifted out.
Next I removed the plastic parts at the top of the seat belts.
And removed these screws.
And lifted out the seat back.
With that out of the way I could remove the side panel, it is held in with four push fit fixings. Two at the side.
And two towards the rear.
I used this tool to release safely. The other fixing towards the back release itself.
I used this torx bit to release the bolt, there was then complete access to pull the carpet back.
A bit of a mess in there.
At least part is double skinned which will add to the difficulty of the repair.
The oversized washer used on the underside is spot welded on also.
Lots more to come.....
Veteran Member
Joined: Sep 2012
Posts: 1,473
Likes: 655
From: Devon. U.K.
RaceDiagnostics - I have followed all your threads with great interest and learned a lot - thanks.
Bearing in mind the amount of rust you have found elsewhere, I'm really surprised that the double skinned area of the floor pan looks in such good condition. That's where even the relatively rust-free cars get pretty rotten !!
Has it been really well repaired at some time in the past, or have you just been lucky in that respect ?
(I knew how to get the carpets out because I had that job done on mine a year or so ago - I did all the work myself except welding which I left to the experts. Even though mine is fairly good in terms of sills, wheelarches, rear suspension etc. it had totally gone in that area, and the floor had to be replaced with new panels.)
I'm sure you know this but that double-skinned bit has no structural significance at all, and the whole "second plate" can be cut out and discarded with no detrimental effect.
Cheers.
DD
Edit : Just realised that your photo is of the back, not the front, so maybe this post is irrelevant !
Last edited by DevonDavid; Jul 24, 2016 at 06:58 AM.
Thread Starter
|
Veteran Member
Joined: Apr 2012
Posts: 1,854
Likes: 987
From: UK
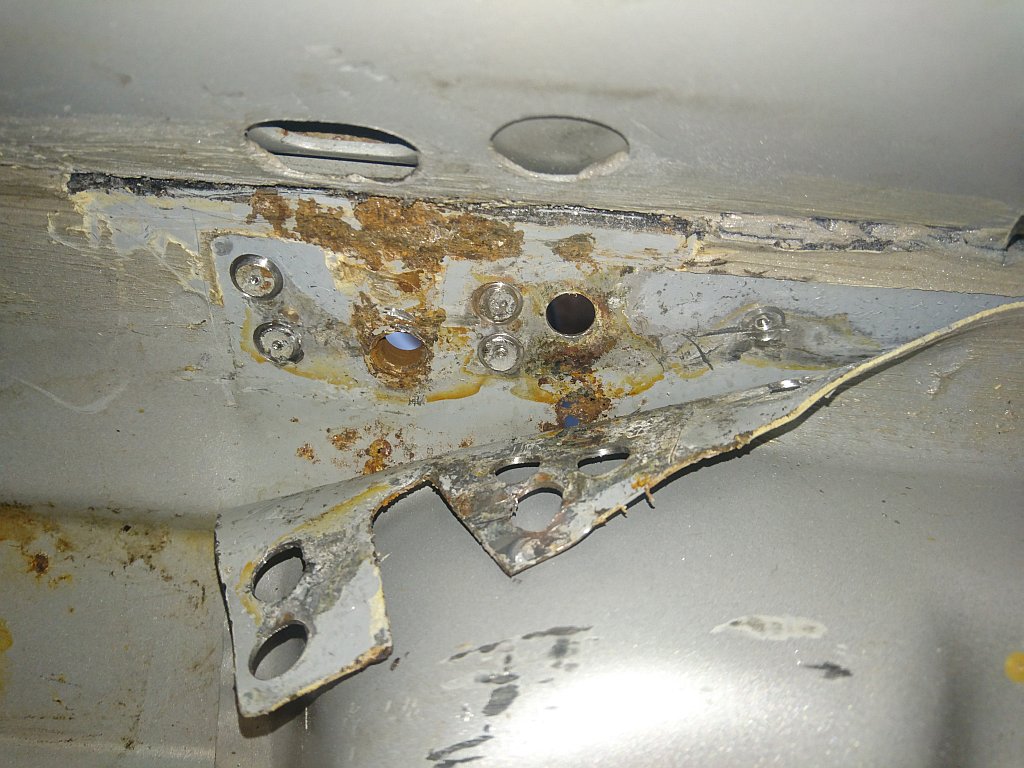
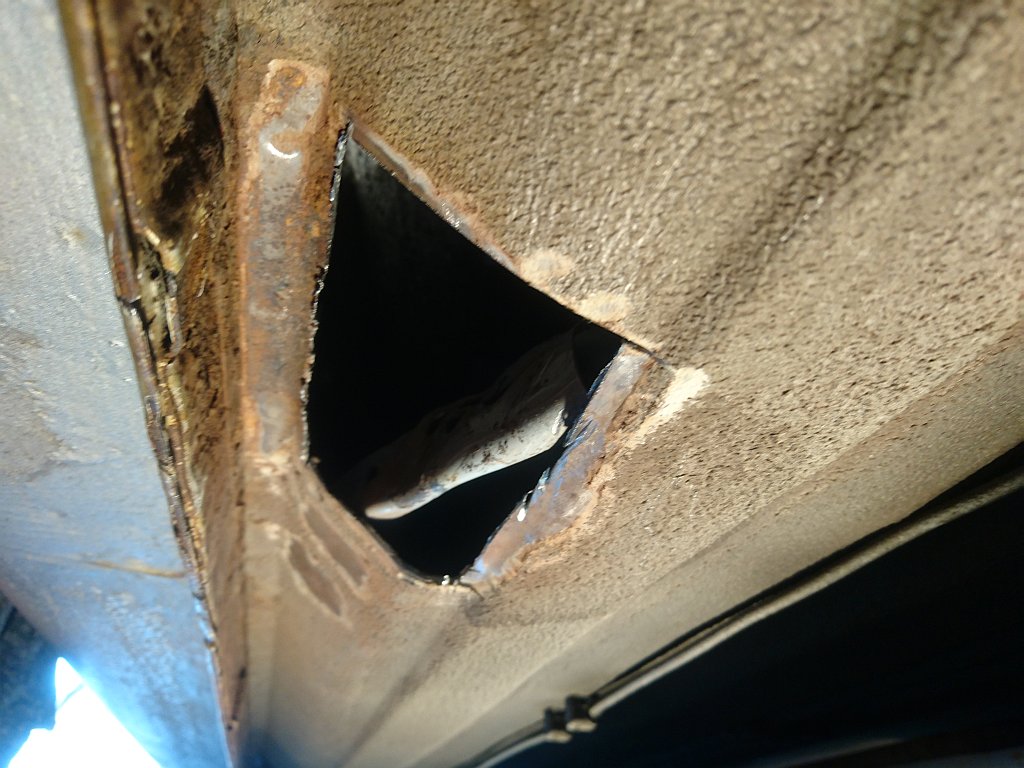
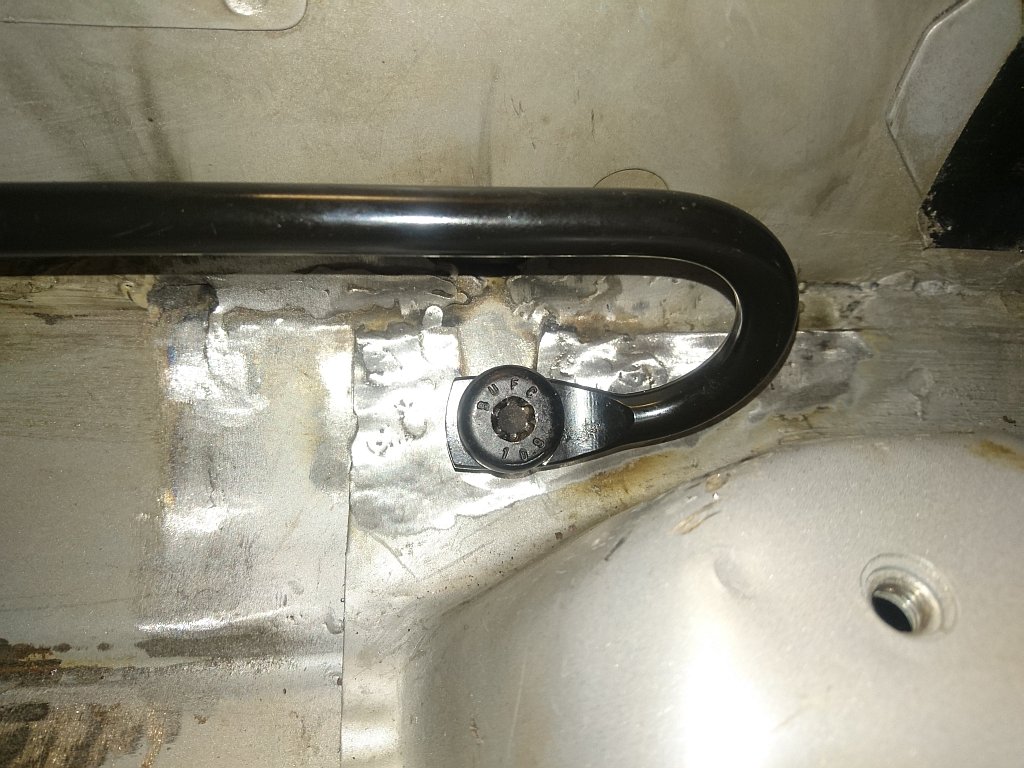
I had a look at the scabby bit in the footwell also, however after cleaning up and inspecting from below which was clean and rot free, I have to assume that it was caused by water leaking into the foot well from the hole below the where the seatbelt bar hooks in. I have no idea how water gets in there.
A bit more clean up and cutting, the remaining metal at the top of the hole was thin from rust and looked too weak to weld to, but there is no easy access to get in there to cut it out.
The only way looked to be to chisel it out, so I looked for the oldest unused chisel from the bottom drawer and sharpened it up.
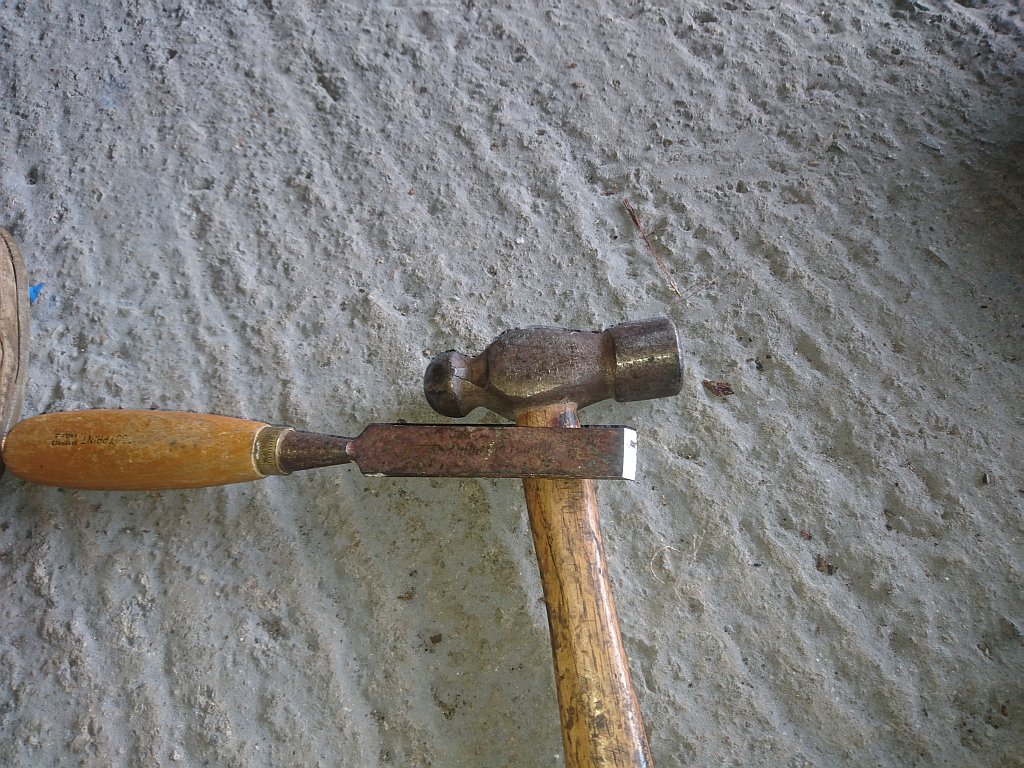
Five mins later the job was done.
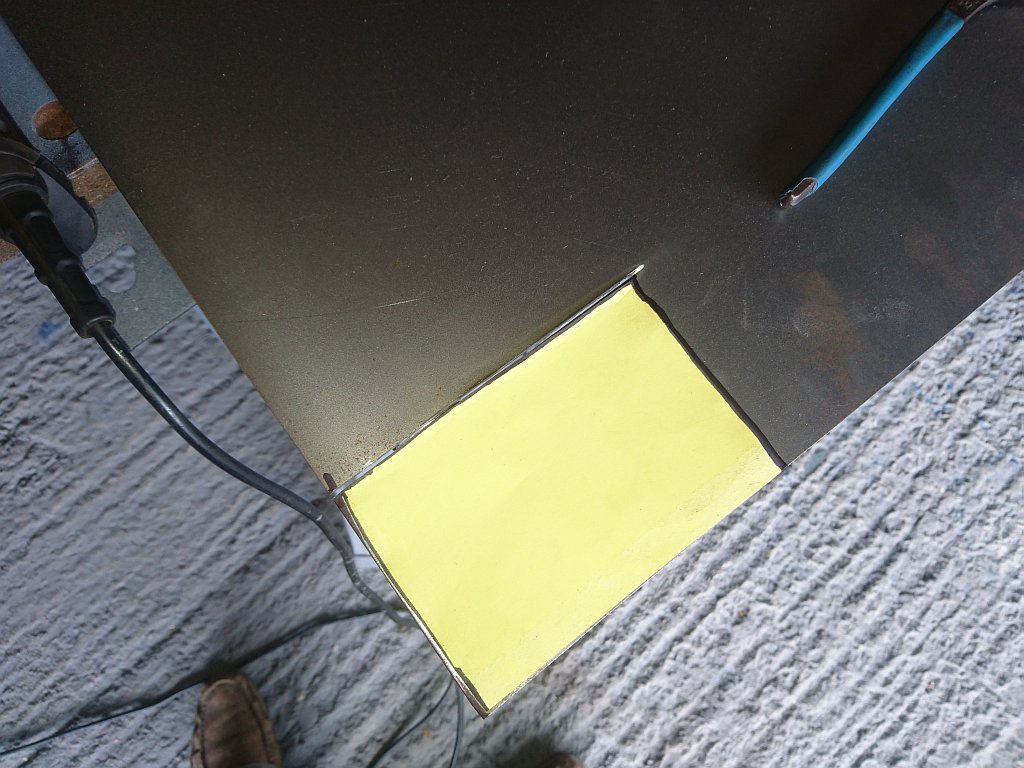
Next I made up a cardboard template and cut it out of 22 gauge steel.
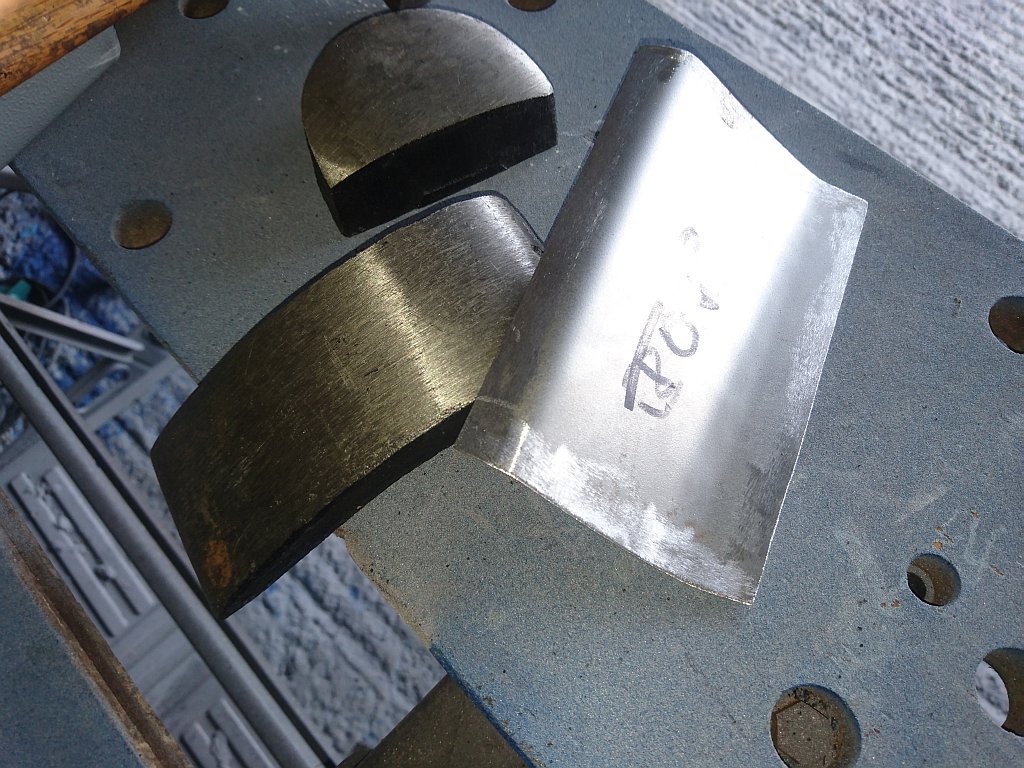
A bit of bending in the vice.
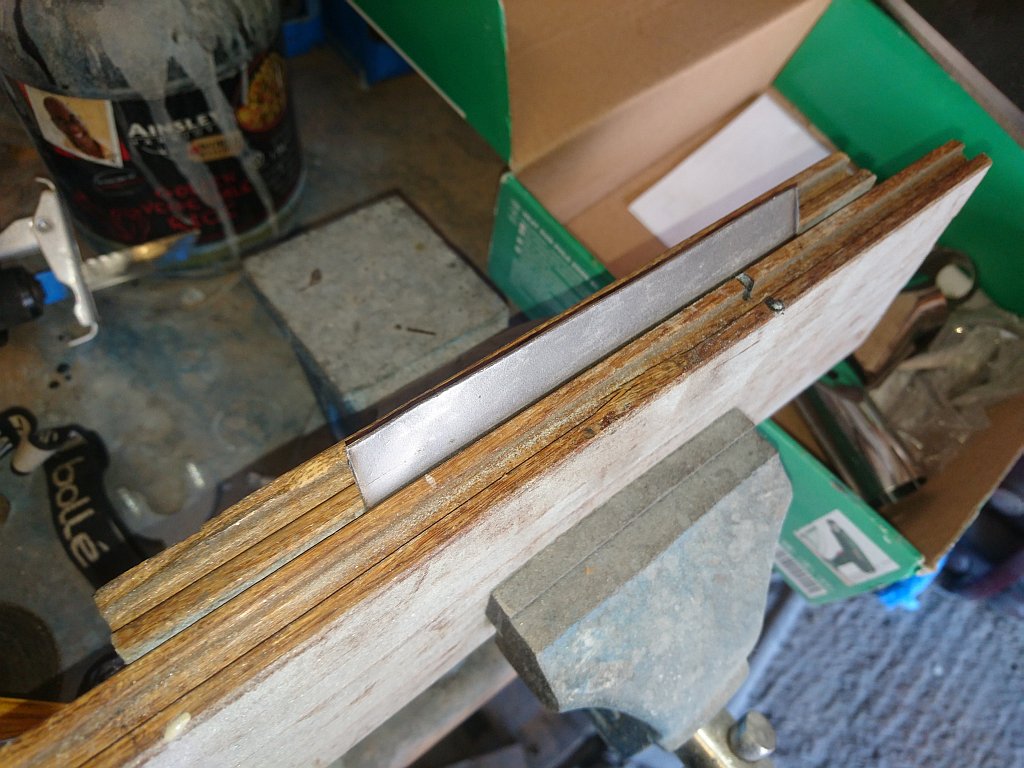
And a bit of contouring.
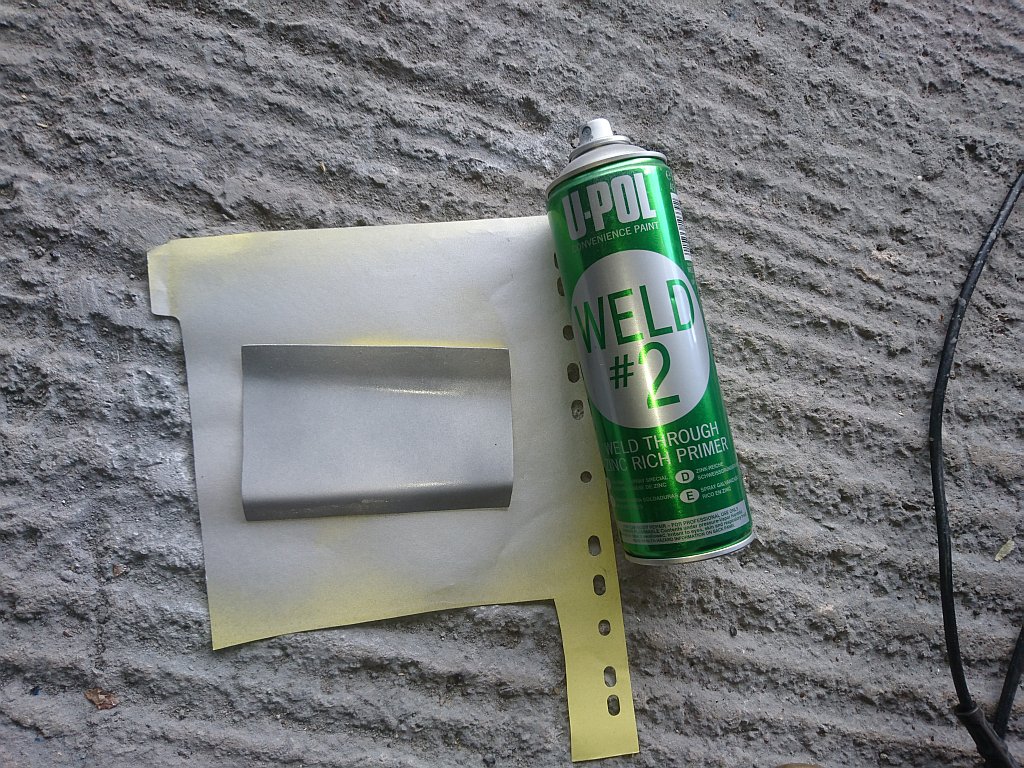
Then some weld through primer.
Tack welded into place.
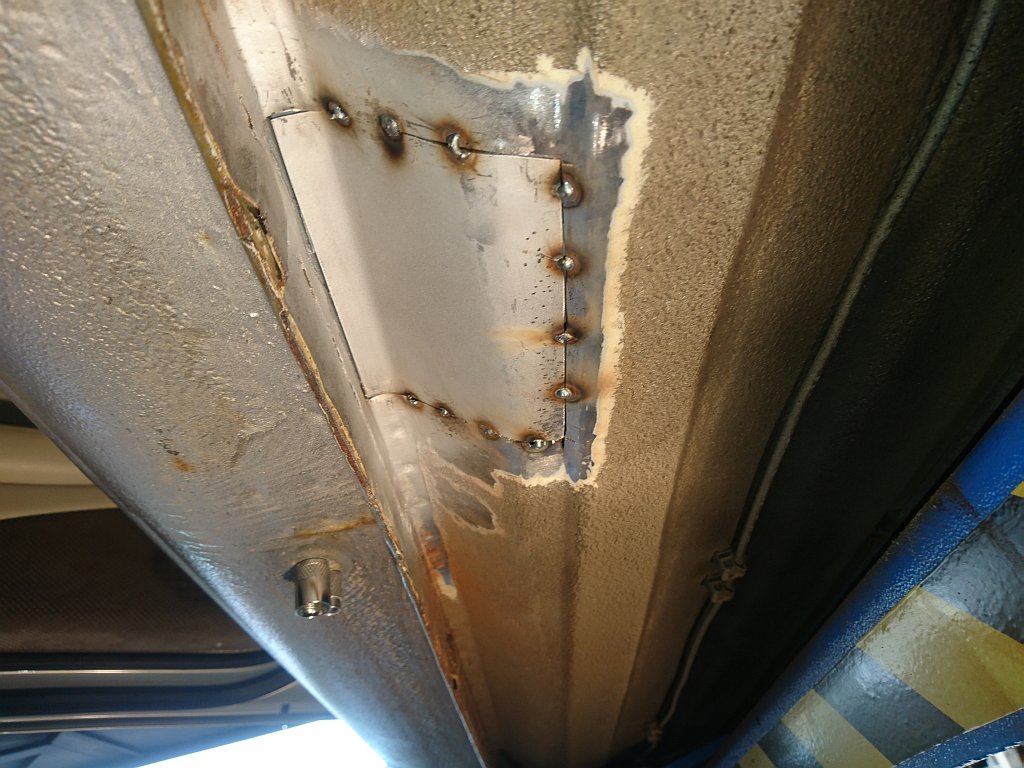
I started welding but my welds were getting worse and worse but I pushed on, should have stopped. When I finished I realised I had run out of gas Aghhhh! I will need to go over a fair bit of it again.
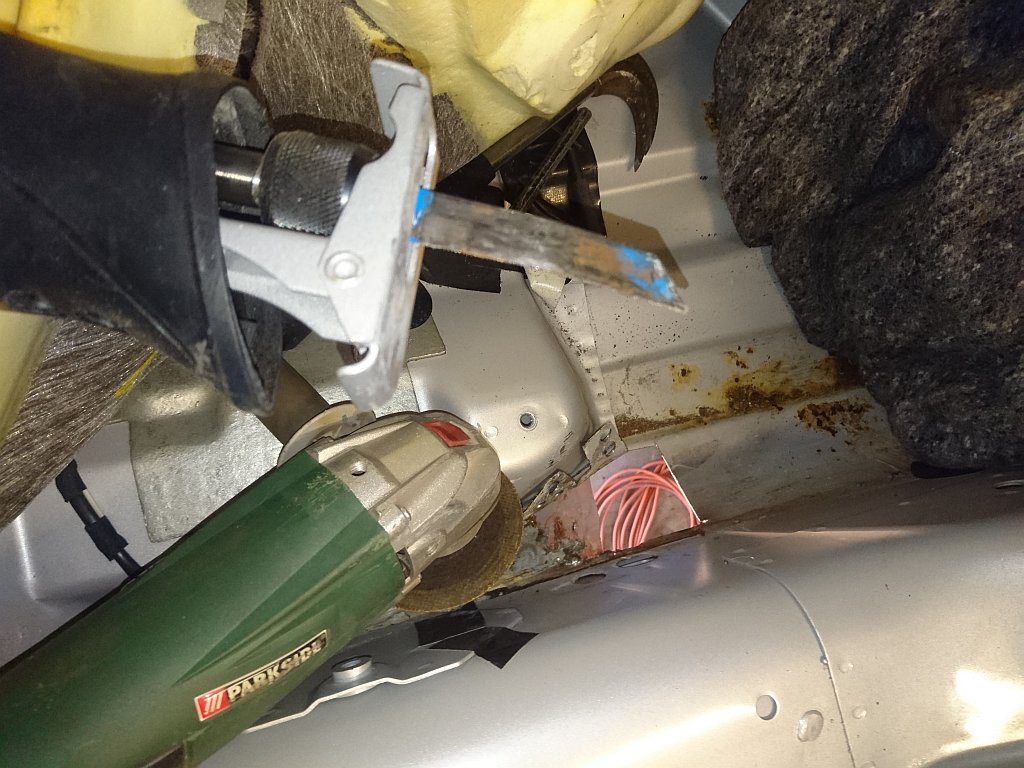
I started grinding down then my power file motor seized up.
So next instalment when I get some new gas and replacement power file.
A bit more clean up and cutting, the remaining metal at the top of the hole was thin from rust and looked too weak to weld to, but there is no easy access to get in there to cut it out.
The only way looked to be to chisel it out, so I looked for the oldest unused chisel from the bottom drawer and sharpened it up.
Five mins later the job was done.
Next I made up a cardboard template and cut it out of 22 gauge steel.
A bit of bending in the vice.
And a bit of contouring.
Then some weld through primer.
Tack welded into place.
I started welding but my welds were getting worse and worse but I pushed on, should have stopped. When I finished I realised I had run out of gas Aghhhh! I will need to go over a fair bit of it again.
I started grinding down then my power file motor seized up.
So next instalment when I get some new gas and replacement power file.
Last edited by RaceDiagnostics; Jul 28, 2016 at 05:40 AM.
Thread Starter
|
Veteran Member
Joined: Apr 2012
Posts: 1,854
Likes: 987
From: UK
Ok, a bit more progress...
After more welding and grinding..
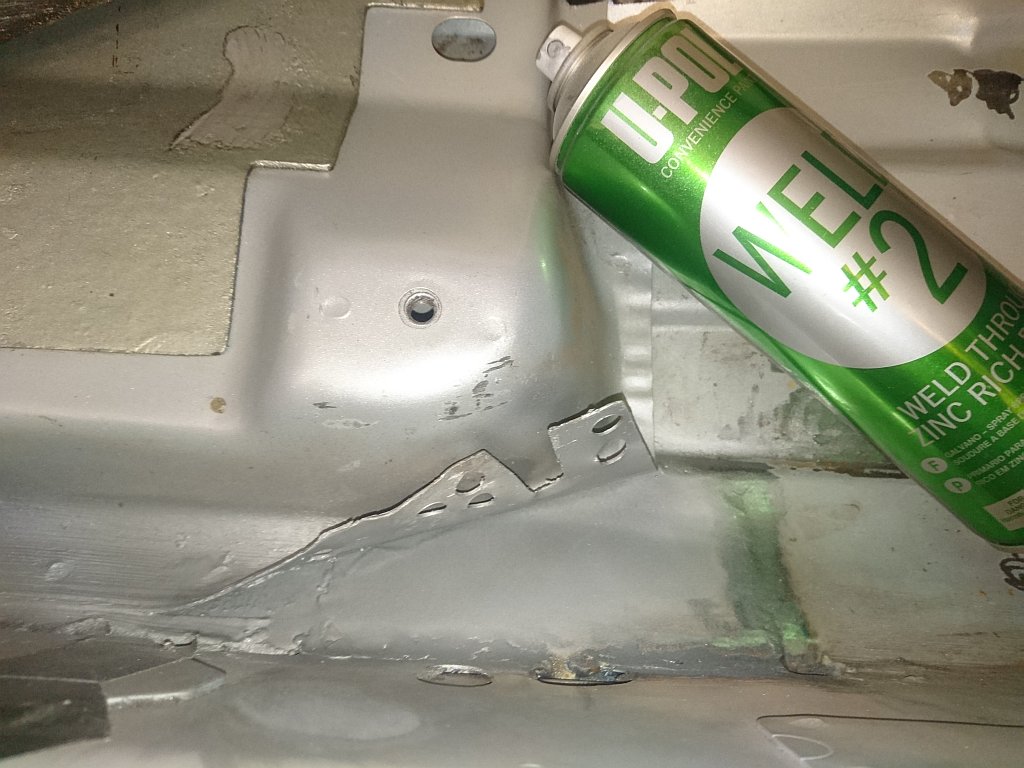
Some weld through primer.

Folded down the seat box edge and filled in the spot welds.
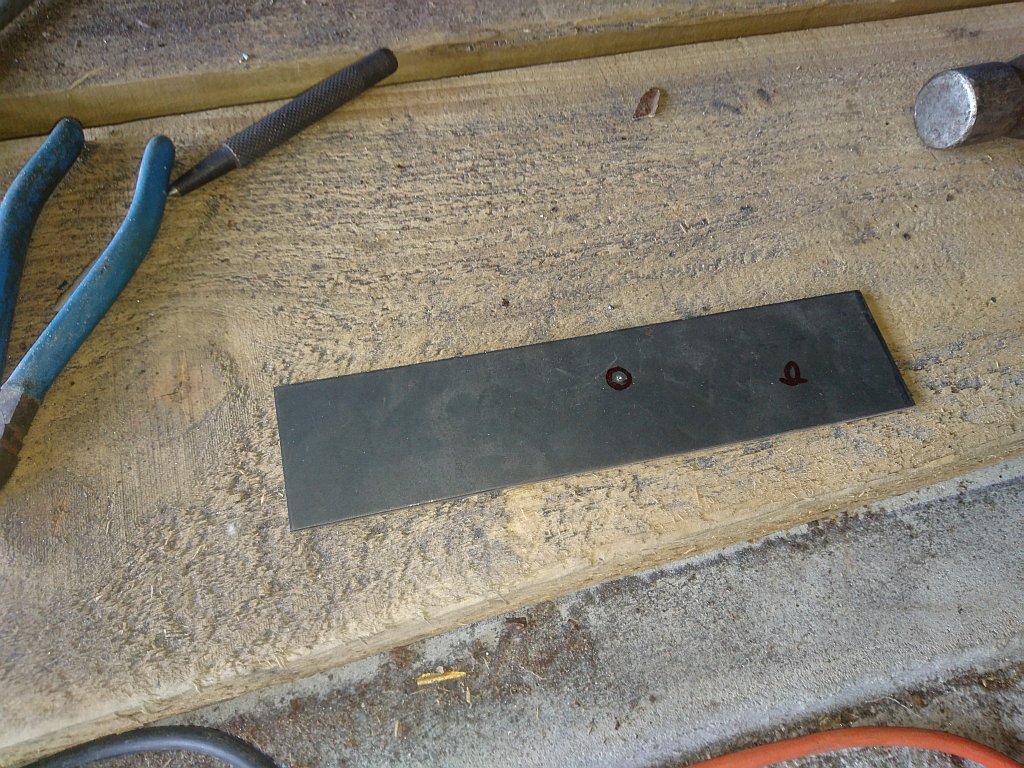
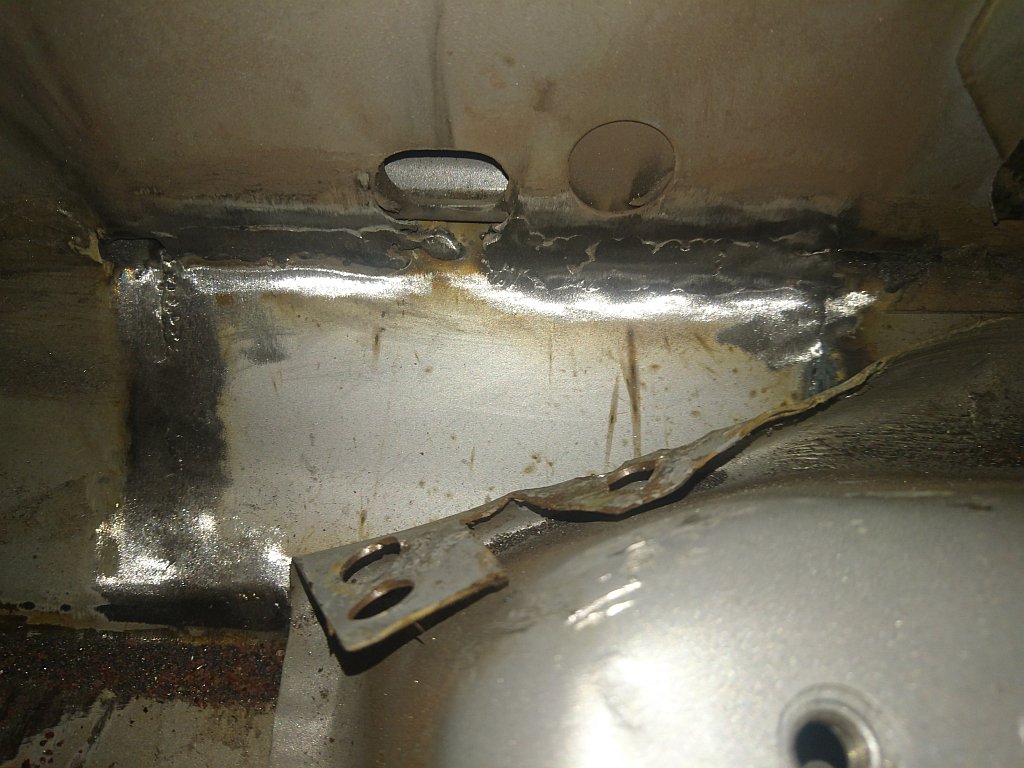
Preparing the anchor with 2mm plate, drilled a 10mm hole.
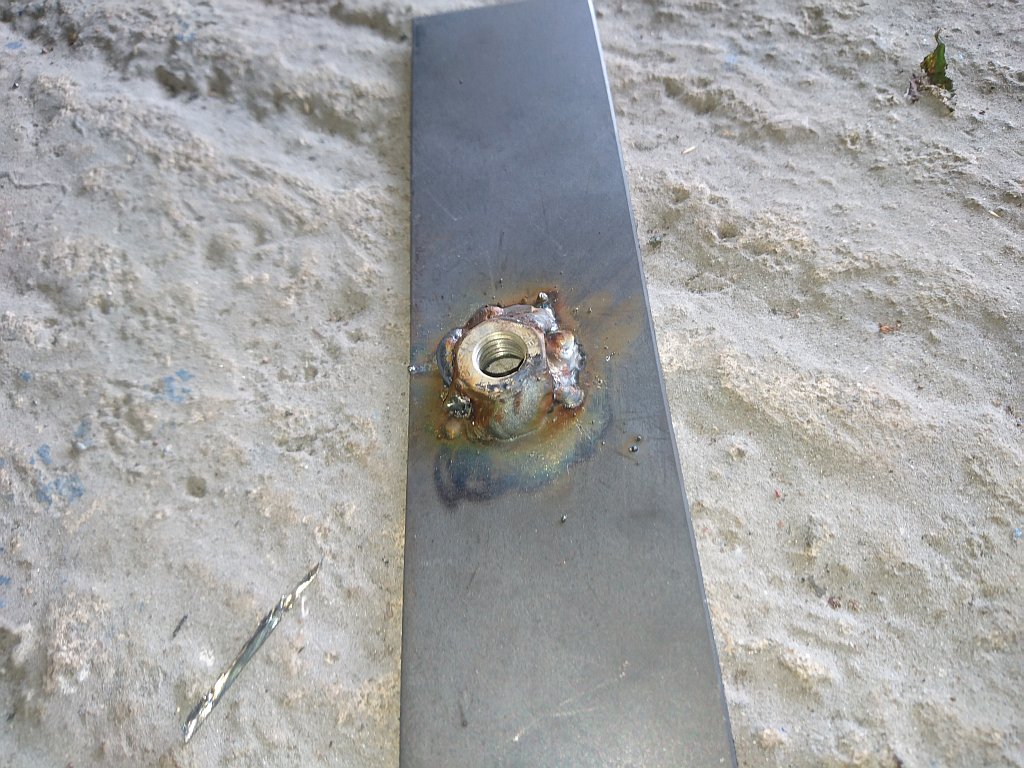
Welded on a M10 nut, yes I know my welding is terrible.
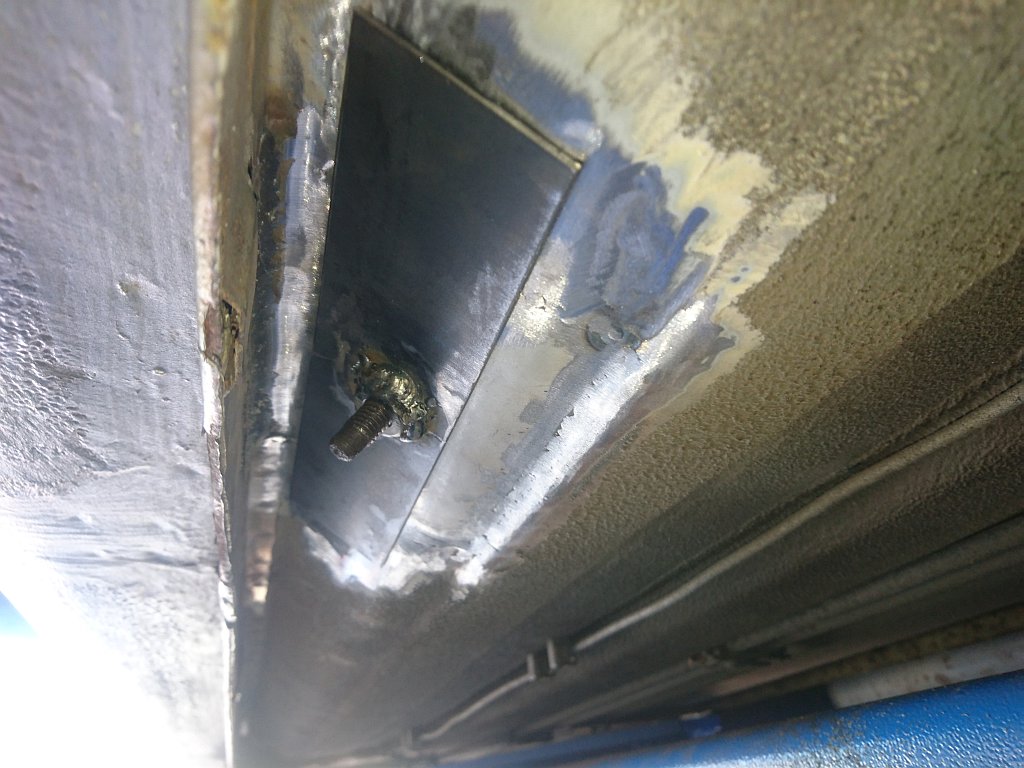
Trial fit.
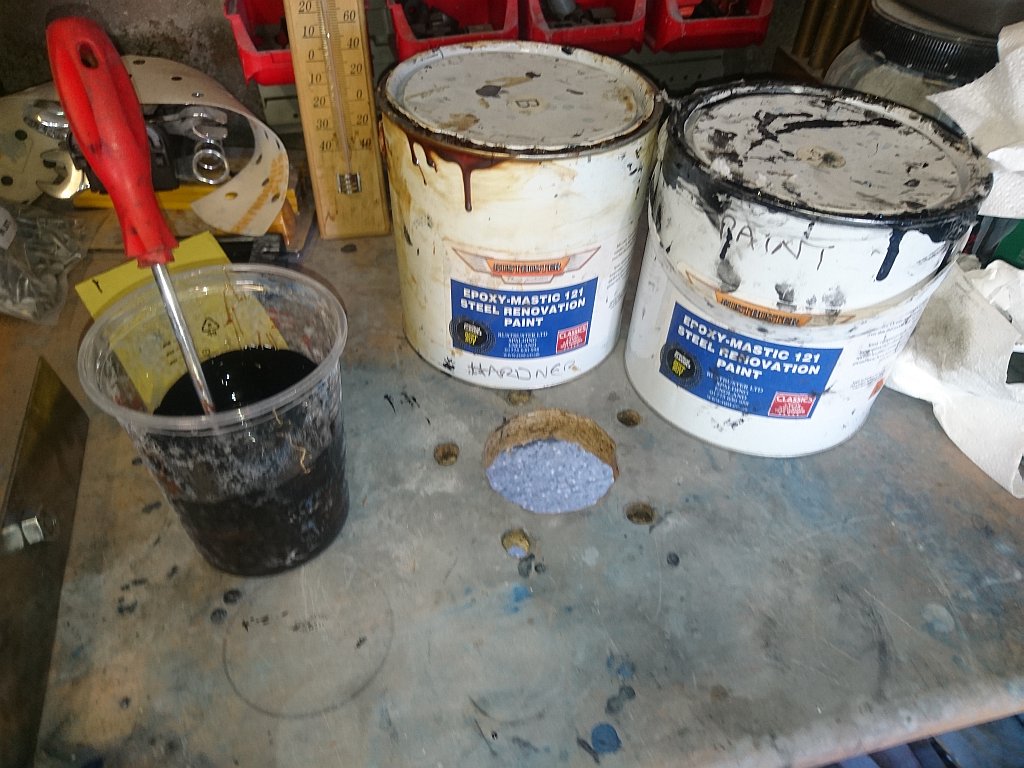
My wonder epoxy paint. Also sold by Jotun as "Jotamastic Smart Pack".
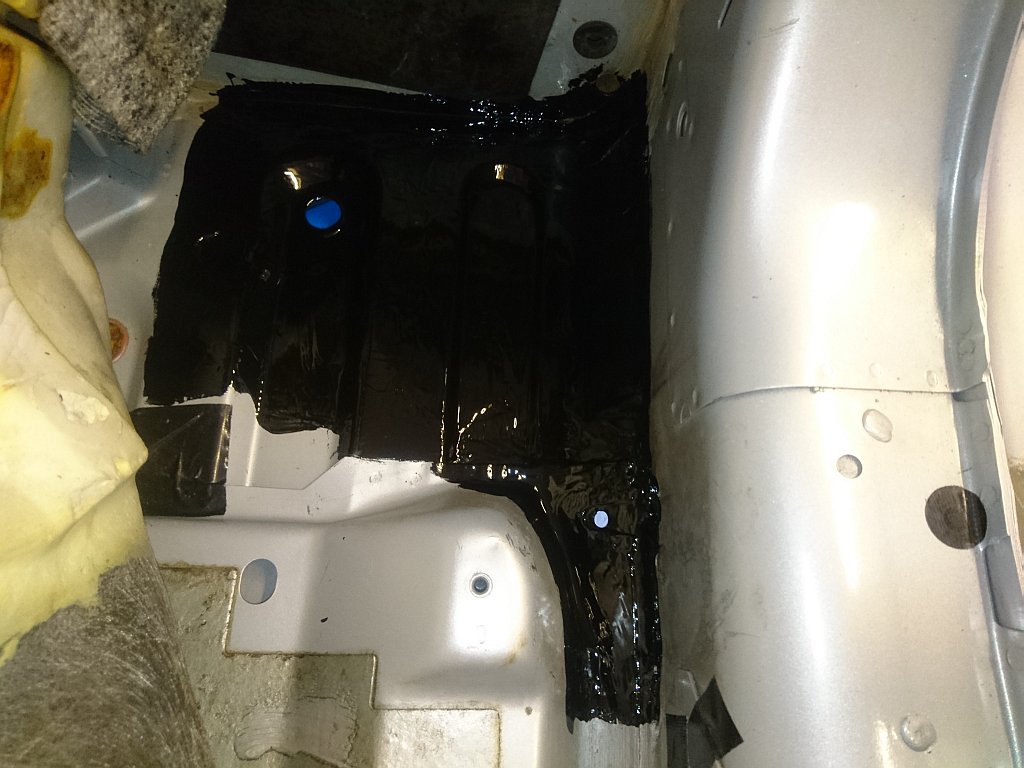
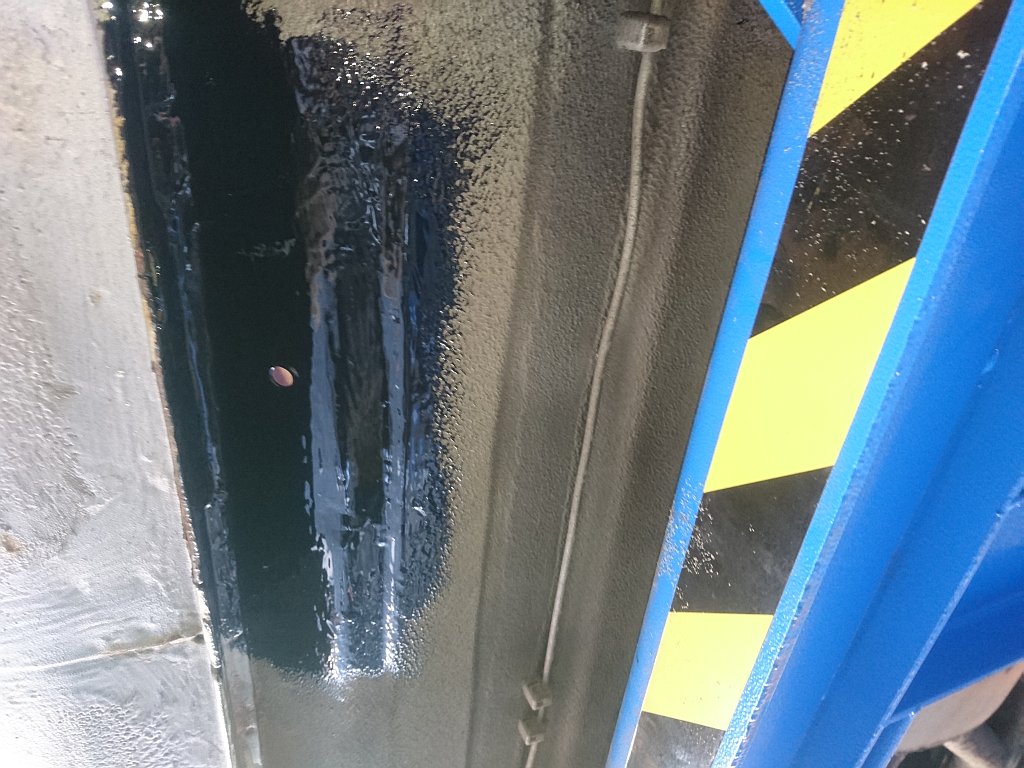
I will grind back the paint and seam weld the ends of the anchor for extra safety once it has all cured.
After more welding and grinding..
Some weld through primer.
Folded down the seat box edge and filled in the spot welds.
Preparing the anchor with 2mm plate, drilled a 10mm hole.
Welded on a M10 nut, yes I know my welding is terrible.
Trial fit.
My wonder epoxy paint. Also sold by Jotun as "Jotamastic Smart Pack".
I will grind back the paint and seam weld the ends of the anchor for extra safety once it has all cured.
Last edited by RaceDiagnostics; Jul 30, 2016 at 05:10 PM.